The lake was covered with untouched snow this morning but there was no visible sunrise. Clouds were thick, there was only a glimpse of pink at the north end of the lake. (It did get better later in the day when the sun was shining briliantly.
I’ve wanted to write about my Nancy’s Vest. My co-worker friend, Glenda, and I are both knitting it so I’ve had a bit of “heads up” which has been helpful. BUT even with her help, I’ve had to stop and frog back three inches of stockinette stitches because I forgot that I was warned to read ahead. Ha! Ha! That’ll show me. Once again, my knitting is keeping me humble and even simple knitting projects can be a challenge.
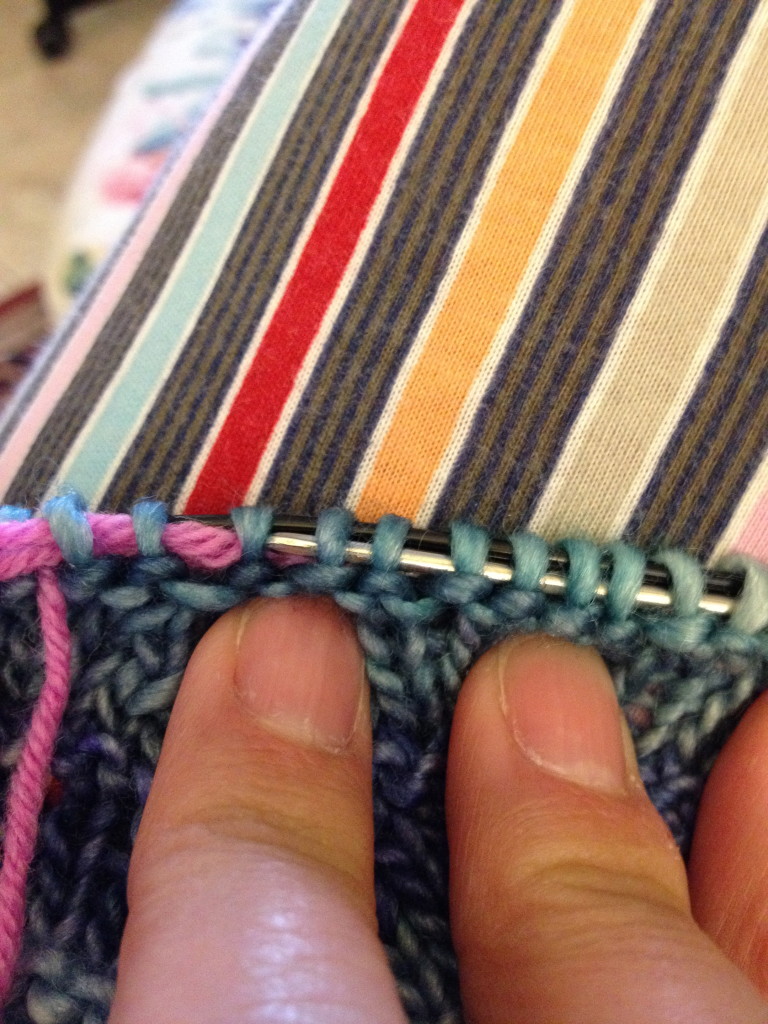
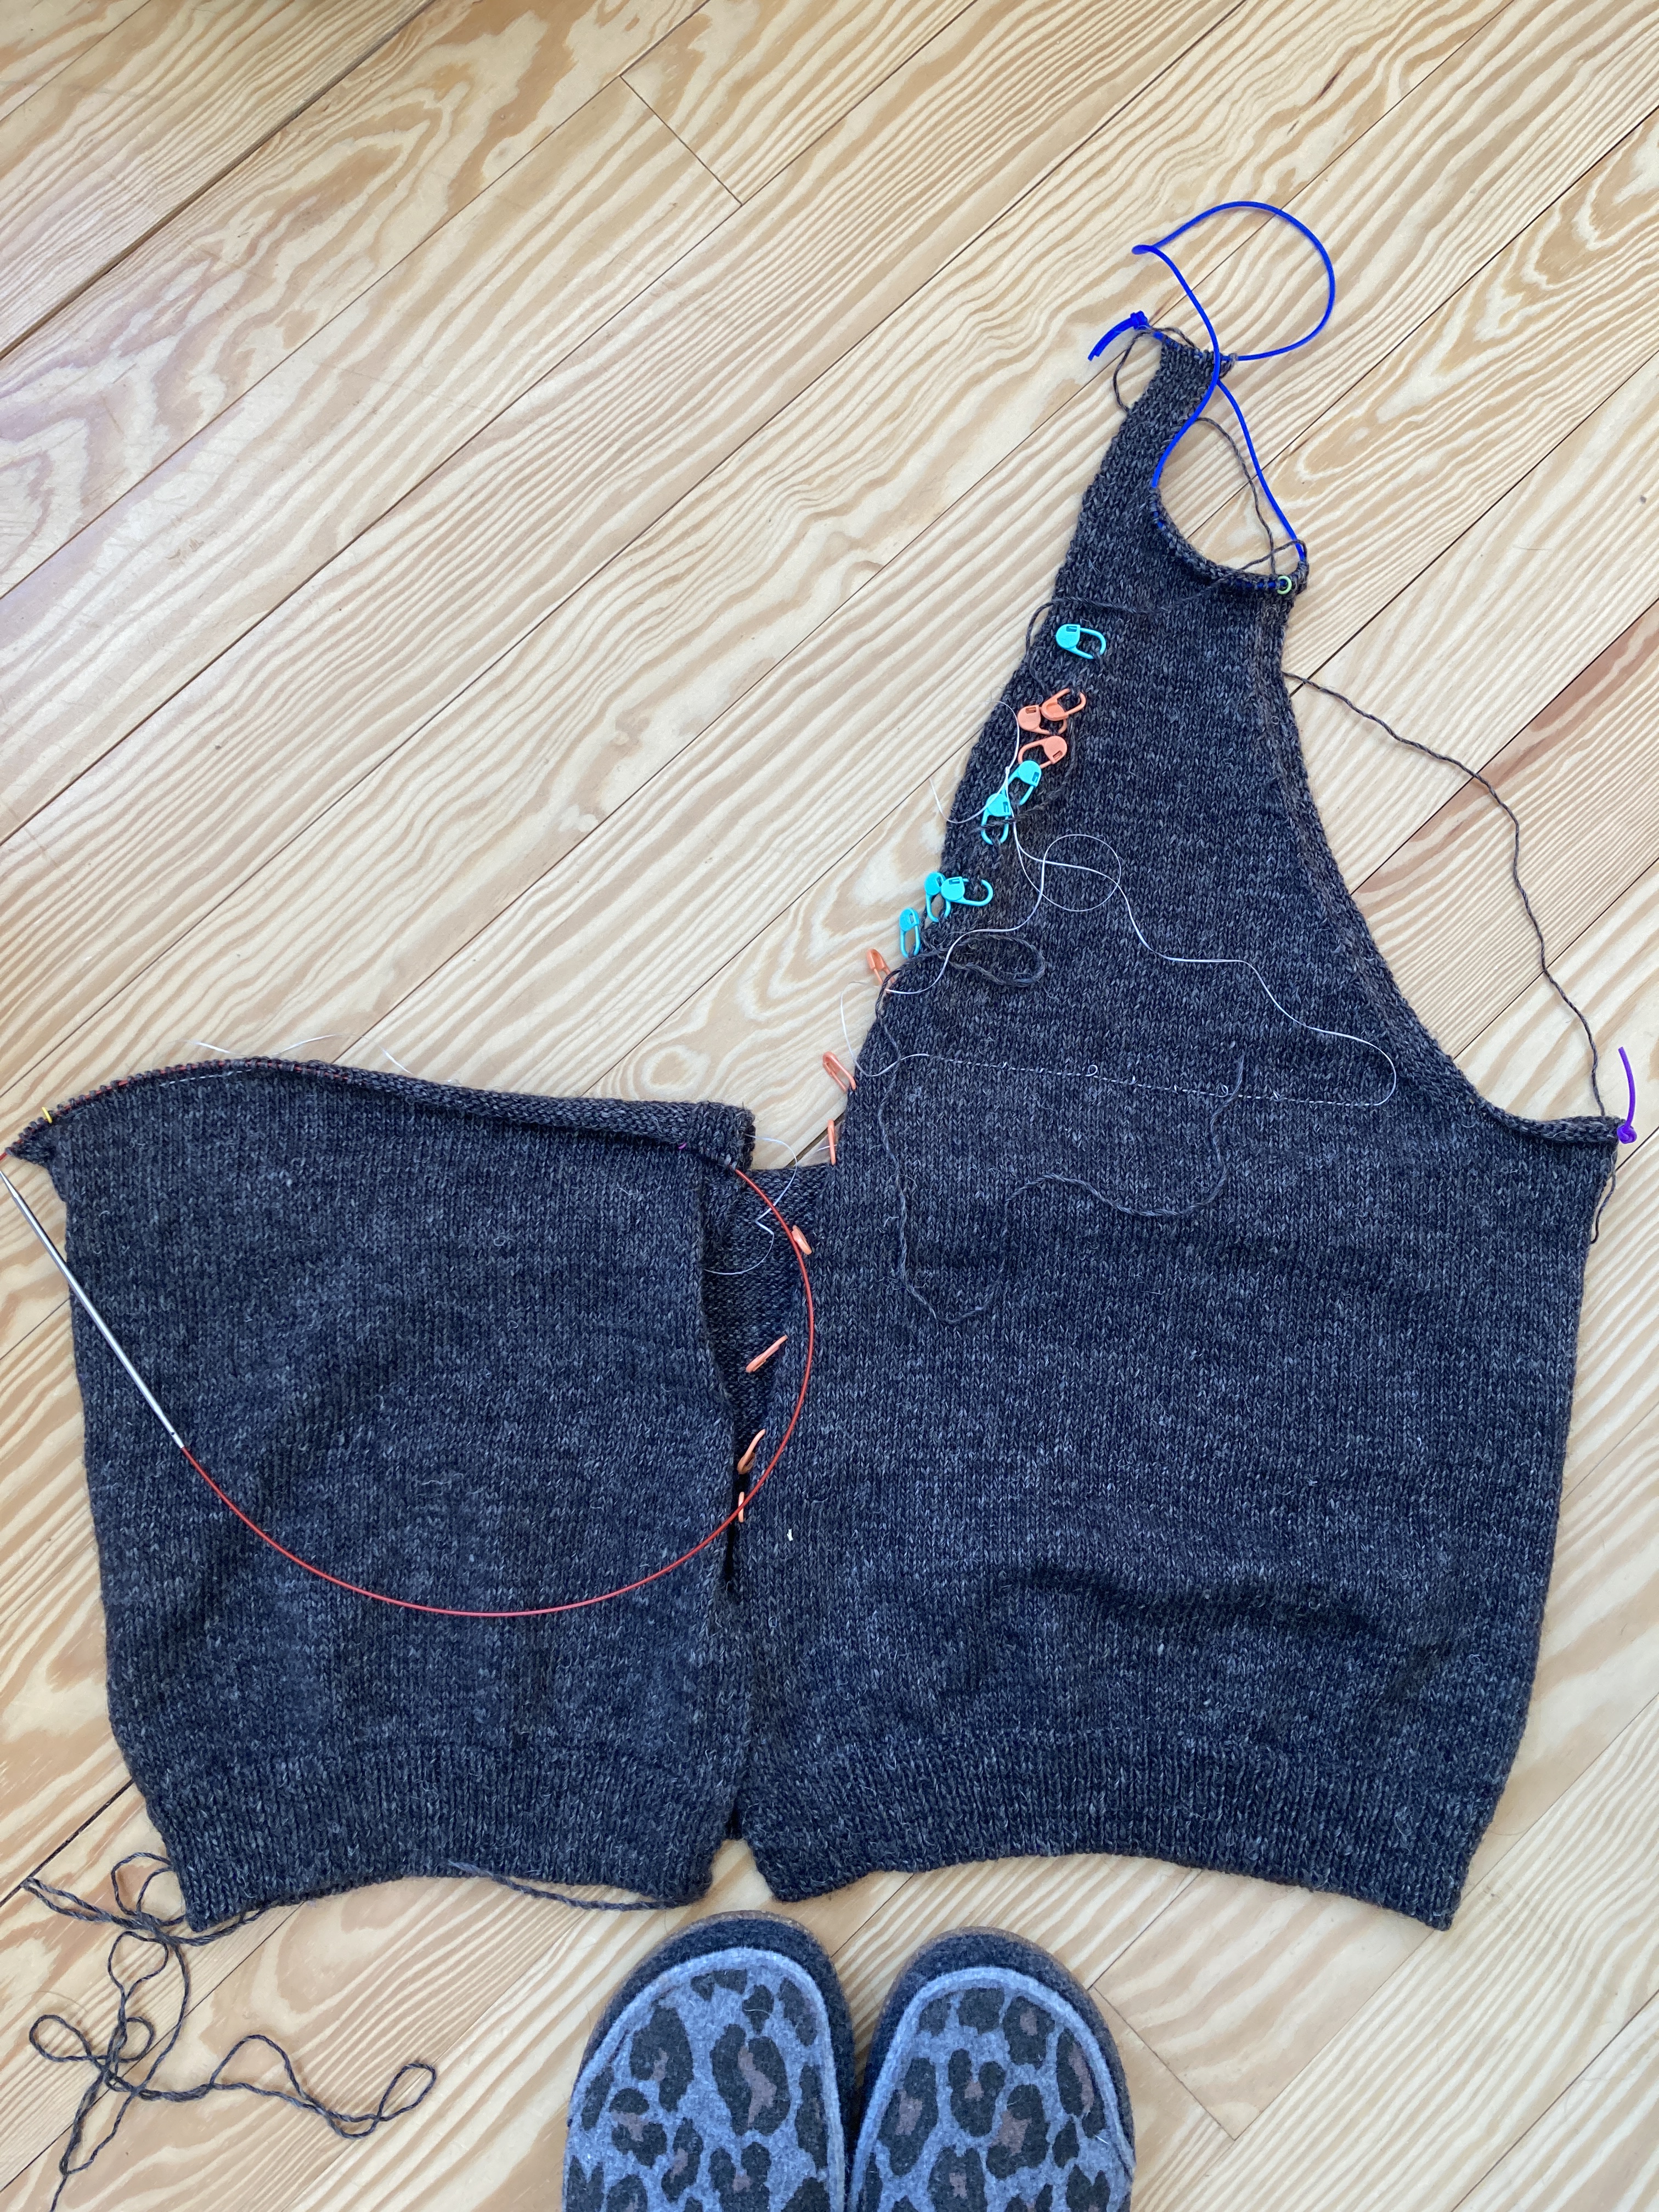
Nancy’s Vest is by Carol Sunday. It’s knit in one piece from the bottom up and the only finishing is at the shoulders. I chose Manos del Uruguay’s Milo yarn, a sport weight blend of merino and linen (380 yards to 100 grams). I am enjoying the yarn. It’s not at all splitty and it’s very soft. Every once in a while it does get sticky but that’s likely the linen strands and a little bit of vegetable matter. I bought the Manchester colorway, a brownish gray or a grayish brown color. A dark neutral and one that I think I will wear a lot. The vest is a little bit cropped and I’ll likely wear it over my white blouses with slacks (to work) and maybe over a dress.
My first “mistake” was due to not reading ahead. I’d made a lot of progress a couple of Fridays ago at my knitting class. Almost all of it had to be frogged because I forgot to split the vest into two front sides and a back after 12 1/2 inches. Oops.
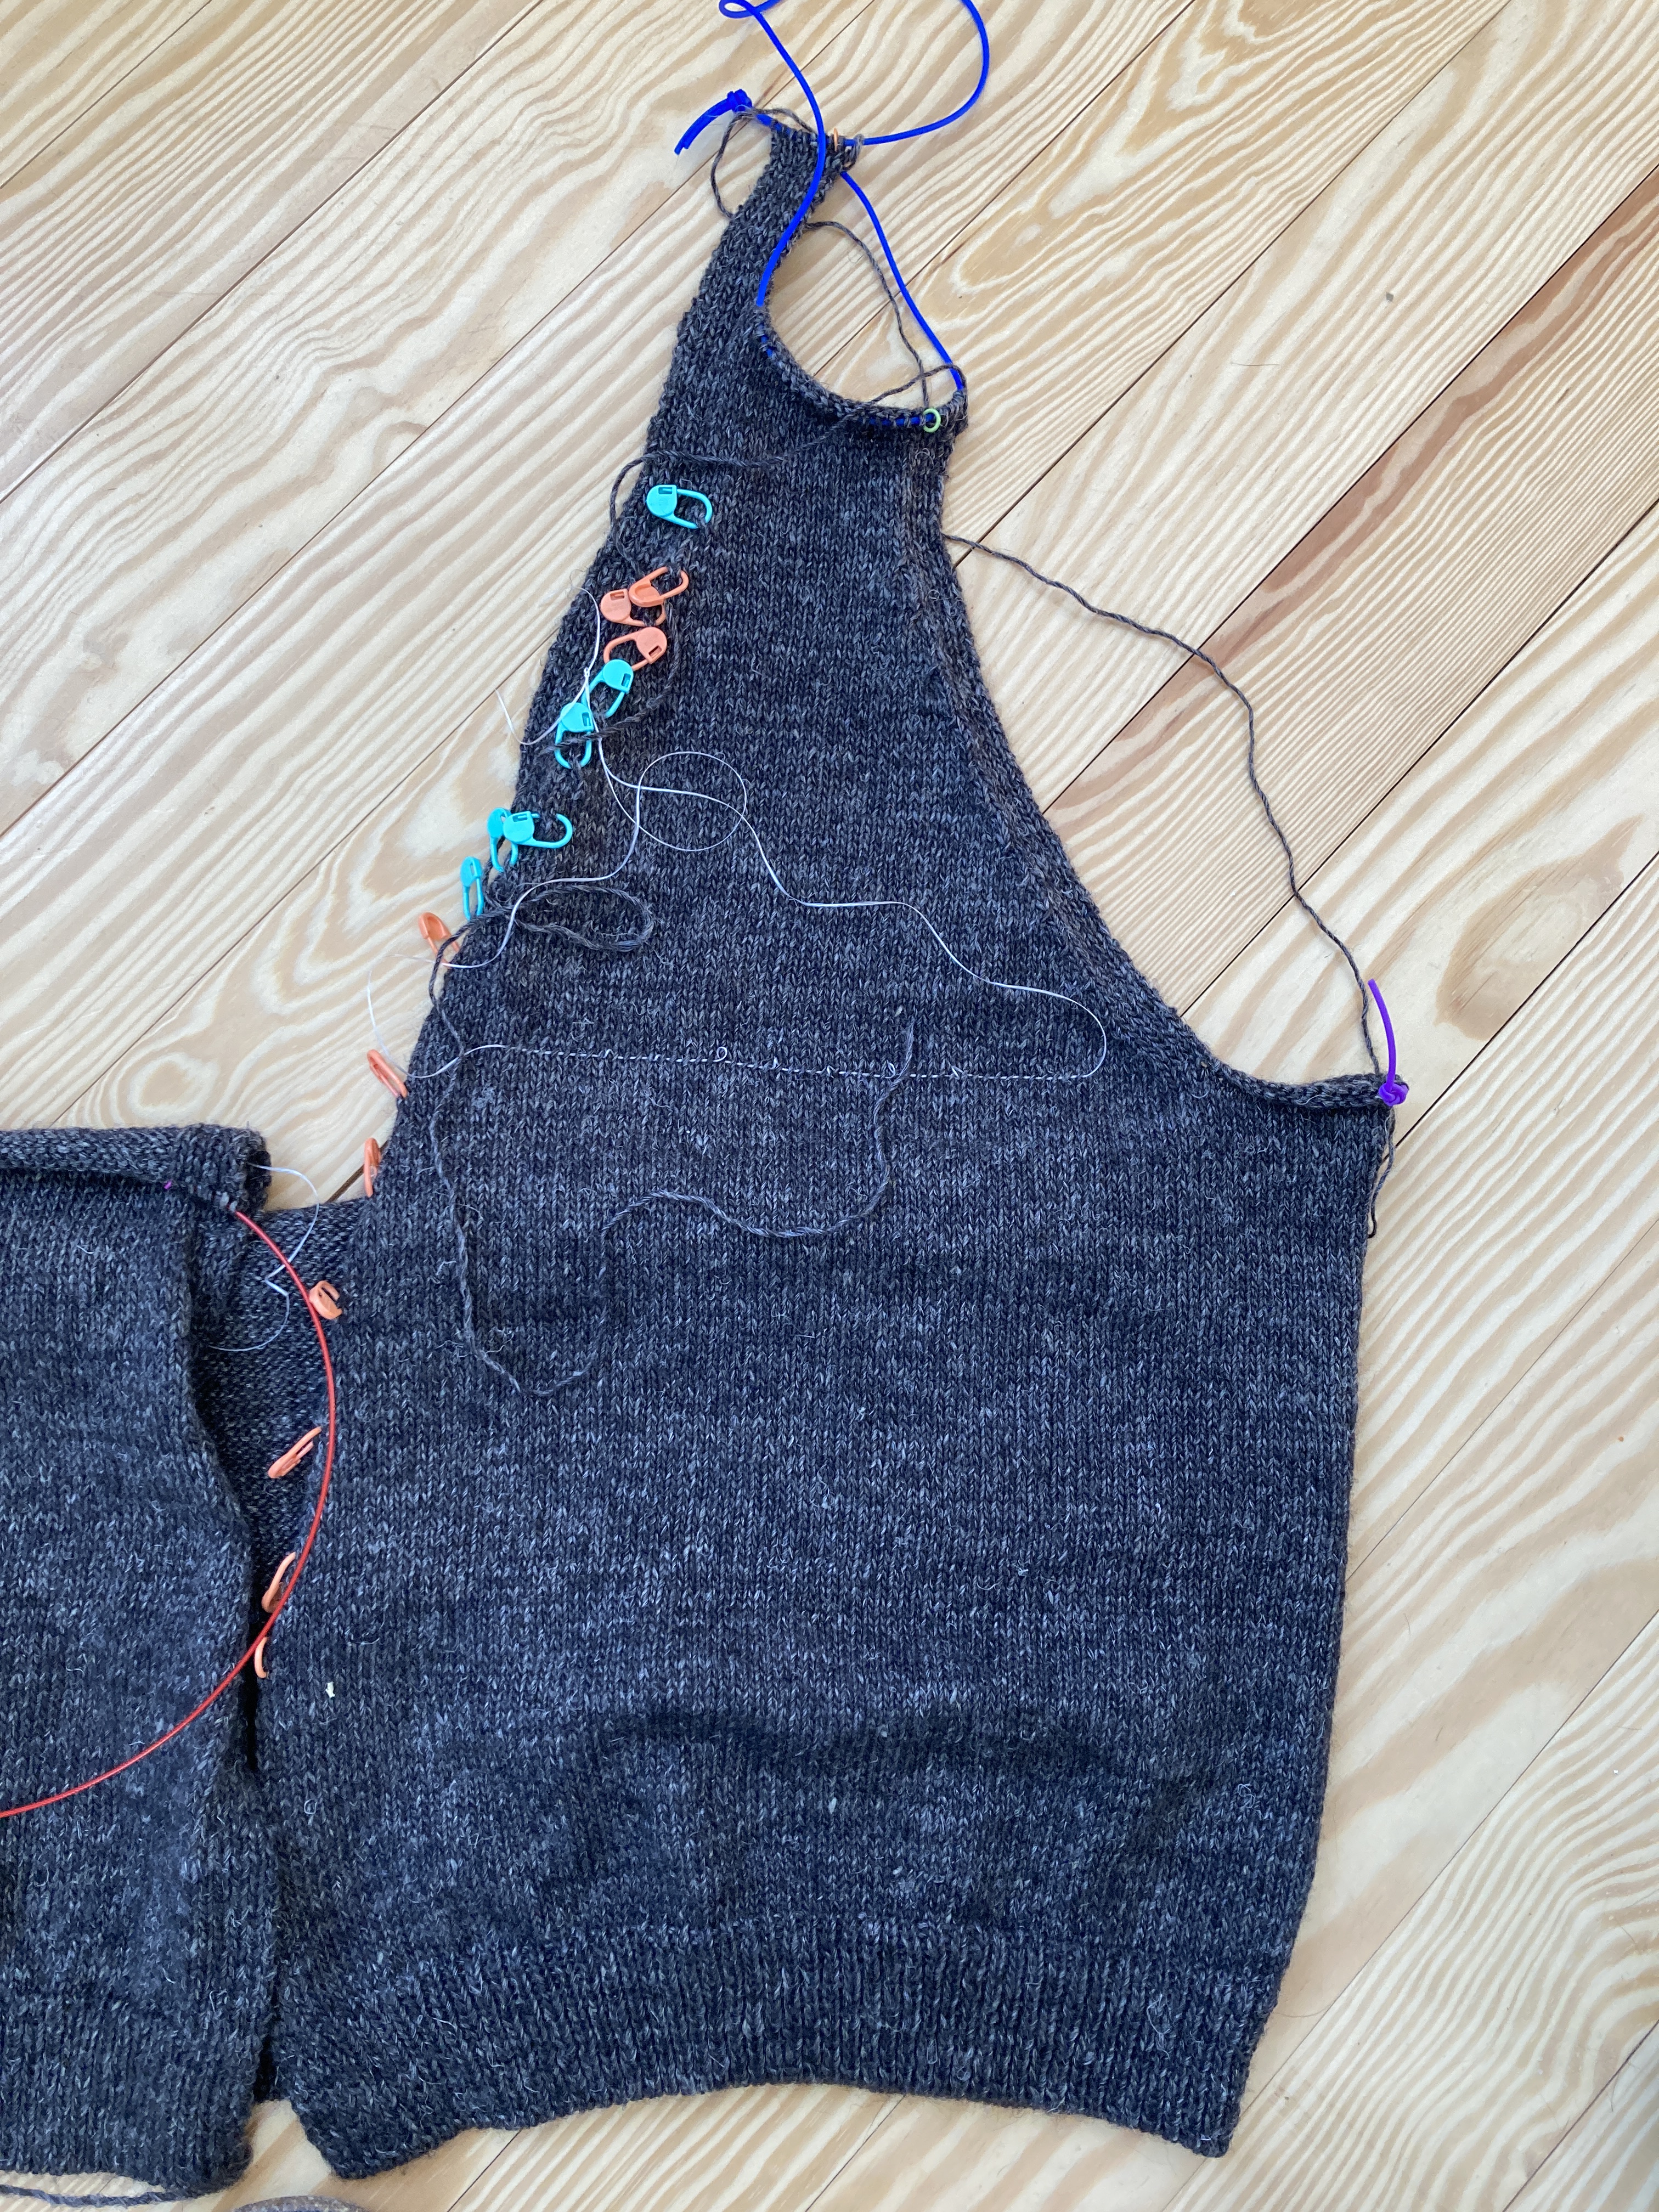
Today I finished the left front side.
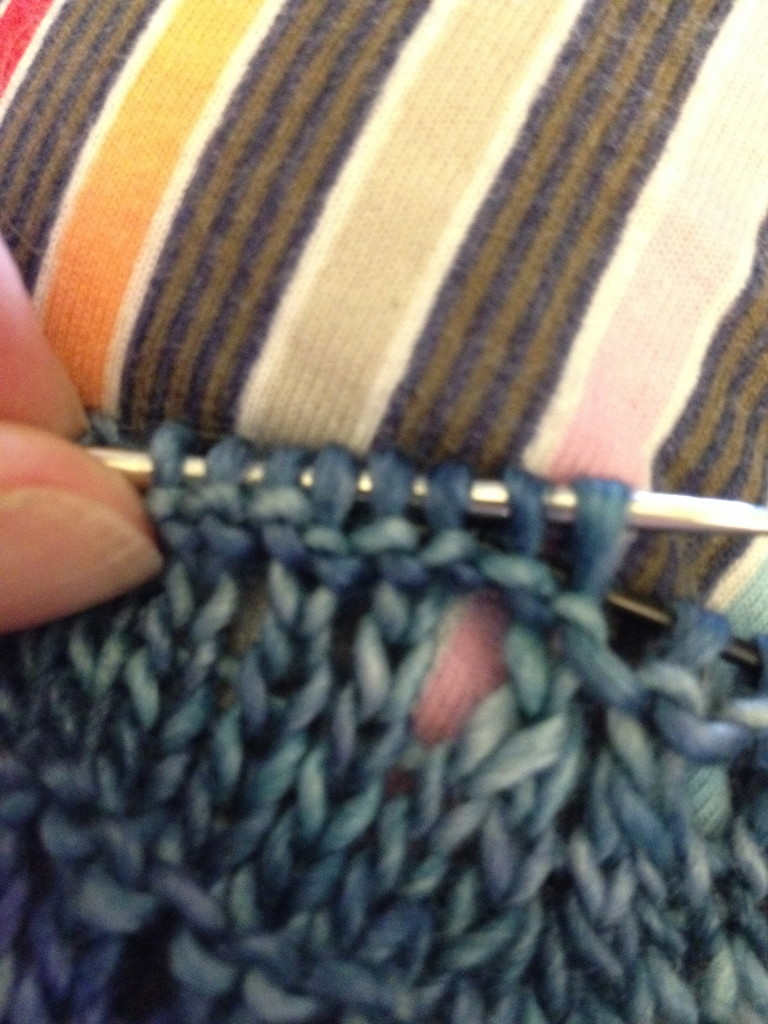
The construction is fun and keeps it interesting with some different techniques. The edging is knitted at the same time as knitting the vest. There are eight stitches for the button placket and button hole placket and they’re knitted at the same time as the vest. The button holes are a different technique that i’ve not done before. Basically, a one-row button hole, slipping stitches and binding them off and then turning your work to (cable) cast on new stitches and close the button hole. Once at the armpits, decreases on either side of the front are made and you really have to be careful here to read ahead. I nearly made a second big mistake, but caught it in time to call it a minor mistake and I only had to frog a few rows. I’ve used my knitCompanion app to keep track of all the different decreases and row counts but I could also see the wisdom of creating a chart of “changes” to be made on each row. I marked each of the decreases on the neck side with a marker so that I could easily count them. It’s worked well (and my stitch count has been spot on!
You are asked to run a “life line” to mark the garment when you reach the armpits. I use dental floss … not peppermint … because it’s slippery and thin and almost always stands apart from the yarn. It makes it really easy to measure the length of the front piece. Great bit of instruction.
I’m now working on the right front side and the second one is going more quickly than the first. I kept track of exactly where I left off when I separated the three sections in the notes section of knitCompanion so that I knew when I attached the yarn to work on the right side I would know it was one WS row before I needed to decrease on the neck edge. Once again, I forgot that I had immediate decreases on the arm hole side, too, and had to frog back one row plus enough stitches to decrease there. That was a simple “fix” thank goodness.
The cable decrease (left and right) are a fun and new-to-me decrease. It’s very attractive on the garment, too. I like it. I’m at the point on the right front where I have arm hole side decreases every four rows and neck side decreases every six rows so I’m being careful to count my rows and mark them. So far so good. I’d love to finish the right side today or tomorrow so I can get to work on the back after work on Thursday.
I’ll report more as I make more progress but for now …
Gone knitting.