
Years ago, I was intrigued by A Year of Techniques “club” that came from the Arnall-Culliford Knitwear company out of the UK. I often seek to increase my knowledge of knitting so that I can pass what I learn on to my students and this seemed to fit right into that column. AND it was a year of improving knitting by a monthly technique project. There was a book and twelve projects so it seemed to be something that I could manage with everything else in my life.
That first year, I managed to complete a bunch of the patterns in the book. I also made the decision to buy the yarn collection for all of the projects because, being a company based in the UK, they were using yarns that I had not seen nor worked with. It would be an additional bit of knowledge that I could gather about yarn and how to match yarns and patterns and maybe, too, a little bit about color.
That first year I finished seven of the twelve projects. I ended up frogging one and not completing another because I didn’t like the fit, so we’ll count it as five projects completed and enjoyed. The next year they did Boost Your Knitting: A Second Year of Techniques followed the third year by Confident Knitting. Each year I went along and bought the yarns and have really, really enjoyed knitting with yarns that I may not have otherwise been exposed to in rural Maine. (Until I get to Paris and Shetland, anyway.)
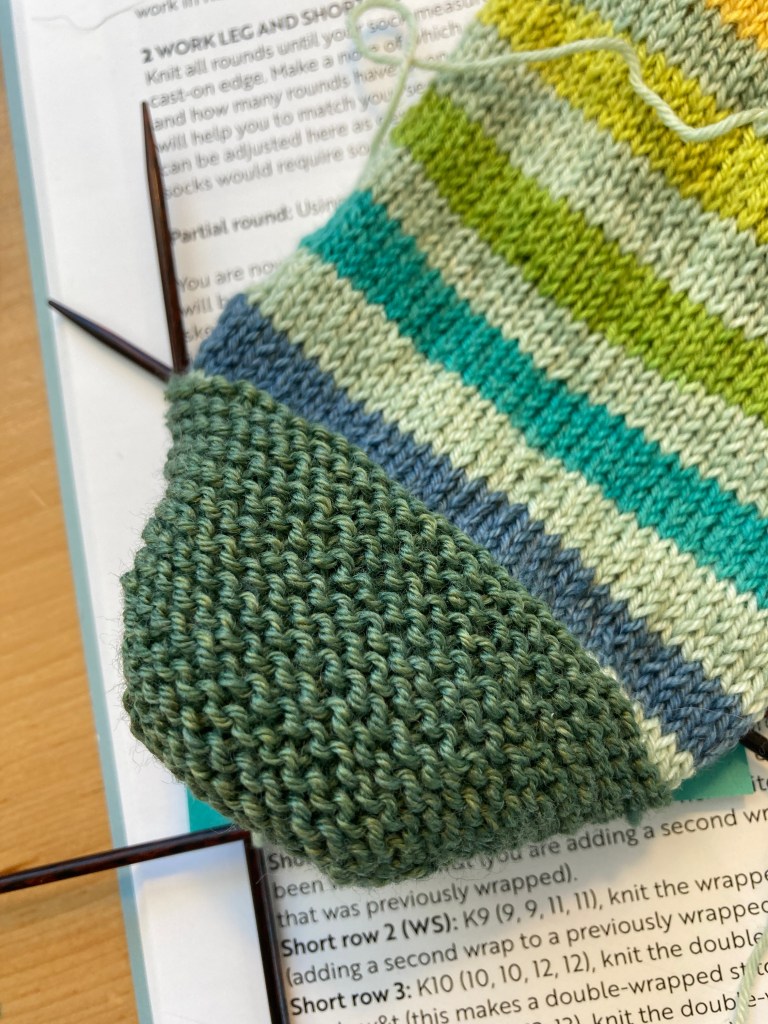
But I digress because where I wanted to go with this post was to tell you about my Moorland Socks WIP. Moorland Socks were in the third group of technique projects. The yarn is from Fab Funky Fibers and contains two mini skeins as the main color of the socks, a wonderful self-striping multi-colored yarn with another mini for a contrasting heel. The technique for this project is a Garter stitch short row heel.

Today I finally finished the first short row heel and what fun it was to knit. (I can’t wait to try it on and see how it fits and how it feels to wear!) Because the heel and short rows are garter stitch, there is no need to pick up and knit the wraps for the short rows and that makes it much simpler and more straight forward to knit. I found that I did need to keep count of the stitches between the wraps, however; at least until I figured out how to read my knitting. It was more difficult on the increases (after the decreases on the first half of the heel) but I managed it, I think, quite well and it’s a super cute heel if I do say so myself.

Such a pretty heel, such a pretty sock! Since I wrote this I’ve finished sock number 1 and have cast on sock number 2. The mini skeins made it pretty easy to “match” the socks (so they look alike … or as alike as I care to make them look.) The fit’s pretty good, too. I’ll be curious to see how this heel wears compared to my favorite heel flap and gusset. I’ll let you know.
Gone knitting.
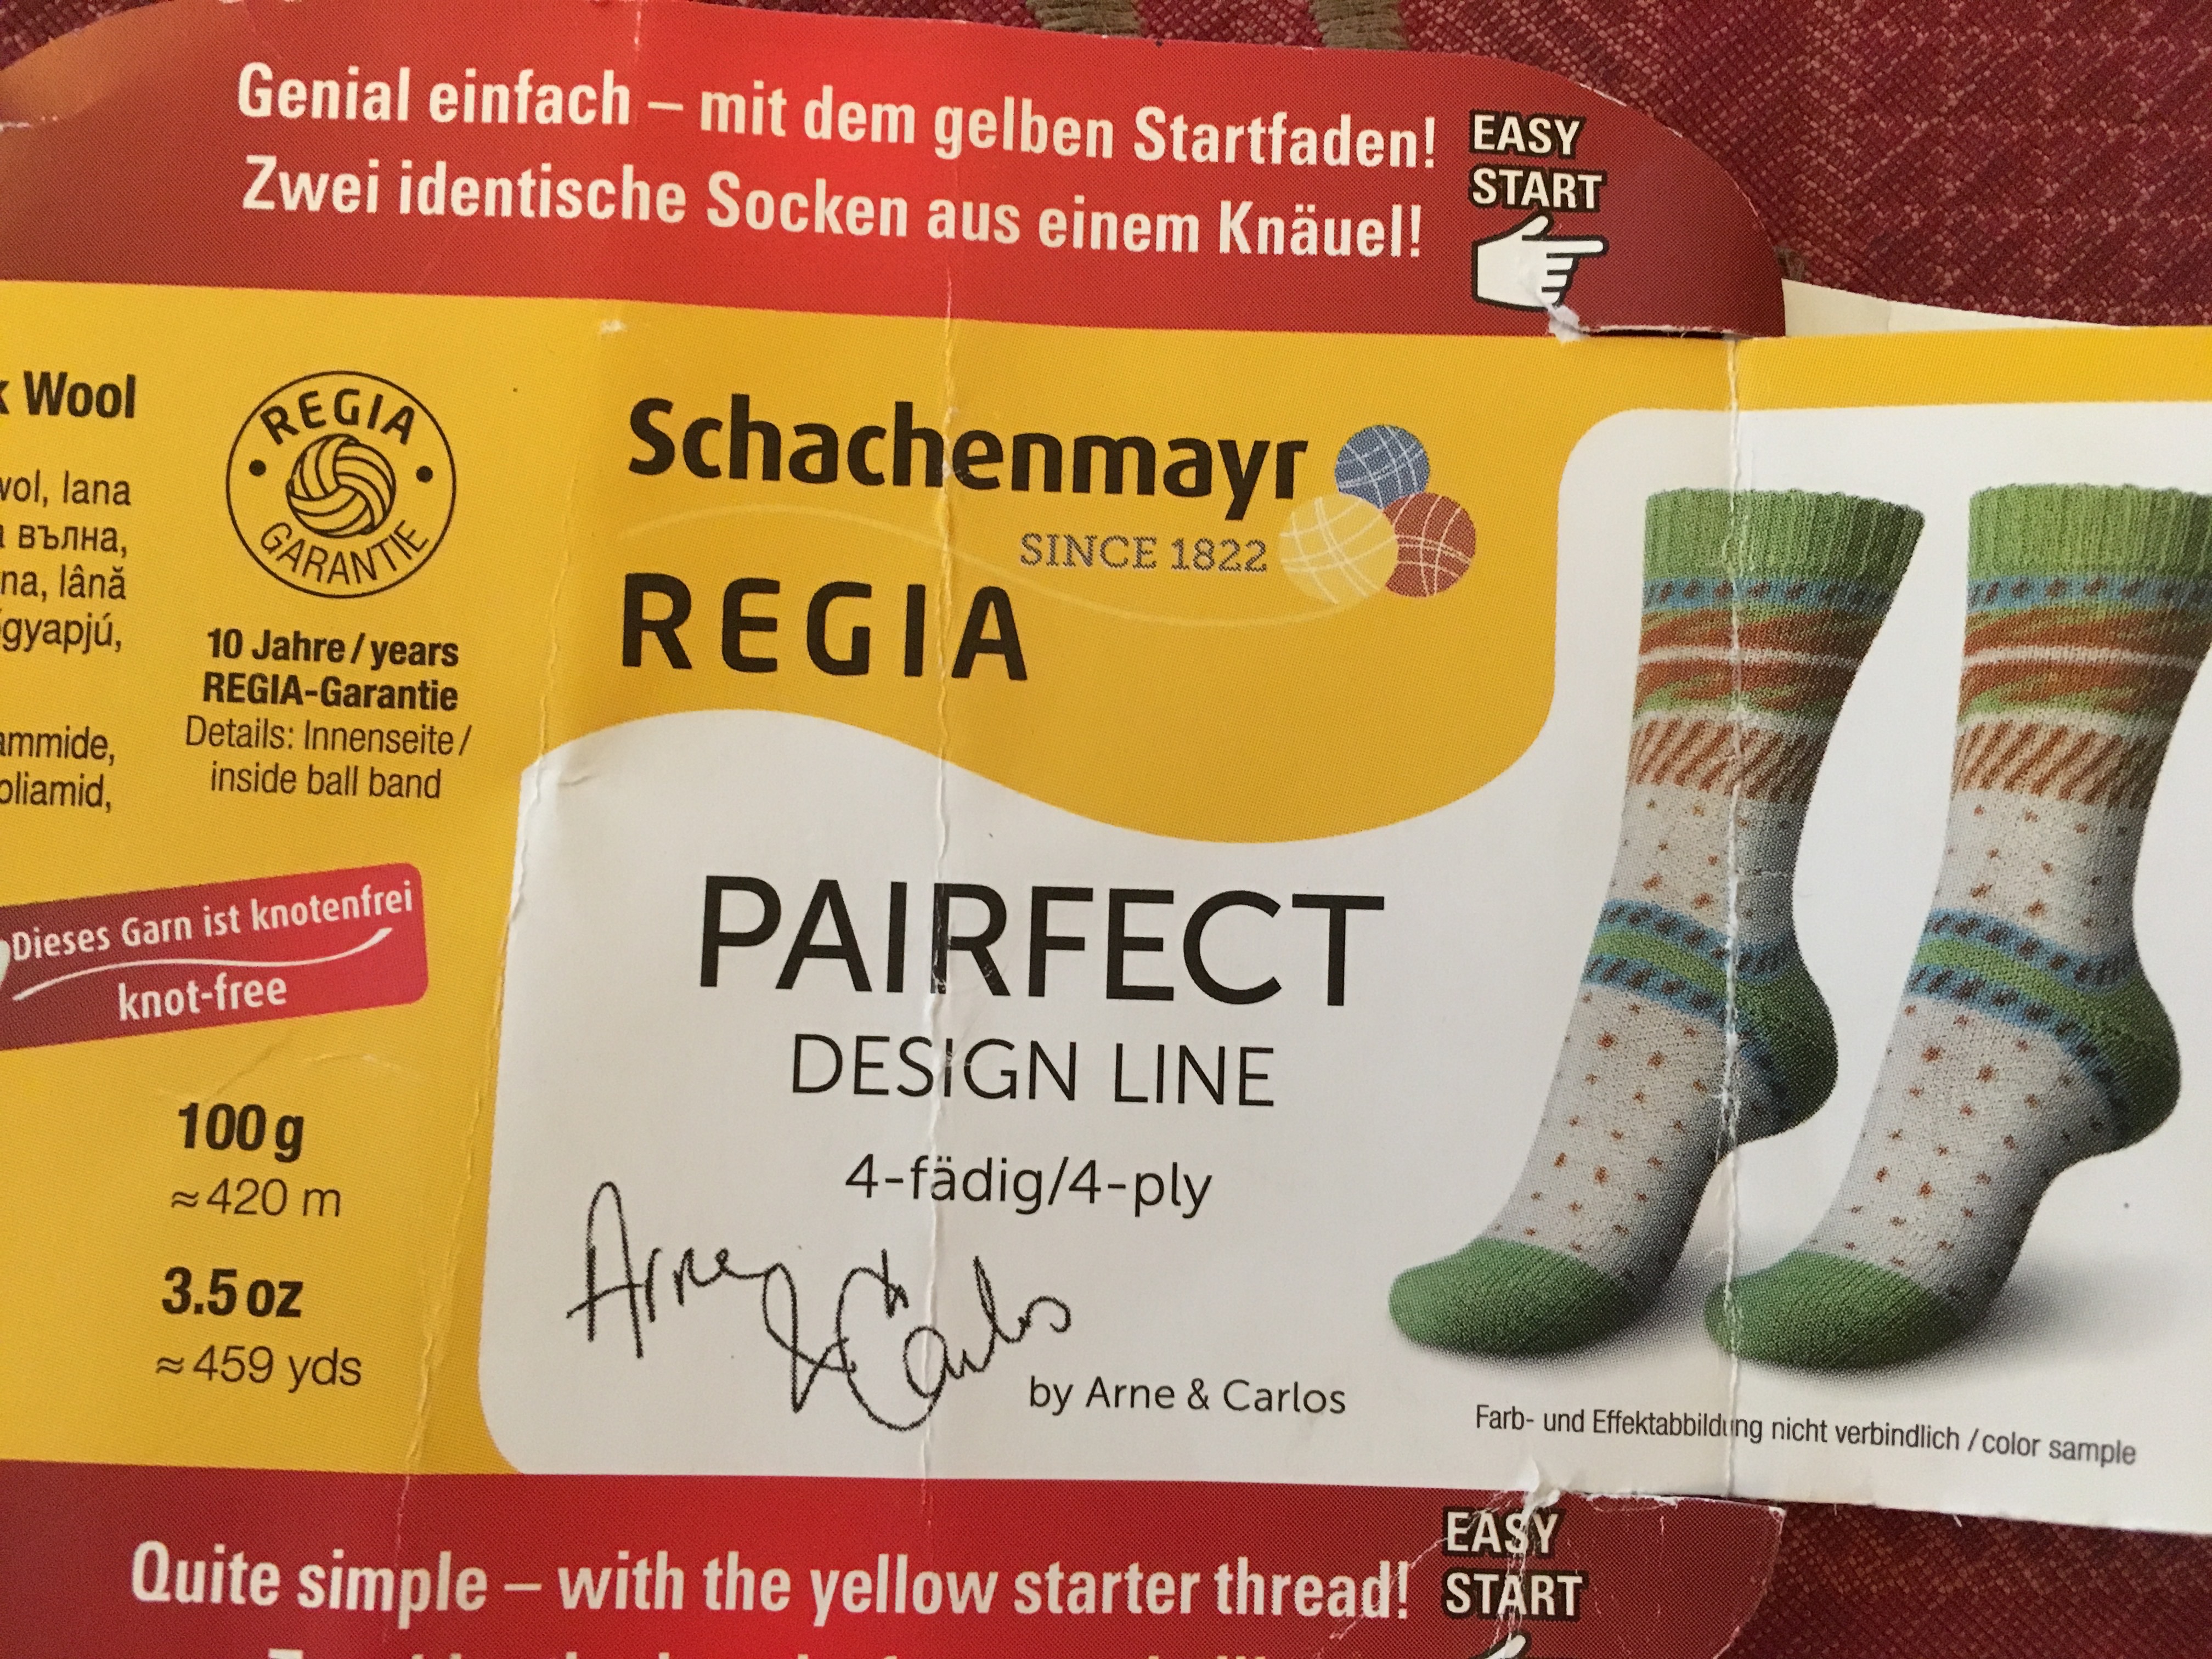 I have never really worried about having socks (that I have knit) match. I have been working on a sock drawer full of handknitted socks for me and out of them all, only two or three match. Maybe only one. Anyway, Regia has a great new sock yarn that sets you up for success when you want to knit two socks that match! Regia Pairfect.
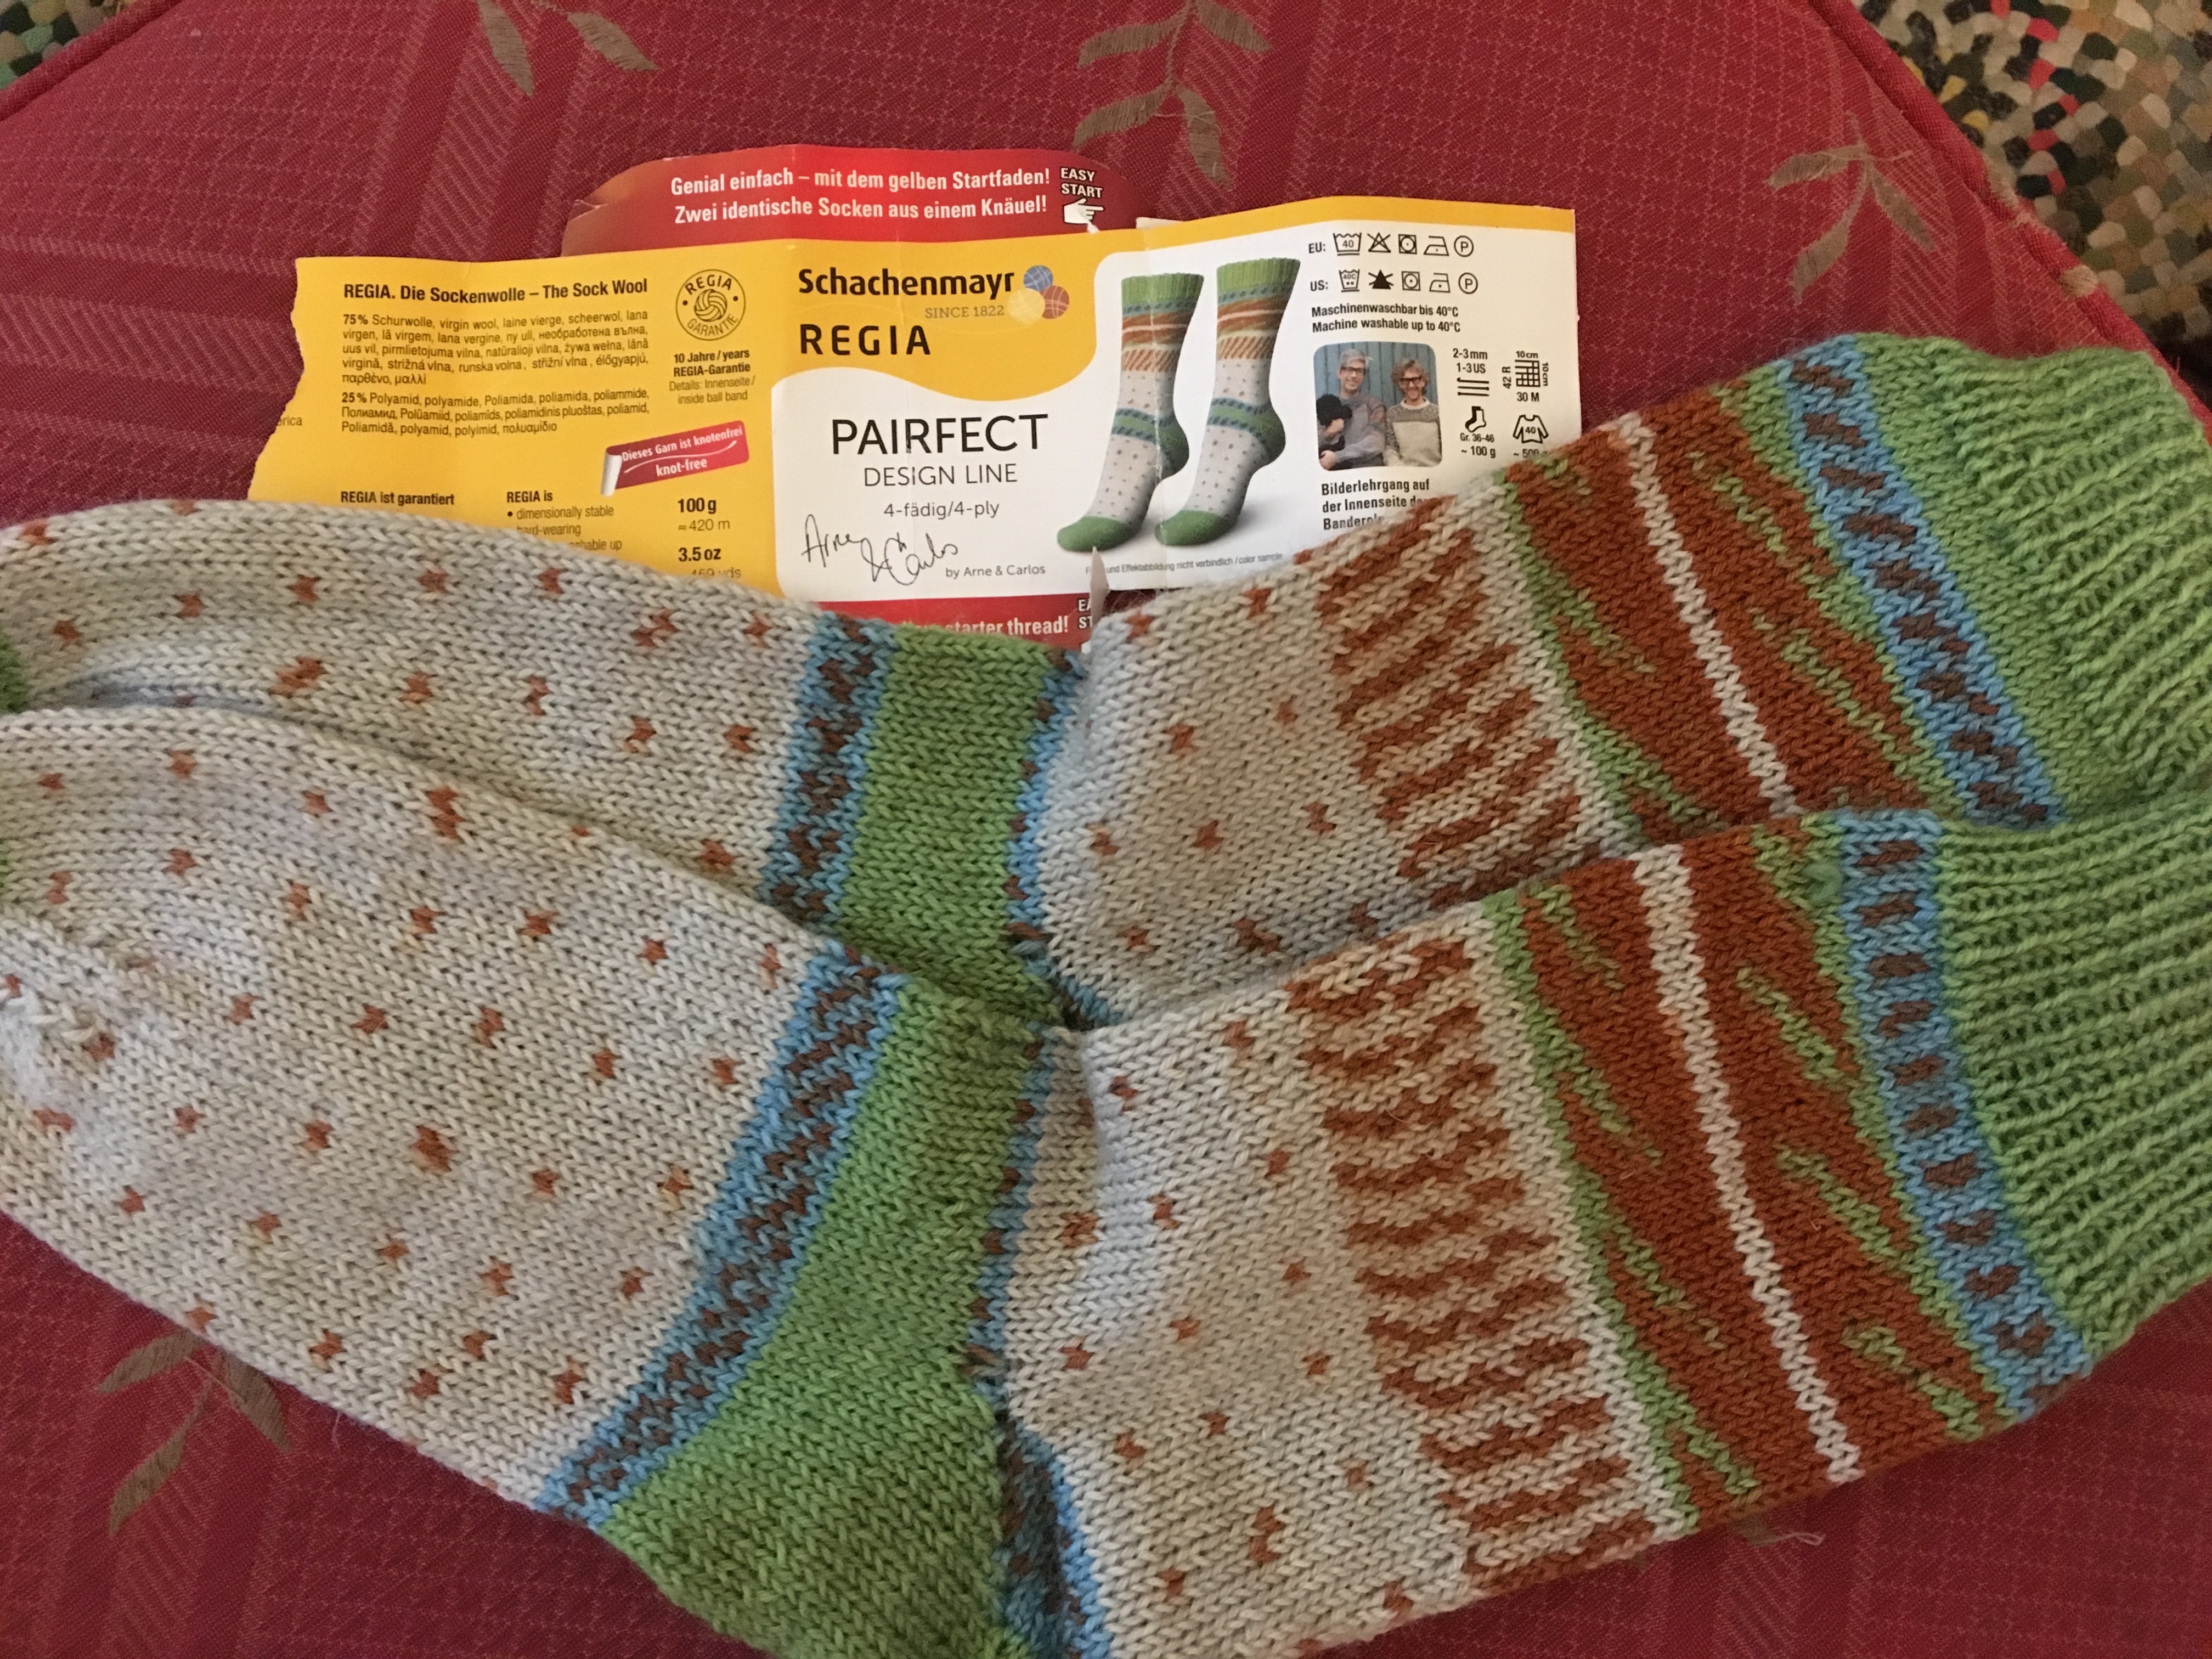 Here’s what my socks look like all finished. I hope you enjoy knitting a pair of matching socks (the easy way!)