So, I’ve been making the fingerless mittens (two patterns so far) for my order and have decided that I should try to write an entry about increases for those of you who knit … or want to learn!
The thumb gusset (or any place where you’re going to add stitches in almost any pattern) will look sooooo much better with increases that lean in the direction of the rest of the pattern. So, in the case of increasing a mitten or glove for a thumb …. since you start the increases just above the wrist (in order to have the needed number of stitches to accommodate the thumb) it ends up being the shape of a “V”. Stitches that lean to the right (on the right side) or the left (on the left side) of the “V” will blend in and seamlessly add stitches to your garment.
Enter M1r and M1L
As you knit, you’ll add the stitches to the right side of the “V” first (knitting from right to left) and that’s where you’re going to make the M1R (make one stitch leaning to the right).
Do you see the bar between the two stitches? (One stitch is knitted on the right needle and the left needle stitch is, as yet, unknit.)

The stitch to pick up
Left hand needle should pick up this stitch from the row below from the back to the front.
 Now, simply knit the stitch as normal.
For the M1L at the other side of the “V”, again you want to pick up the stitch from the row/round below …

See the purple "bar" between the yellow-y green stitches?
Pick up this stitch with the left hand needle from the front to the back.
 Knit into the back of this stitch to complete the M1l (make one left-leaning).
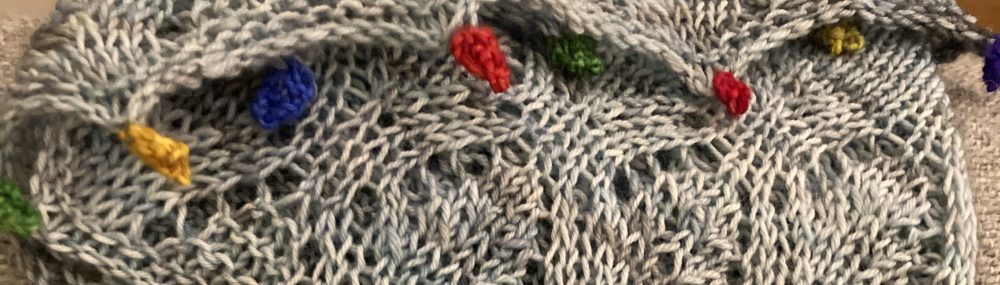
Ta Da! You’ve got it! Two stitches increased … one leaning to the right and one to the left so that the thumb gusset is pretty! See?


Practice this … practice makes perfect!
Gone knitting!
