
As I was seaming the Just So Bag, I looked at my bag and I looked at the pictures on the pattern and realized that the pattern had a different “hem line” at the bottom than the regular seam that I would have sewn. Mine was just a typical seam connecting two stockinette pieces and was nearly invisible. Pretty but not striking. The problem was that I liked theirs better.
So, what’s a knitter to do when the directions don’t give you the information on how to make a project look exactly like the one in the pictures on the pattern?
I fiddled with it for awhile and in the end, I am very happy with it. Here’s what I did. (Sorry, I didn’t take a photograph of the seam I didn’t like but it was smooth and I liked her piping-like seam that bumped out a little bit.
You’re going to start with the bottom strip and one of the side pieces both placed on a table with right sides facing up. (You can do it on your lap, too, if you want.) Grab the first stitch on the bottom strip as you normally would seam together two pieces of stockinette (grabbing the “v”). This is all you’re going to do on the bottom piece all the way along the seam. Easy peasy.
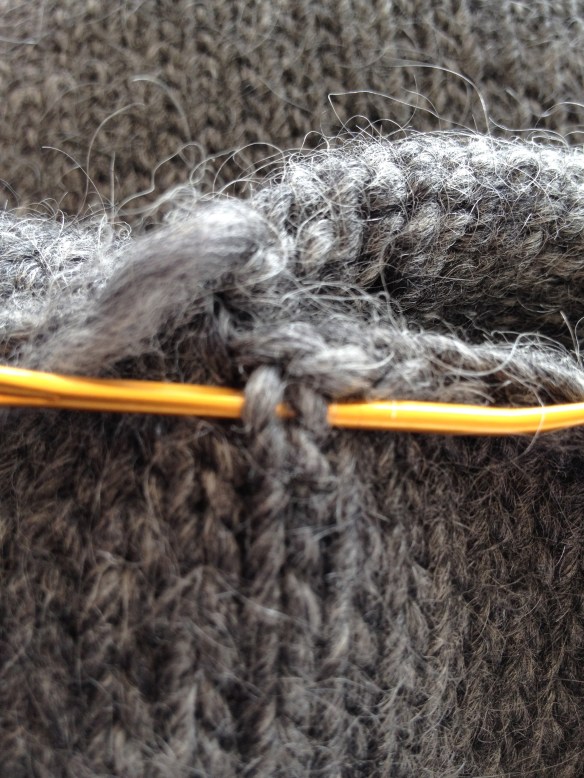
On the bottom strip, seam as normal, using the inverted “v” of the first row of stitches.
The “side” piece is where we’re going to drift away from “normal” seaming in order to get the little “piping” effect like on a sewn cushion. You are going to turn sew into the wrong side of the fabric. Inserting your needle into the left side of the first row of purl bumps.
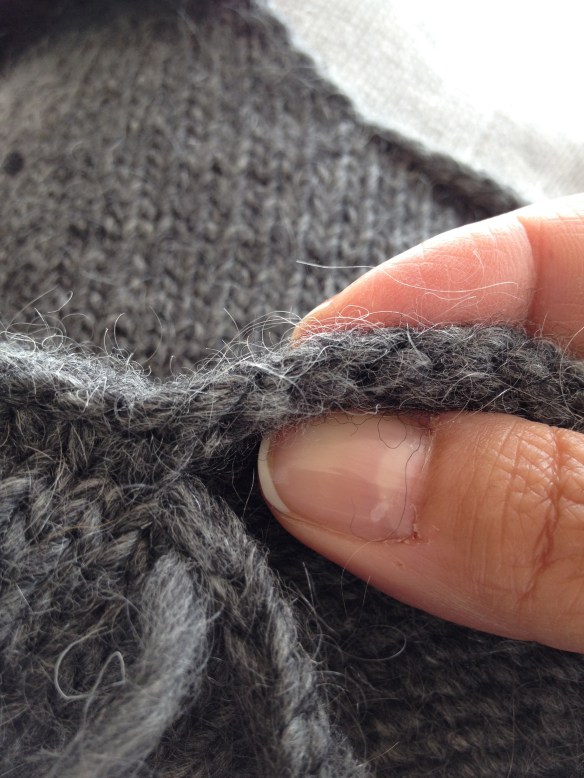
One of the two side pieces. See the row of purl bumps just under the cast-on edge?
You’re going to sew up on the left side like this.
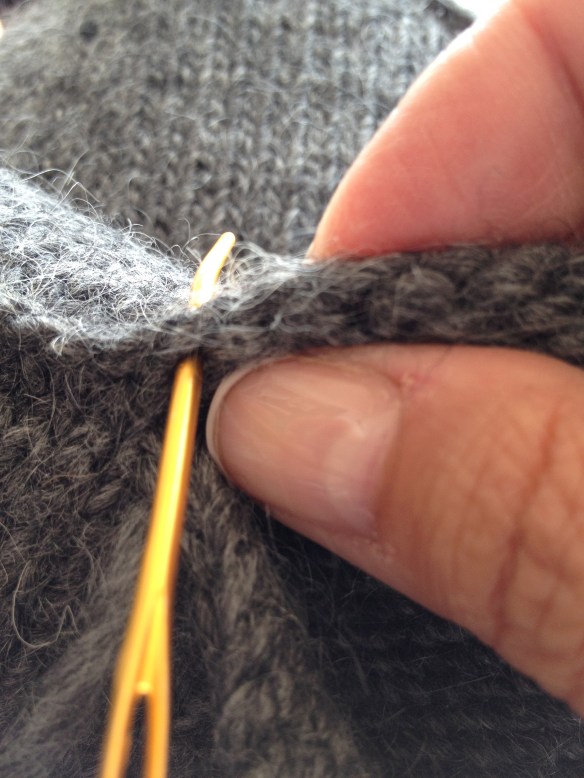
Sew up on the left side of the purl bump.
And then just come down on the right side of the purl bump and then you’ll grab the “v” in the next stitch of the bottom strip. Repeat this process all the way across the bottom edge of your bag. (And then you have one more seam to sew on the other side… practice!)
Here’s what my bottom edge looks like. I am quite pleased with it!
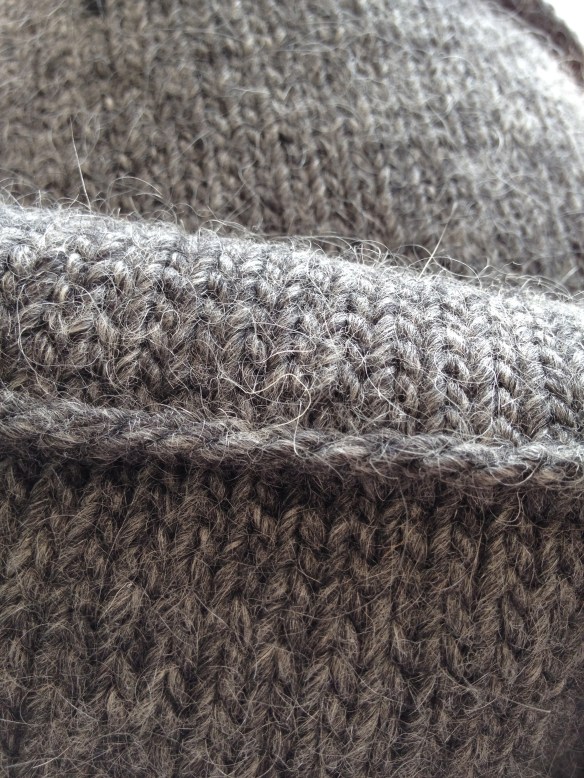
Pretty “piping”!
Gone knitting.
