Blocking Nancy’s Vest on a Beautiful Sunday

Sunset. Sunday, January 14, 2024

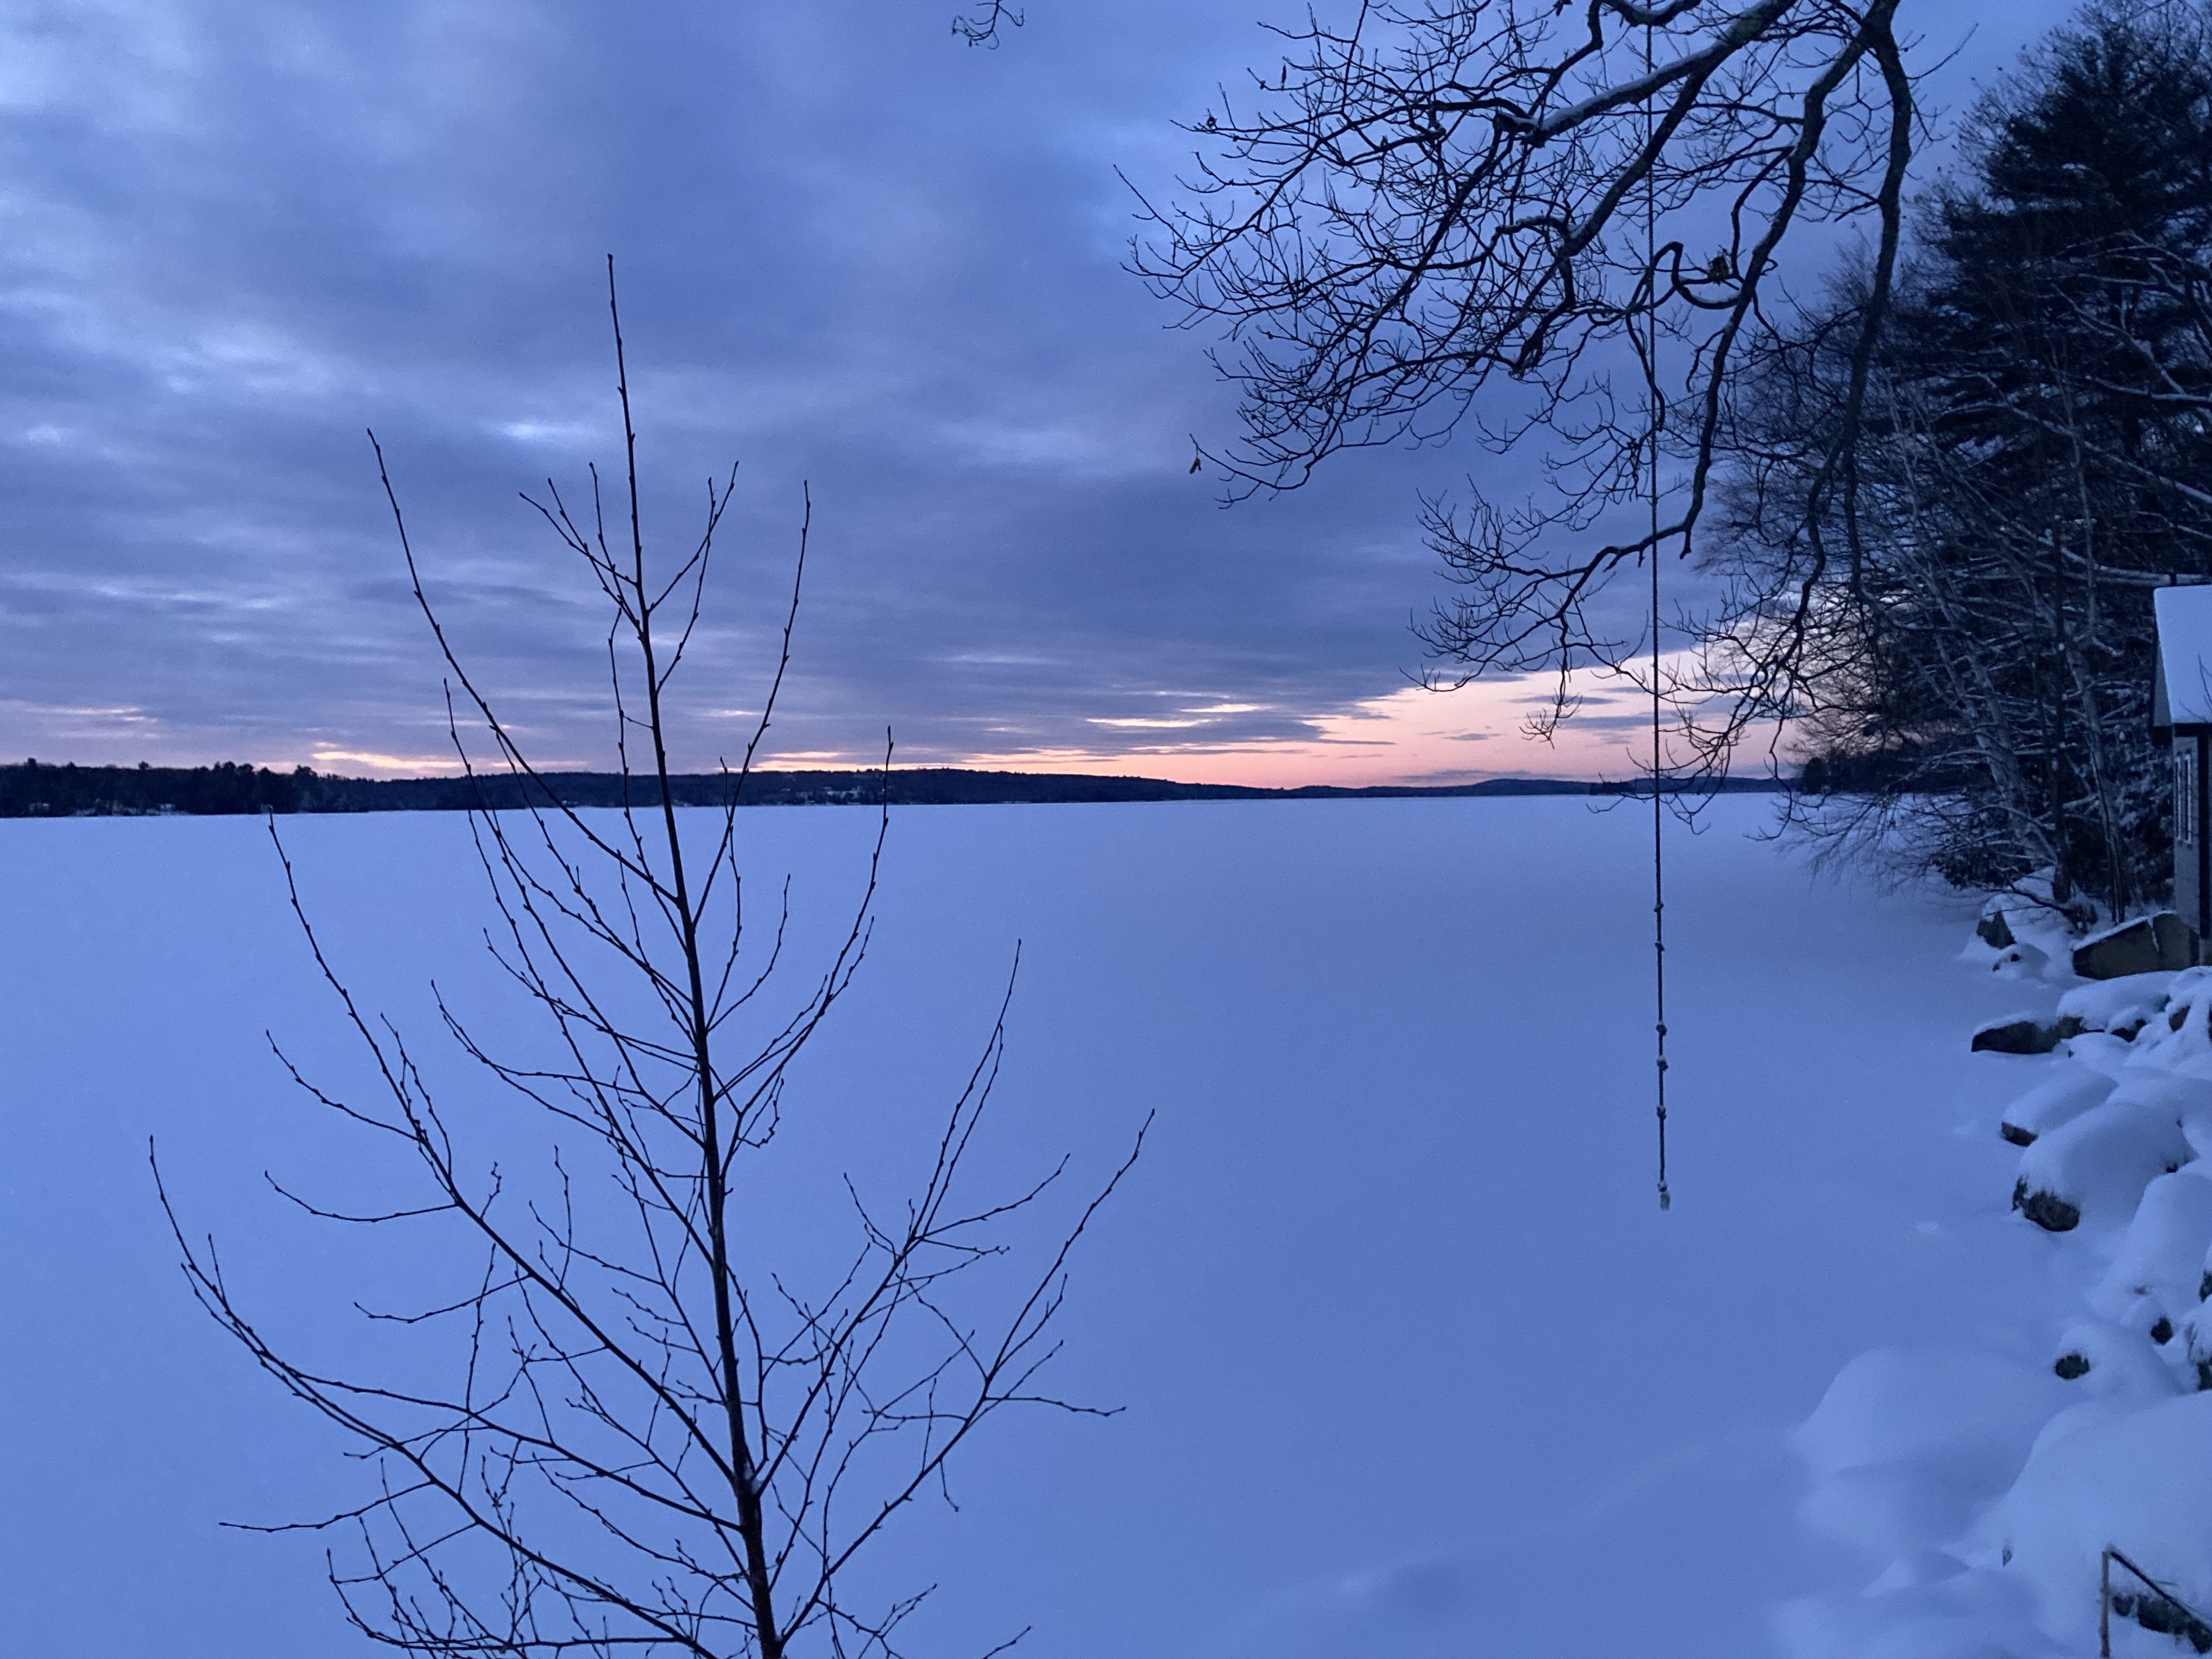
As the sun sets on this weekend, we’re enjoying some quiet time at home. We went into town to pick up groceries that we’ve not had time to do since we’ve been traveling and living around a couple of crazy winter storms. But today we got it done and we can eat for a week or two before we have to grocery shop again. I pulled some bananas out of the freezer as I was organizing and will make some banana nut muffins in the morning and maybe some granola, too. You know it’s been a crazy time when we run out of granola!

Nancy’s Vest by Carol Sunday

My Nancy’s Vest is blocked. I’m really excited to be able to wear this vest this week when I go to work. It’s been an interesting challenge because it looks so simple but it has a few techniques that were new and several directions at once so I needed to pay close attention. Despite being warned, I didn’t read ahead in the pattern and neglected to stop and divide for the front and back pieces (and I had to frog back 3 inches of stockinette) and there were a couple of places where I didn’t decrease on the front parts. Fortunately I was paying closer attention and didn’t have to frog back quite so far.

Regardless, I really enjoyed the process and I loved learning a couple of new tricks. The button bands were knit as you go as part of the garment and that was fun. I am eager to see how the button holes work. I used the ones in the pattern but I wasn’t sure about them. I also liked the cabled decreases, they make for nearly invisible shaping on the body of the vest.

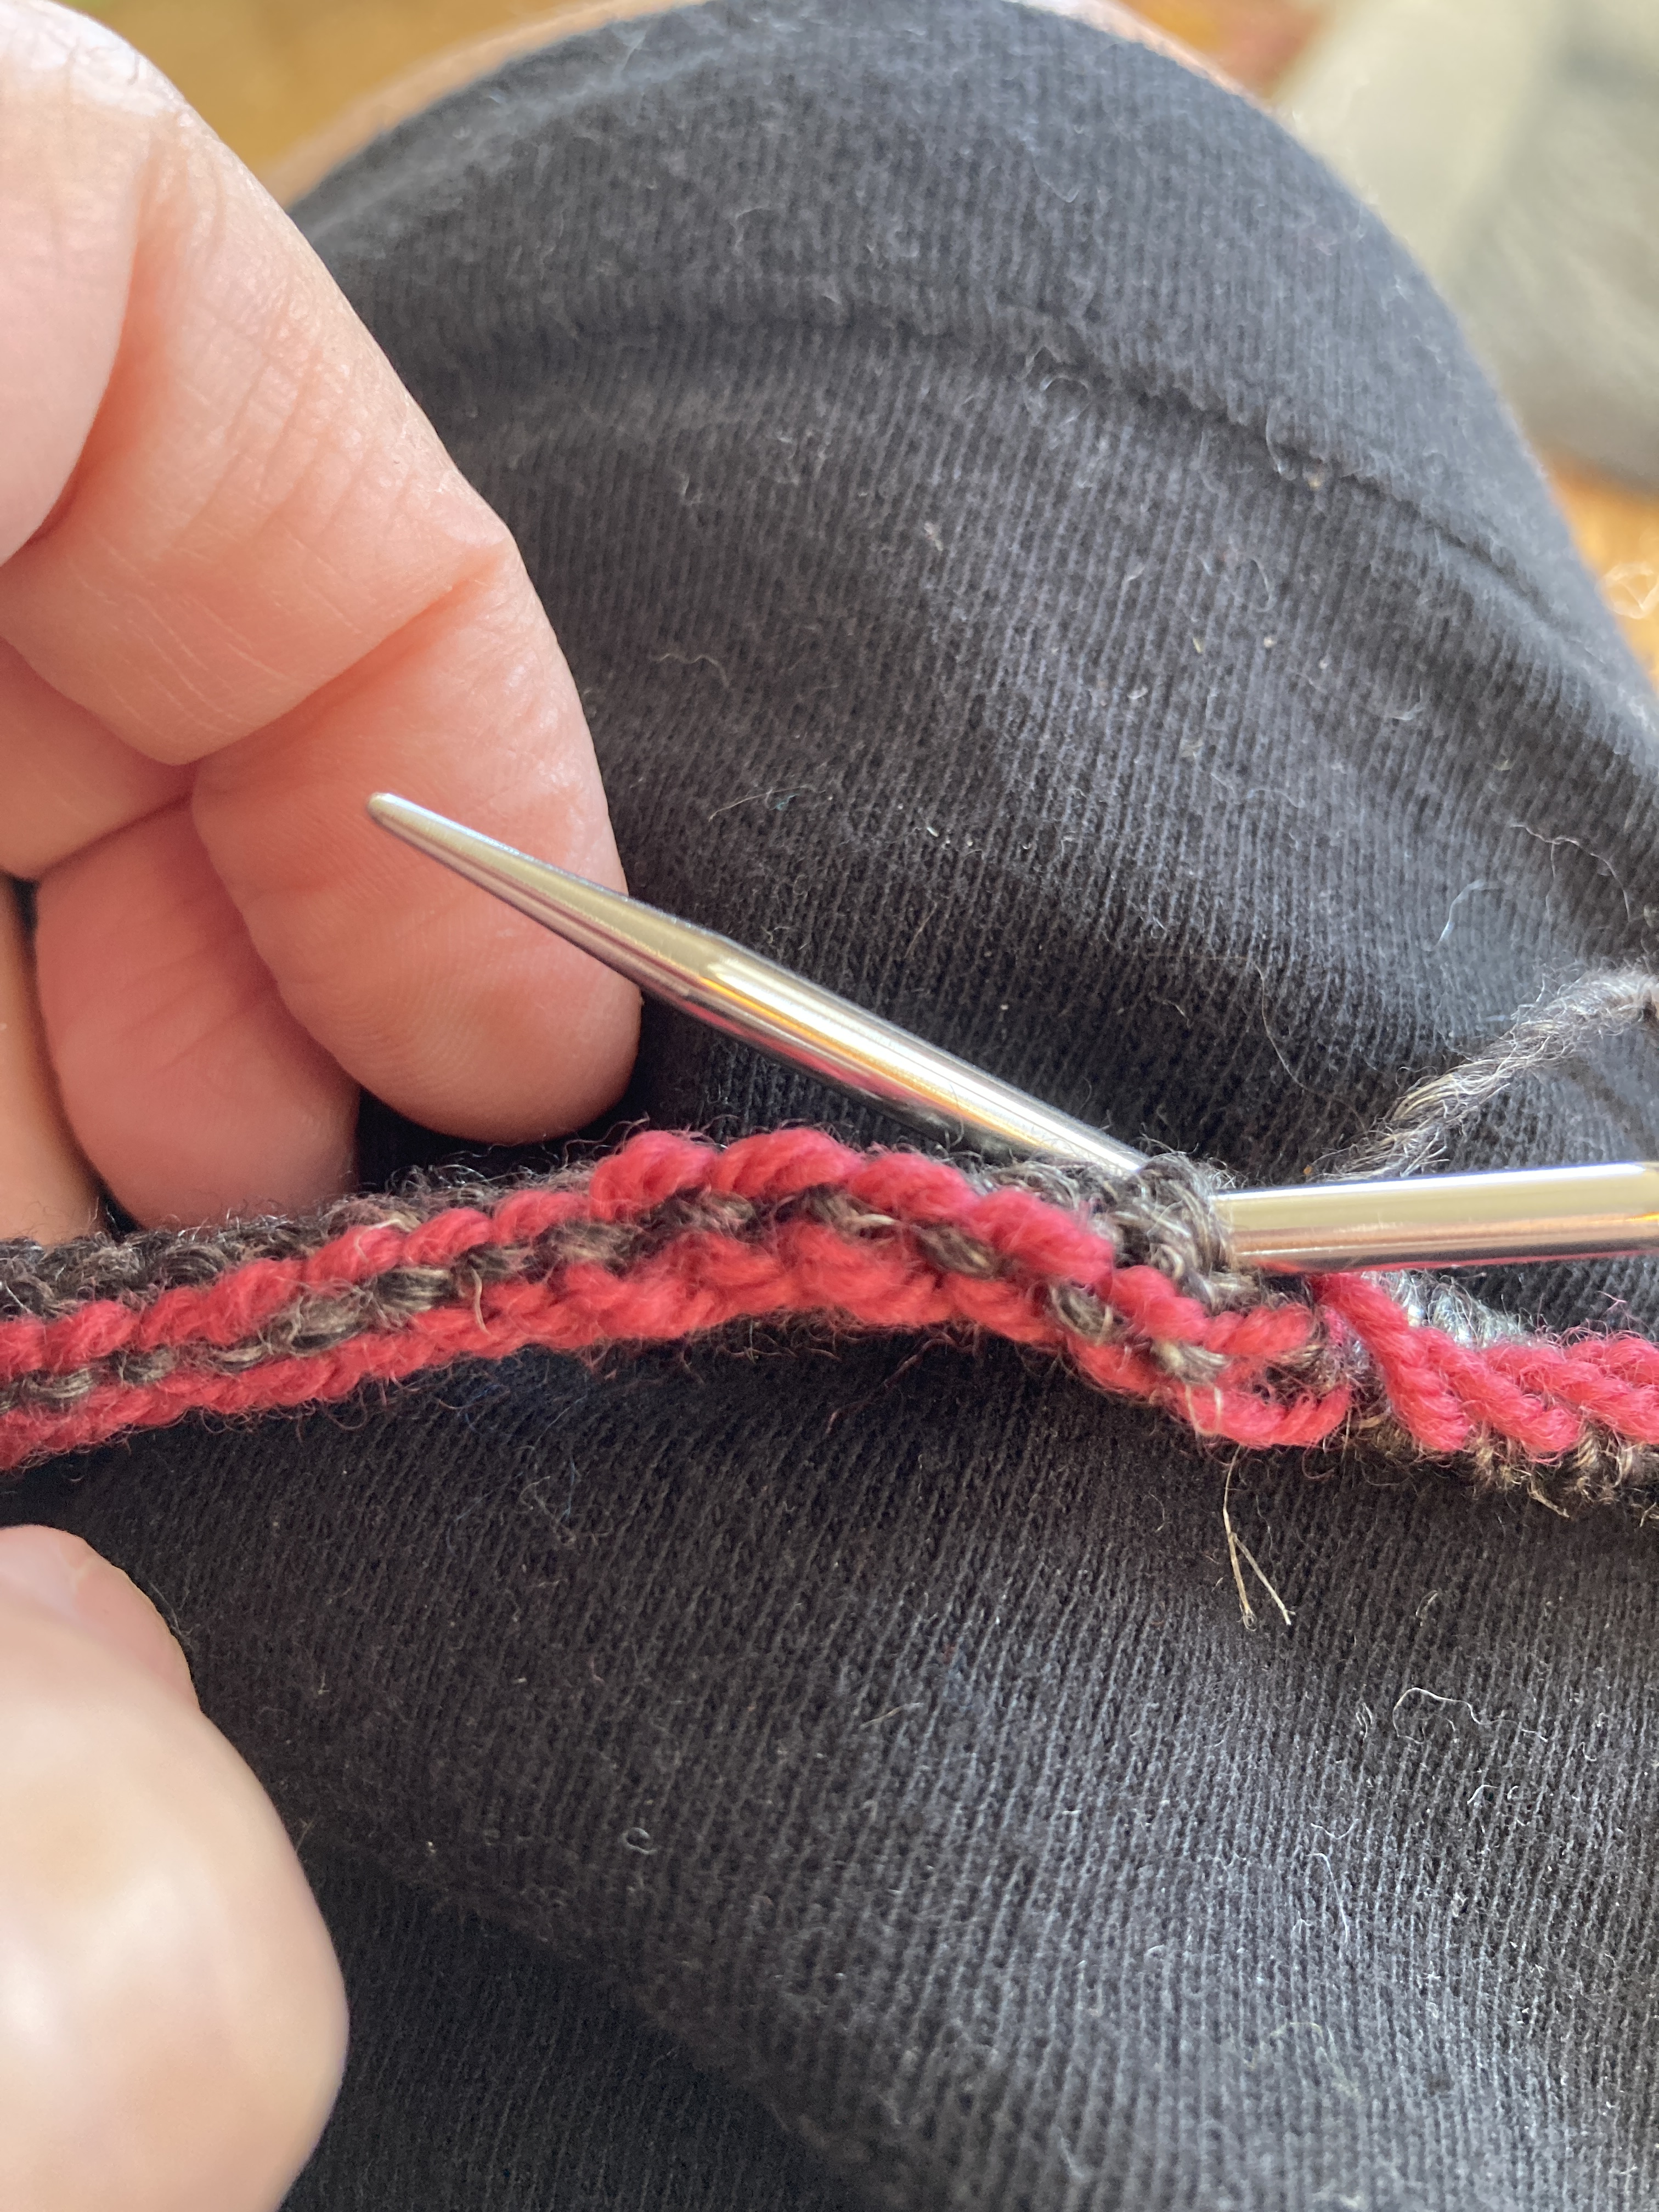
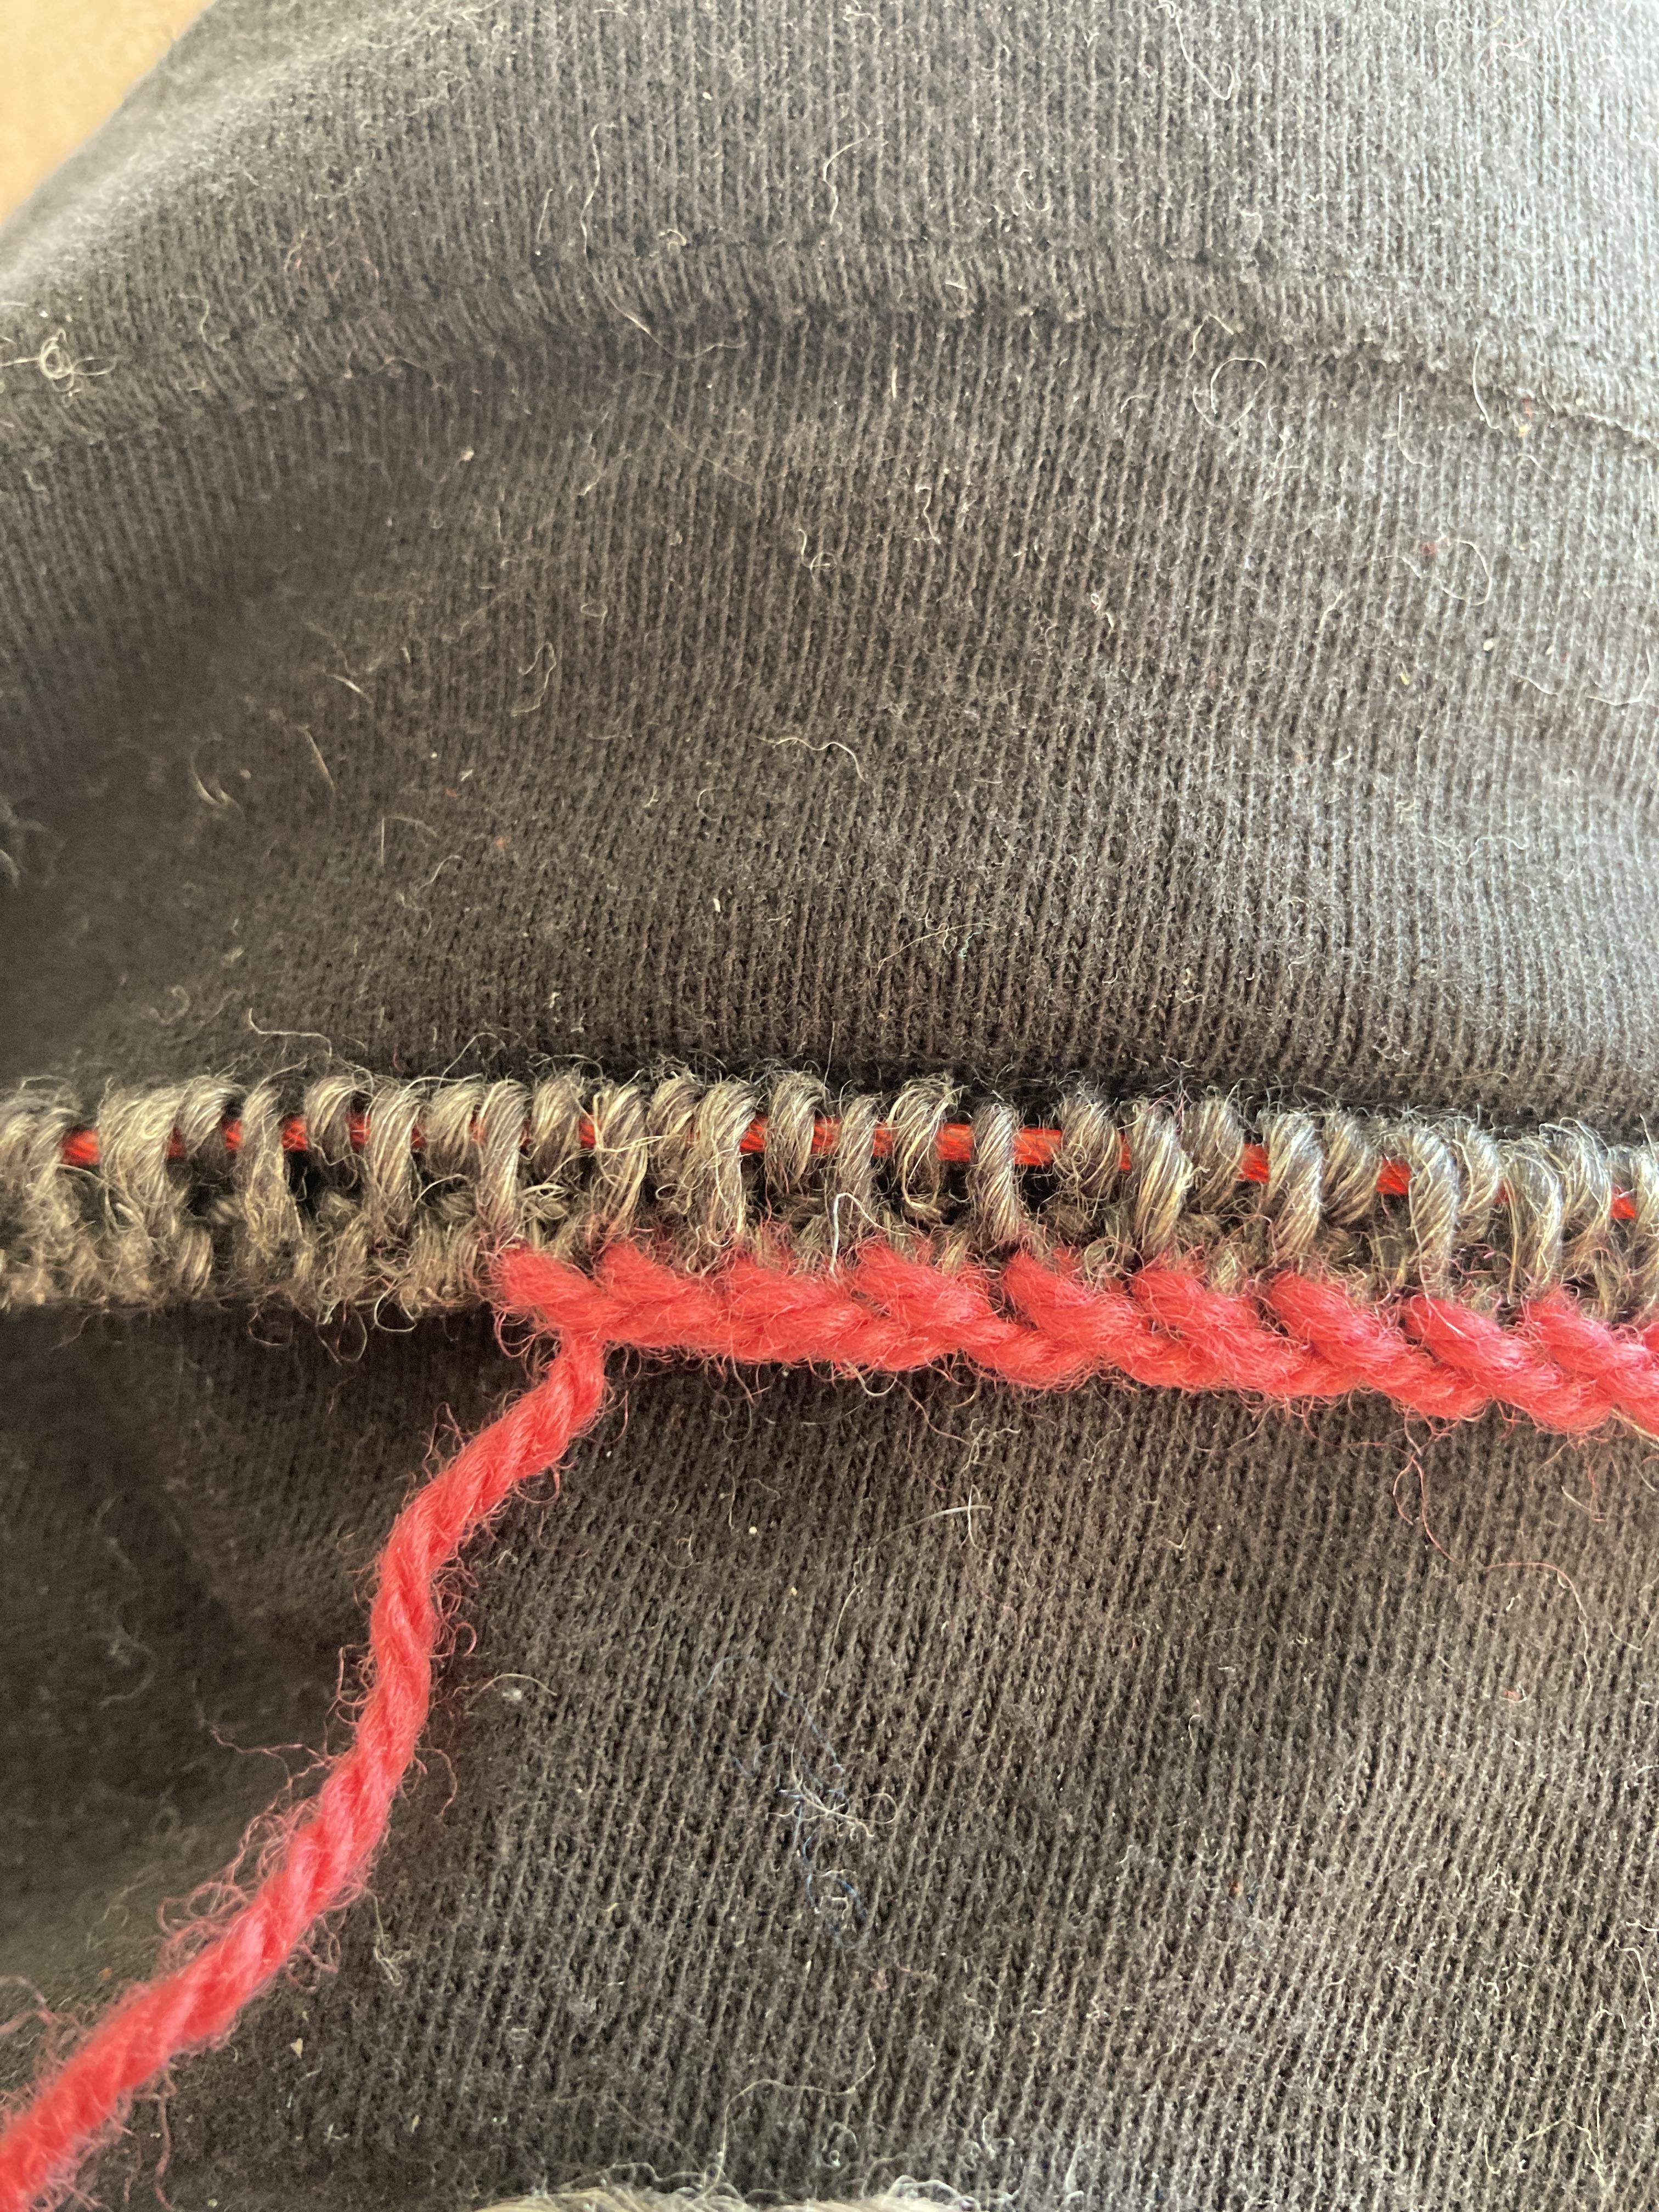
When I got to seaming the shoulders, I had the back bound off and live stitches on the front left and right. The directions said to graft them together. This made my head spin and there was no tutorial for doing this. I’ve grafted plenty of stitches together when there are live stitches on both sides but this isn’t the case here. And THEN she offered an option of a 3 needle bind off. Again, I’ve done a lot of these but they entail having live stitches on the two sides being knitted together and bound off. So, I thought about it for a few minutes and decided to unpick the bound off back stitches and return them to the needles and then I did a three needle bind off at the first shoulder, bound off the stitches across the back of the neck and did a three-needle bind off at the second shoulder. It seems to have worked and it will add some structure to the shoulder.

The blocking happens now, before the finishing of the back of the collar. I will have to add a little bit of length to the collar pieces before grafting them together and attaching them to the back of the neck. That’s the only seaming in the whole garment! I’ll weave in the ends and then crochet around a couple of spots and it’ll be finished and ready to wear.

On Friday I hope my friend/co-worker and I will both be wearing our Nancy’s Vests at work. We had our own little KAL that we didn’t plan but kind of just happened. It’s funny that we are both finishing at about the same time considering.

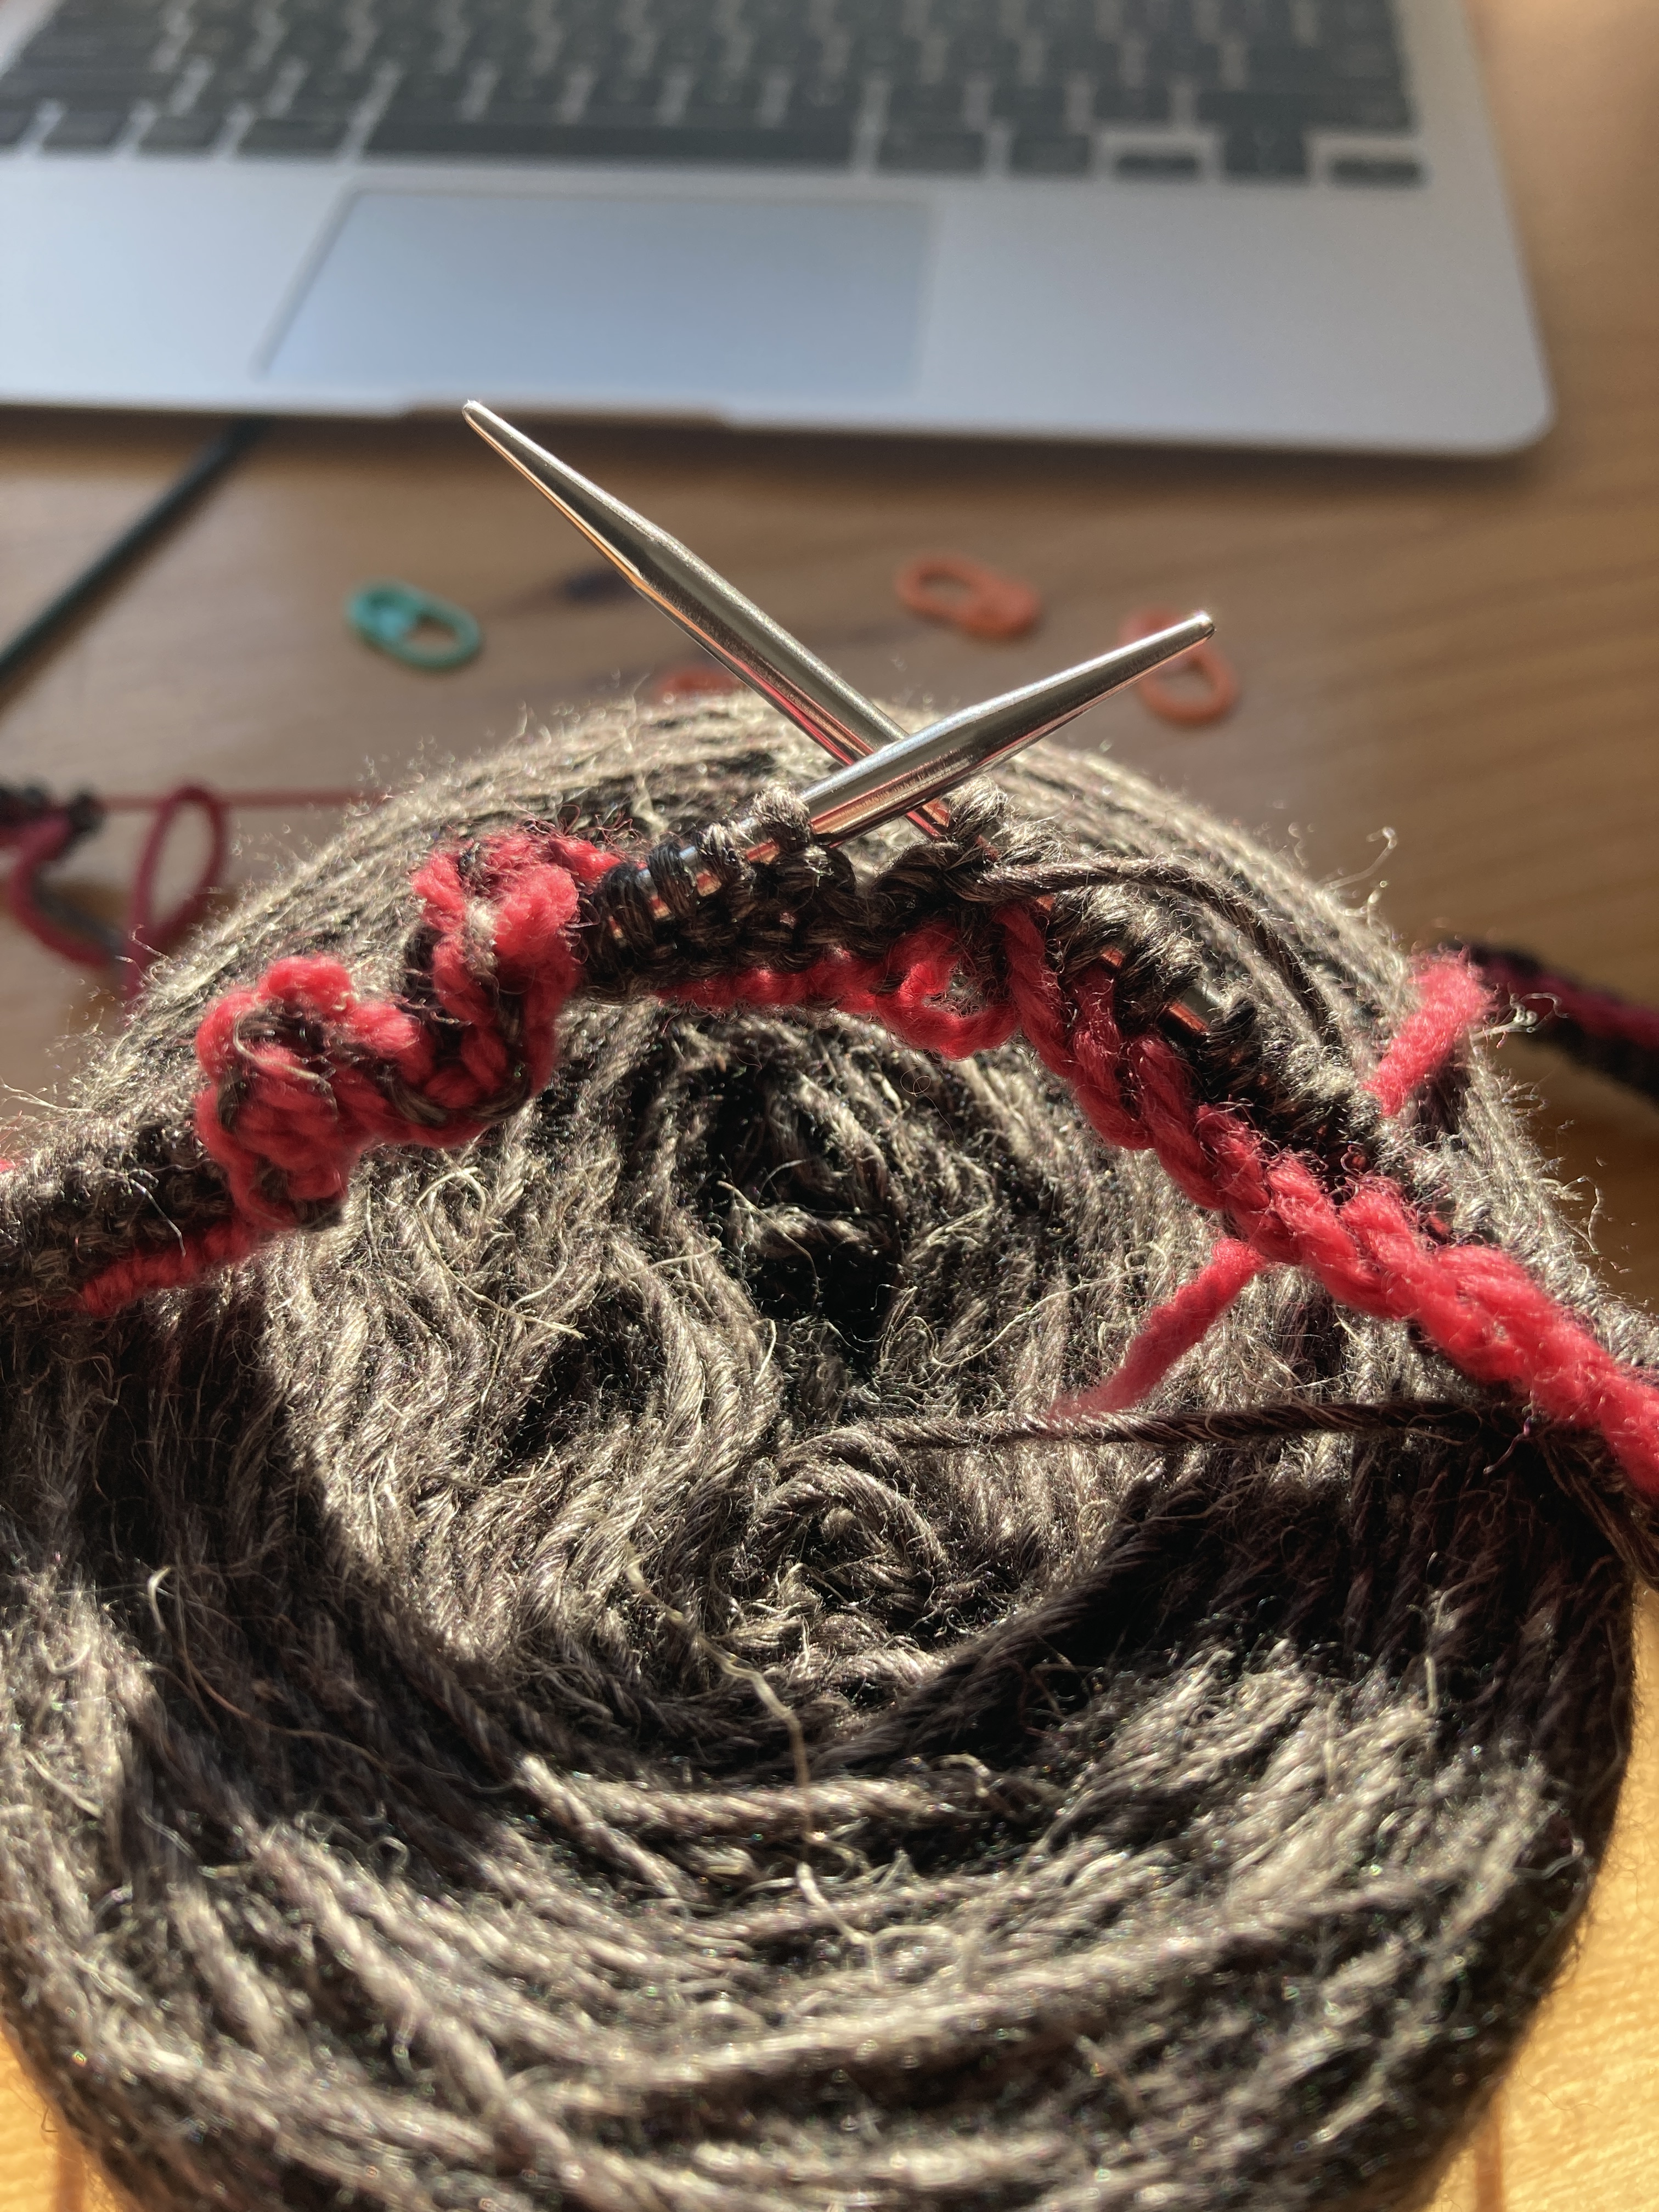
I’m going to give myself a bit of a break from finishing until my vest dries and tonight I’m going to knit up a pair of fingerless mitts with a hank of deeply stashed Malabrigo Rios. I don’t know what the colorway is because the label appears to have left the building, but it’s a pretty blue colorway. These will knit up quickly and will be satisfying after the longer projects. After that, I’ll be frogging back one sleeve on my Norwegian sweater that is SO close to being done. I’m going to attempt to decrease more rapidly and then knit the colorwork and cuff (and then try to copy what I did on the first sleeve with the second one. That’s all I have left to do and that sweater will also be finished. I sure do hope after all this that I will be able to wear the sweater. My allergies seem to be getting worse with some wool. I hope the natural wools will be exempt from allergies. I can wear Patagonia Organic Merino and I hope this Norwegian wool will be free of whatever makes me sneeze!

Gone knitting.

Final pictures will be posted on my Instagram feed @queenbeeknits and lindar on my Ravelry project page.

Nancy’s Vest – An Easy Challenge

Monday, January 8, 2024

The lake was covered with untouched snow this morning but there was no visible sunrise. Clouds were thick, there was only a glimpse of pink at the north end of the lake. (It did get better later in the day when the sun was shining briliantly.

I’ve wanted to write about my Nancy’s Vest. My co-worker friend, Glenda, and I are both knitting it so I’ve had a bit of “heads up” which has been helpful. BUT even with her help, I’ve had to stop and frog back three inches of stockinette stitches because I forgot that I was warned to read ahead. Ha! Ha! That’ll show me. Once again, my knitting is keeping me humble and even simple knitting projects can be a challenge.

Nancy’s Vest is by Carol Sunday. It’s knit in one piece from the bottom up and the only finishing is at the shoulders. I chose Manos del Uruguay’s Milo yarn, a sport weight blend of merino and linen (380 yards to 100 grams). I am enjoying the yarn. It’s not at all splitty and it’s very soft. Every once in a while it does get sticky but that’s likely the linen strands and a little bit of vegetable matter. I bought the Manchester colorway, a brownish gray or a grayish brown color. A dark neutral and one that I think I will wear a lot. The vest is a little bit cropped and I’ll likely wear it over my white blouses with slacks (to work) and maybe over a dress.

My first “mistake” was due to not reading ahead. I’d made a lot of progress a couple of Fridays ago at my knitting class. Almost all of it had to be frogged because I forgot to split the vest into two front sides and a back after 12 1/2 inches. Oops.

Today I finished the left front side.

The construction is fun and keeps it interesting with some different techniques. The edging is knitted at the same time as knitting the vest. There are eight stitches for the button placket and button hole placket and they’re knitted at the same time as the vest. The button holes are a different technique that i’ve not done before. Basically, a one-row button hole, slipping stitches and binding them off and then turning your work to (cable) cast on new stitches and close the button hole. Once at the armpits, decreases on either side of the front are made and you really have to be careful here to read ahead. I nearly made a second big mistake, but caught it in time to call it a minor mistake and I only had to frog a few rows. I’ve used my knitCompanion app to keep track of all the different decreases and row counts but I could also see the wisdom of creating a chart of “changes” to be made on each row. I marked each of the decreases on the neck side with a marker so that I could easily count them. It’s worked well (and my stitch count has been spot on!

You are asked to run a “life line” to mark the garment when you reach the armpits. I use dental floss … not peppermint … because it’s slippery and thin and almost always stands apart from the yarn. It makes it really easy to measure the length of the front piece. Great bit of instruction.

I’m now working on the right front side and the second one is going more quickly than the first. I kept track of exactly where I left off when I separated the three sections in the notes section of knitCompanion so that I knew when I attached the yarn to work on the right side I would know it was one WS row before I needed to decrease on the neck edge. Once again, I forgot that I had immediate decreases on the arm hole side, too, and had to frog back one row plus enough stitches to decrease there. That was a simple “fix” thank goodness.

The cable decrease (left and right) are a fun and new-to-me decrease. It’s very attractive on the garment, too. I like it. I’m at the point on the right front where I have arm hole side decreases every four rows and neck side decreases every six rows so I’m being careful to count my rows and mark them. So far so good. I’d love to finish the right side today or tomorrow so I can get to work on the back after work on Thursday.

I’ll report more as I make more progress but for now …

Gone knitting.

Beginnings #wovember

November 1, 2023

Today is the first of November! Yikes! That makes us 5/6ths of the way through the year 2023. It was a clear cold morning here on the lake and the sky was beautiful. Looking out our bedroom window is always a treat.

I’m going to participate (or at least try) in Wovember which begins today. The month belongs to recognizing wool as a premium textile that comes directly from sheep (and does not harm the sheep to have it removed.) I love wool and choose to knit with a natural wool when possible or practical.

Today I cast on a new project because I’ve got a few that are smaller projects and I need a big one to be accomplished this month. (I’ll be reaching out to a friend to ask her thoughts on how to finish the sleeve on my Favorite genser, too. I’d love to have that off my list and I’m so close!) I’m knitting Nancy’s Vest by Carol Sunday (a paid pattern on Ravelry.) I’ve been wanting a more traditional button-down vest and I think this one will be a perfect one.

This is the second cast on (and the proper one!) I followed Carol’s tutorial for a Tubular Cast On which tells me to cast on half the number of stitches that I need with a backward loop cast on (way easier than a long-tail cast on when you’re casting on 351 stitches) using a contrasting color of yarn. Since I need an odd number, I will round UP to 176 (pink yarn). I want a stretchy cast on because it’s the bottom of my vest and so I started by knitting the right side and continuing in stockinette stitch for two rows. On the fourth row, wrong side, I purl 1 and then bring the yarn forward to knit into the back of the purl bump in the first row knitted with my working yarn (gray). I’ve taken some photos and I hope they help …

Photo 1 – the first stitch on the left hand needle will be purled … the normal way … and then bring the yarn to the back. The stitches on the right needle have already been worked and I can see the purl bumps from the first knitted row in grey between the pink “lines”.

Photo 2 – We are going to knit into the back of the stitch that is the first round of gray stitches. We will pick it up on the left needle going through the stitch from top to bottom. The gray stitch we are after is found “between” the pink lines, so to speak.

Photo 3 – Picking up the gray stitch from the top to bottom on the left-hand needle and knit it through the back loop. Bring the yarn to the front.

Photo 4 – I’ve knit through the back loop of the picked up stitch. You can see the stitches we’re after (between the pink yarn “rows” really well here. They’re not difficult to pick up but it is a little fiddly.

Photo 5 – Once you work across the row as described above, you remove the pink yarn. I used my blunt tipped sewing needle to grab the pink stitches from the left side to the right side one by one. Another fiddly step but it’s not difficult. Slow and steady wins the race. Note: this is the wrong side of the work.

Now I just have to knit a couple of inches of 1×1 ribbing before I get to the body of the vest.

I’ll post more photos of the finished ribbing when I have a little bit to photograph. The bottom of the ribbing, though, looks like it just started out of nowhere. Lovely!

I’m knitting this vest in Manos del Uruguay’s Milo (65% merino wool, 35% linen). It comes in a 100g hank with 380 yards making it a sport weight. I’m using a US4 needle for the ribbing. Check out my progress on my Ravelry project page. I’m Lindar on Ravelry.

Gone knitting.