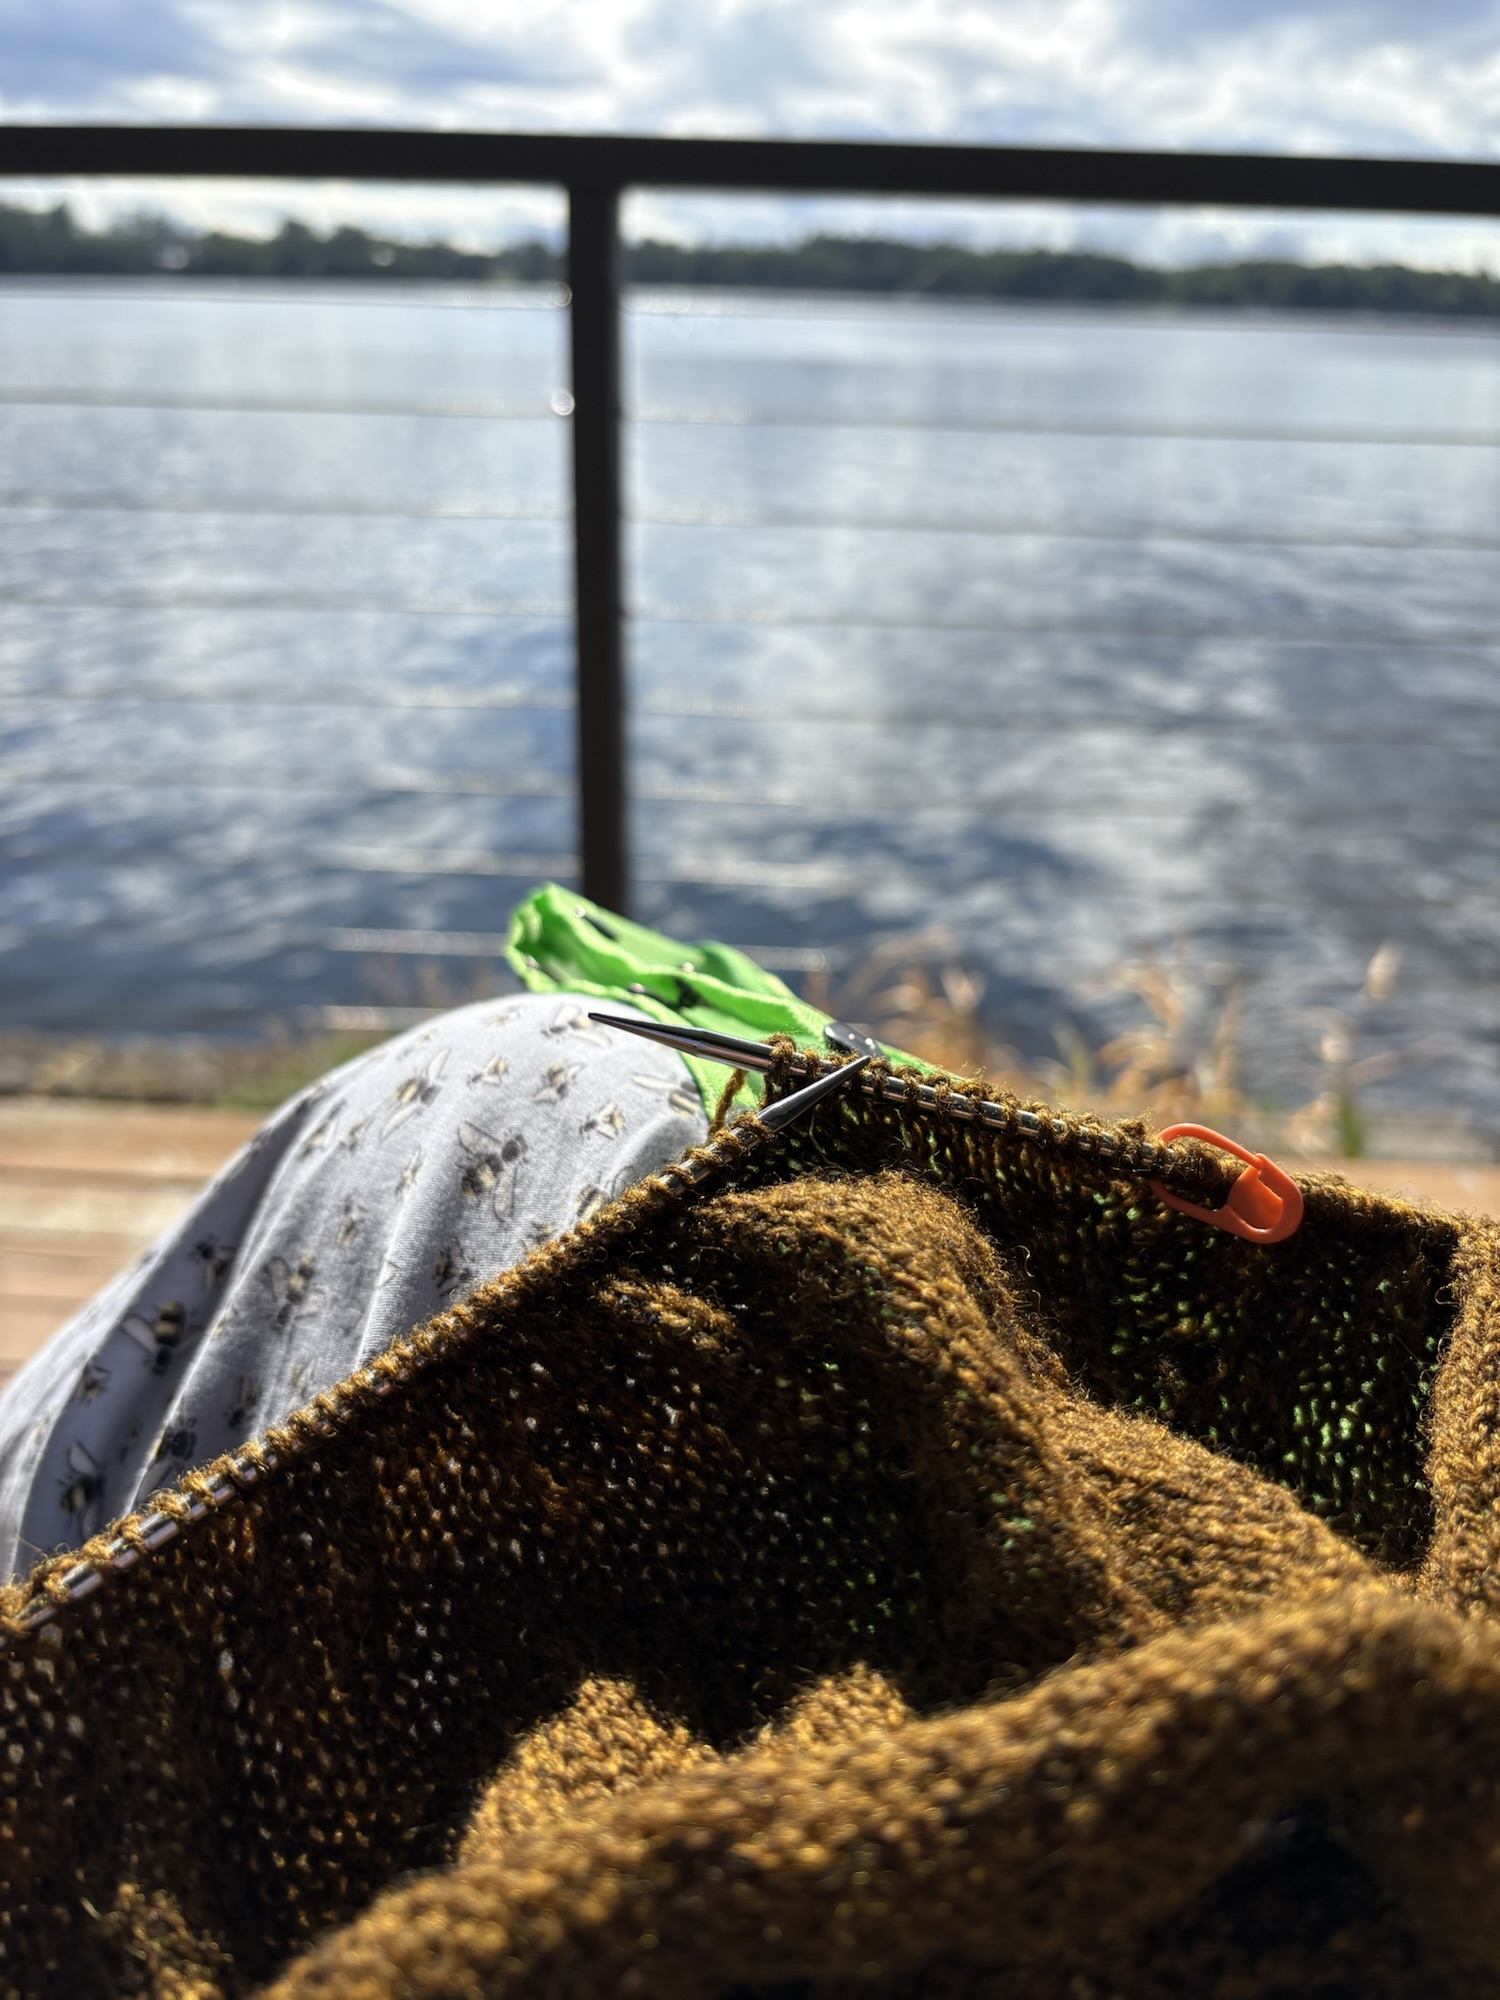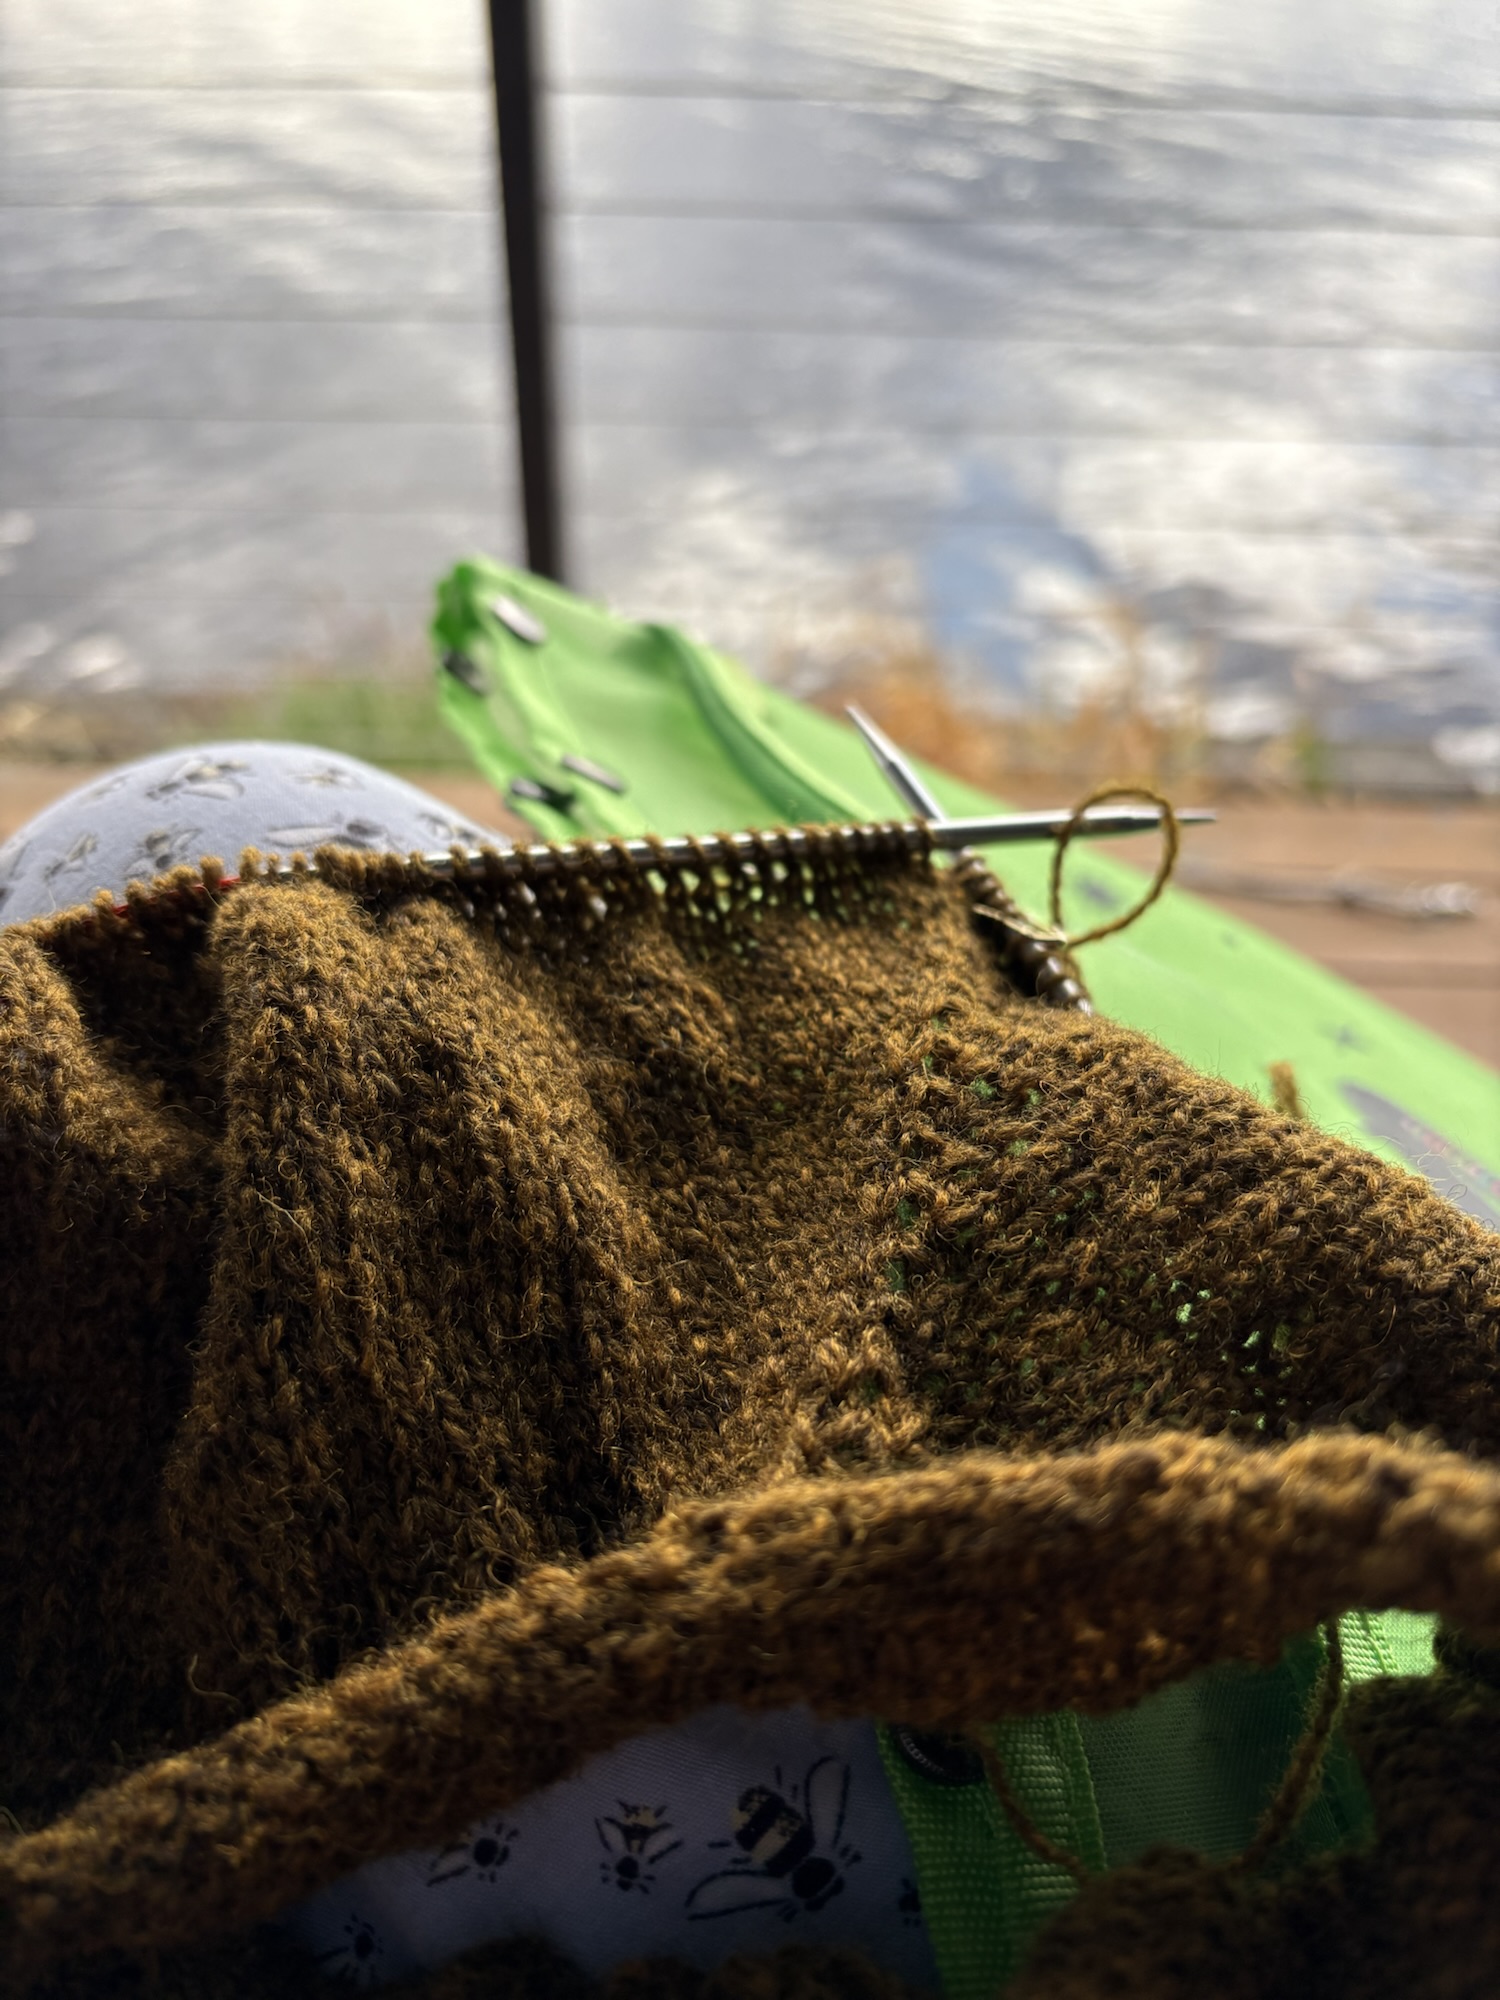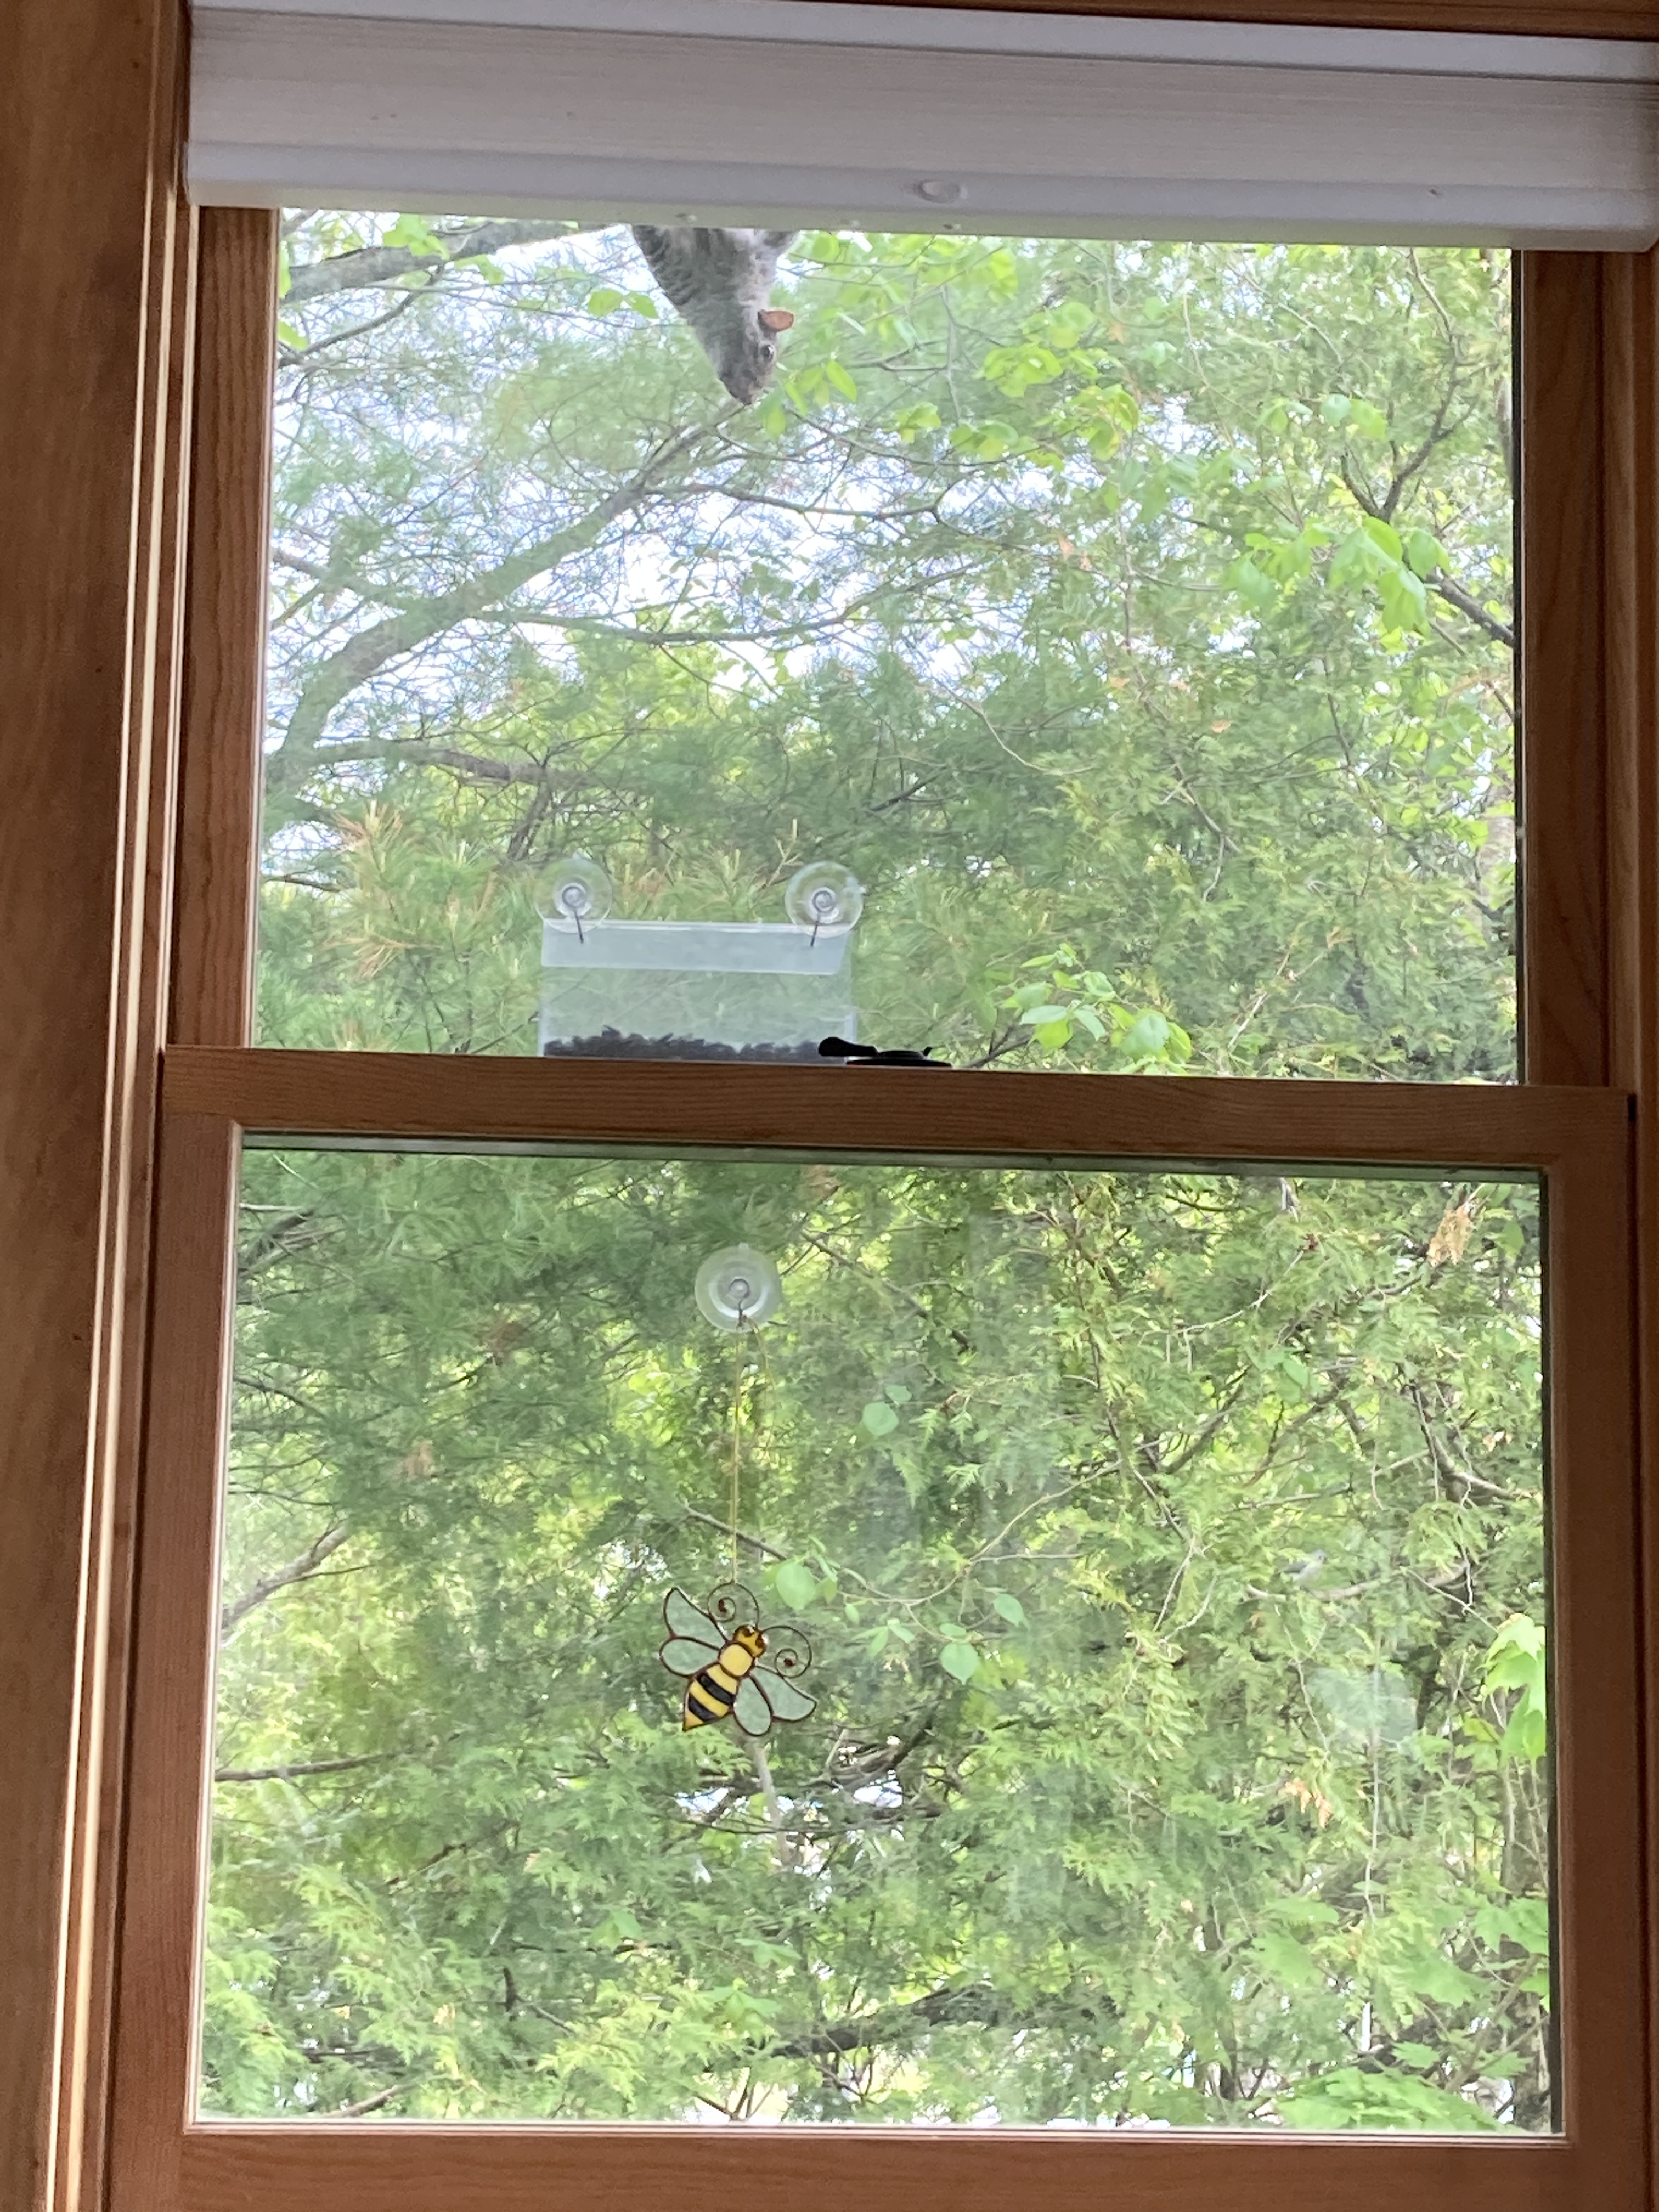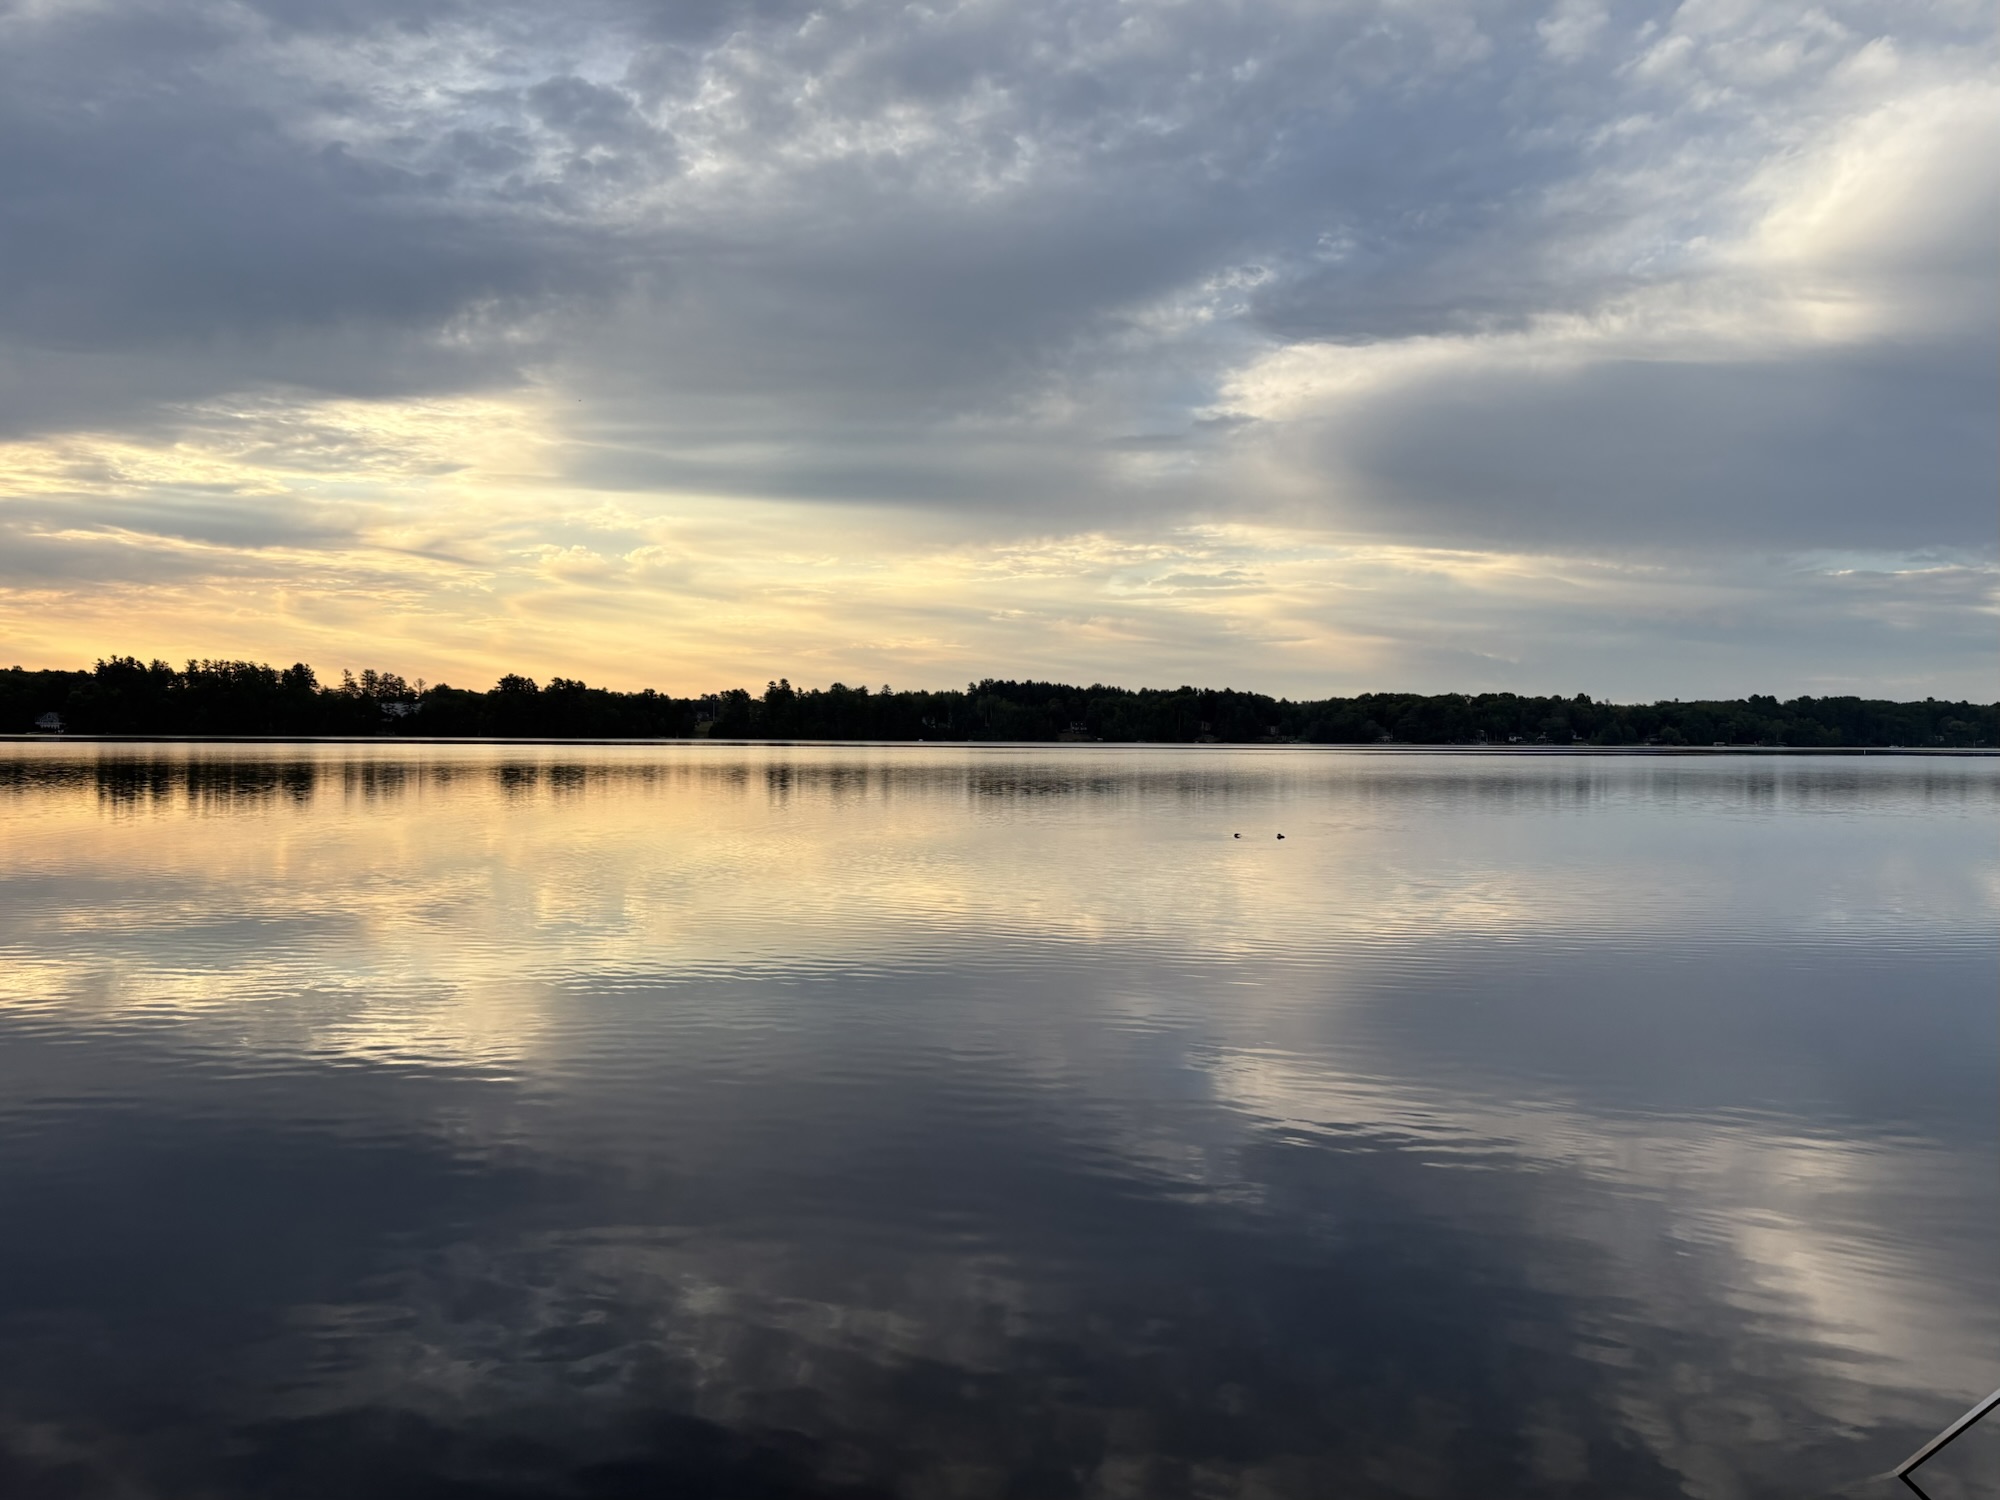
We got up early this morning and spent a good two hours watching the lake. Highlighted by the baby loon and his/her parent feeding right in front of the house. The lake was totally smooth for a time. And it was so quiet. A breath of fresh air after a busy summer and a busy Labor Day weekend.
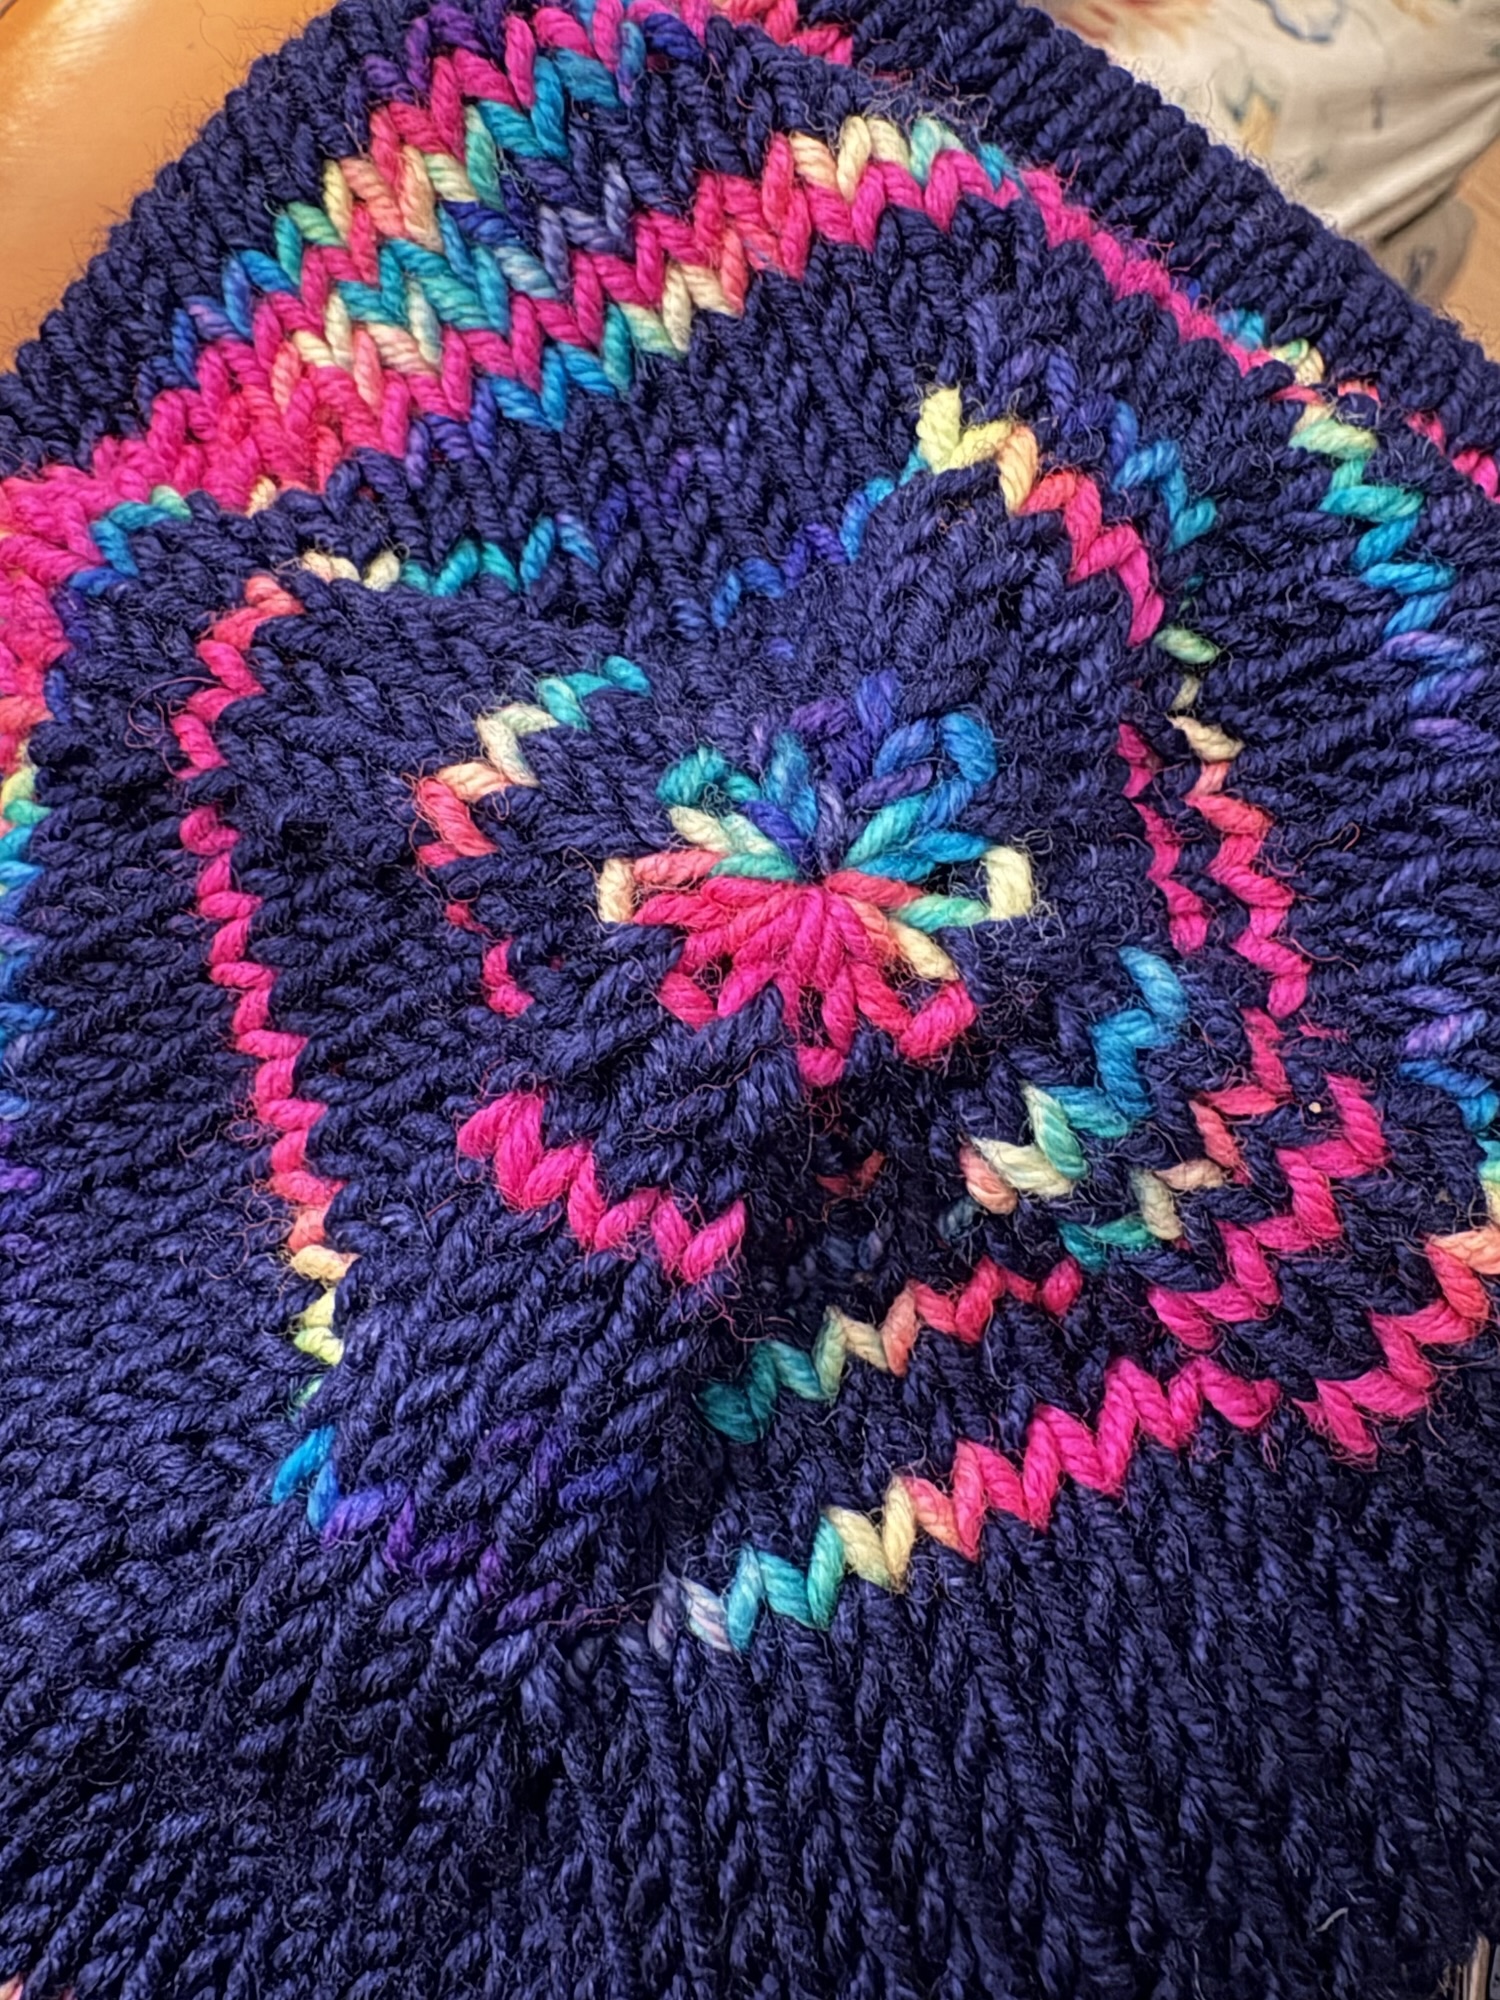
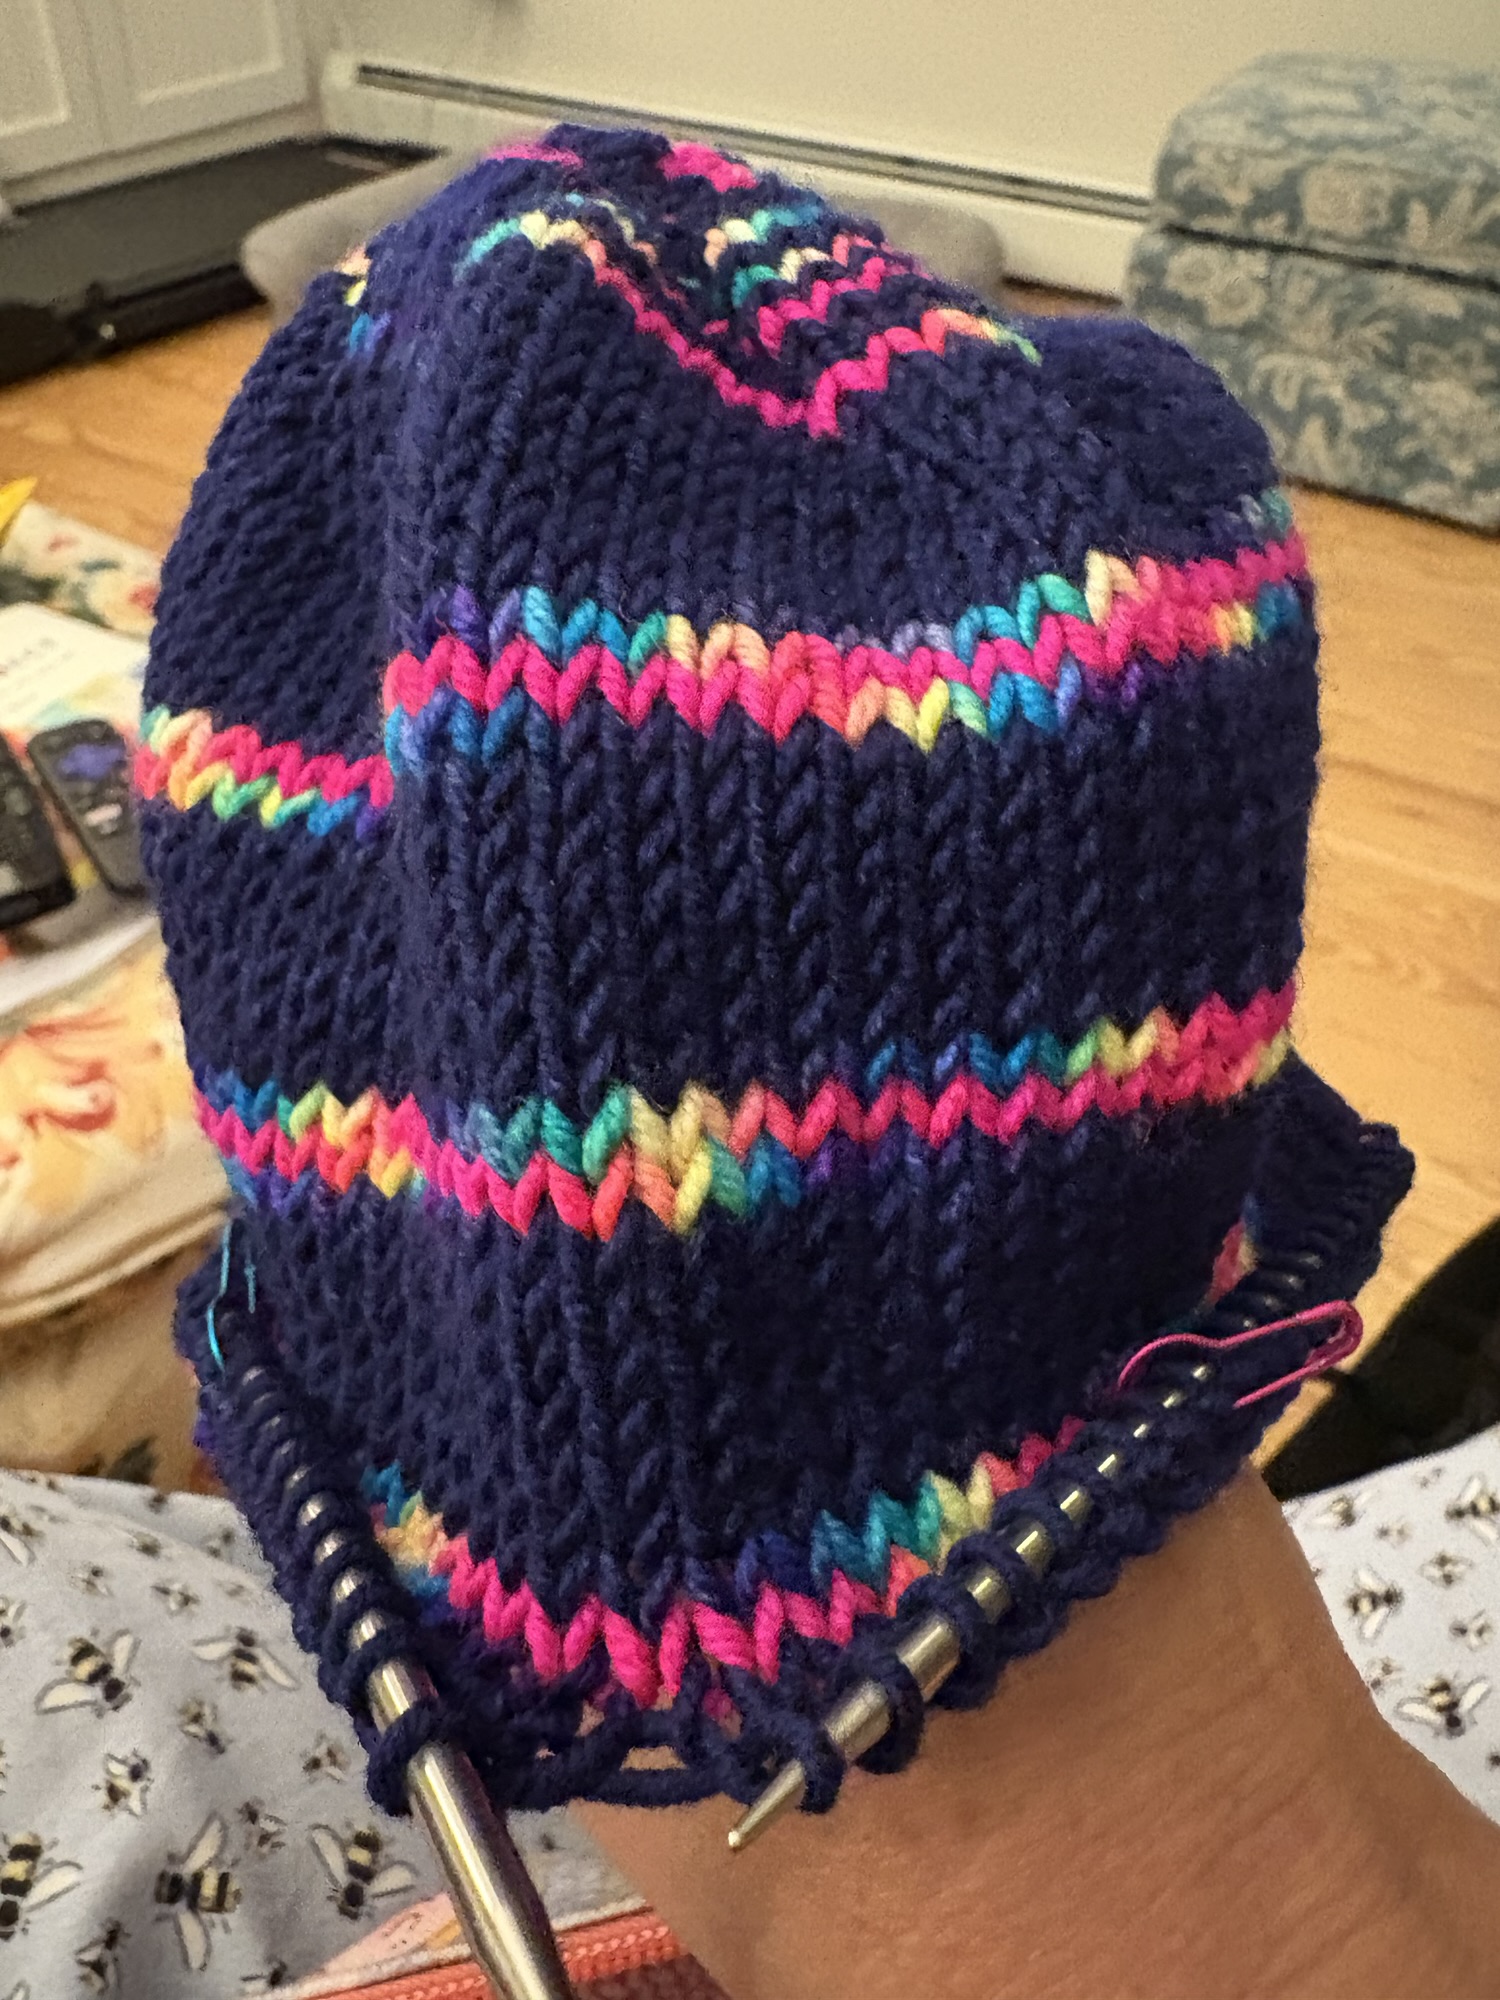

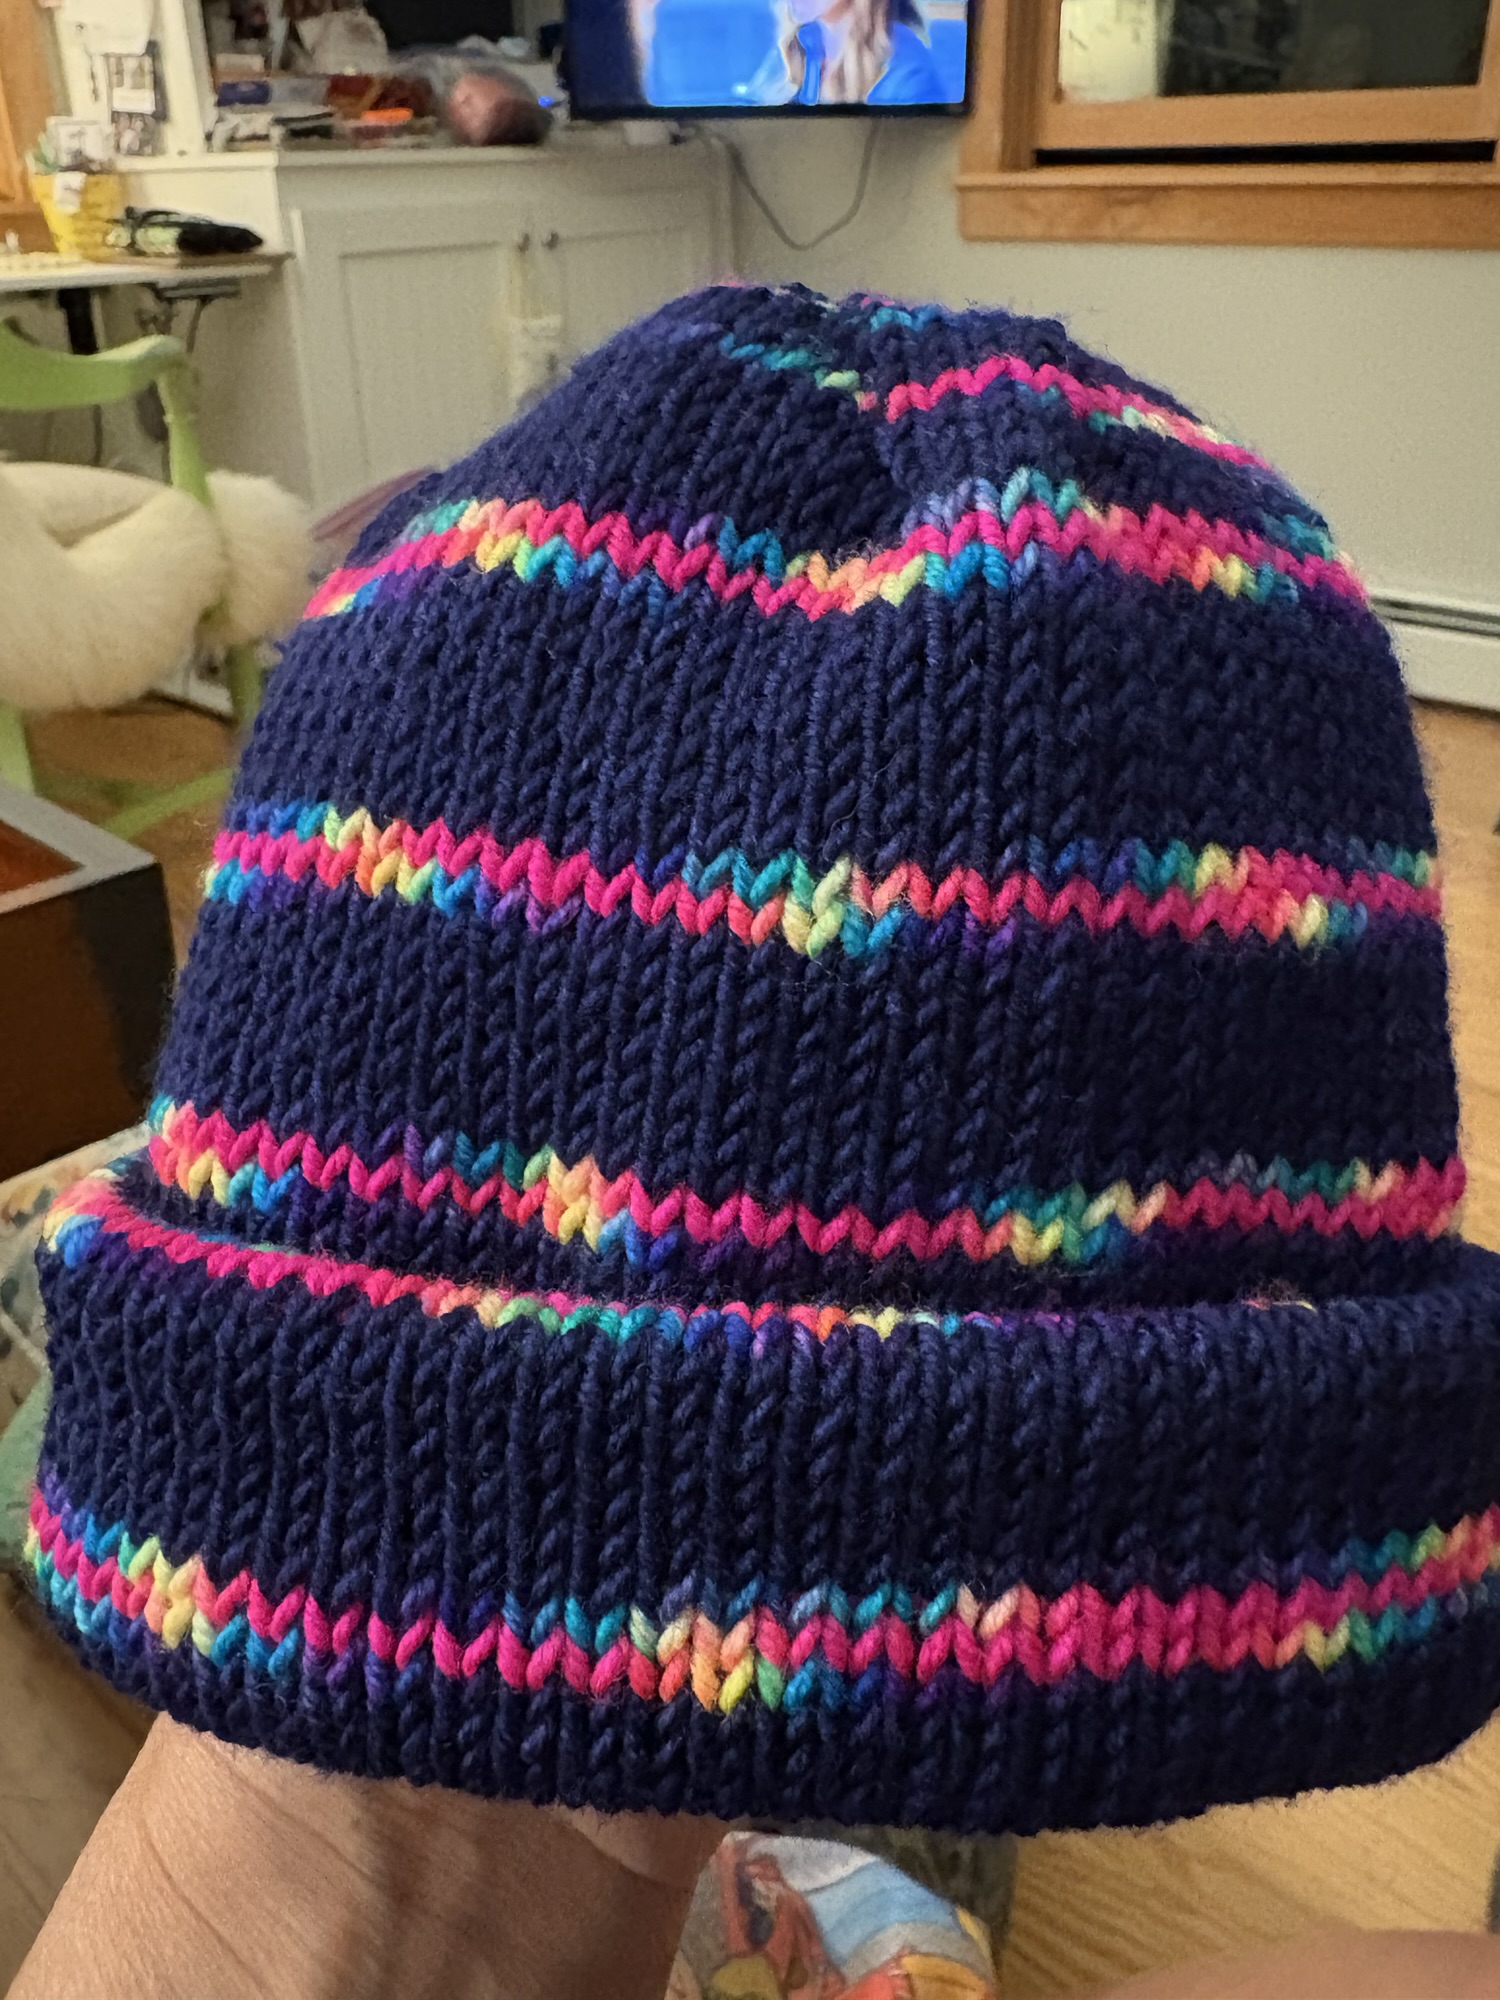
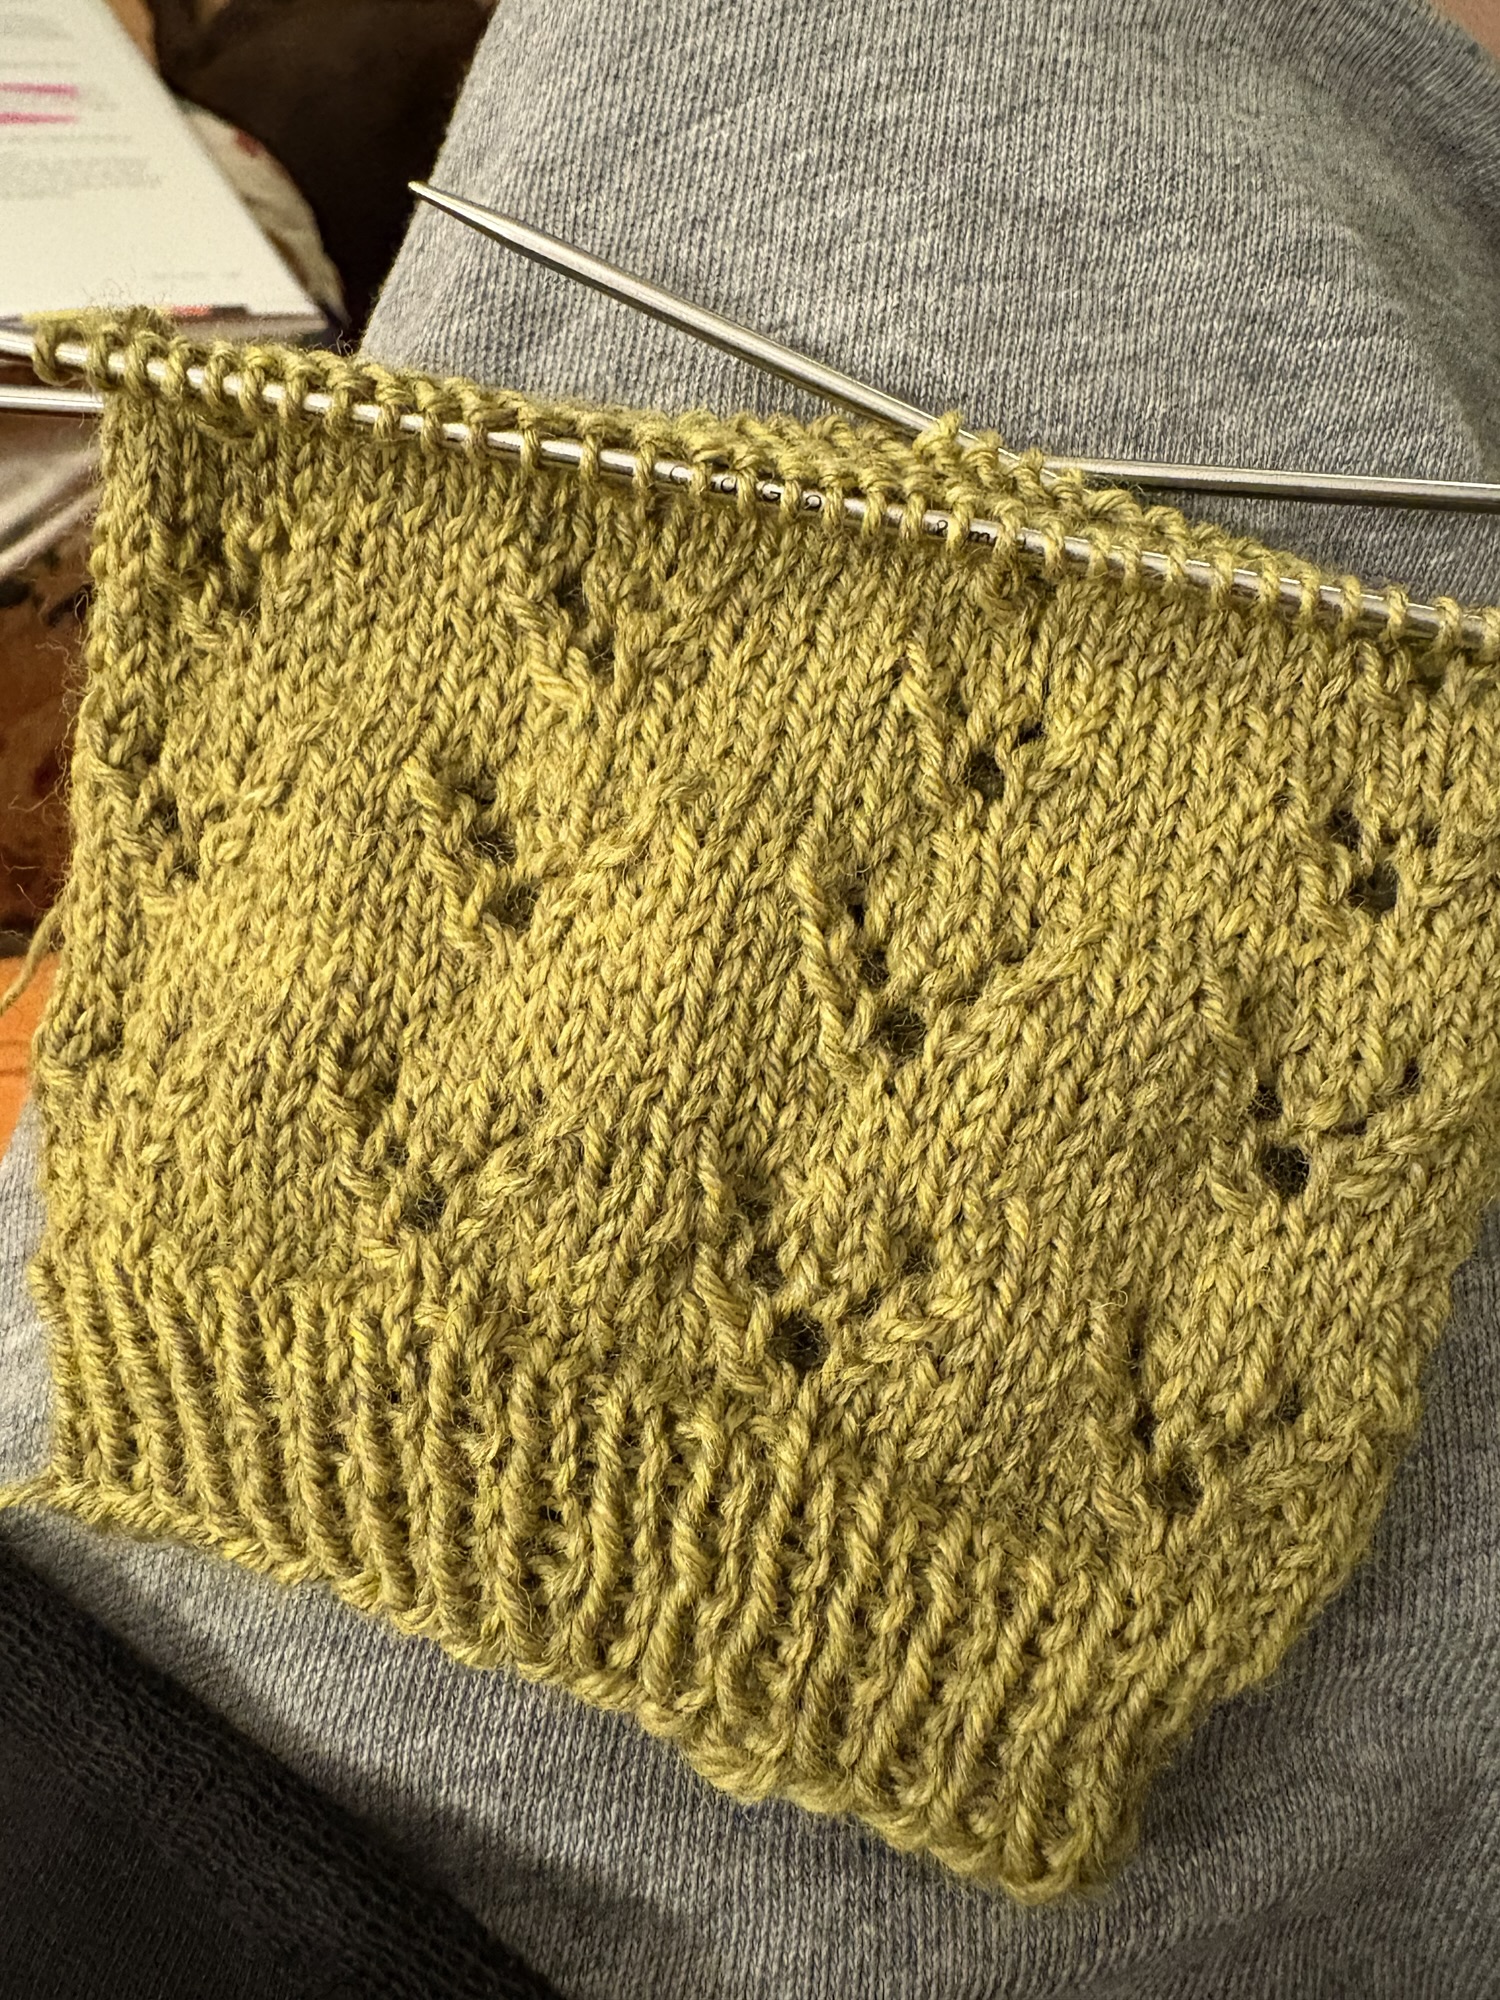
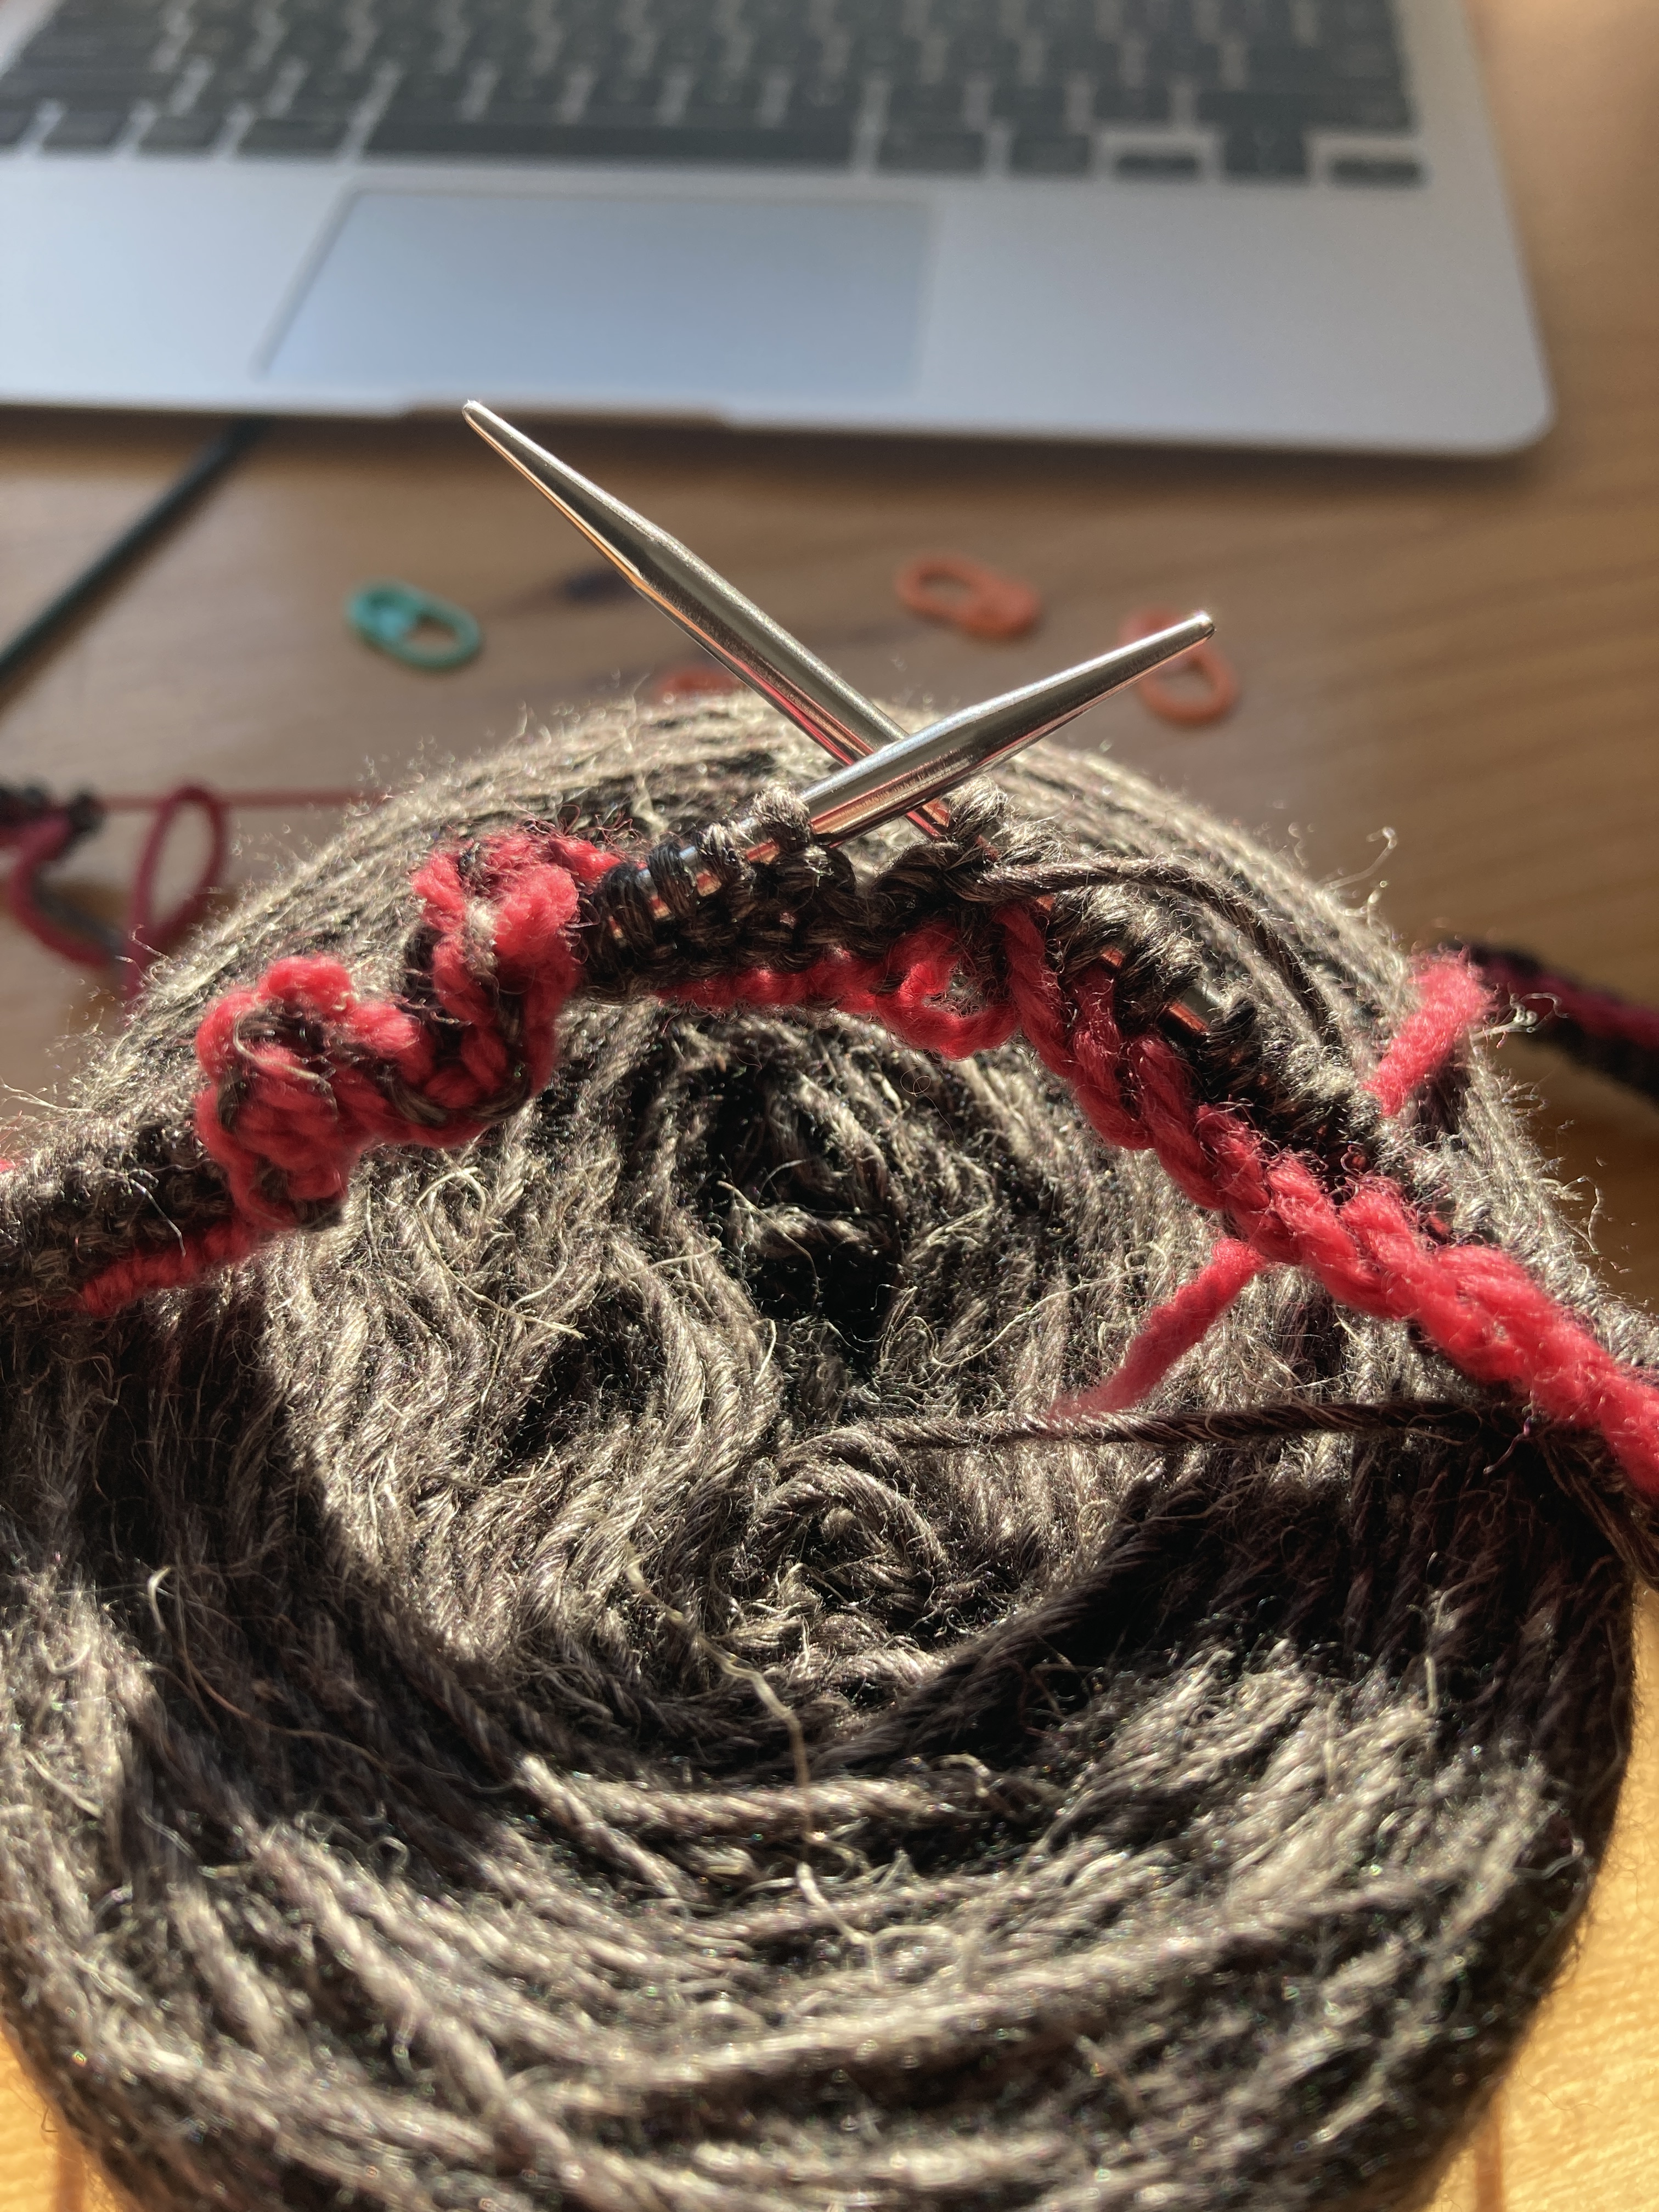
I spent a chunk of it making a sample for the store. I chose a Yarn Snob Worsted weight wool in the Times Square colorway. Mostly because we have no samples of Yarn Snob knitted up. And, being worsted weight, it was going to knit up more quickly.
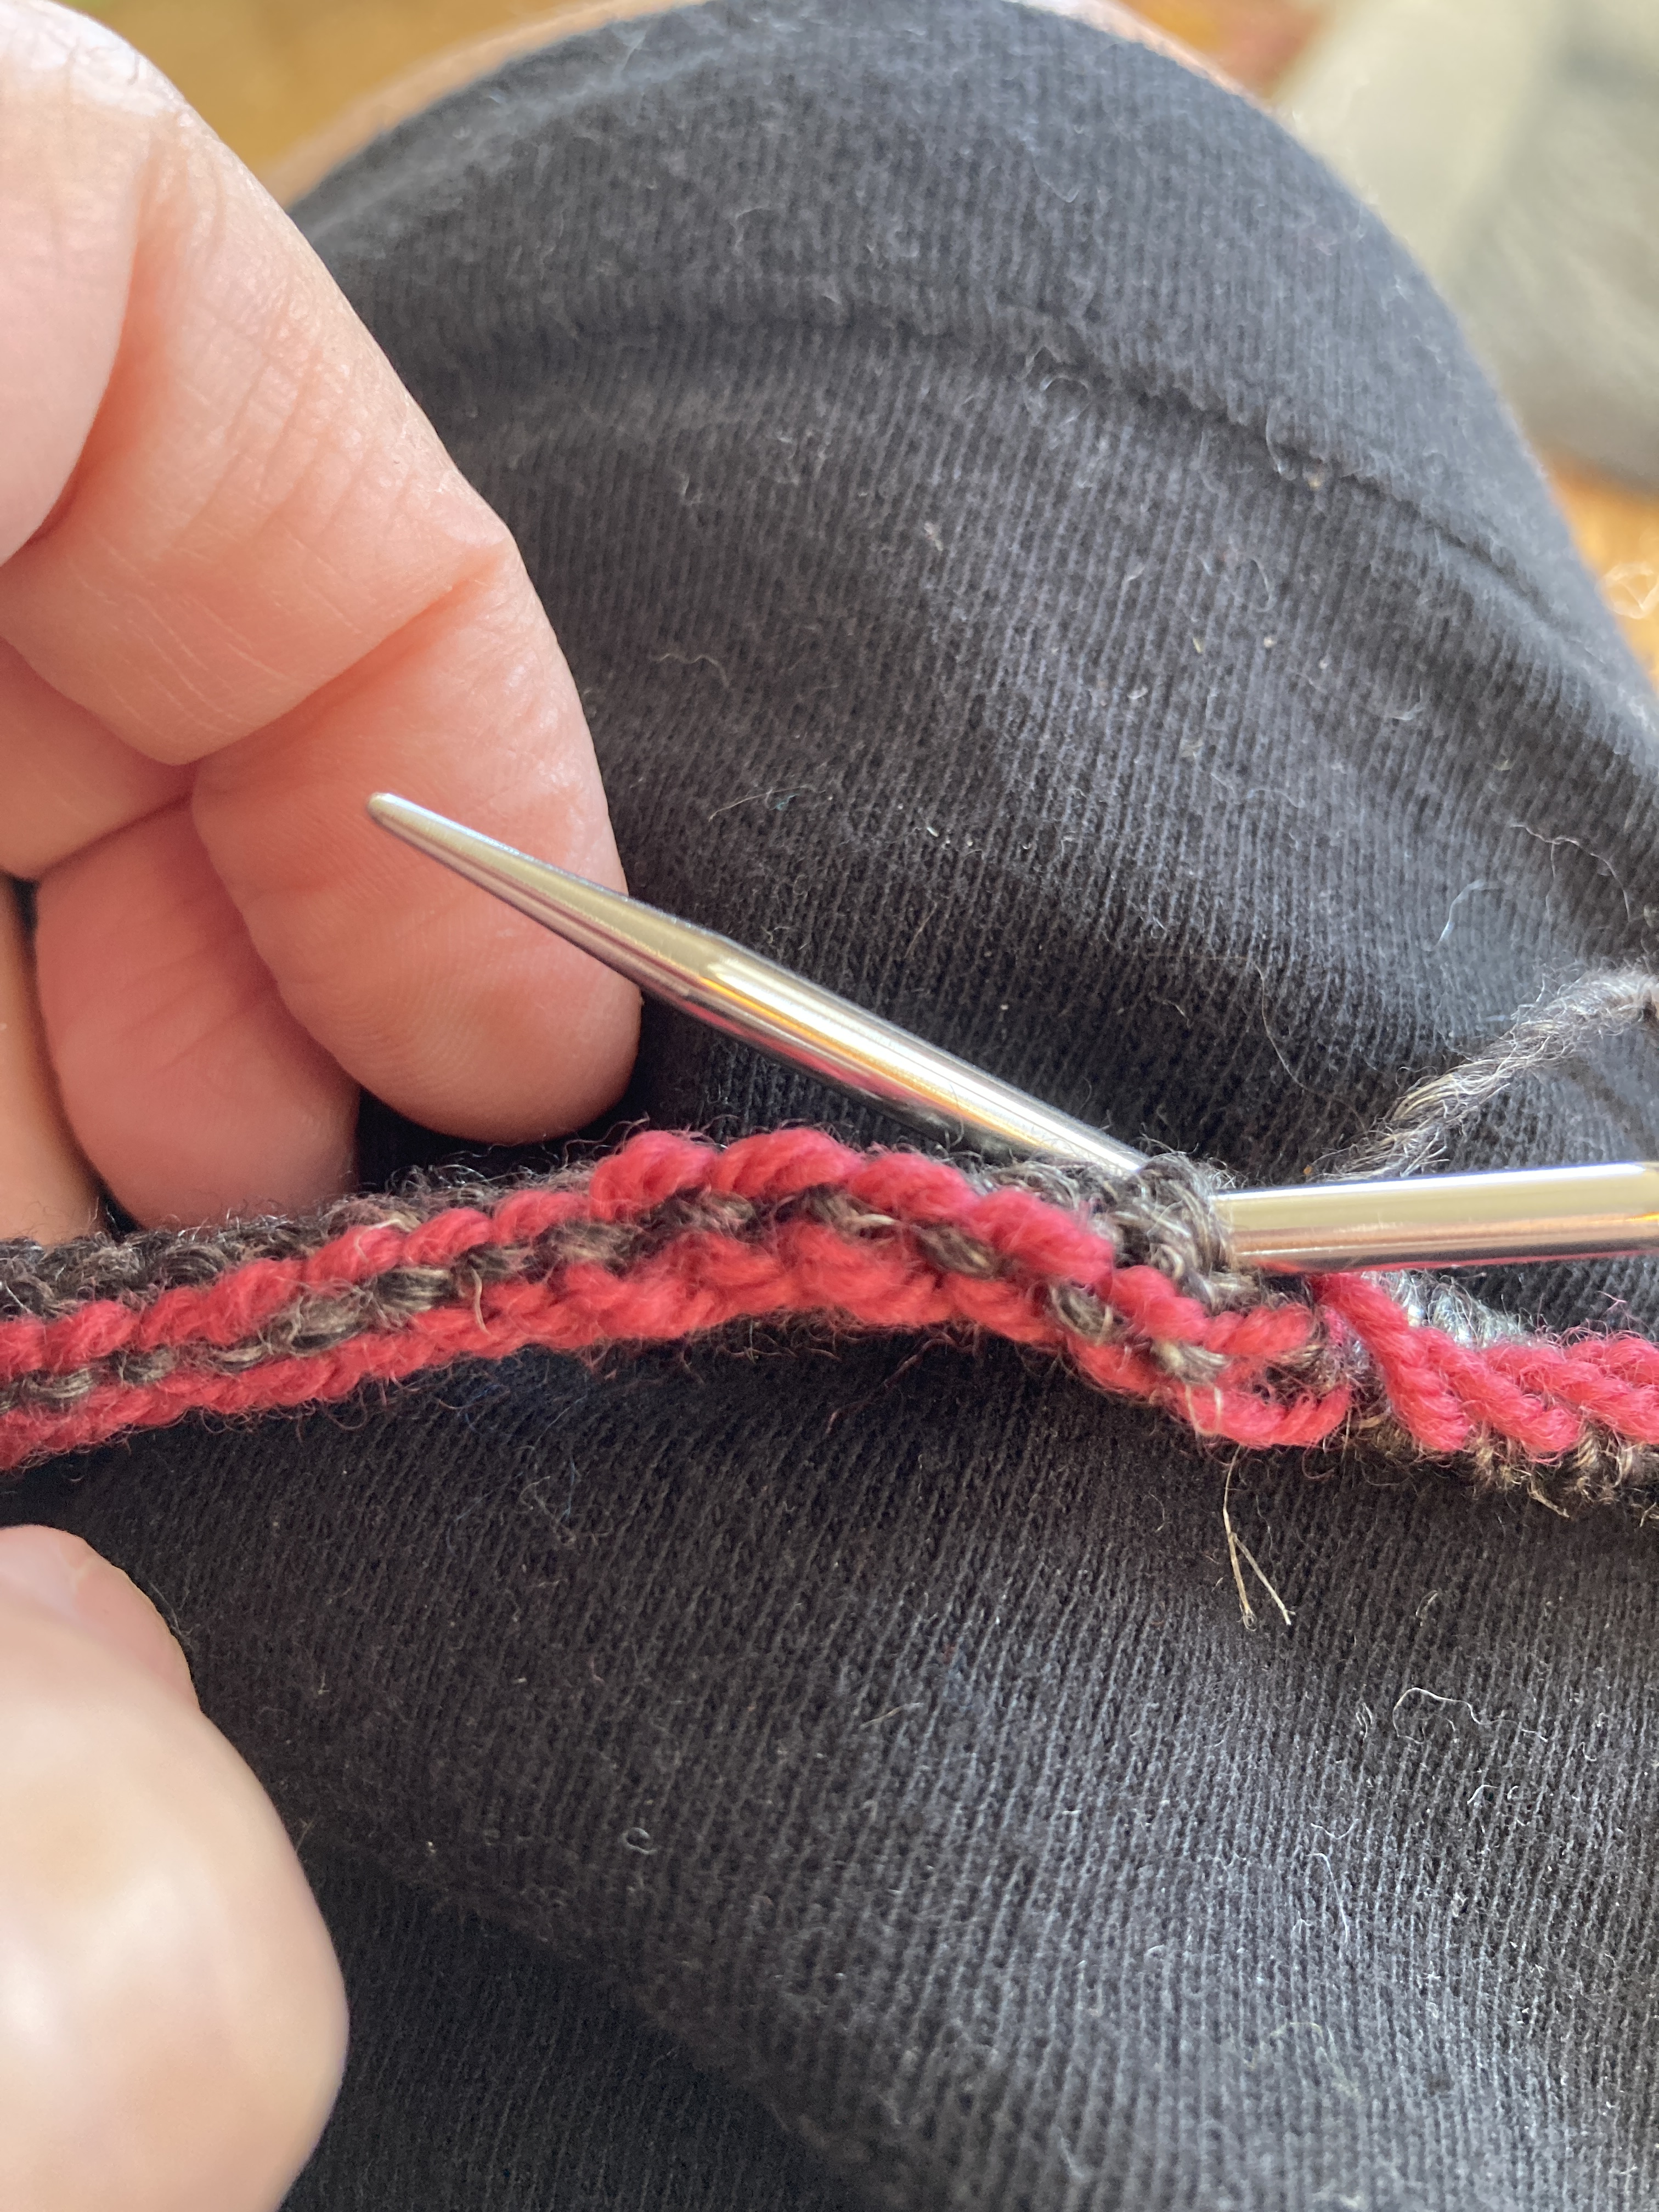
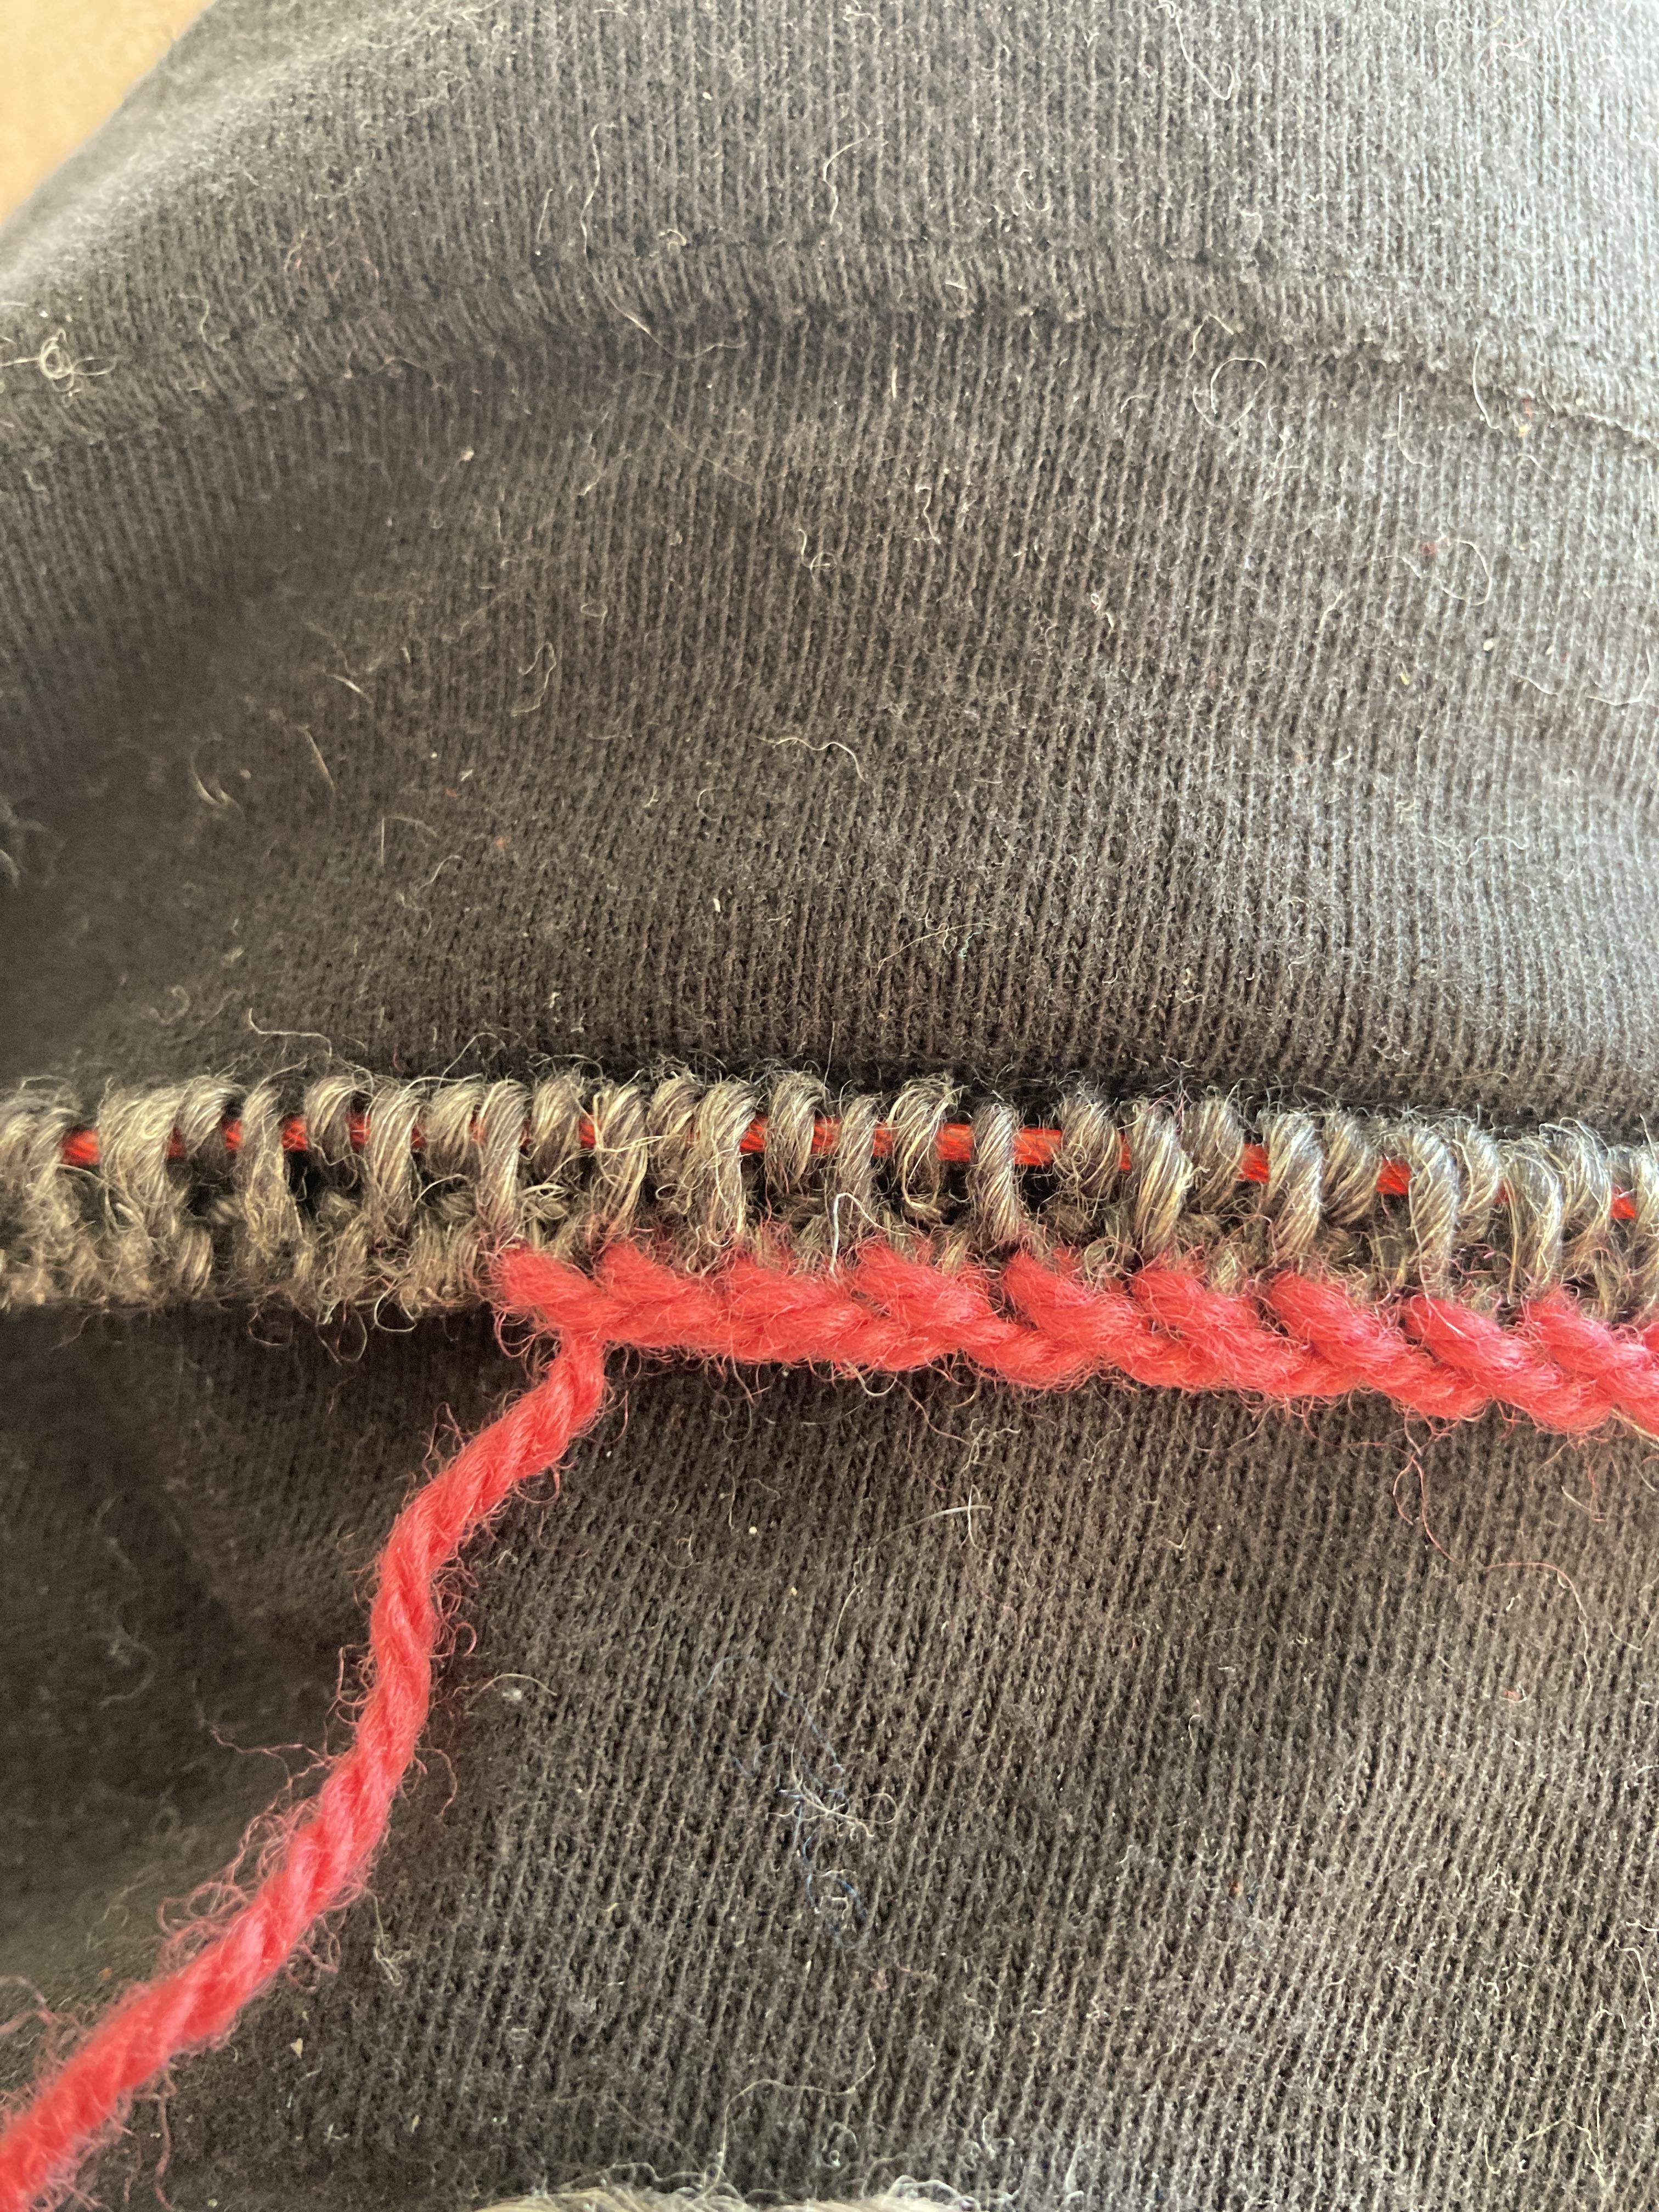
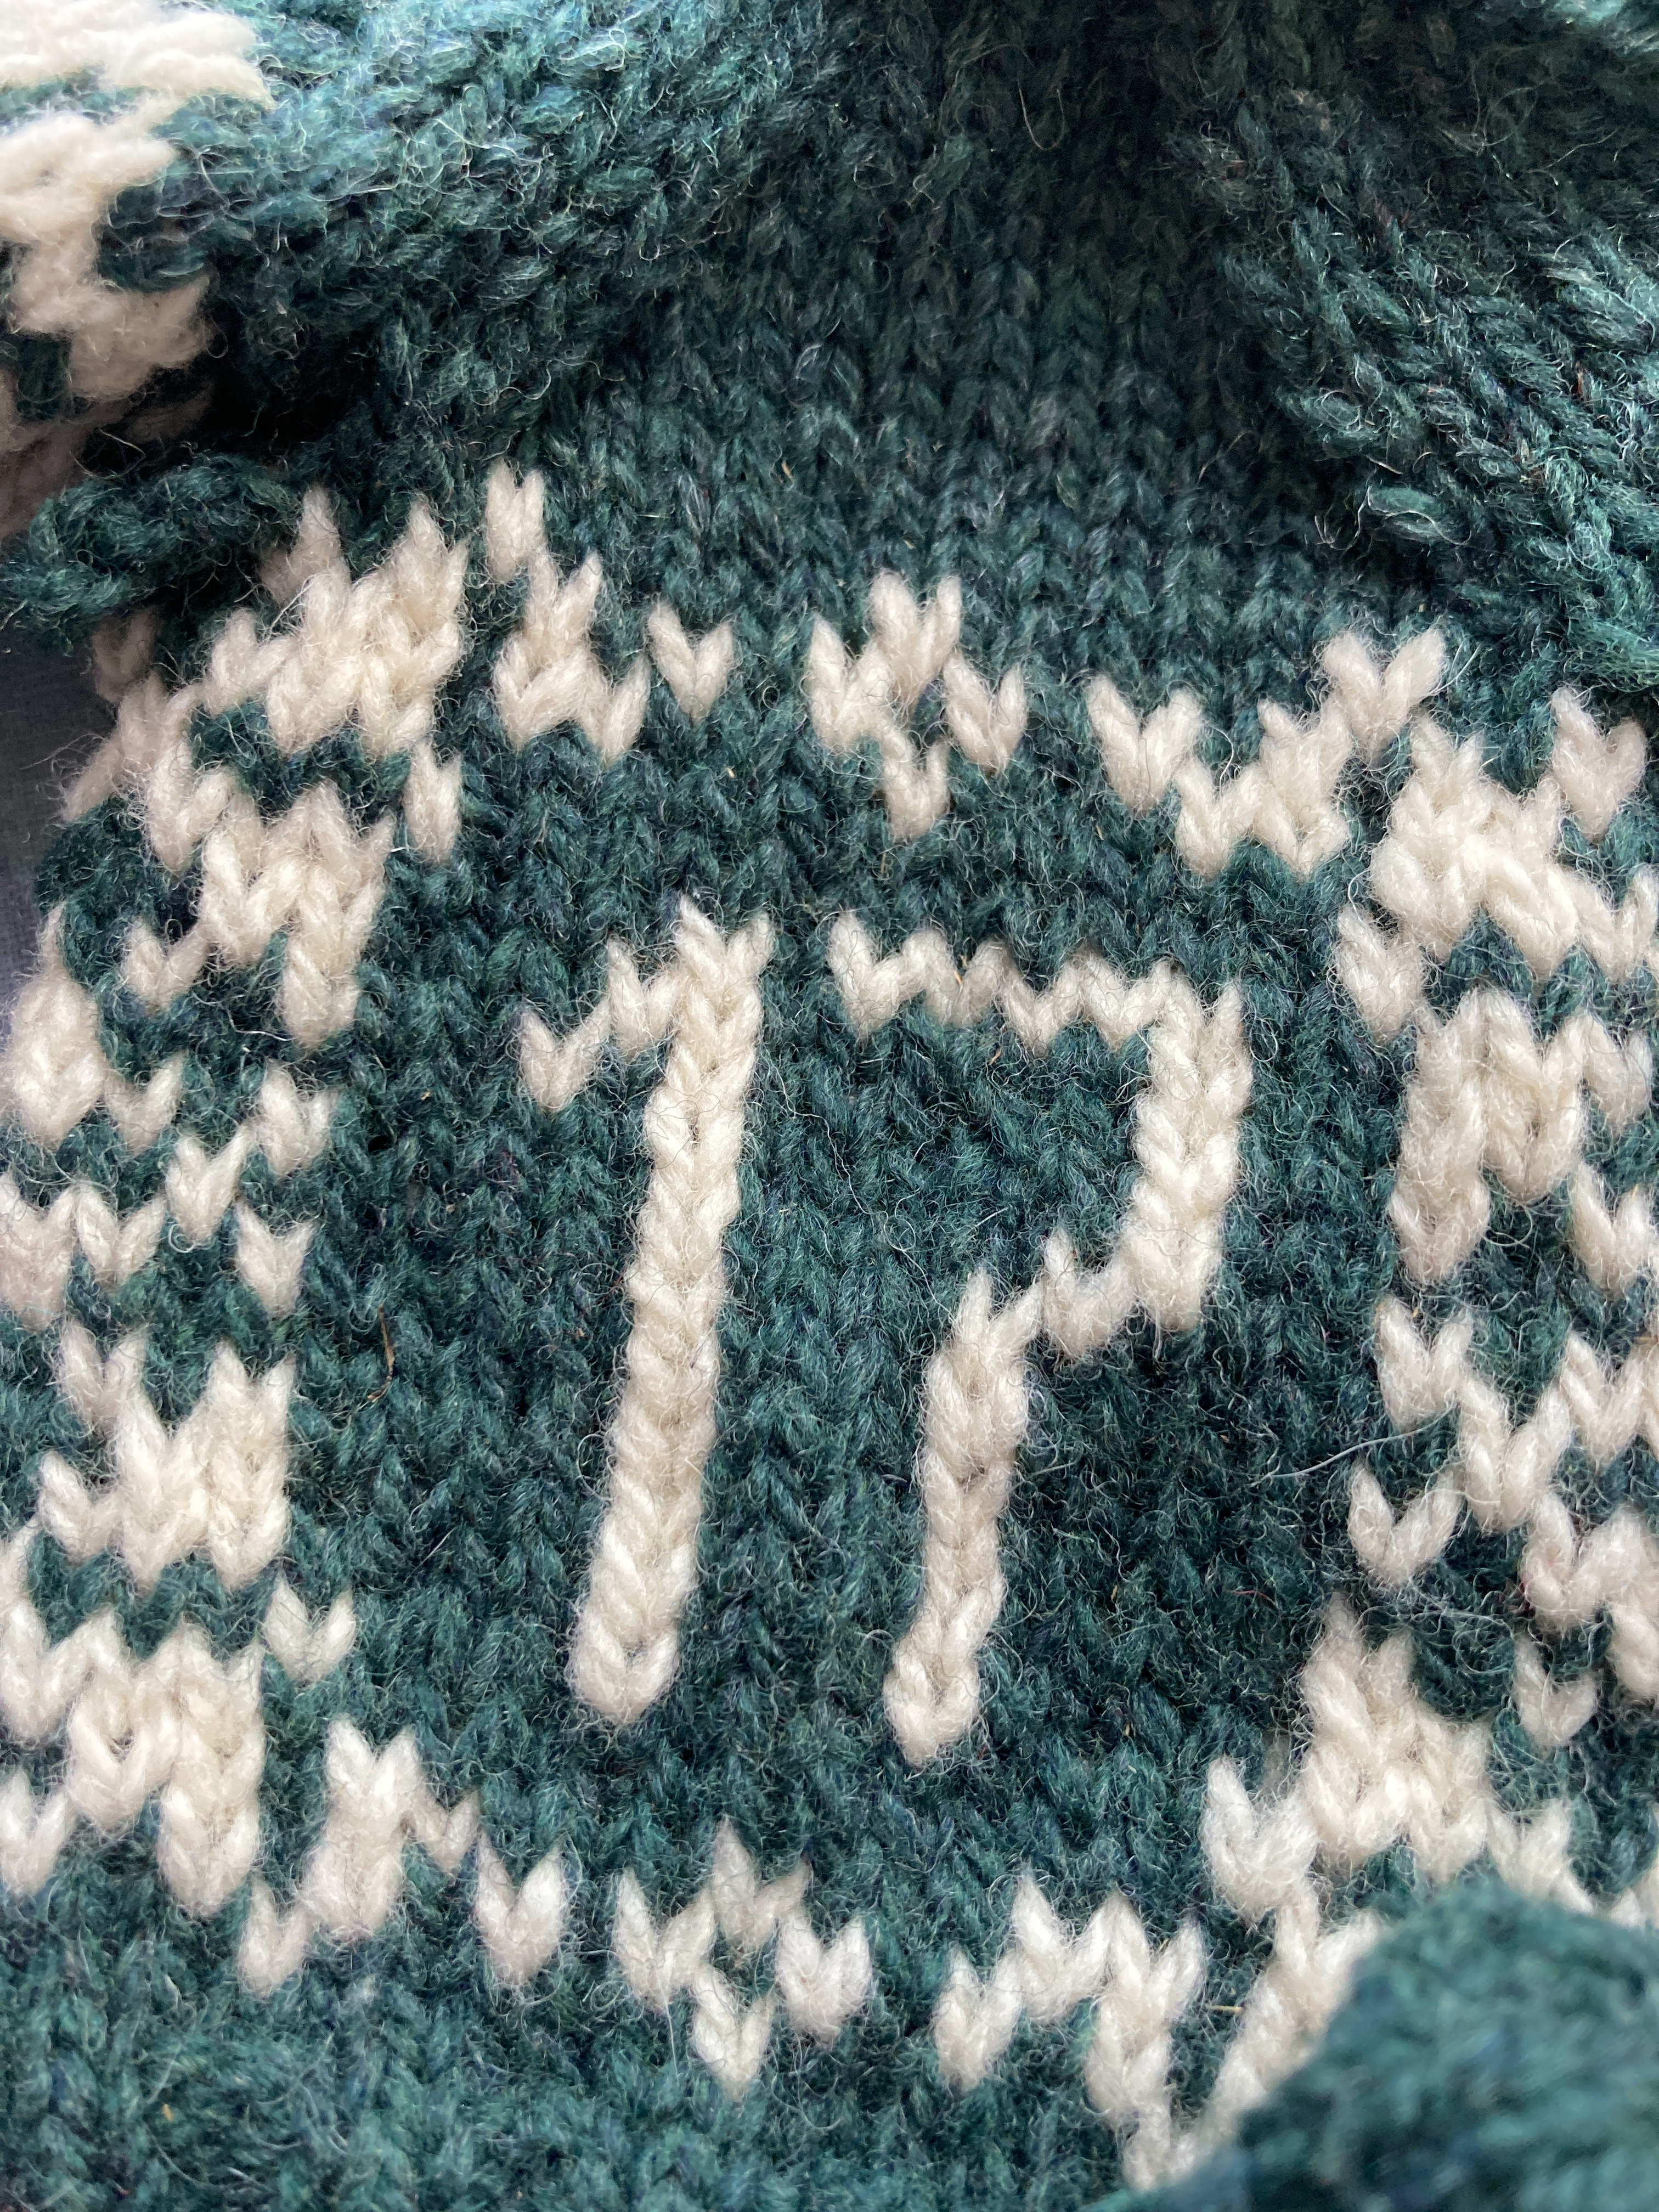
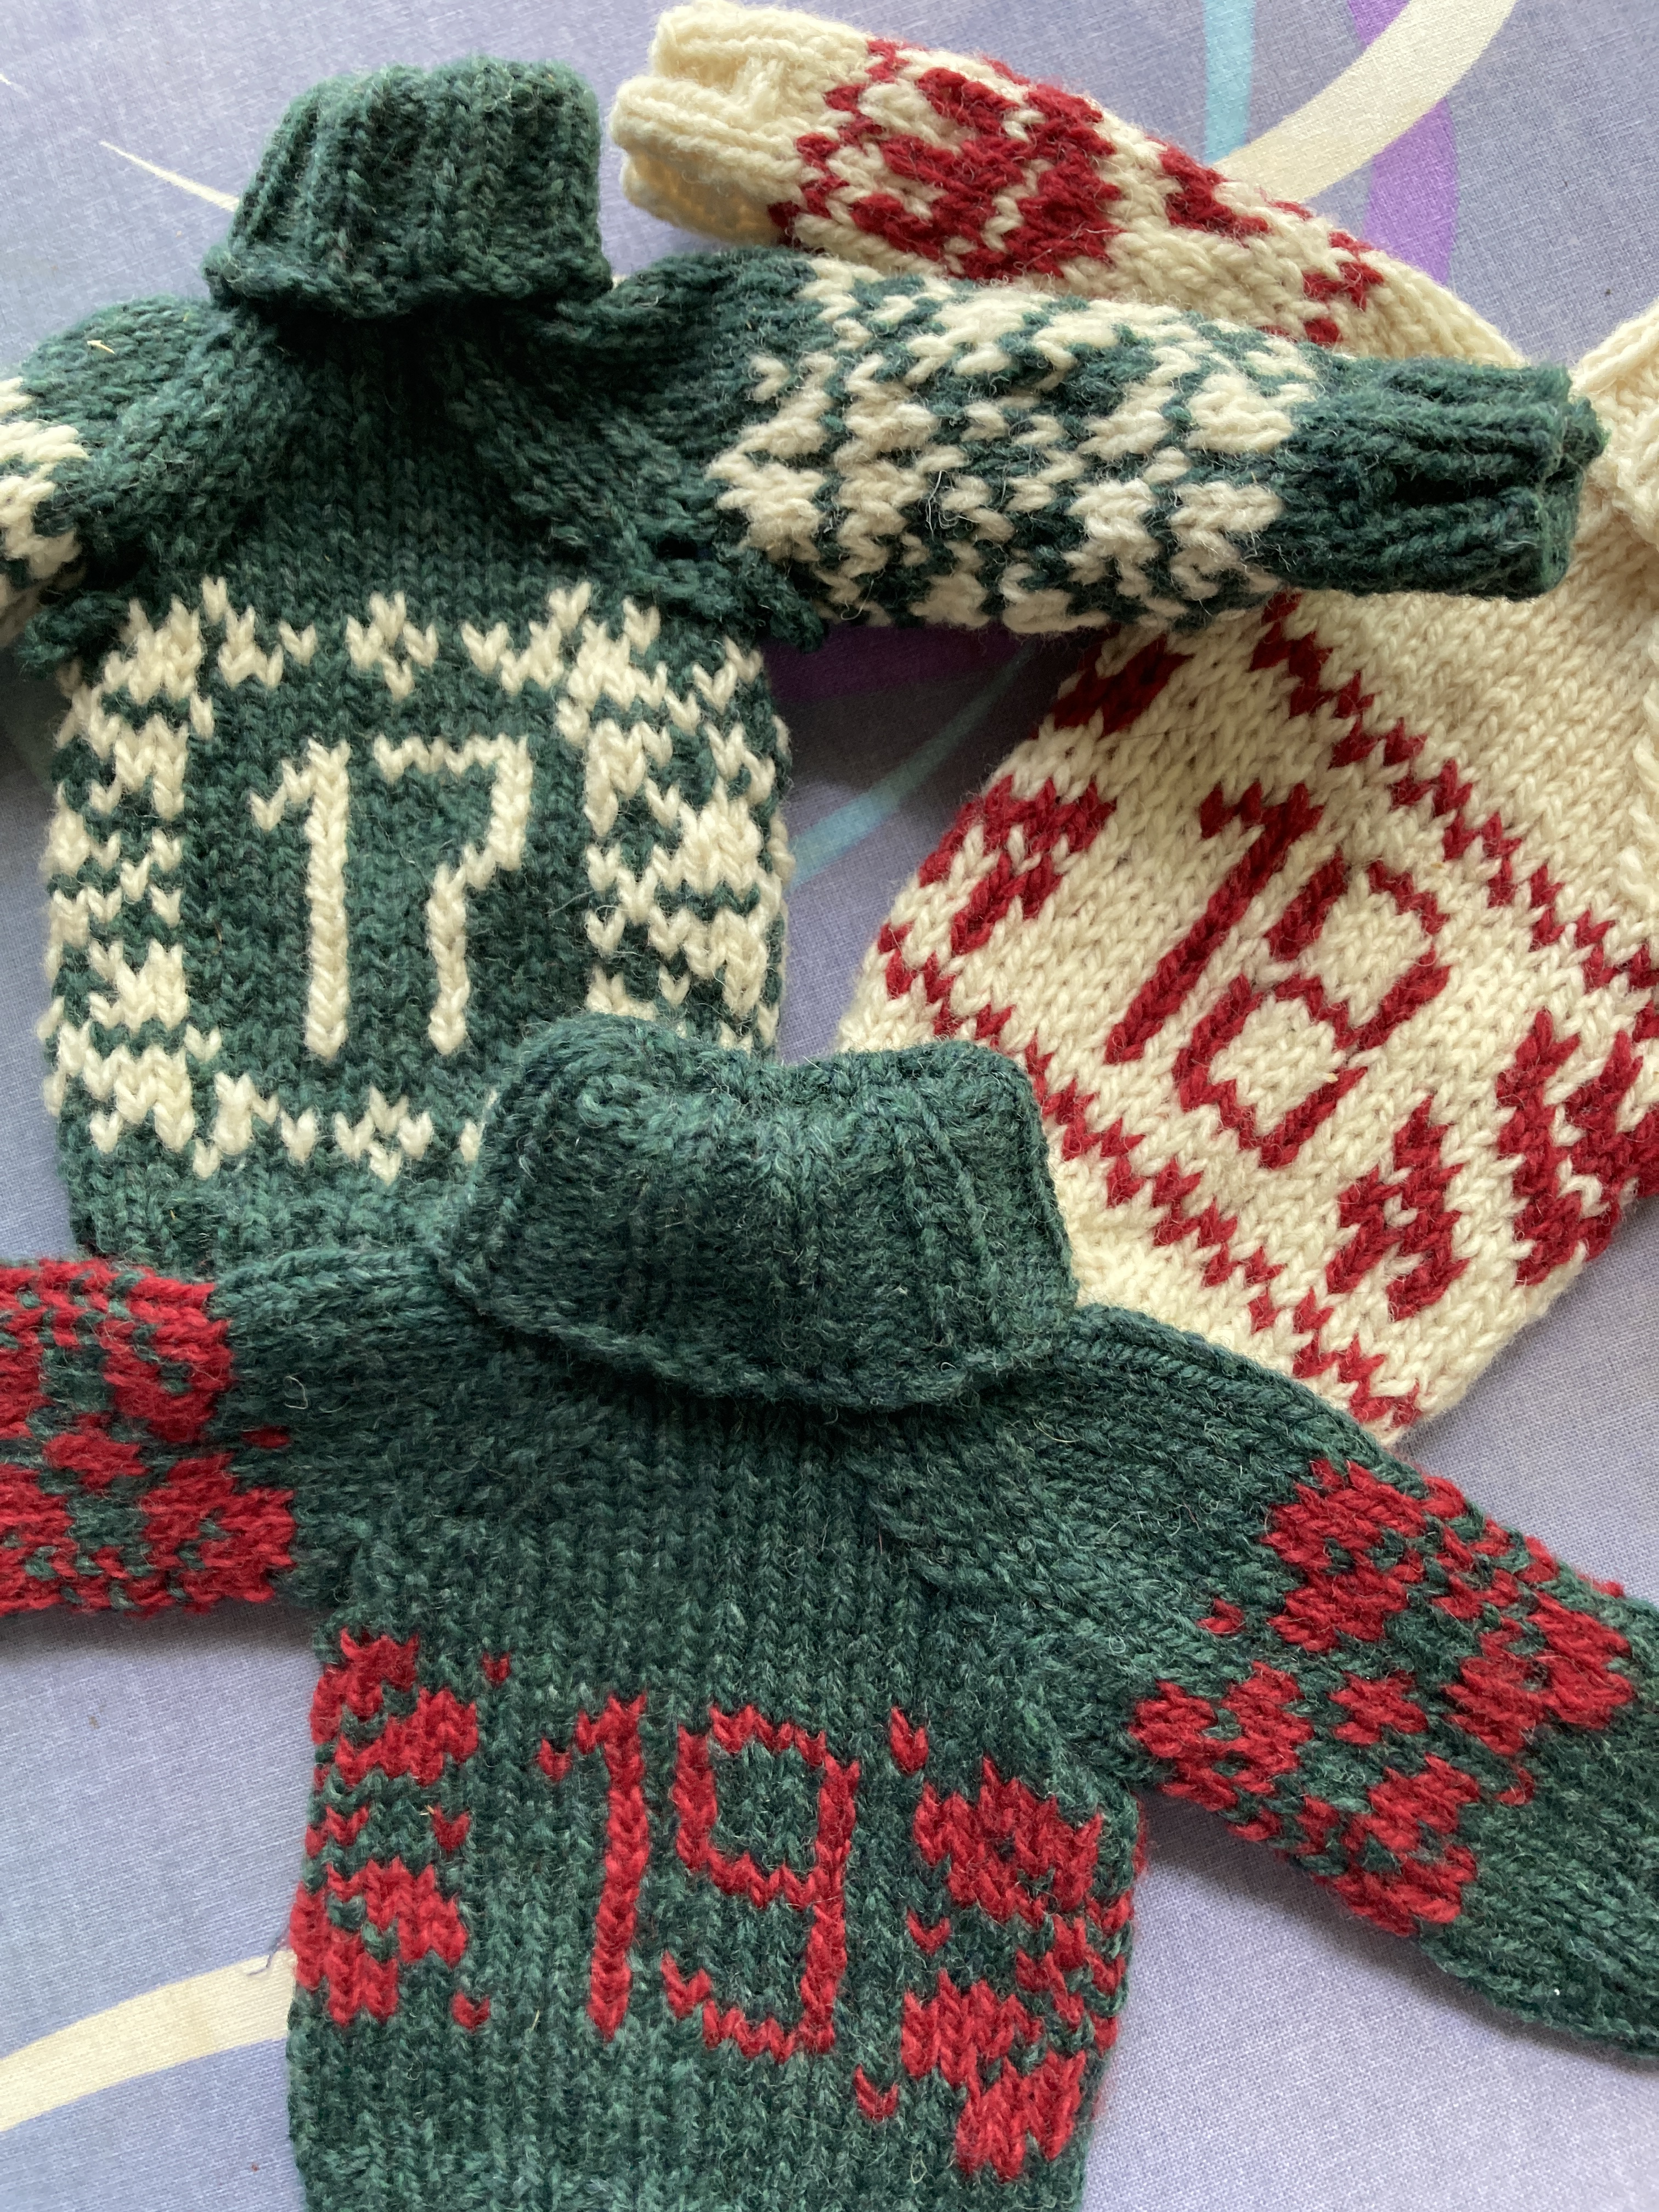
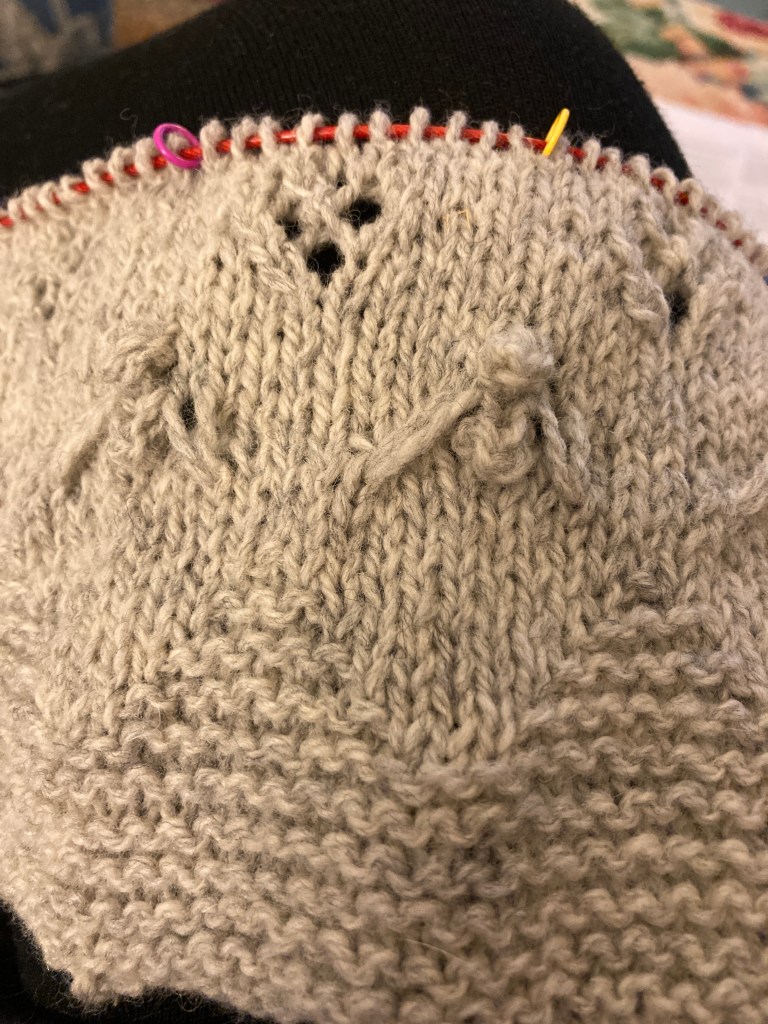
This hat pattern is wonderful!!! I’ve made one before but I had to remind myself how to do the pinhole or Emily Ocker’s magic cast on and I knew that i particularly liked Jen Arnall-Culliford’s method which is simple and doesn’t require a crochet hook. Just a pair of DPNs. (Ultimately you need a set of 4 or 5.) I really liked the Yarn Snob yarn and this hat will be a modern sample for the shop in an unexpected yarn. I made the toddler size because that is what the yardage allowed for. I loved that the colorway was named after a NYC landmark that happens to be in the heart of the theater district and my kiddos are all employed in the arts in New York City. So a nod to Times Square added a smile to my face. When the winter sets in, I’ll reclaim the hat for my granddaughter.
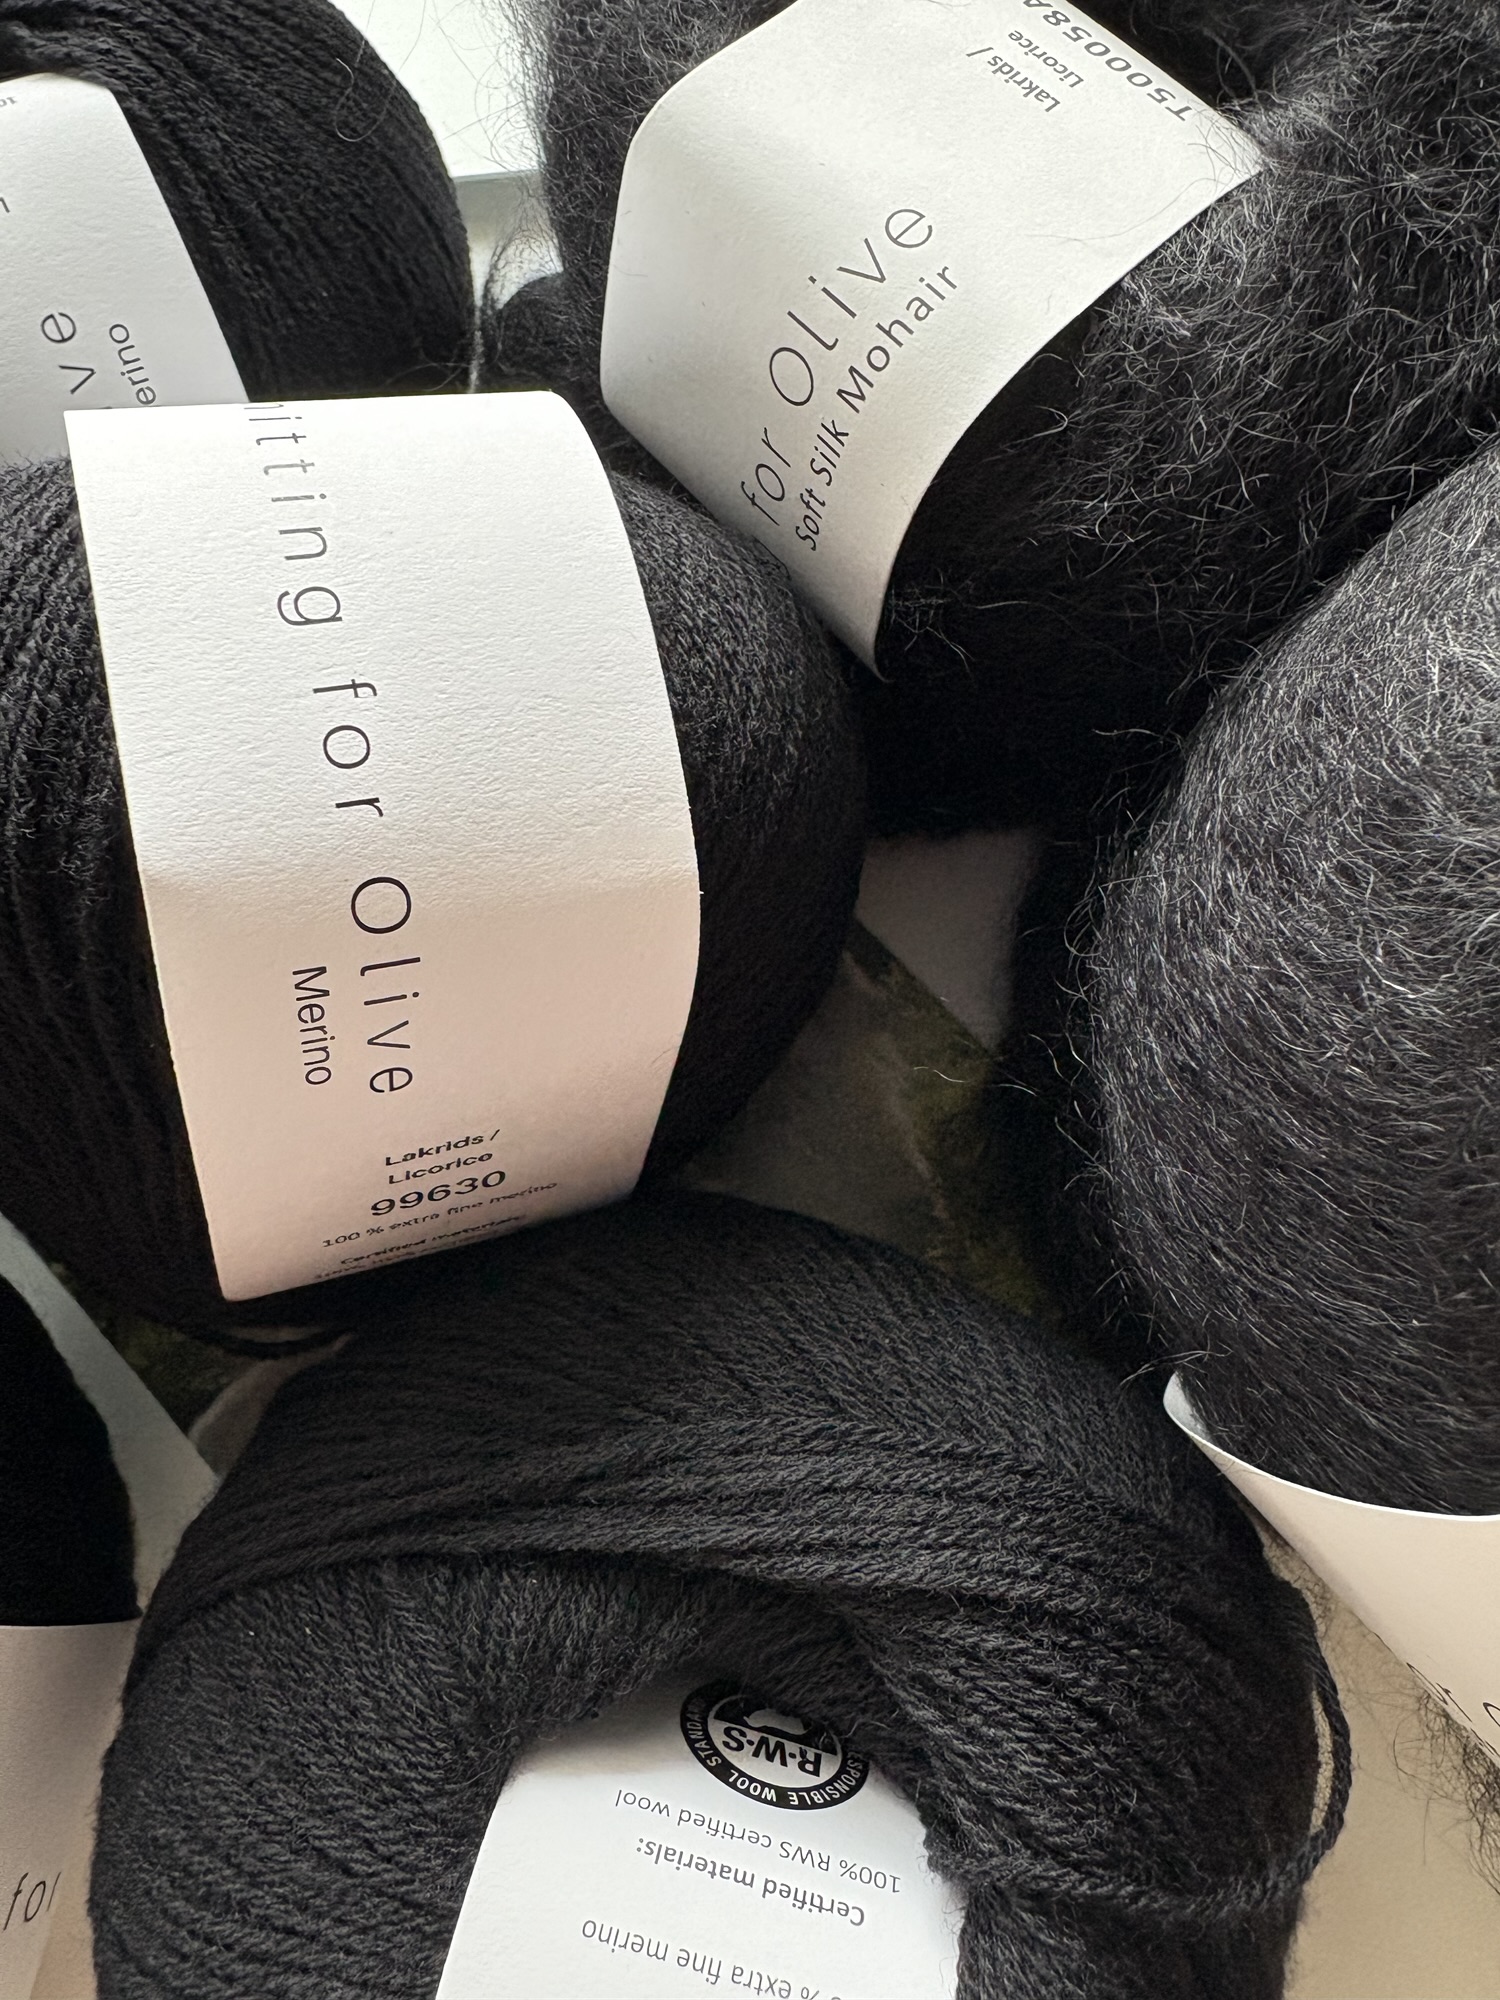
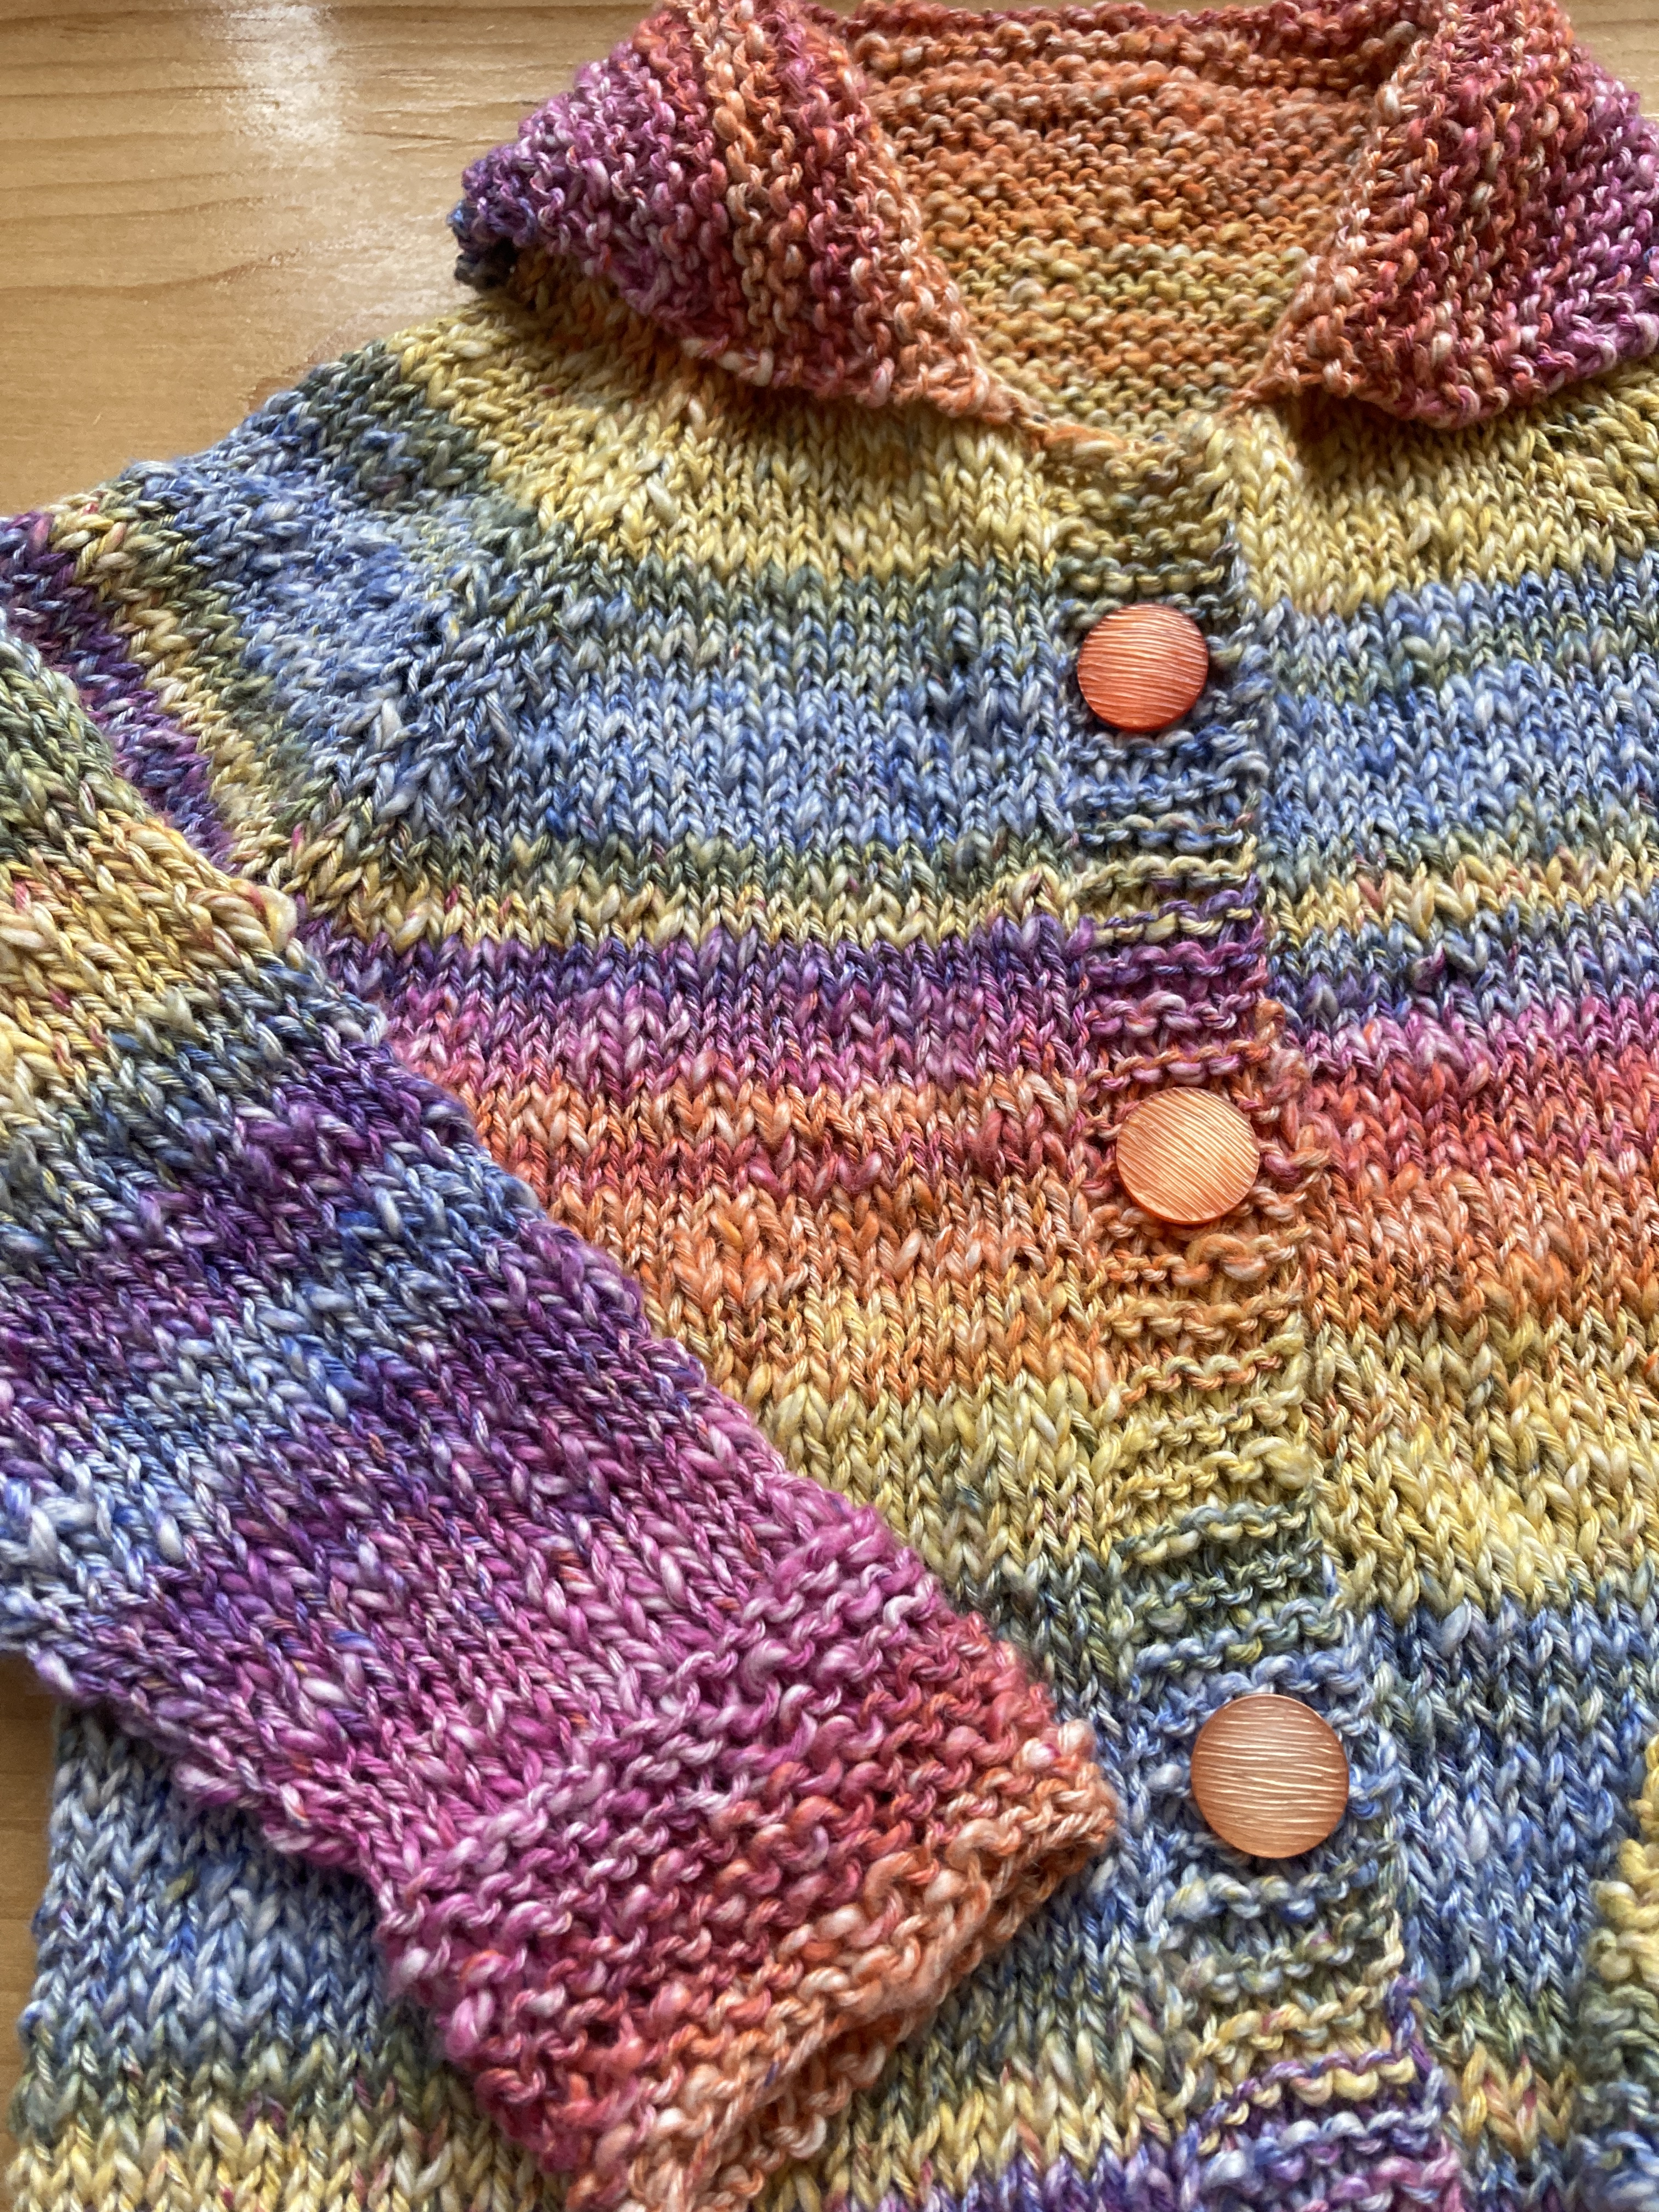
I spent the past couple of days working on my Vanilla Sweater by Corrine at The Wooly Thistle. I may have said this before but the color is what I fell in love with and I “had” to buy the kit. as happens with almost every simple pattern I attempt, I am struggling to read my knitting – it’s either the light in my atelier or my aging eyes or both combined with the heathery yarn but I can’t see the increases well enough so I’ve been thinking back and reknitting now and again. But I’m getting there and am almost to the end of the increases. I am up to over 300 stitches around so the rounds take a minute. I’m knitting on gauge so I will be excited to see how it fits.

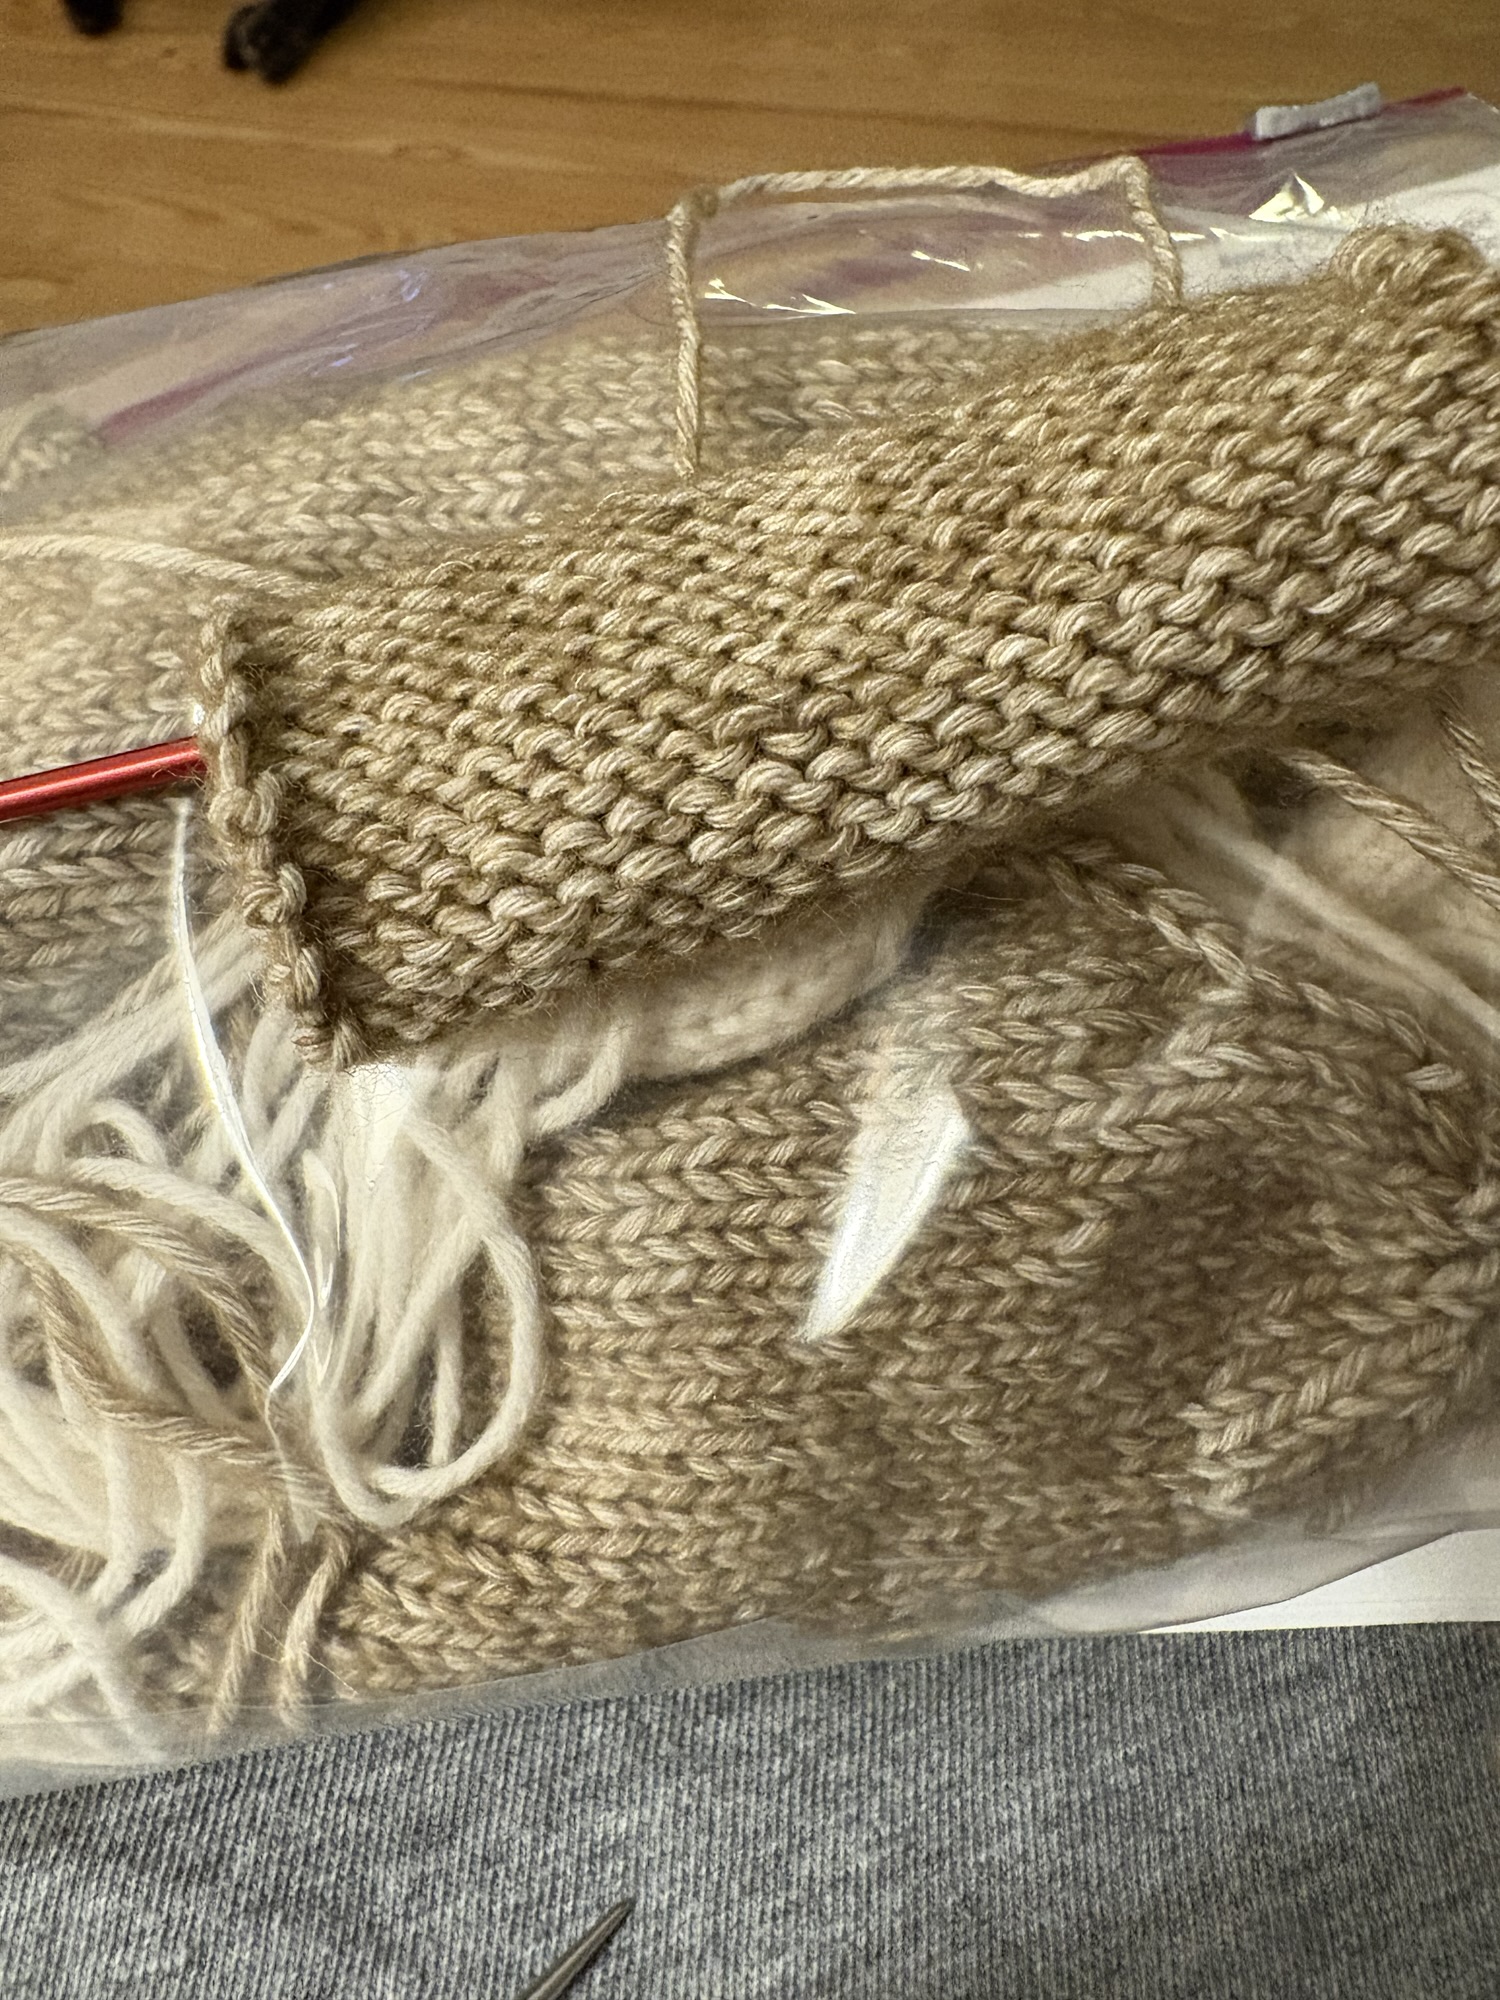
I’ve also been working away on one of the critters in Louise Crowther’s book Animal Friends. I bought the yarn a few months back for three of these animals and I’m beginning with Noah the horse. It will be a gift for my daughter who loves horses. It’s fun to knit but a little bit hard on my hands because it’s knit at a tight gauge in teeny needles. So the stuffing doesn’t show through the stitches, of course! I’m making good progress. Two legs to go and the outfit and I can sew it all together.
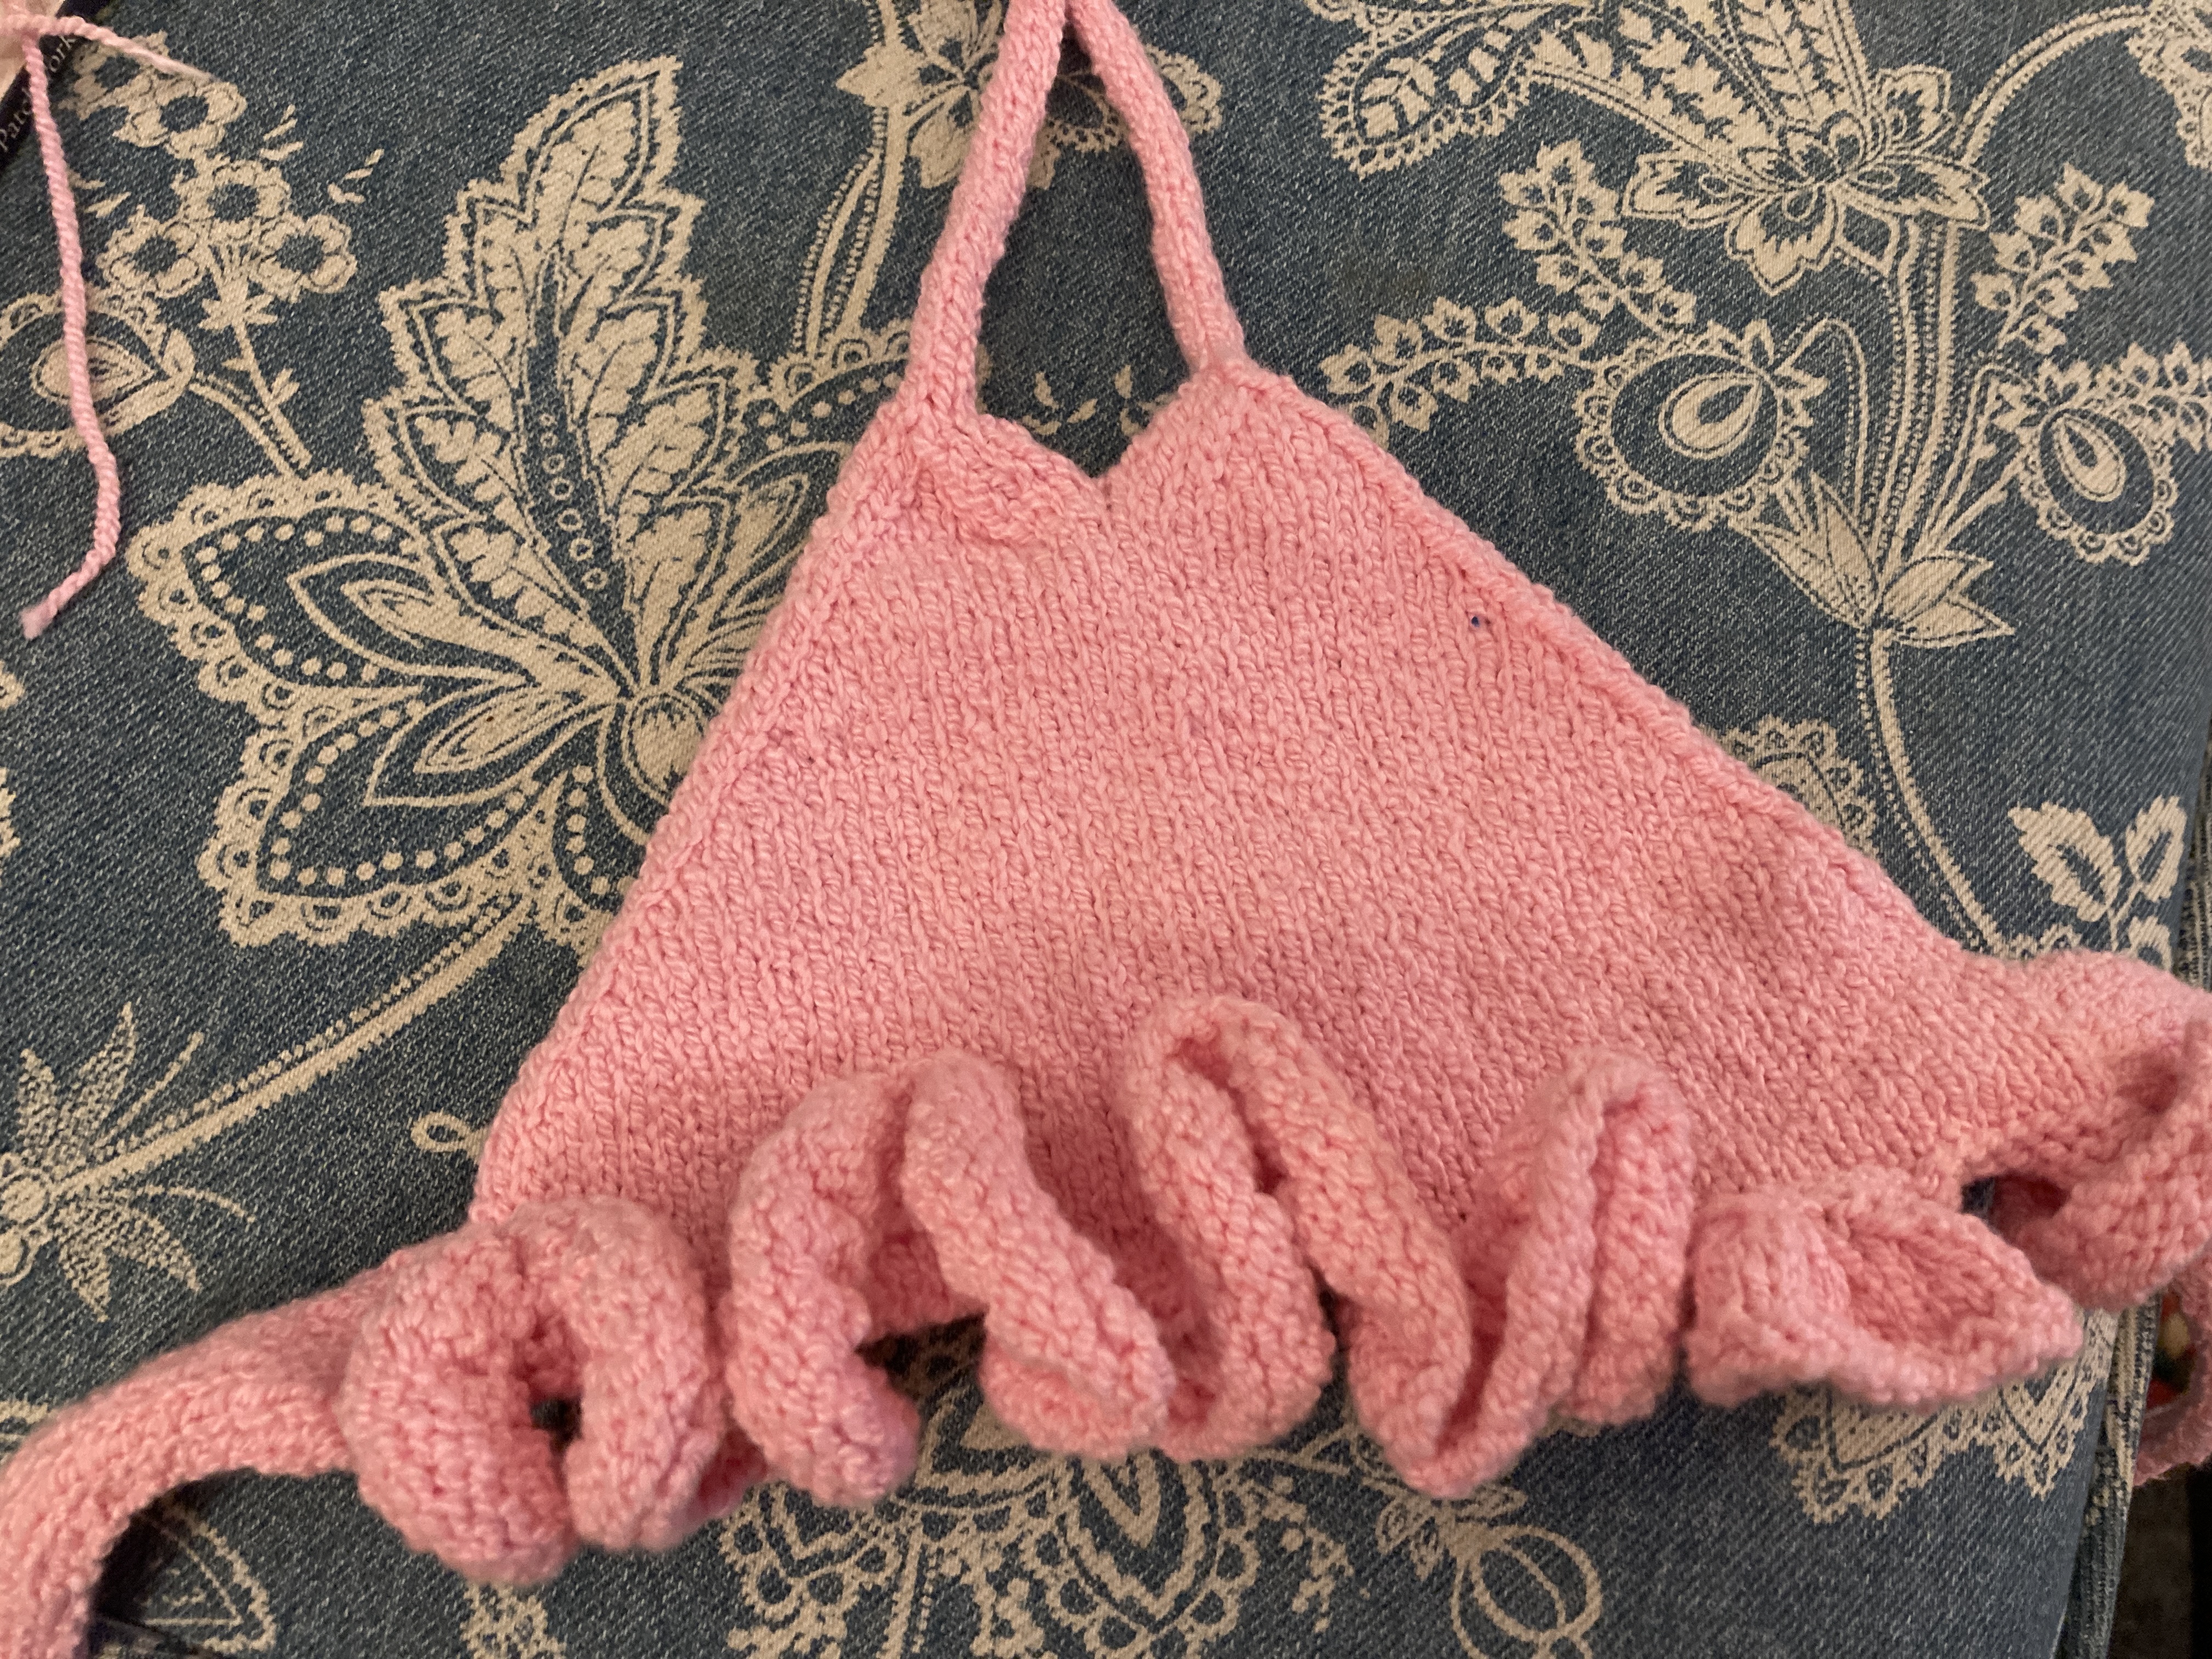
I had nearly completed the garter stitch section of my All About the Ruffle shawl. Over 350 stitches on the needle. and I just didn’t love it. So, today I frogged it and it’ll be something else, probably a tee shirt. So boo and yay. Boo that I frogged all that work but yay that it’ll be something that I will love.
I was gifted and also grew some giant zucchini and I’ve been trying to use it up before we leave for vacation. I’ve got some chocolate zucchini muffins in the freezer with a loaf of zucchini n bread. Today I made banana zucchini muffins. Hubby seems to think they’re all for him. Ahead of vacation? Yeah, right. He’s been informed.
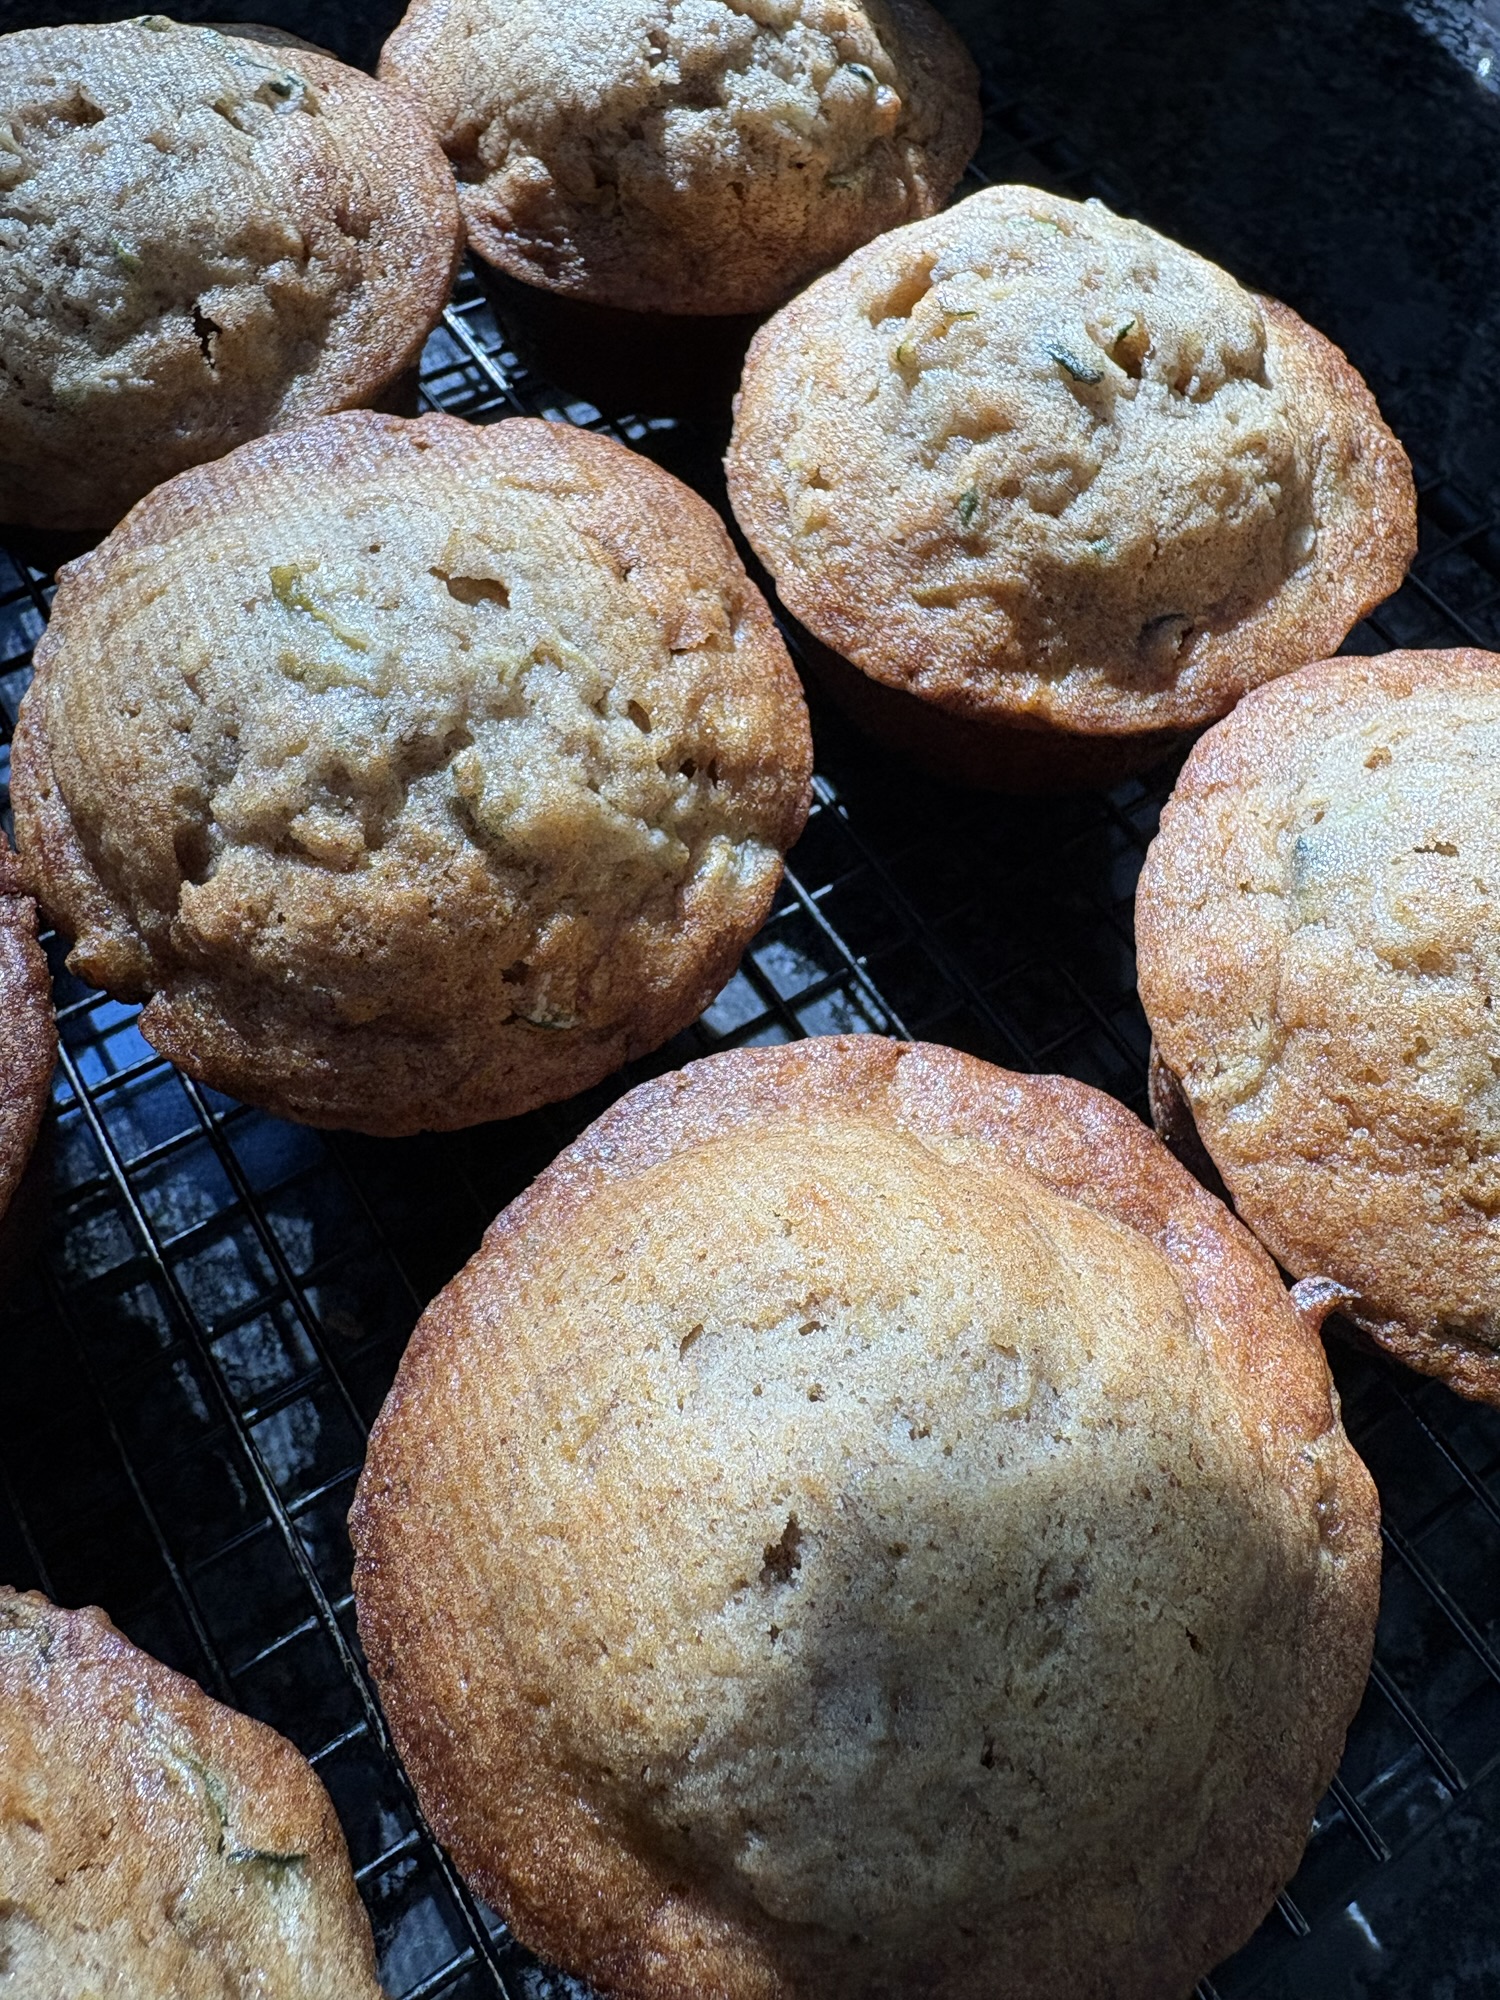
If I can’t get it all baked before we leave, it’ll go into the freezer all shredded and portioned into 2 cup bags. I have a lot of frozen bananas, too. I’ve not been baking enough apparently.
We are enjoying the last days or weeks with hummingbirds before they head south. I haven’t seen any male hummers recently and they had off ahead of the female and juvenile birds. So the rest will be heading off soon. We will keep the feeders full for those passing by for a few weeks.
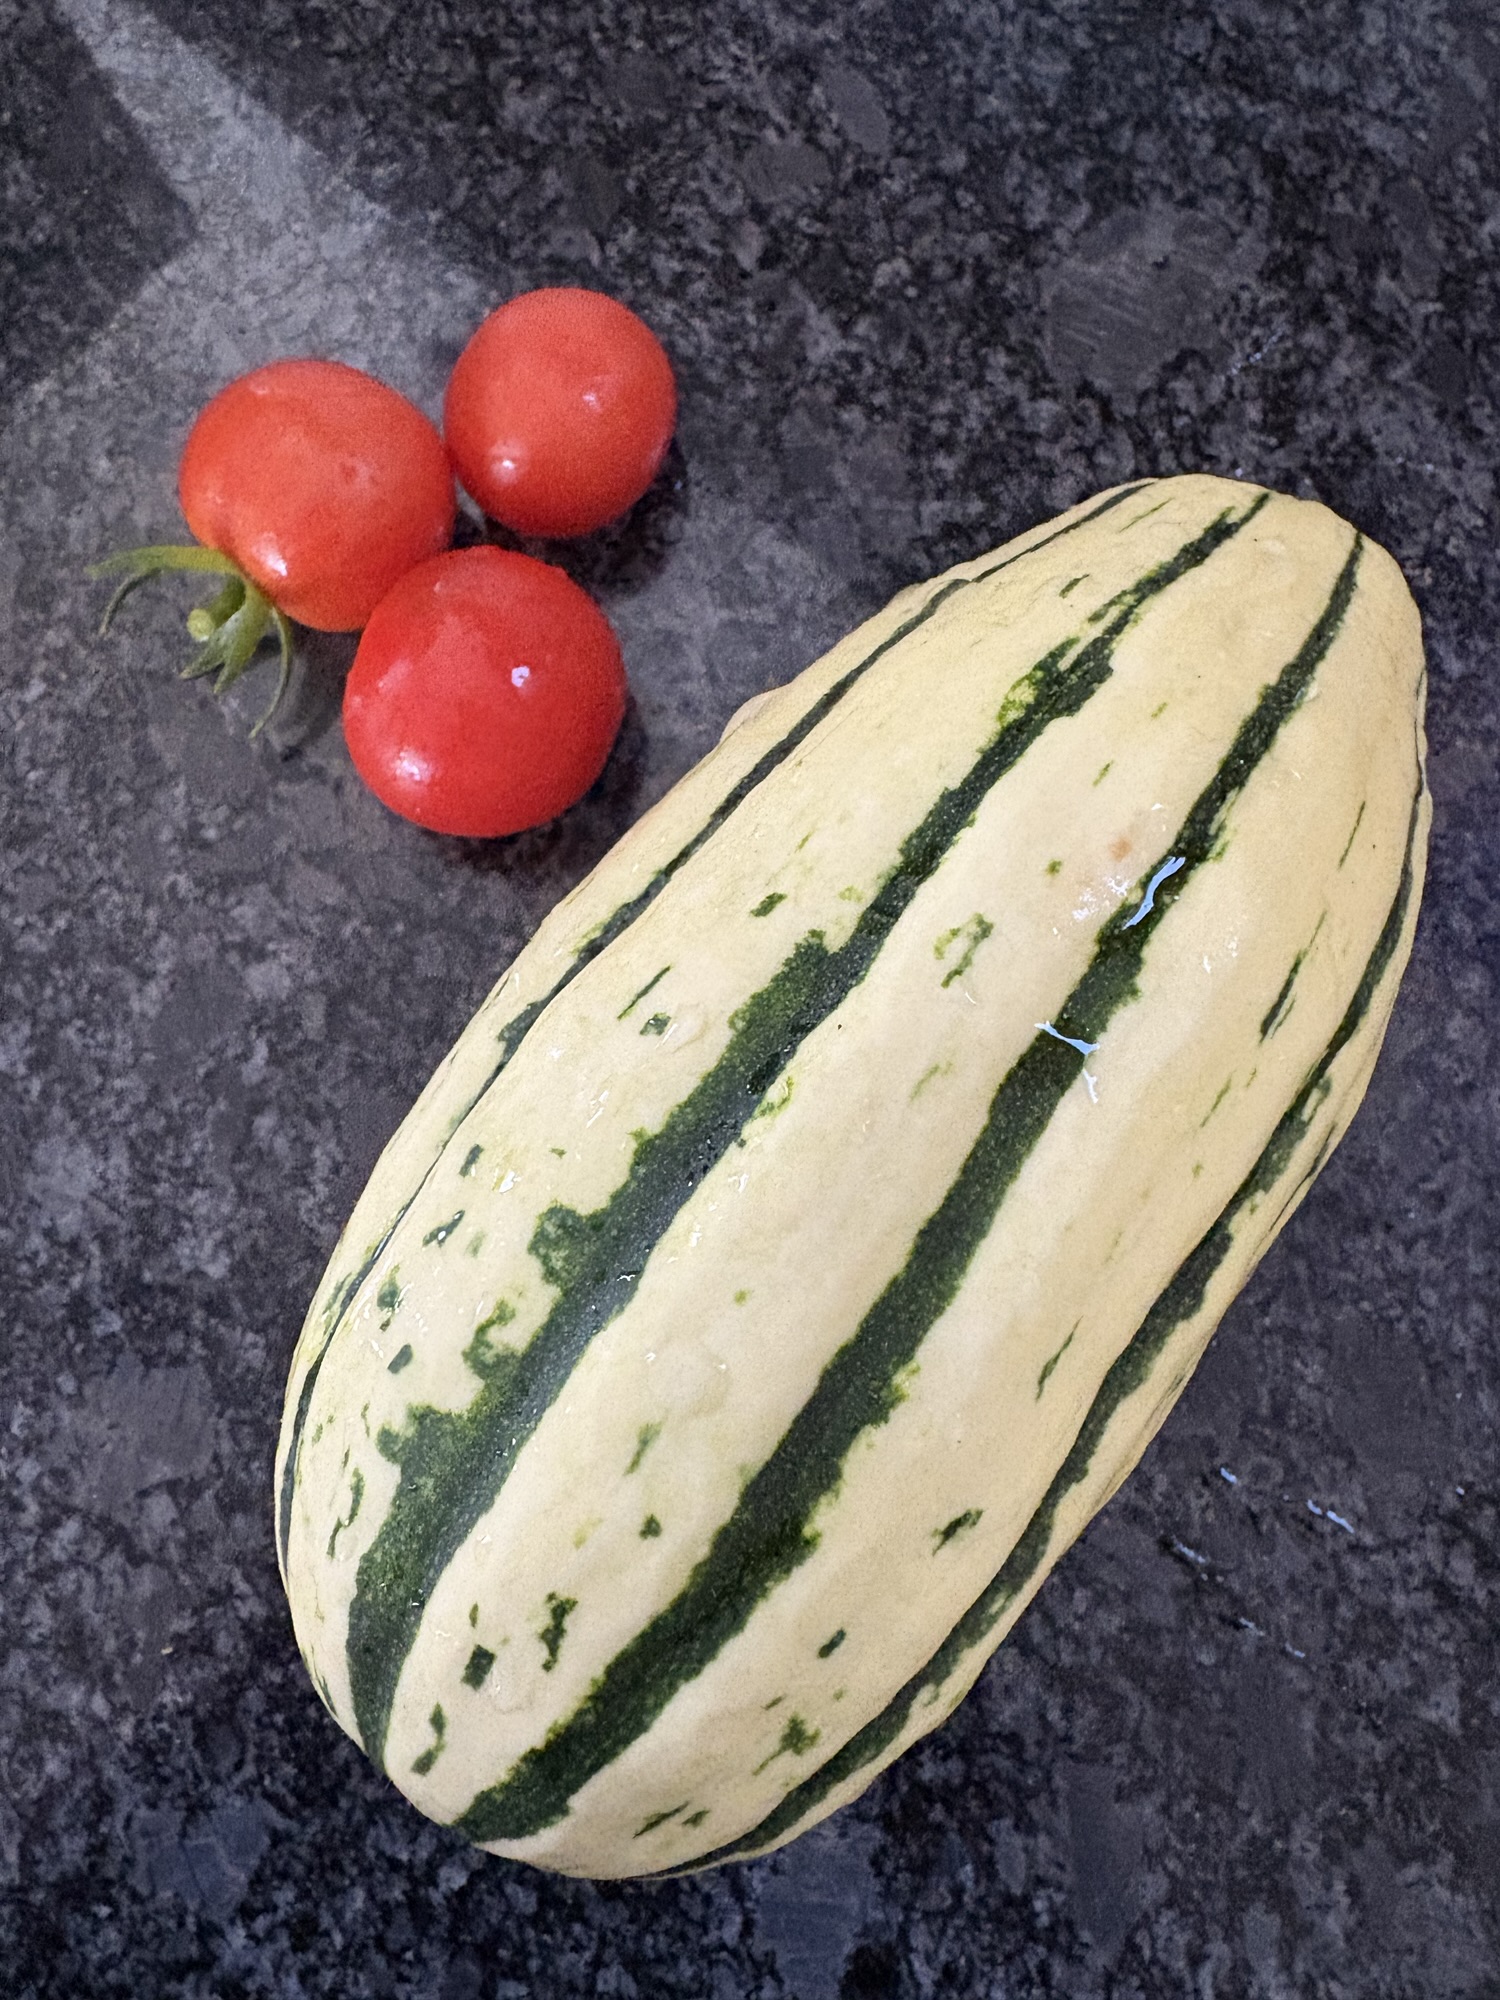
The garden is still giving us food. I picked the first Delicata squash. There are more coming. Tomatoes are coming along too. Peas are still growing and we hope we get fruit before the first frost. I picked most of the lettuces because they were about the bolt. Our garlic is dried and cleaned and ready to store away and use. We need to grow more again next year.
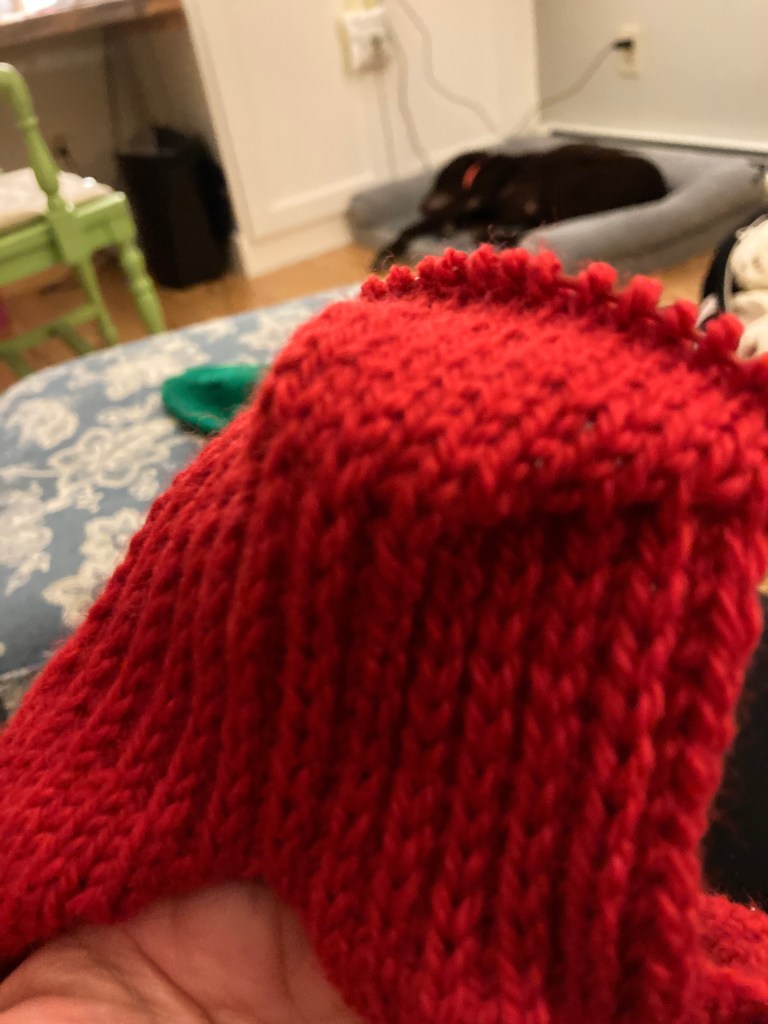
I’ll be taking my Murmuration socks on vacation with my Vanilla sweater and some “purple sparkly” Encore worsted for mittens for my granddaughter and a blue bulky pullover (pattern by Knitting Pure and Simple) in superwash wool. I’ve got two grands to knit for now. Best get going on the tiny knits!
Gone knitting.