Still Knitting … but Secret Knitting

We’ve been having summer-like weather in Maine for the last few weeks. I’m not going to be popular when I say that I would rather have cold, fall weather. But this is New England and it’ll change. This I know for sure. In fact, tomorrow we’re expecting rain and wind and then we’re supposed to get some cooler weather. One customer today even said that she’d heard snow on Wednesday.

I’m knitting away like crazy. At this time of year I always am. I used to plan to make something knitted for everyone in the family. Those days are over because it was killing me. Not everyone wants or needs something that I knit and I’ve stopped knitting like a crazy woman before Christmas.

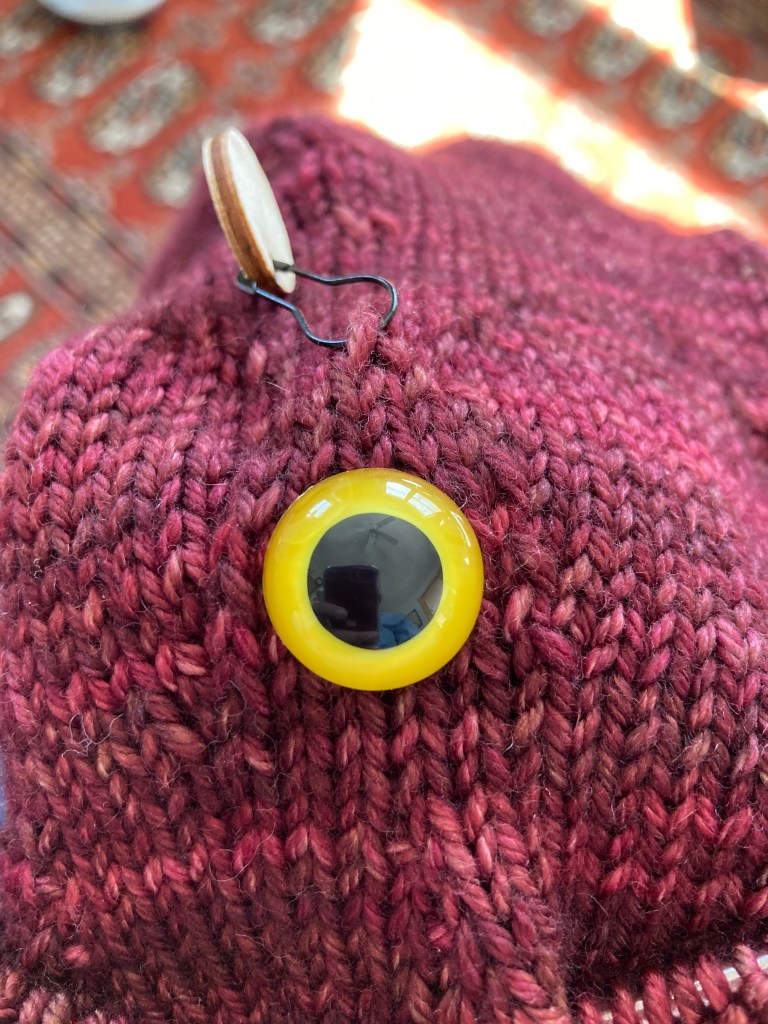
This year I’m making a Christmas stocking and a Christmas sweater for my granddaughter and a hat for my daughter (and another as a surprise for someone very special.) I’m going to have twenty hours in the car when we go to my bonus daughter’s wedding in Washington, DC in early December. I’m hoping that by the time we’re in the car that I will be able to knit a vest or sweater for myself in the car. I only have a minimum of five sweaters’ worth of yarn that I need to knit.

That said, let’s talk about what I can talk about.

I’m knitting three “plain” stockings for my cousin Joan who had a moth infestation. The moths destroyed her childhood stocking and a couple of others. When she called to ask me if she could commission me to knit some new stockings I couldn’t say no. So, I found some green, red and white worsted weight yarn and did a bit of pattern research. I decided to use the traditional intarsia patterns, take away the intarsia and the decreases to the heel and knit a simple stocking.

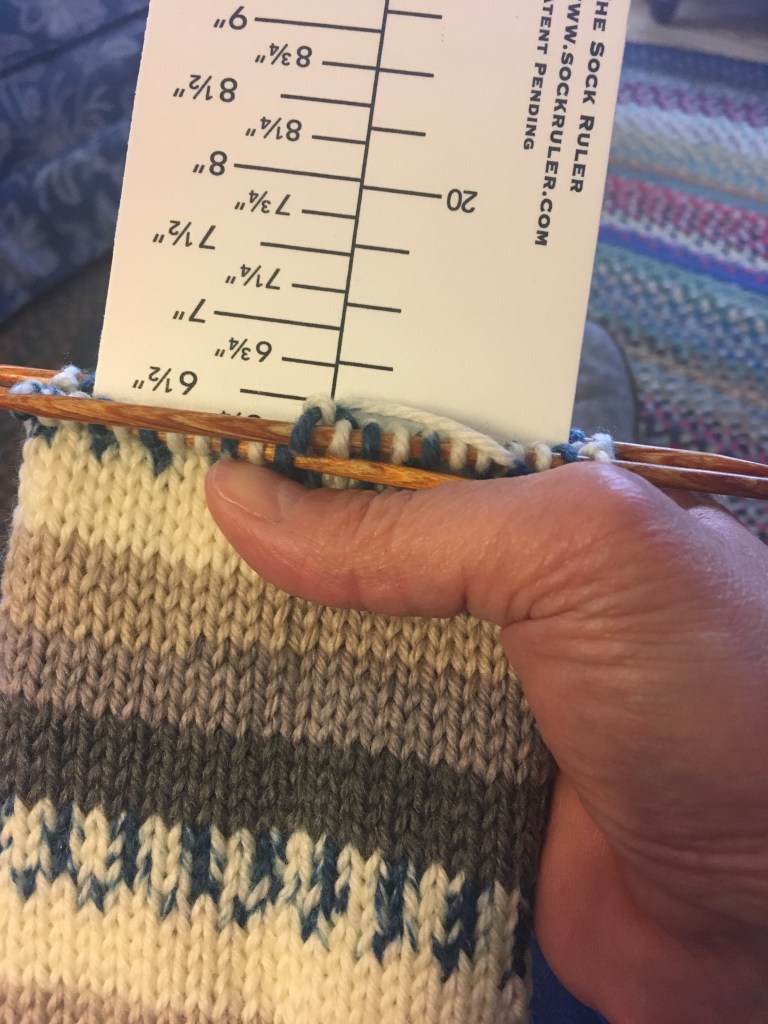
I cast on 60 stitches and knitted the leg of the stocking flat starting with 7 or 8 rows of 2×2 ribbing and then changing to stockinette stitch (knit on the right side and purl on the wrong side.) The reason that stockings are so often seamed up the back of the leg is because they really need some structure and strength there in order to be able to hold the weight of the Christmas morning goodies (if you’ve been very good!) I knitted 84 rows of stockinette stitch (or about 12 inches) and then joined to knit in the round. The first 15 and last 15 stitches become the heel stitches and the next step is the heel flap. On the right side, slip 1, knit 1 across and on the wrong side, slip 1 and purl the rest of the stitches to the end of the row. The last row should be a right side row. When the heel flap is 2 1/2 inches long, we’ll turn the dreaded heel.

Basically, if you’ve noticed, this is the exact same process as knitting a sock but with worsted weight yarn. Not rocket science. Not scary. Just follow the simple steps and trust the pattern. Mine is a very loose pattern, it’s not tech edited or tested. Beware if you choose to follow it. LOL.

Heel turning: on the wrong side, slip 1 stitch, purl 17, purl 2 together, purl 1 and turn. Slip 1 stitch, knit 5, knit 2 together, knit 1, turn. From here on, look at your knitting and slip the first stitch, purl to one stitch before the gap (that’ll be six stitches purled after the slipped stitch), purl the stitches on either side of the gap together, knit one and turn. Now you’ll do similarly on the knit side … slip 1, knit to the gap (7 sts.), knit two together, knit 1 and turn. You’ll continue to slip 1, purl to the gap, purl the two stitches together (one from either side of the gap) and purl 1 then turn and knit back as you’ve been doing. Do this back and forth until all of the stitches are used up. Ending with a knit row.

Gusset time! Pick up and knit 12 stitches down the side of the gusset. Each of the slipped stitches leaves a pretty clear place to pick up stitches. Knit across the 30 stitches on the top of the foot. Last, you’ll pick up and knit another 12 stitches up the side of the second side of the gusset and then knit across 9 of the heel stitches. Knit once around the stocking and then every other round will be a decrease round: at the bottom of the first side of the gusset you’ll knit 2 together, knit across the top of the foot and then knit two together at the top of the second gusset side, knit to the end of the round. The decreases are on either side of the top of the foot only in this part. Once you are back to the original number of stitches, you just knit around and around until the foot measures four inches from the heel flap edge.

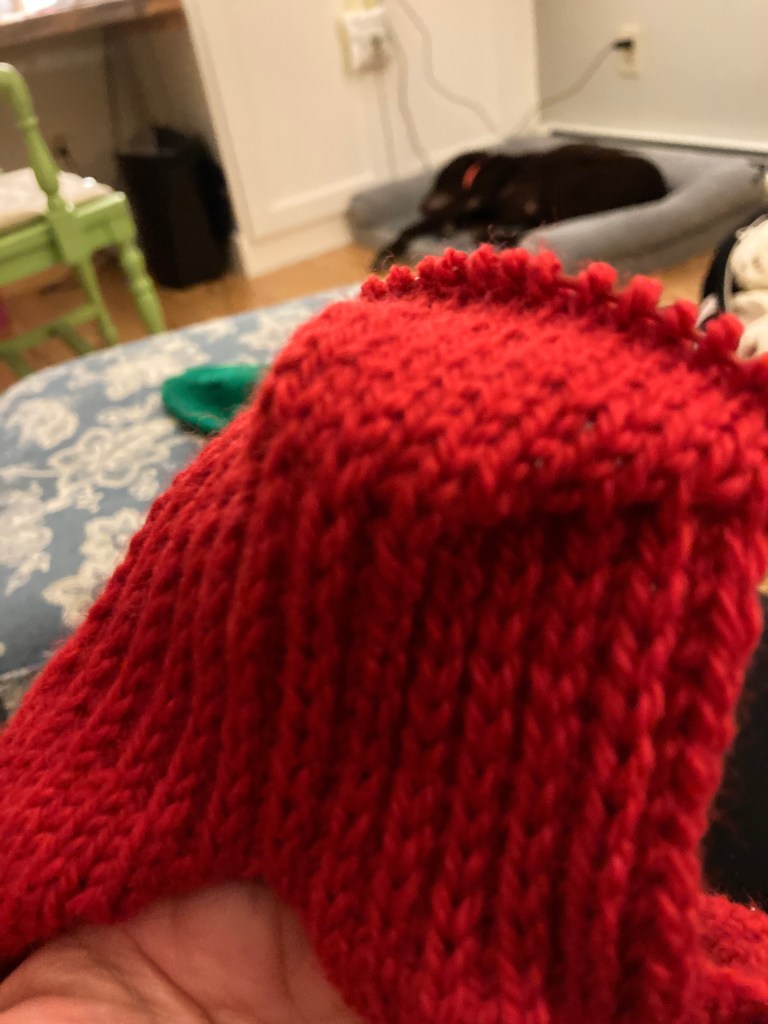
Now there’s only the toe to knit. Again, the decrease rounds will be every other round until there are 28 stitches and then every round until there are 12 stitches. The decreases are in four places on the toe. The beginning of the round is at the middle of the bottom of the foot. Knit 12, knit 2 together, knit 2, knit 2 together, knit 24, knit 2 together, knit 2, knit 2 together, knit 12. You can place markers, use DPNs, whatever works … you are the boss of your knitting! If you’re still using the 16″ circular needle, I’ll place markers at the sides of the sock, separating the top of the sock and the bottom of the sock. The decreases will be made on both sides of the markers. After a decrease round, knit one round plain (with no decreases.) Decrease and knit a plain round until there are 14 stitches on each side of the sock (top and bottom.) Now you’ll decrease every round until there are six stitches on either side and cut the yarn long enough to Kitchener stitch the sides together. Weave in all the ends and you’re pretty much finished.

I hold two strands of yarn (about 24″ long) together and use a crochet hook to make a chain that’s about four or five inches long. Thread a needle with one of the ends and pull it from the outside to the inside of the stocking just under the ribbing and tie both ends of the chain together very carefully and tightly.

I always use duplicate stitch to add the name to the top. Cousin Joanie said it wasn’t necessary but I’m going to add names if only so Santa knows which is which.

I’ve finished one green stocking and am down to the foot of the red stocking. Tomorrow I’ll pick up the white yarn for the third stocking. If I really sit and focus, I can knit these in a couple of days but I knit quickly.

Gone knitting!

How ’bout Some Knitting?

Does it look like an Octopus?

Forever I’ve wanted to make Opus the Octopus by Cate Carter-Evans. Yes, forever! I first saw this pattern in Knitty magazine way back when it was one of the only (if not THE only) online, free, knitting magazines, in the “deep fall” issue from 2014. I was attracted to the pattern for whatever reason … perhaps because I was living in landlocked Ohio, Or maybe not but whatever the reason, I’ve remained attracted to the pattern and I finally bit the bullet and bought yarn for my Opus.

I decided that I loved the Malabrigo colors the best for what I had envisioned for my octopus. I wanted it to be deep rusty red with a peach/light orange underbelly. The pattern calls for DK weight yarn held doubled but I decided to use a single strand of worsted weight (Rios). I chose colors 049 Jupiter (the red) and 695 Peachy (the peach) and I’m thrilled by my choices so far.

First up is knitting the “head” of the octopus. Simple after the initial 4 stitch cast on which was super fiddly. But once past the first couple of rounds, it’s simple. I am knitting on a US 5 needle. In the interest of full disclosure, I didn’t measure my gauge because it doesn’t matter in this case. Nobody’s going to wear this guy and the fabric is tight enough that the stuffing won’t peek through.

I got a bit stumped by the addition of the eyes, mostly because I didn’t have any safety eyes and for whatever reason, I couldn’t find them at work. But I went back to work and DID find them and came home prepared to get moving again. The pattern wants you to knit four eyelids from one strand of yarn … since I changed my yarn weight, I also changed the eyelids … I just knit with my yarn on the US 1 needles and they turned out fine! I may have chosen to make the eyelids a little bit smaller (perhaps cast on two fewer or one fewer stitches to make the eyes open up just a bit but I am satisfied with my finished eyes.

Yesterday I started to knit the underbelly. Again, the initial cast on of four stitches on four DPNs and then immediately starting to double the stitches with increases, is a bit fiddly but I managed through it and am at the point where it’s time to start knitting the tentacles … all eight of them!

The “Seamy Underbelly”

According to the pattern, they want me to knit the legs intarsia-style, flat and then, I guess (because I don’t read ahead in the pattern) I’ll stuff them and seam them? I guess it wouldn’t be a horribly bad idea to read ahead a bit so I have some idea about what I’m going to be doing. I’ll let you know!

Gone knitting.

Finished!

Woo! Hoo! Yay me!!! My very first Covid-19 Pandemic FO! Socks for my neighbor’s big birthday.

I find it difficult to buy gifts for friends. I want to get them something they will love. I put a lot of pressure on myself to find the perfect, most wonderful gift. So, often I am stuck with no good ideas. This time, I decided to give my neighbor a ball of yarn and a promise that I would make her socks.

She traced her foot and brought the yarn back to me a few days ago. Today I delivered the finished pair to her and she loves them. Yay!!!

The yarn is EYC Fair Isle (aran weight) and I used the most wonderful sock pattern, Yankee Knitter’s Classic Socks for the Family (#29). I love this pattern because it provides the best-fitting socks for baby through adult man and you can tailor the socks to the yarn you’re using. In this case, the yarn is self-patterning so I wanted a very simple sock so the pattern shows. (If I’d used cables or patterns they’d have been lost in the pattern of the yarn.)

Every pair of socks that I make, I use my “most favoritest” sock knitting tool, the Sock Ruler. I was given my adult sock ruler by my sister-in-love. I wasn’t sure I’d use it because I have knitted so many socks. I didn’t think I needed it. Well, was I wrong! I use it to measure the length of the leg and the the BEST part is when you’re knitting the foot – and the sock ruler fits down into the heel so you can measure how far you’ve knitted the foot without the fiddly heel/gusset interference! You know, the part where you try to lay the sock flat with three needles and measure from the outside at the end of the heel to the needles? Well, the sock ruler takes all that fiddly stuff out of the equation! You can find the Sock Ruler at Yardgoods Center in Waterville, Maine or online. I wish I had come up with the idea but I don’t make any money if you buy them.

Gone knitting!

To learn more about my knitting projects, find me on Facebook (QueenBeeKnits by LindaWarner), Instagram (@queenbeeknits) and Ravelry (lindar).

Fingerless Mitts in a Weekend – a free pattern

This weekend was Thanksgiving and I decided to cast on a new and very simple project. Something I can make to sell. Well, they’re already off to their new home and I got them started AND finished over the course of the weekend. And I didn’t sell them. My daughter wanted them and I was more than happy to oblige!

Several people have asked me for my pattern. It’s an antique pattern with a lot of little changes.

Fingerless Mitts in a Weekend

220 yards (100g) Worsted Weight wool yarn. For my sample I used Ella Rae Classic Wool in colorway #164; a heathery light purple.

Set of 4 US 4 double pointed needles

1 stitch marker

Lengths of scrap yarn or yarn holders to hold thumb stitches

Cuff: to make a women’s mitt cast on 44 stitches and K2, P2 for 3 inches. You can certainly make the cuff longer but remember you may need more yarn. On the last row (it can be an extra row after 3 inches, don’t sweat it. Just remember what you did so you can do the same on the second mitt) *k1, k1fb, p2, (k2, P2) ten times, repeat from * one more time. Two stitches increased. 46 stitches total.

Knit six rounds plain. (No increases or decreases.)

Begin Thumb Gusset increases:

K1fb, k1, K1fb, PM (place marker) knit to the beginning of the round.

Knit 1 round plain

K1fb, k3, K1fb, SM (slip marker) knit to the beginning of round.

Knit 1 round plain

Continue in this manner, increasing in the first stitch and the stitch before the marker, slip the marker and then knit to the end of the round; knit two rounds plain until there are 15 thumb stitches. (The stitches between the beginning of round and the marker are the thumb gusset, extra stitches to accommodate your thumb.) You need to remember to knit two rounds after the last increase round.

Now thread a needle with some scrap yarn about a foot long. Slip the 15 thumb stitches from the DPN to scrap of yarn (or a stitch holder. I like using a scrap of yarn because I can keep trying on the mitts.) You have 15 thumb stitches on holder and 46 stitches on the Dpns.

Cast on three stitches, connect again for knotting around the hand stitches. Knit all stitches in the round until the hand is as long as you want it to be. I like my hands (mostly) covered so I knit until the hand is about at the first joint of my pinkie finger.

Begin ribbing: k2tog, K1, (P2, K2) to the last two sts, P2. 48 sts total.

Continue on pattern as set (Knit 2, Purl 2 around) for five rounds. Bind off in pattern.

Thumb: slip 15 thumb stitches onto dpns. cast on 5 stitches at the «crotch » of the thumb (where you cast on three stitches.)

Knit 3 rounds plain

K2, P2 around for five rounds. Bind off in pattern.

Make the second mitt just the same.

Weave in ends. Block gently. Or just wear them!

Mind you, I haven’t had these mitts test knit or tech edited. I’m happy to take your suggestions and edits should you find « issues » when you’re knitting.

These are the mitts that I taught last session at the adult education program here. I also taught my students to embroider on the fabric knitted. There are lots of pictures out there of embroidery on knitting. I also used this pattern for these mitts with self-patterning yarn. Be fearless! Have fun!

Gone knitting.

Follow me on Instagram @QueenBeeKnits

I’m also on Facebook: Queen Bee Knits by LindaWarner

I’m lindar on Ravelry

SNOW!

IMG_4053

We had our first snow Saturday. It’s still only October and this seems pretty early but it was thrilling to see! After living in Florida for ten years, and Ohio before that, the anticipation of winter makes me feel like a little kid again!

I’ve been knitting a little bit but I also am very cognizant of needing to take my re-entry into knitting slowly so that my tendonitis (knitter’s elbow) doesn’t return! So, each day I knit for a very short while and then I do something else. On Friday I bought some new supplies to make an embroidered pillow. I purchased the pattern ages ago (seriously, several years ago when I went on the Maine Quilt Shop Hop. I haven’t been out on a shop hop for at least two years. So, the pattern is at least that old.)

IMG_4052

The pillow, if I can get it done by Christmas, will be for my dear husband. I hope he doesn’t read my blog or I may have just ruined a surprise. Anyway, I’ve traced the design onto the white cotton fabric that I bought and ironed on a thin stabilizer. Now I can stitch the design. Stitching  with the stabilizer will slow me down because it pulls the same muscles that haven’t been feeling well but that’s ok.

And I have finished the knitting portion of a little baby sweater. This is a gift for a new baby. I can’t give too much information but it’s the Zip Up the Back baby sweater. (This pattern is a free pattern that we have at the Yardgoods Center where I work. I am not sure if it’s a Ravelry pattern or not but if you happen to read this and want a copy, I’ll send you one from the store. Just ask!) All I have to do is get a zipper and sew it in. (And sew in all the ends!) It will be sent off as soon as I get it finished and I hope it will be a good surprise. Meanwhile, another of my daughter’s friends has had a baby and I feel like I need to knit something for him, too. I may knit this sweater again. It was quick and easy and I really like it! I made this sweater in Plymouth Yarns Encore worsted in the Ravelry Red colorway. It took two skeins.

IMG_4047

I continue working very slowly on the Frosting shawl in Manos Del Uruguay’s Alegria yarn. Very slowly. It’s difficult to knit only a couple of rows a day but I know it’s what I need to do to heal completely. I am getting there! I am eager to be all better and back in the saddle. I have a shawl/scarf that I “owe” to a friend as a trade of services. I’d love to get it started for her!

No Christmas knitting from my house this year!

Queen Bee’s Injured Wing

beewingI may have an injured wing but I’m still knitting!

My right shoulder has been hurting for a while now. I have done everything I know to help it but when I can’t put on a shirt/jacket/coat without a problem and I can’t take off my bra without pain, that’s the last straw. Thursday after work I went to a massage therapist for a deep tissue massage and it has helped. I have some bruising … I asked her to use the full force of her skills against the knots in my shoulder, arm, and anything else that was “tight”. So, this week I am recovering and working on stretching the muscles and opening my chest muscles. Good news is that I can put on my deodorant but I have a long way to go.

I’m working on a couple of projects. Sample socks for the adult education class that I am teaching this spring. The class is “Socks 101”. We’ll be knitting our first socks in a worsted weight yarn. Preparing to move to smaller needles and finer yarn. I’m knitting my samples in Plymouth Encore Worsted in a very pale yellow. Light yarn reveals the stitch details for my students.

IMG_2447
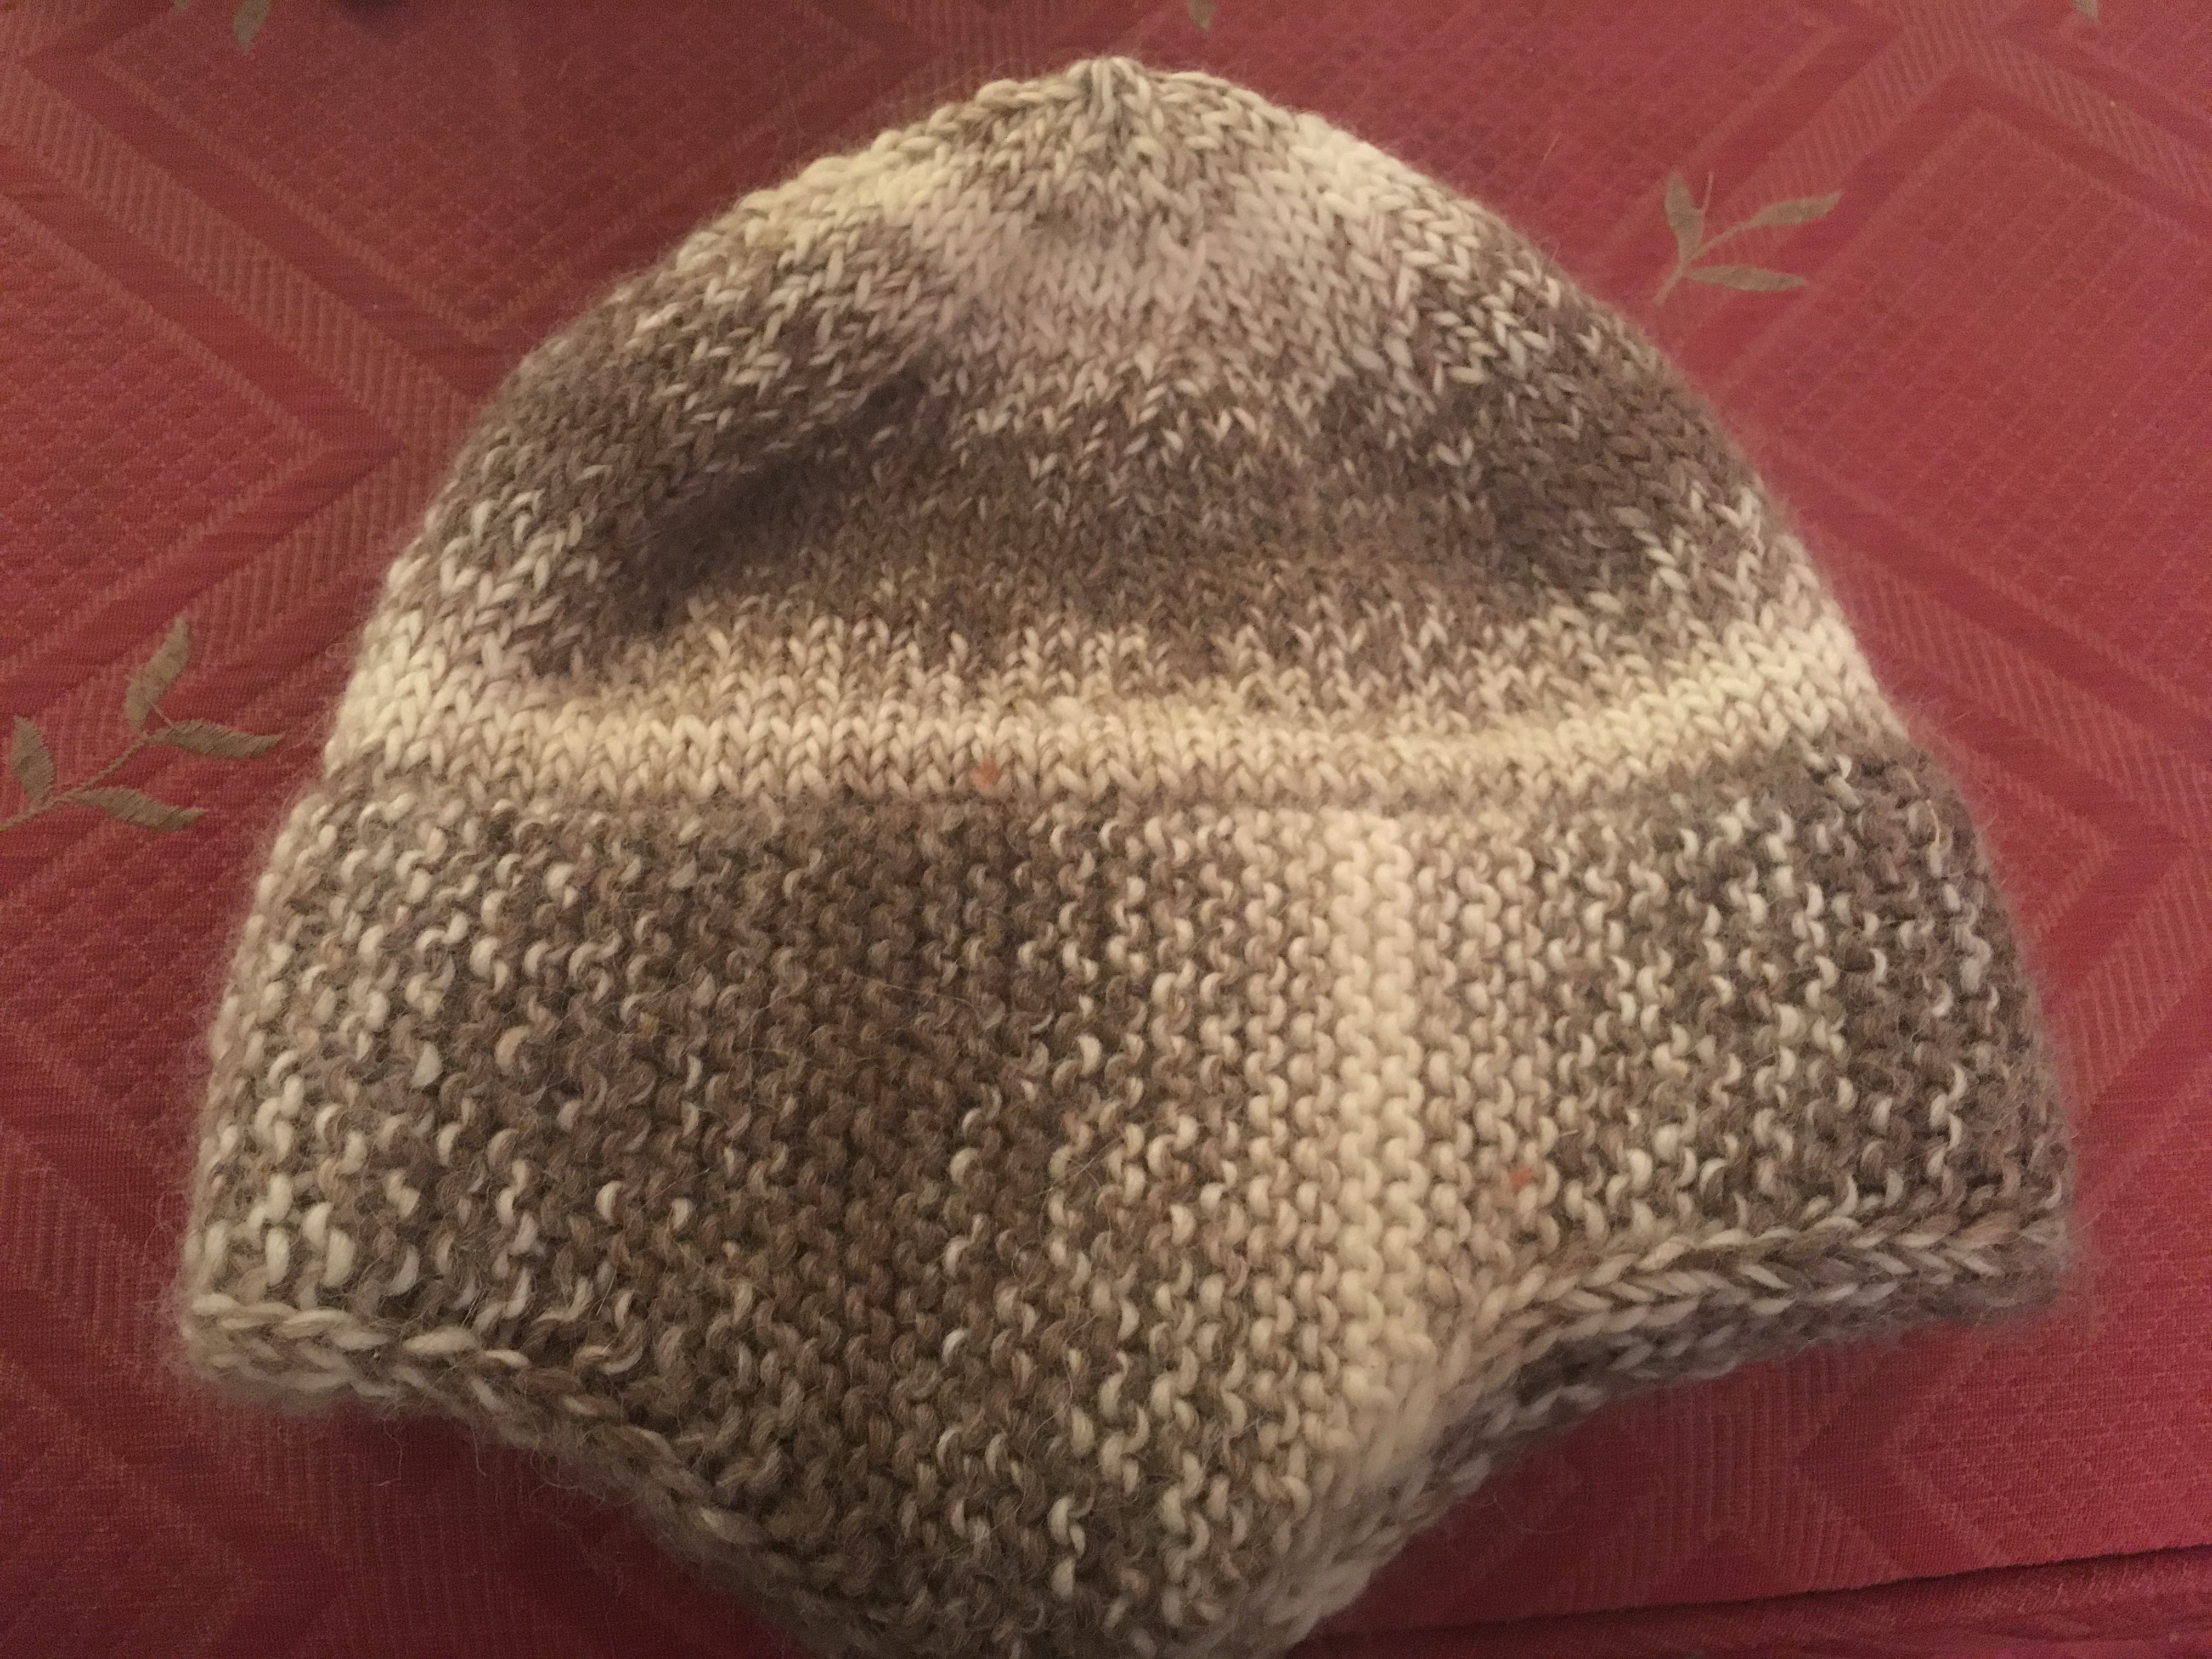
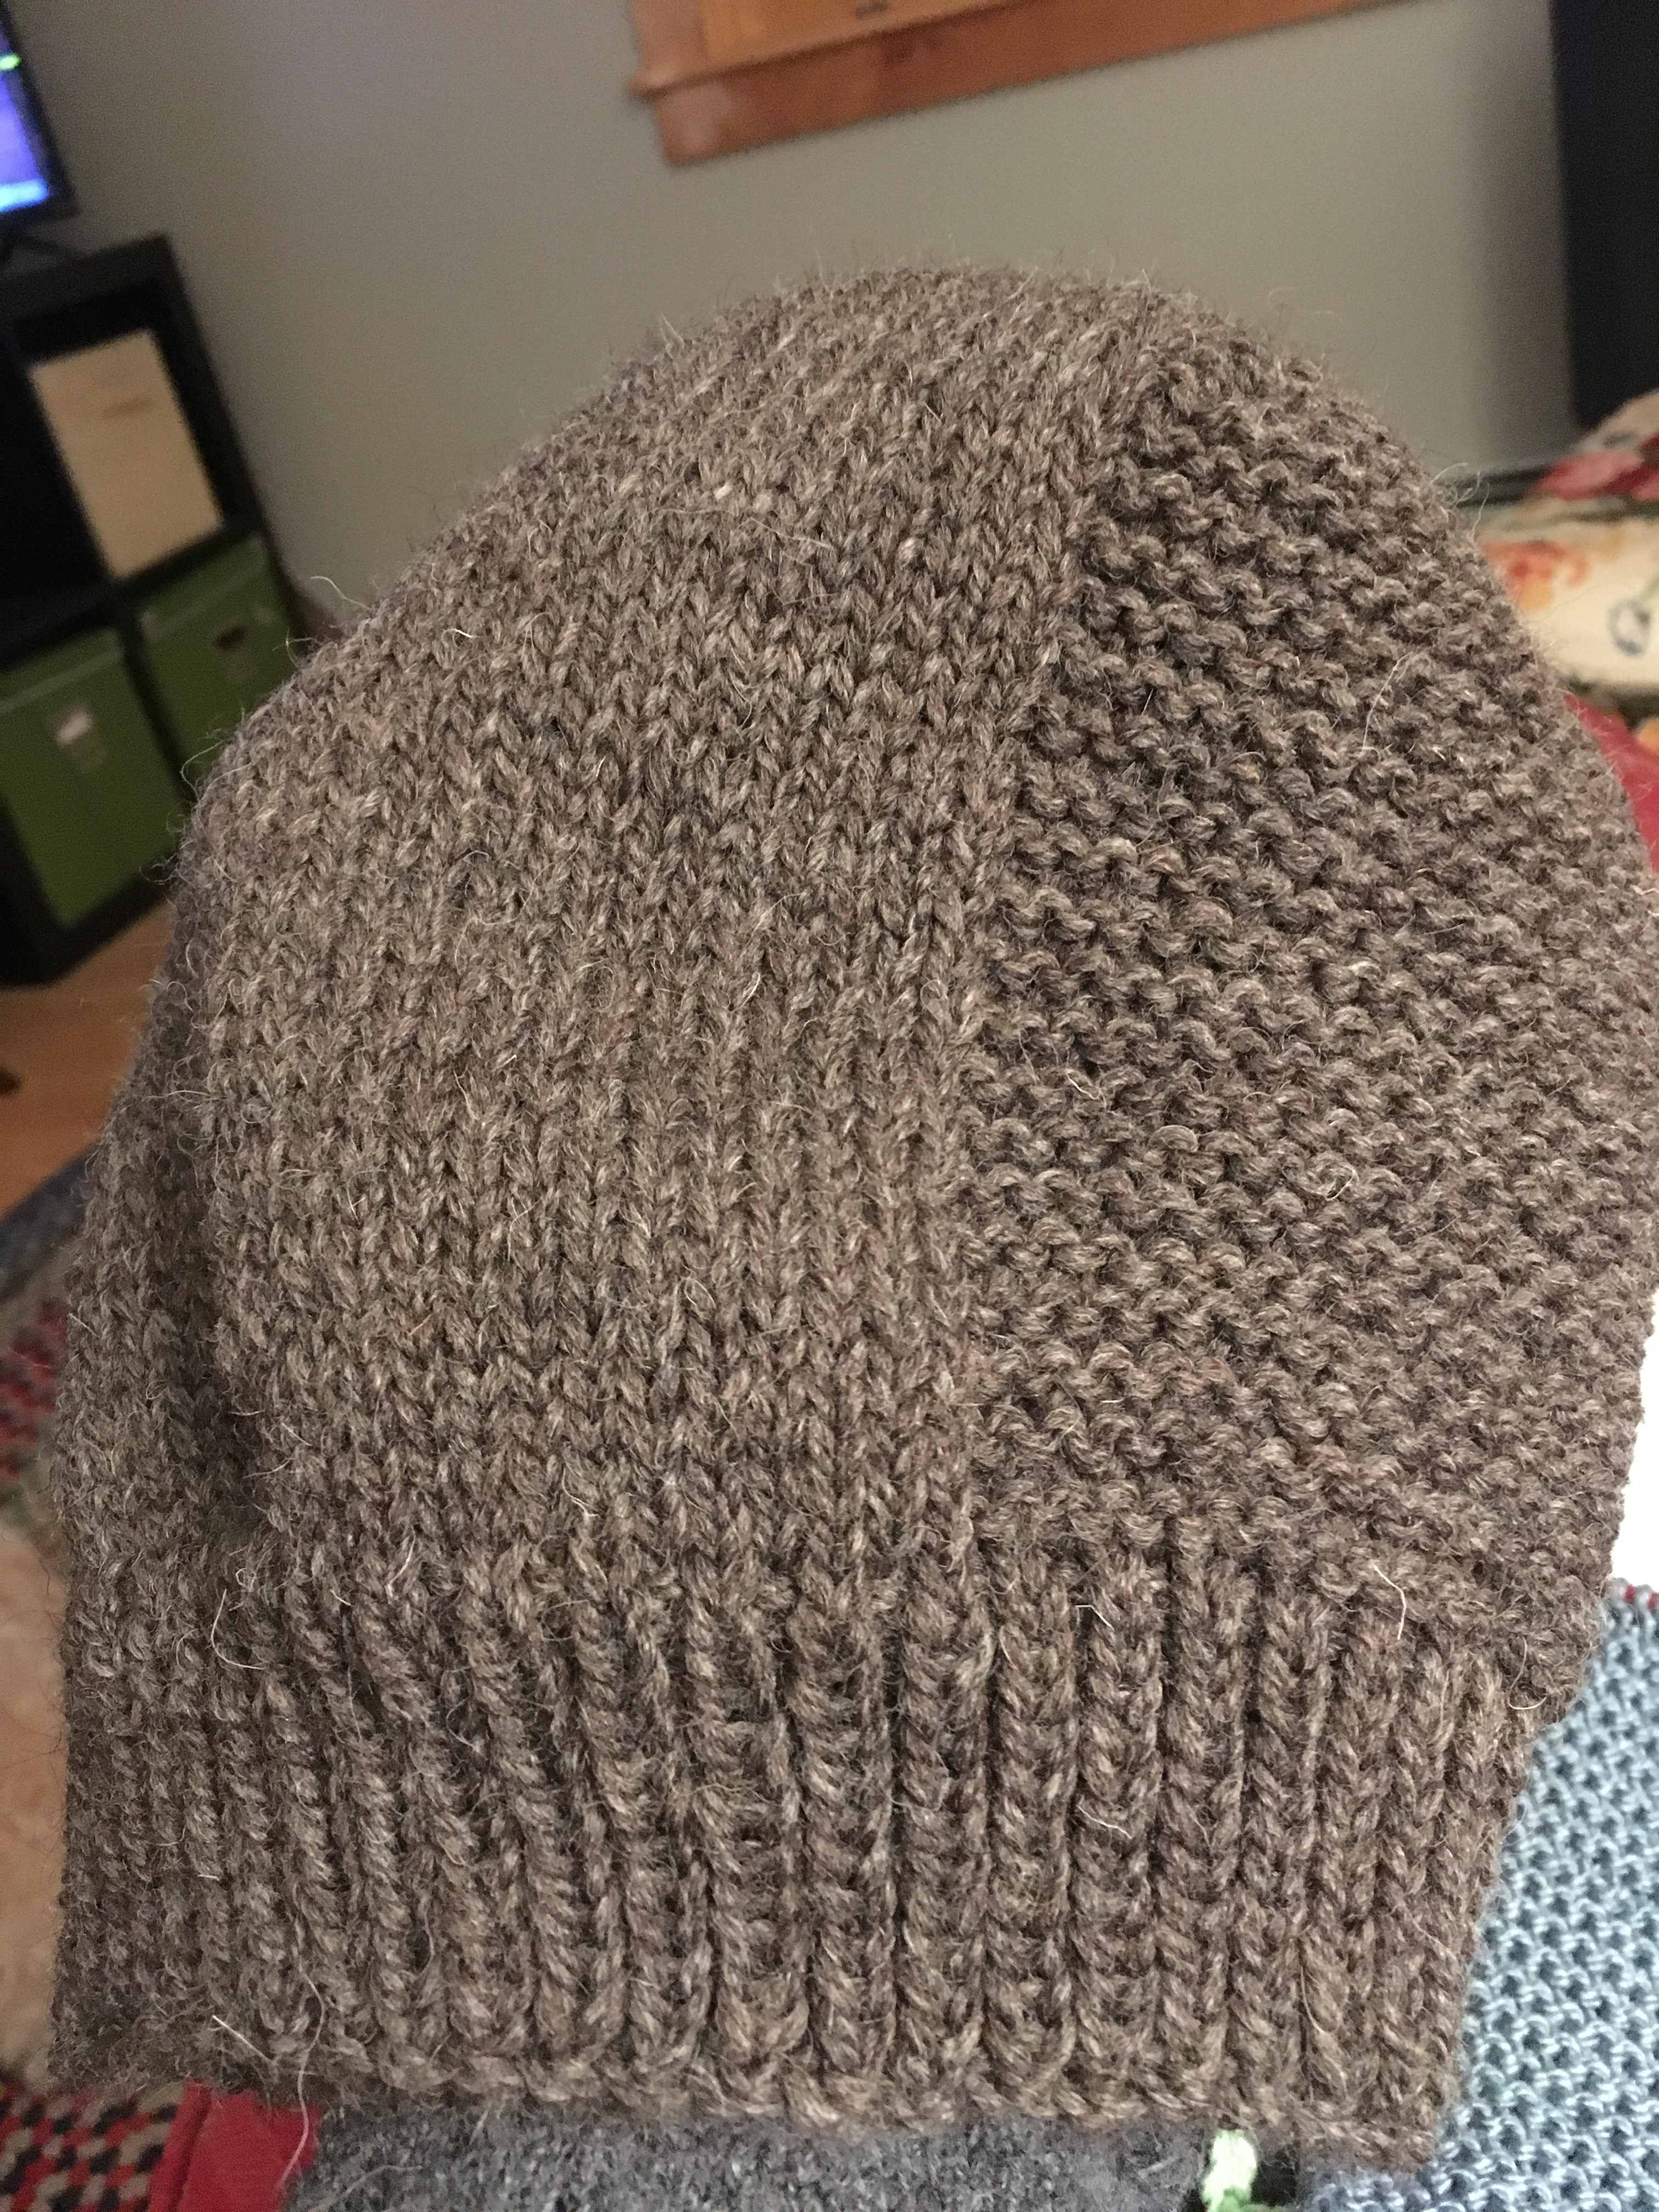
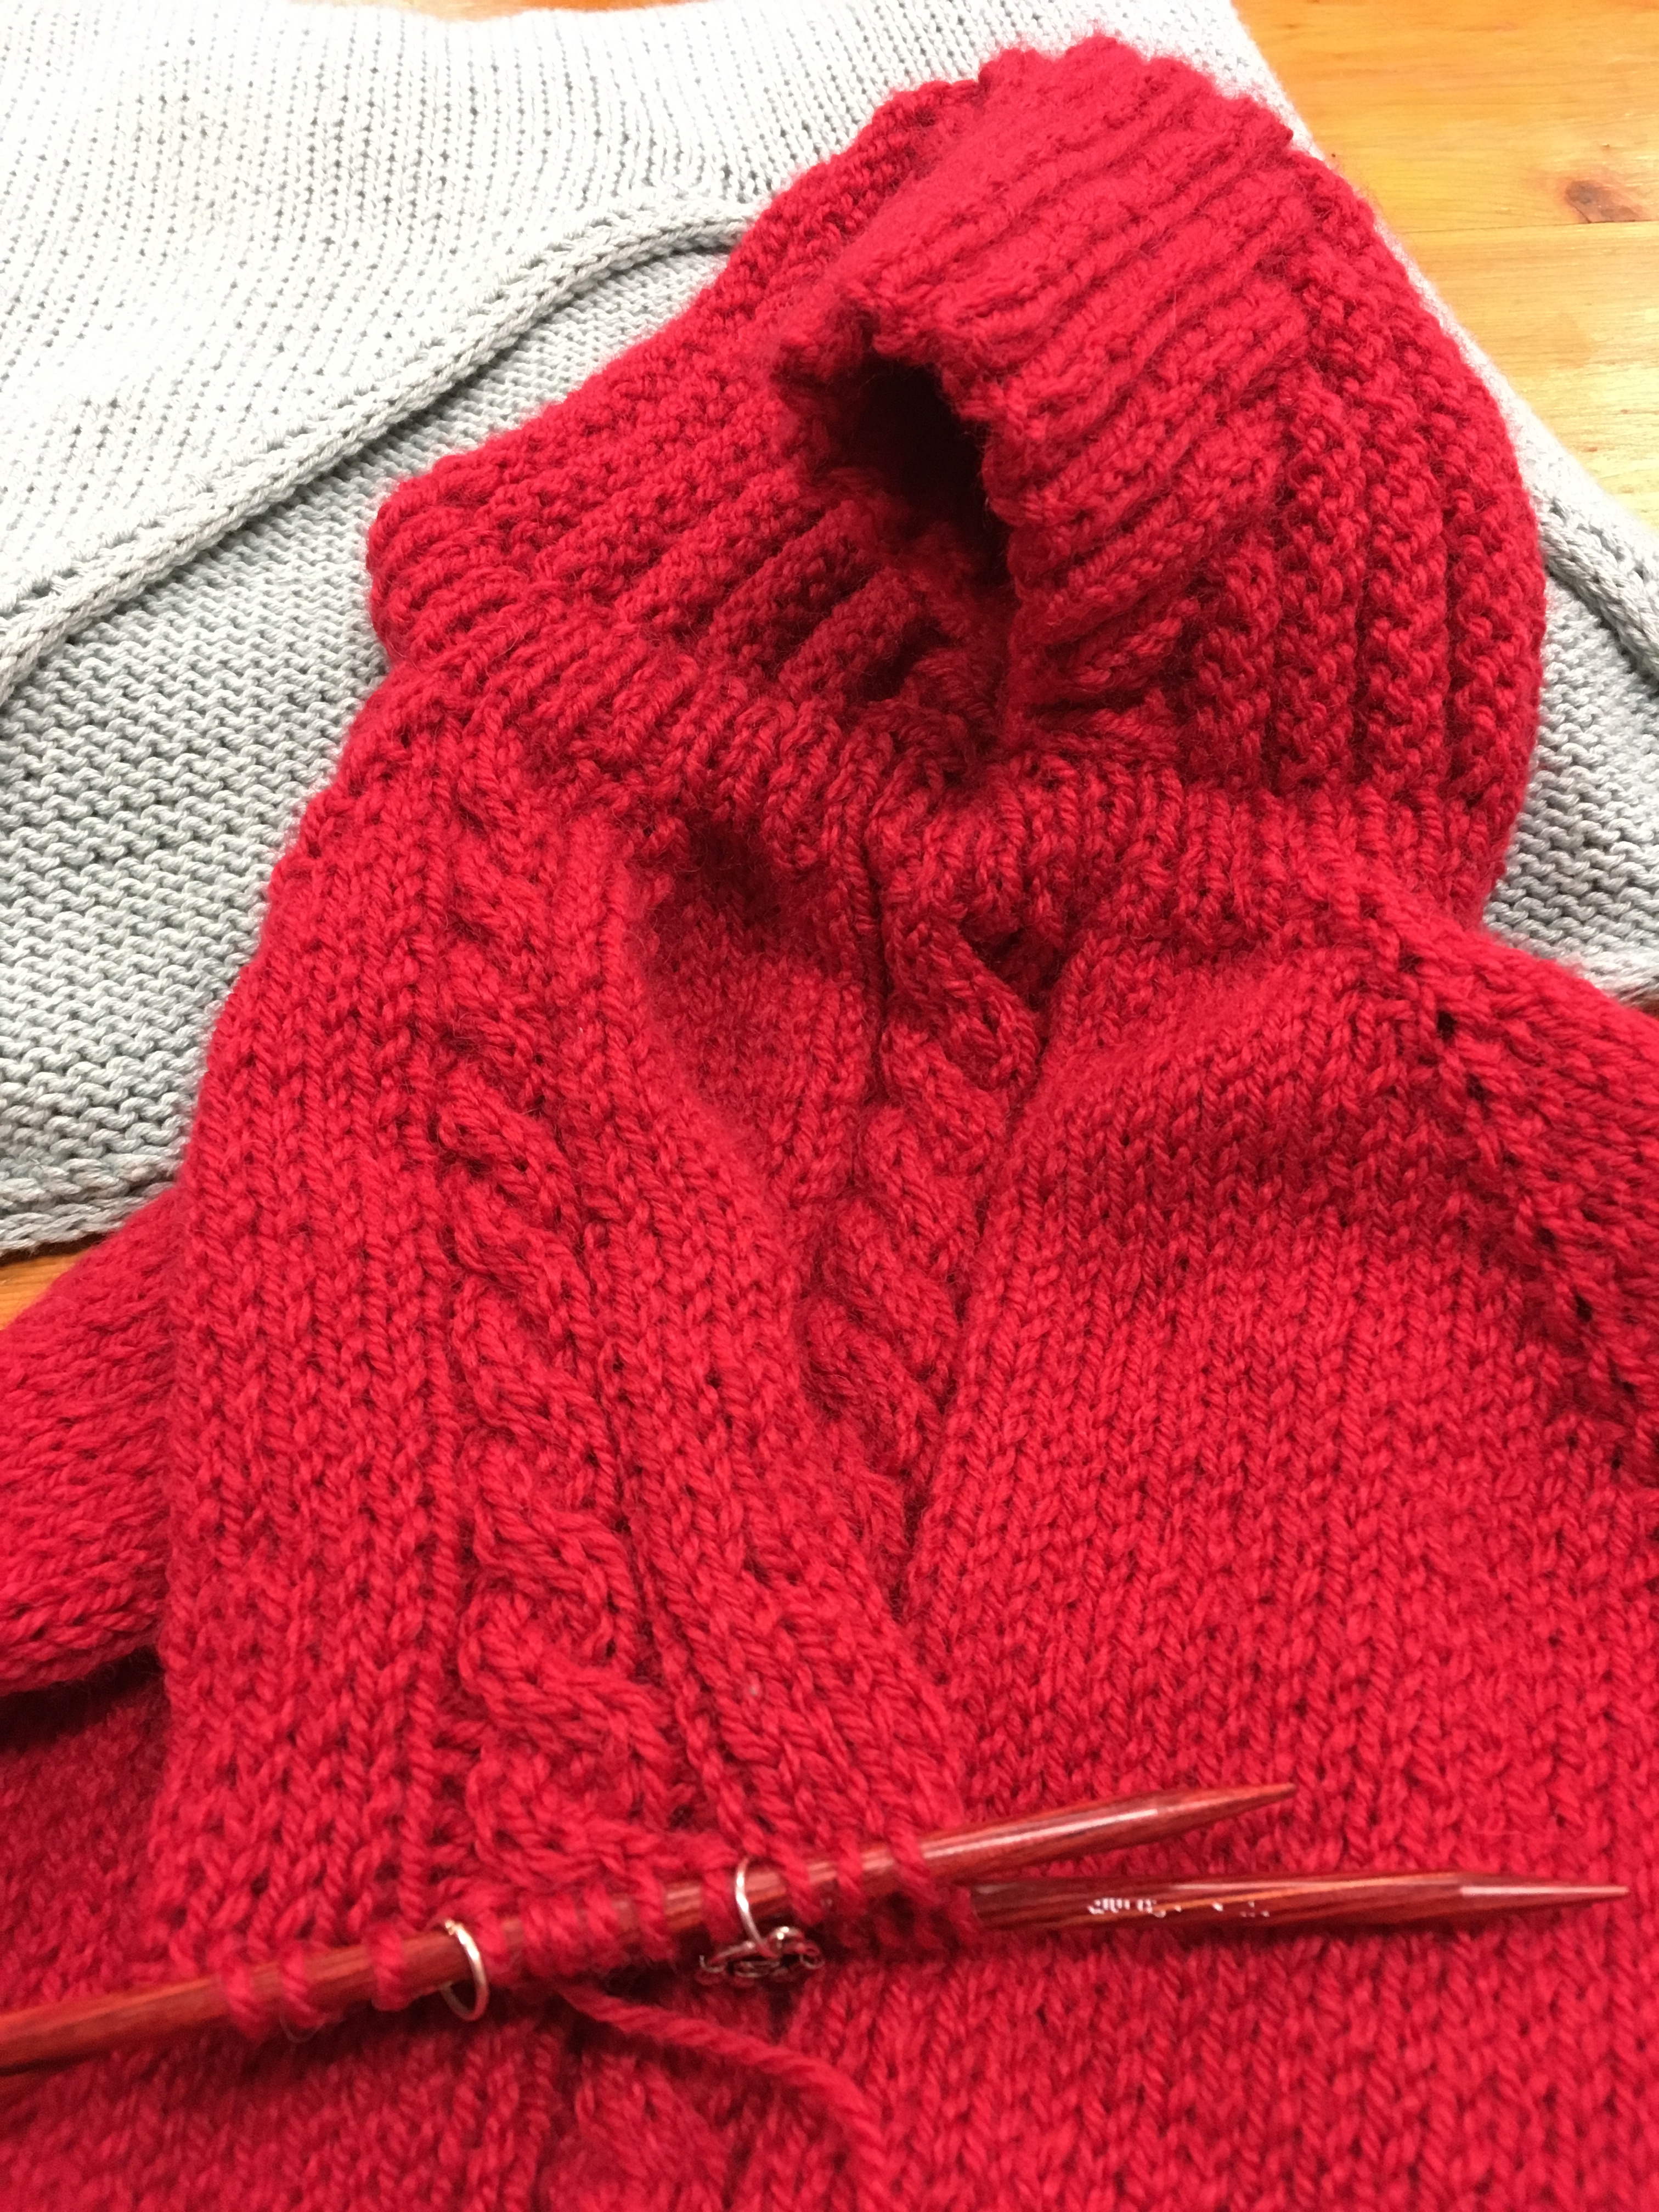
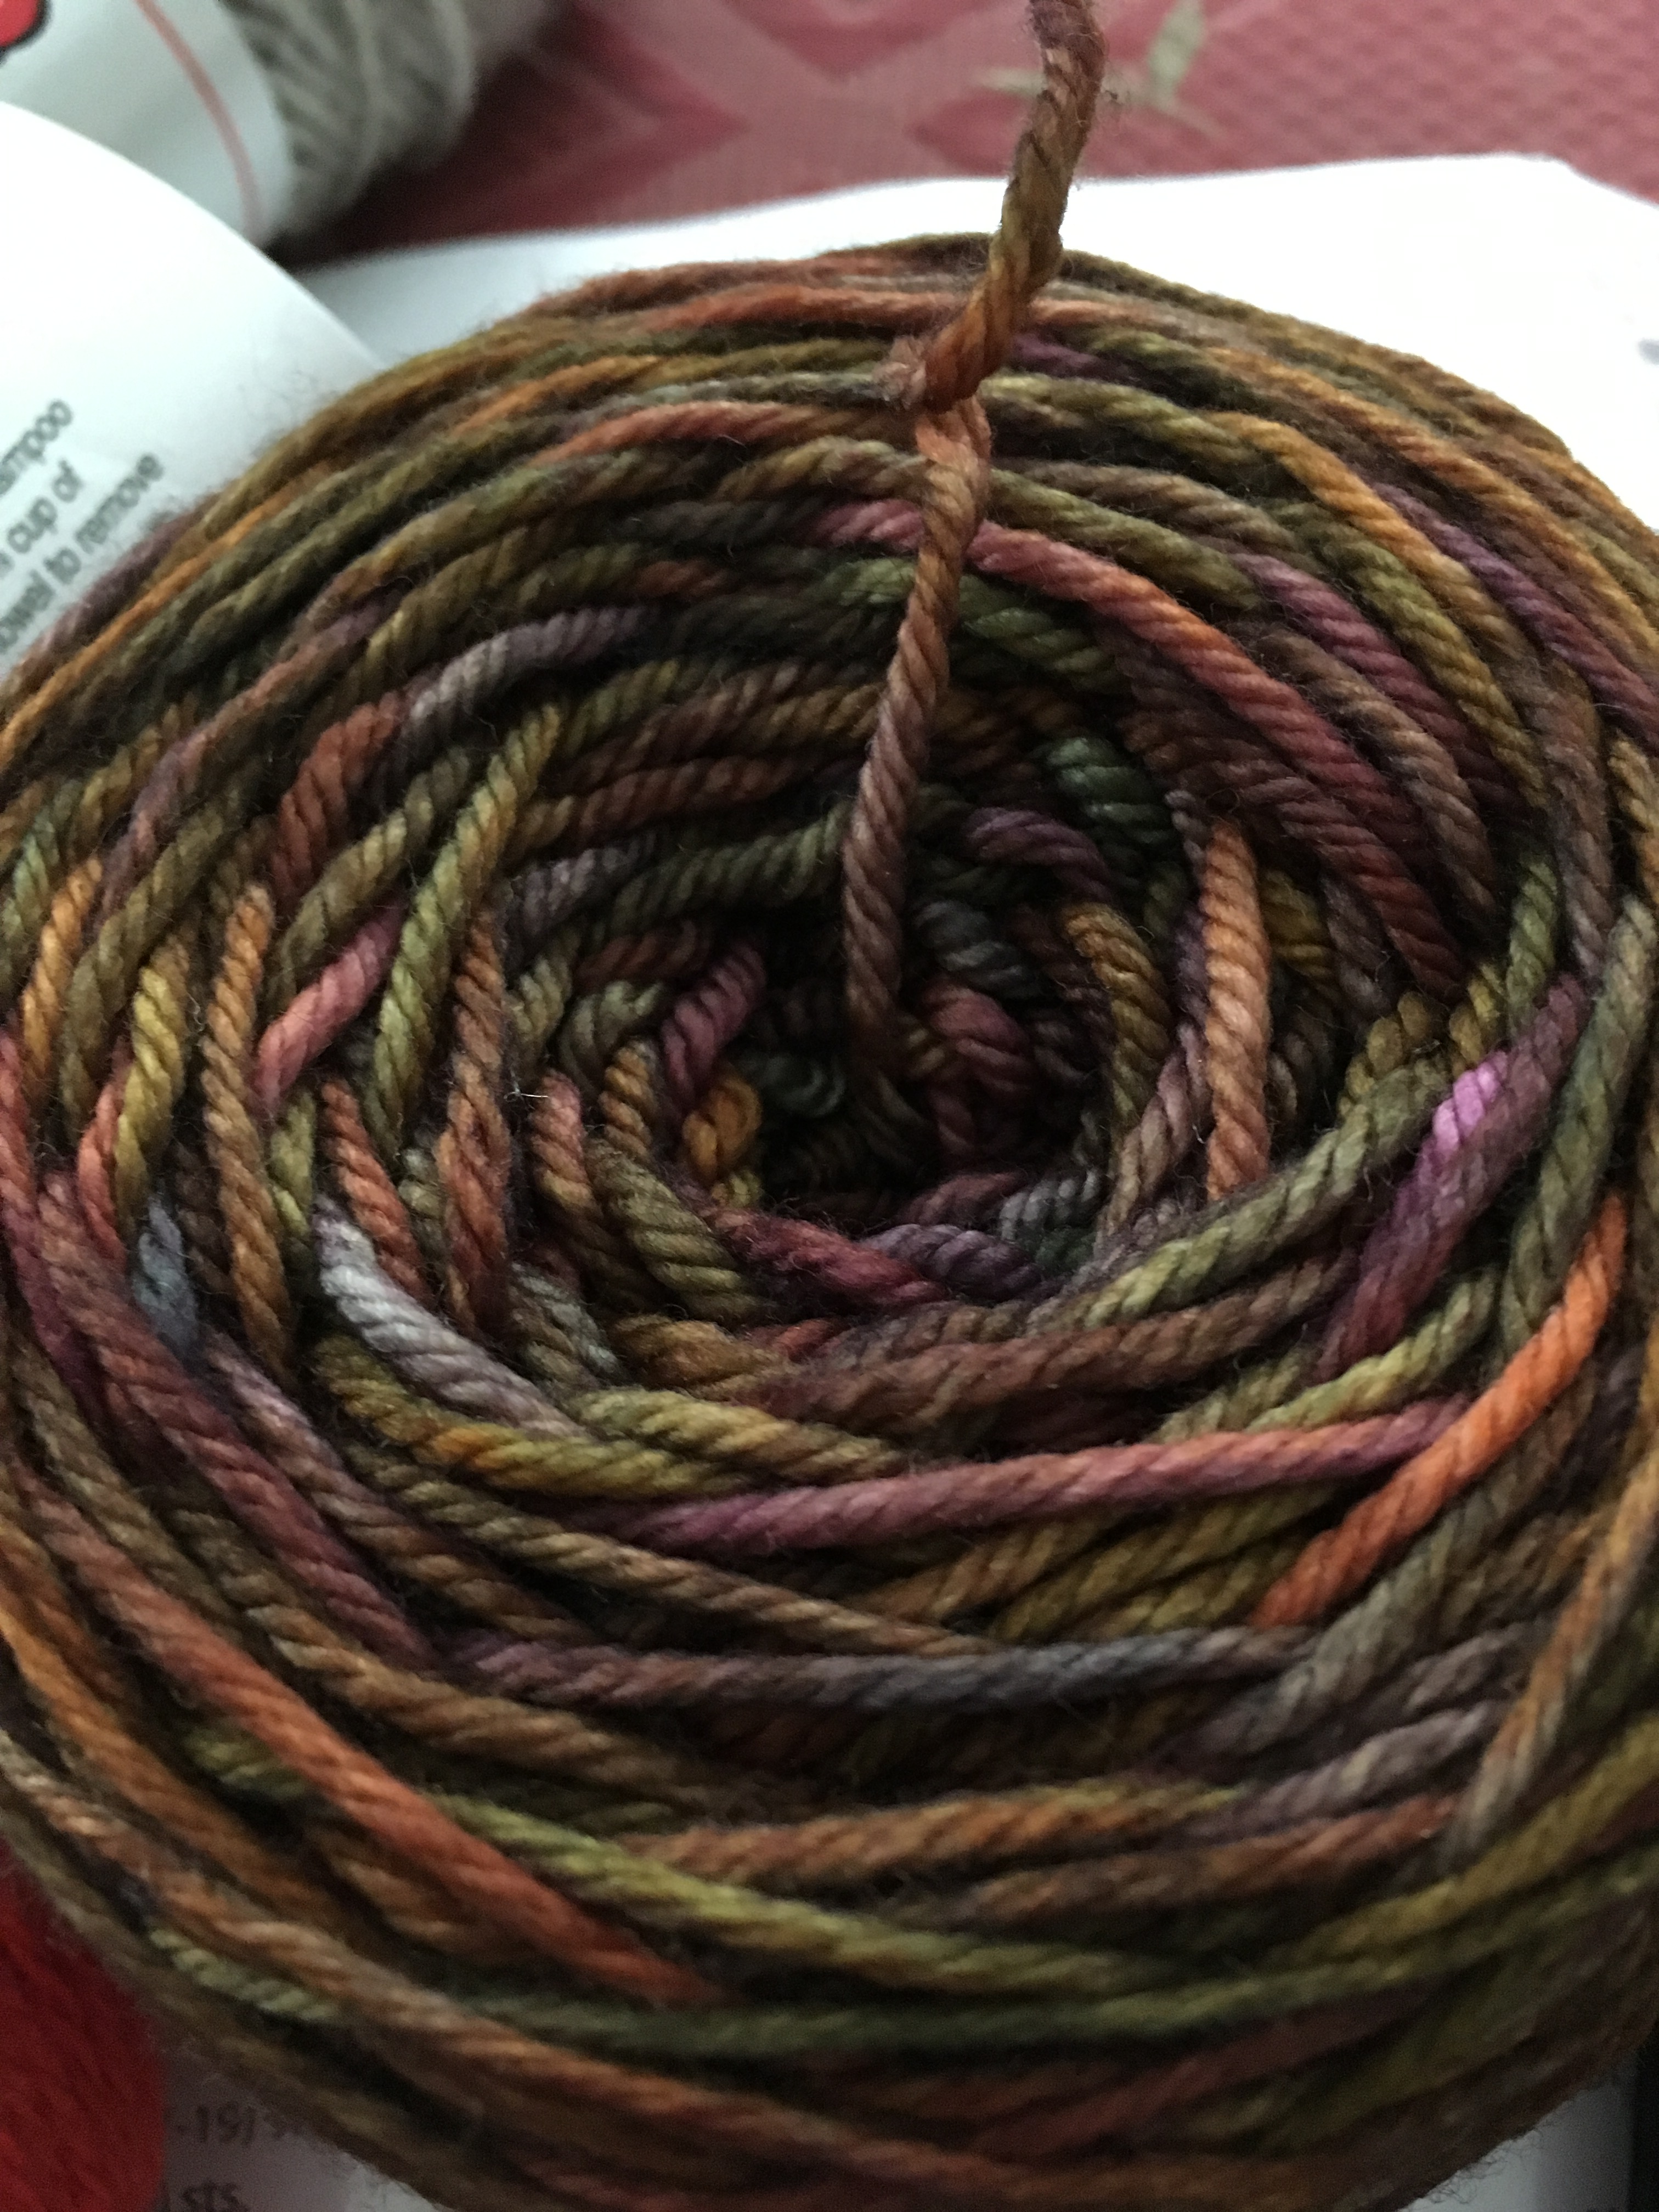
I have nearly finished a 1898 Hat for my dear husband and valentine. I’m knitting it in Malabrigo Rios in the Piedras colorway. It will match his scarf that I made last year. He works outside (in Maine, in the winter, in all kinds of weather) and the doubled garter brim of this hat ought to keep his ears warm! This yarn is absolutely amazing and I hope he’ll love it as much as I love him. He takes such good  care of me. I can’t imagine life without him.

IMG_2388I have a scarf on the needles, too. I’ve been wanting to knit the Zick Zack Scarf for a long time. We have a sample in the shop that I have always liked and chose to do it in the “original” colorway. I’ve gotten half-way through the project and find it monotonous at best. The pattern is the same row throughout and it’s even repeated across the rows. But the color changes in the Lang Mille Colori Baby yarn is exquisite and I love the way it looks. I’ll keep plugging because it’s really bee-utiful.

I finished one of the pair of my Forget Not Mitts. This is a kit put out by the Alpaca Yarn Company. I chose a kit with a kiwi green and a variegated purple/pink/green. I love the colors and the yarn is really nice work with but there isn’t enough contrast between the two yarn colors and as a result, the argyle pattern on the front of the mitt isn’t particularly clear. I love the broken rib and the 1×1 vertical stripe but I am bummed about the argyle. Oh well. The second one won’t take too long to finish and they’ll keep my hands or someone else’s warm in the spring or fall.

I have been plugging along on my Camden Hills Poncho and if I was to sit and focus on it for one day, I’d have it finished. I’m working on the back of the poncho and am nearly to the shoulder decreases and neck. I’ll get it done but have to finish hubby’s hat first … Valentine’s Day is the day after tomorrow.

I bought all the yarn for a fair isle yoked cardigan. I’ll be knitting my Ellen Cardigan in Berroco’s Ultra Alpaca. The main color will be navy blue. I’ll write more about it later. I have also lined up a couple of other sweaters. A green wool using Ella Rae Classic Wool for my husband and something wonderful for me in Malabrigo’s Rios. I am thinking a boxy pullover for this one. More about each of these as I get the first projects finished up!

Details of all of these projects and more are available on my Ravelry project pages. My Ravelry name is Lindar.

Gone Knitting.

Starting the New Year off with FOs!

IMG_2283

First finished object is the Ruche Beret by Susan B. Anderson. I love this hat and hope that the new owner will wear it through some challenges and into a lifetime of good health. I knit this for a friend from college who has a friend going through chemo treatments. I knit this in this pretty beige-y taupe-y color and it’s a dk-weight yarn, Plymouth Baby Alpaca DK. I love knitting with this yarn! It’s so soft and will feel so good on a “naked” head. The best thing about this hat is the simplicity of the design. I just love it.

IMG_2257

Next up, the 1898 Hat. This is a free pattern on Ravelry and calls for a worsted weight yarn and US 7 needles. I started knitting with the needle as in the pattern but it was too small. So, I changed to a US 8 and the hat is lovely! I knit with the customer’s Cascade Yarns Eco Duo. Another super soft yarn and it will be so warm. The construction of the hat is a little bit different – the “cuff” is knitted in garter stitch with slipped stitches that is folded in half and grafted into a “headband”. Stitches are picked up around the cuff and the hat is completed in a more traditional manner. The customer was so happy that she’s asked me to knit another one out of Brown Sheep Lamb’s Pride. Stay tuned!

IMG_2273

Last but not least, a baby blanket for my sister-in-love. They have an employee who is having a baby this month and she asked me to knit a blanket. I love stripes, so this was my suggestion. Knitted in Plymouth Encore (navy, white and bright green) to make life easier for the new mom (it’s washable and dry-able!) This is a simple knit – almost boring, actually – two rows of each color, carrying the yarn up the side. The green is an i-cord edge. I love the way the green pops! It’s blocking on my guest bed (sans sheets after Christmas) and it will be sent very soon.

Speaking of Christmas … I haven’t shown you all of the Christmas knits that were finished and given.

IMG_2149

An eyeglass case in Berroco Comfort DK (red and green, obviously!) The pattern is Sweet Sunglasses Case by Ambah O’brien. This was a fun little something to knit for my co-worker who is super sweet. I will make more of these. The Comfort yarn is very soft and won’t scratch glasses … it could be lined but I stink at sewing.

IMG_2129

These are really a better and brighter blue with a bit of sparkle and were sent to my adorable mentee. I met this darling girl when she was ten years old and I was her mentor at school for a couple of years before she moved about 2 hours away. She had a rough transition and I adored her so I traveled to meet her for lunch at her new school every week. Zip ahead and she’s now a beautiful teenager and I still adore her.

Pattern is Holywood Mitts and was a free pattern at our store. I knit these in Holywood by Cascade Yarns. It’s just enough sparkle. And I loved the button that I found to serve as a ring!

IMG_2048

Wow! This is a terrible photograph! These are alpaca fingerless mitts knitted in Cascade Yarn’s Eco Alpaca in black. The pattern is Maize by Tin Can Knits. I love, love, love Tin Can Knits designs! I made the mitts a bit longer than the pattern called for because when I am driving I want to have the fabric of fingerless mitts between my hands and the freezing cold steering wheel. Most fingerless mitts are a bit too short. I hope my son-in-love loves them. I figure that they’re classic enough that they’ll go with any coat in New York City. Right?

IMG_2047

Another questionable photograph but these are the felted slippers that I made for my step-daughter. (I don’t love that “title” and will need to think of an alternate term for my husband’s wonderful daughters.) Anyway, I made these for her for Christmas at her request. Her favorite color is blue so I chose two shades of blue Cascade 220 Heathers. The pattern is Fiber Trends Felted Clogs by Bev Galeskas. I’ve made several pairs of these for different people and they are fun to knit, interesting construction, and they’re very cozy, too.

IMG_1790

I made several of these hats! This is another Tin Can Knits pattern called Barley. I made a trial Barley for my husband and he loved it so I made one for all the boys in the family for Christmas. This one is Plymouth Yarn’s Homestead in Brown Heather colorway. The other three, for the NYC boys were knitted in Berroco Ultra Wool in black. All city people like black. I like black, too. I love the Ultra Wool! it’s a wonderful super wash wool and I am looking forward to seeing how it holds up to the washing machine!

IMG_0390

Two more! For my other step-daughter, a cowl made with Universal’s Bamboo Bloom in shades of pink and Wisdom Yarn’s Poems. I love the Hanassaku Cowl pattern, too! It’s fairly simple pattern is easy (-ish) to follow. I say “fairly” and “-ish” because it always seems to me that when I let myself believe that something is easy, I always make mistakes. I started this cowl twice because I assumed that I knew what I was doing and I also pretended that I could count! Needless to say, I couldn’t do either! It was better on the second try! I started my cowl with the Poems and ended with it, too. Mine is not nearly as wide as the pattern suggested. I used one skein of each and knit until it was gone. I love it and I hope she does, too.

IMG_2077

I used a Top This! Hat “kit” to make this little crocheted lamb lovie for my dental hygienist. Well, not for her, exactly, for her new baby. I am going to visit her next week and will deliver it then. The pattern is a free pattern that I found at the shop (Yardgoods Center, my LYS). I started to knit the pattern and didn’t like the way that the fabric felt. I decided to try to crochet it instead and really had fun making my fourth (or fifth) crocheted project! I hope the baby will love it. It’s really just a great big granny square – and I love making granny squares!

I finished a pair of socks for my handsome hubby, too. I used a ball of Regia (their worsted weight sock yarn) and he’s happy as a clam. He was “nagging” me about a new pair of socks for him and I knit them at work or at knitting group so that he had no clue I was making him socks. I do love a surprise when I can keep them! I haven’t taken a photograph of them … they’re already in the laundry.

So, that was a long post full of finished objects. It feels good to see that I have gotten a lot of knitting done and gifted. I love to make gifts! More details are in my Ravelry project page. I’m “lindar” on Ravelry!

Gone knitting!

Laughing All the Way

I have had a wonderful experience teaching three wonderful students a stranded knitting class. We made “my” Four Needle Snowflake Mittens. These are my favorite mittens to date. I love knitting them. The pattern came from my colleague and teacher, Bette. It’s an old and often-copied pattern but it’s a great one!

At our last class, I was explaining the difference between mittens that are the same (can be worn on either hand) and mittens that are knitted specifically for either the left or right hand. I pulled out my finished pair of mittens to show the ladies what I was talking about  and …img_7658

Do you see the problem?

How about now?

img_7657

Ha! Ha! Ha! It’s so good that I have learned how to laugh at myself! I realized that I had knitted TWO LEFT MITTENS!!! What a teachable moment! Even the teacher can make mistakes!

I’ve shared this story with everyone at work, my other classes and just about everyone that I have spoken to and every single time I laugh. Out loud! I still find it hilarious!

Since these were to be a Christmas gift for a very special person who happens to have a left and a right hand, I have had to finish a third mitten … this one is for the other hand! LOL. My students continue to teach me as much as I teach them!

Now, I’ve got them fixed – and the fourth mitten will be finished after I complete another pair. Wait until you see them!

img_7681

Today’s lesson learned – never take yourself too seriously!

Gone knitting.

Spider!

Spider Hat

Spider Hat

When you live out in the woods of Maine, you have to wear a bright (neon bright) orange hat around the periphery of your yard and down the road when you get your mail. It is ill-advised to go outside bare-headed. Because hunters.

One of our friends has a large piece of land and often, though their property is posted (No Trespassing signs all around), they have hunters with guns in close proximity to their house. So, to be smart and wear an orange hat during hunting season is just something we do. (We also put a bright orange collar on our dog!)

Last winter I bought some bright orange … hunting orange … yarn. I made a quick hat for my husband because he’s out more than I am and walks the dog a couple times a day. I put the yarn for my hat and one for a visitor in the stash … but it’s getting near time to wear our orange hats again. With all the nice hats I’ve made for him, he wears the bright orange one most often. Go figure!

The pattern is called Spider Hat it’s a free pattern from Kitterly. It has two yarn weights (worsted and DK) and is quite a fun knit. I am knitting with Encore Worsted yarn by Plymouth Yarns in color 479. It’s the only REAL hunting orange yarn we had in our shop (and I had to wait for it to come in last year.) There are two kinds of spiders to make and I’ve tried both in this hat. The “easy” spider body was made first and the “bobble” spider body was made second. In the next hat, I’ll do only the “bobble” spiders. They’re so much more wonderful!

It’s going to be fun to wear. Way better than the one we bought for five bucks at Christy’s that popped off my head fifteen times before I got to the mailbox!

Gone knitting.

Girasol

Girasol by Jared F

Girasol by Jared Flood

I’m so in love with this project that I want to marry it!

Three of us in the Wednesday night knitting class (plus our teacher) decided to knit the Girasol Shawl in the worsted weight version which makes an afghan. I really (REALLY!) loved knitting this and it wasn’t difficult. I loved knitting it so much that I absolutely will knit another one.

Girasol by Jared Flood is written for fingering/lace weight or worsted weight yarns. I think you could knit it in any weight of your choosing with appropriately sized needles. And they will all be gorgeous! The pattern is available on Ravelry.

The pattern itself is clear and well written and a cinch to follow. The most “difficult” part, in my opinion, is the cast on which is Emily Ocker’s Circular Cast On. I’m sharing Jimmy Bean’s Wool’s tutorial with the ever delightful Jeanne. Watch it a couple of times before attempting this cast on. It’s a beauty – for starting any project in the middle of a circle (hats from the top down, lace shawls, etc.) Sheer genius and it sits flat when pulled closed.

This cast on is originally in Elizabeth Zimmerman’s Knitter’s Almanac (a wonderful book, by the way. EZ had a most unique and visionary knitting technique.) It’s available on Amazon.com … click on the image below and you’ll be magically transported! (You’re welcome, of course!)

//ws-na.amazon-adsystem.com/widgets/q?ServiceVersion=20070822&OneJS=1&Operation=GetAdHtml&MarketPlace=US&source=ss&ref=ss_til&ad_type=product_link&tracking_id=queencom0e-20&marketplace=amazon&region=US&placement=0486241785&asins=0486241785&linkId=2SSHFDXQBL6MOBHH&show_border=true&link_opens_in_new_window=true

If you’re serious about knitting, you have to read EZ. Seriously! Anyway, back to Girasol …

I used Cascade 220 Superwash (because who wants a huge, wool-stinky, wet afghan to dry? Although, truth be told, I’m thinking of using wool for the next one. I may be crazy!) in a light grey tweed-y colorway. I love grey as a neutral and this will, theoretically, live in my atelier where I can throw it over my legs or fold it in half and wear it over my shoulders on a cold evening. Mine took nine balls (the pattern asks for eight and I may knit a bit loosely.) The edge stitches were (a little bit) boring – it’s knitted on the edge as you bind off and three stitches are “eaten up” when you knit six rows. There are 640 stitches. Got it? 🙂

The pattern calls for a US 9 circular needle and DPNs. I started with the DPN and then went to a 24 inch wire and then to a 32 inch wire and ended up with a sixty inch wire which was really a little bit too long. But it worked. I used my fabulous Dreamz interchangeable needles by Knitters Pride. I love them.

If you choose to knit this gloriously beautiful shawl/afghan, watch out and be aware when you start the edging. Just saying. I was in the car and everything was all bunched up and I started with the wrong side facing me and the edging on my blanket is “backward”. I think it’s very fitting, actually, and I chose to leave it that way.

Knit this pattern. I’m not kidding. You’ll love it. I can’t wait to see what mine looks like after it’s blocked … which will have to wait until our house is finished and furnished. Soon enough and I will be using it unblocked until that time. My knitting group is doing a Girasol for one of our members’ mother-in-law who recently lost her husband. I’m looking forward to my turn knitting!

Gone knitting.