Wonderful Steam Roller Wallaby

Wonderful Wallaby (adjusted for no hood) by Cottage Creations

My newest family member is my nephew, Hugh. He just turned a year old and because of life and Corona Virus, I’ve not met him in person yet. When we were facetime-ing a little while back, I decided that I wanted to make him a sweater.

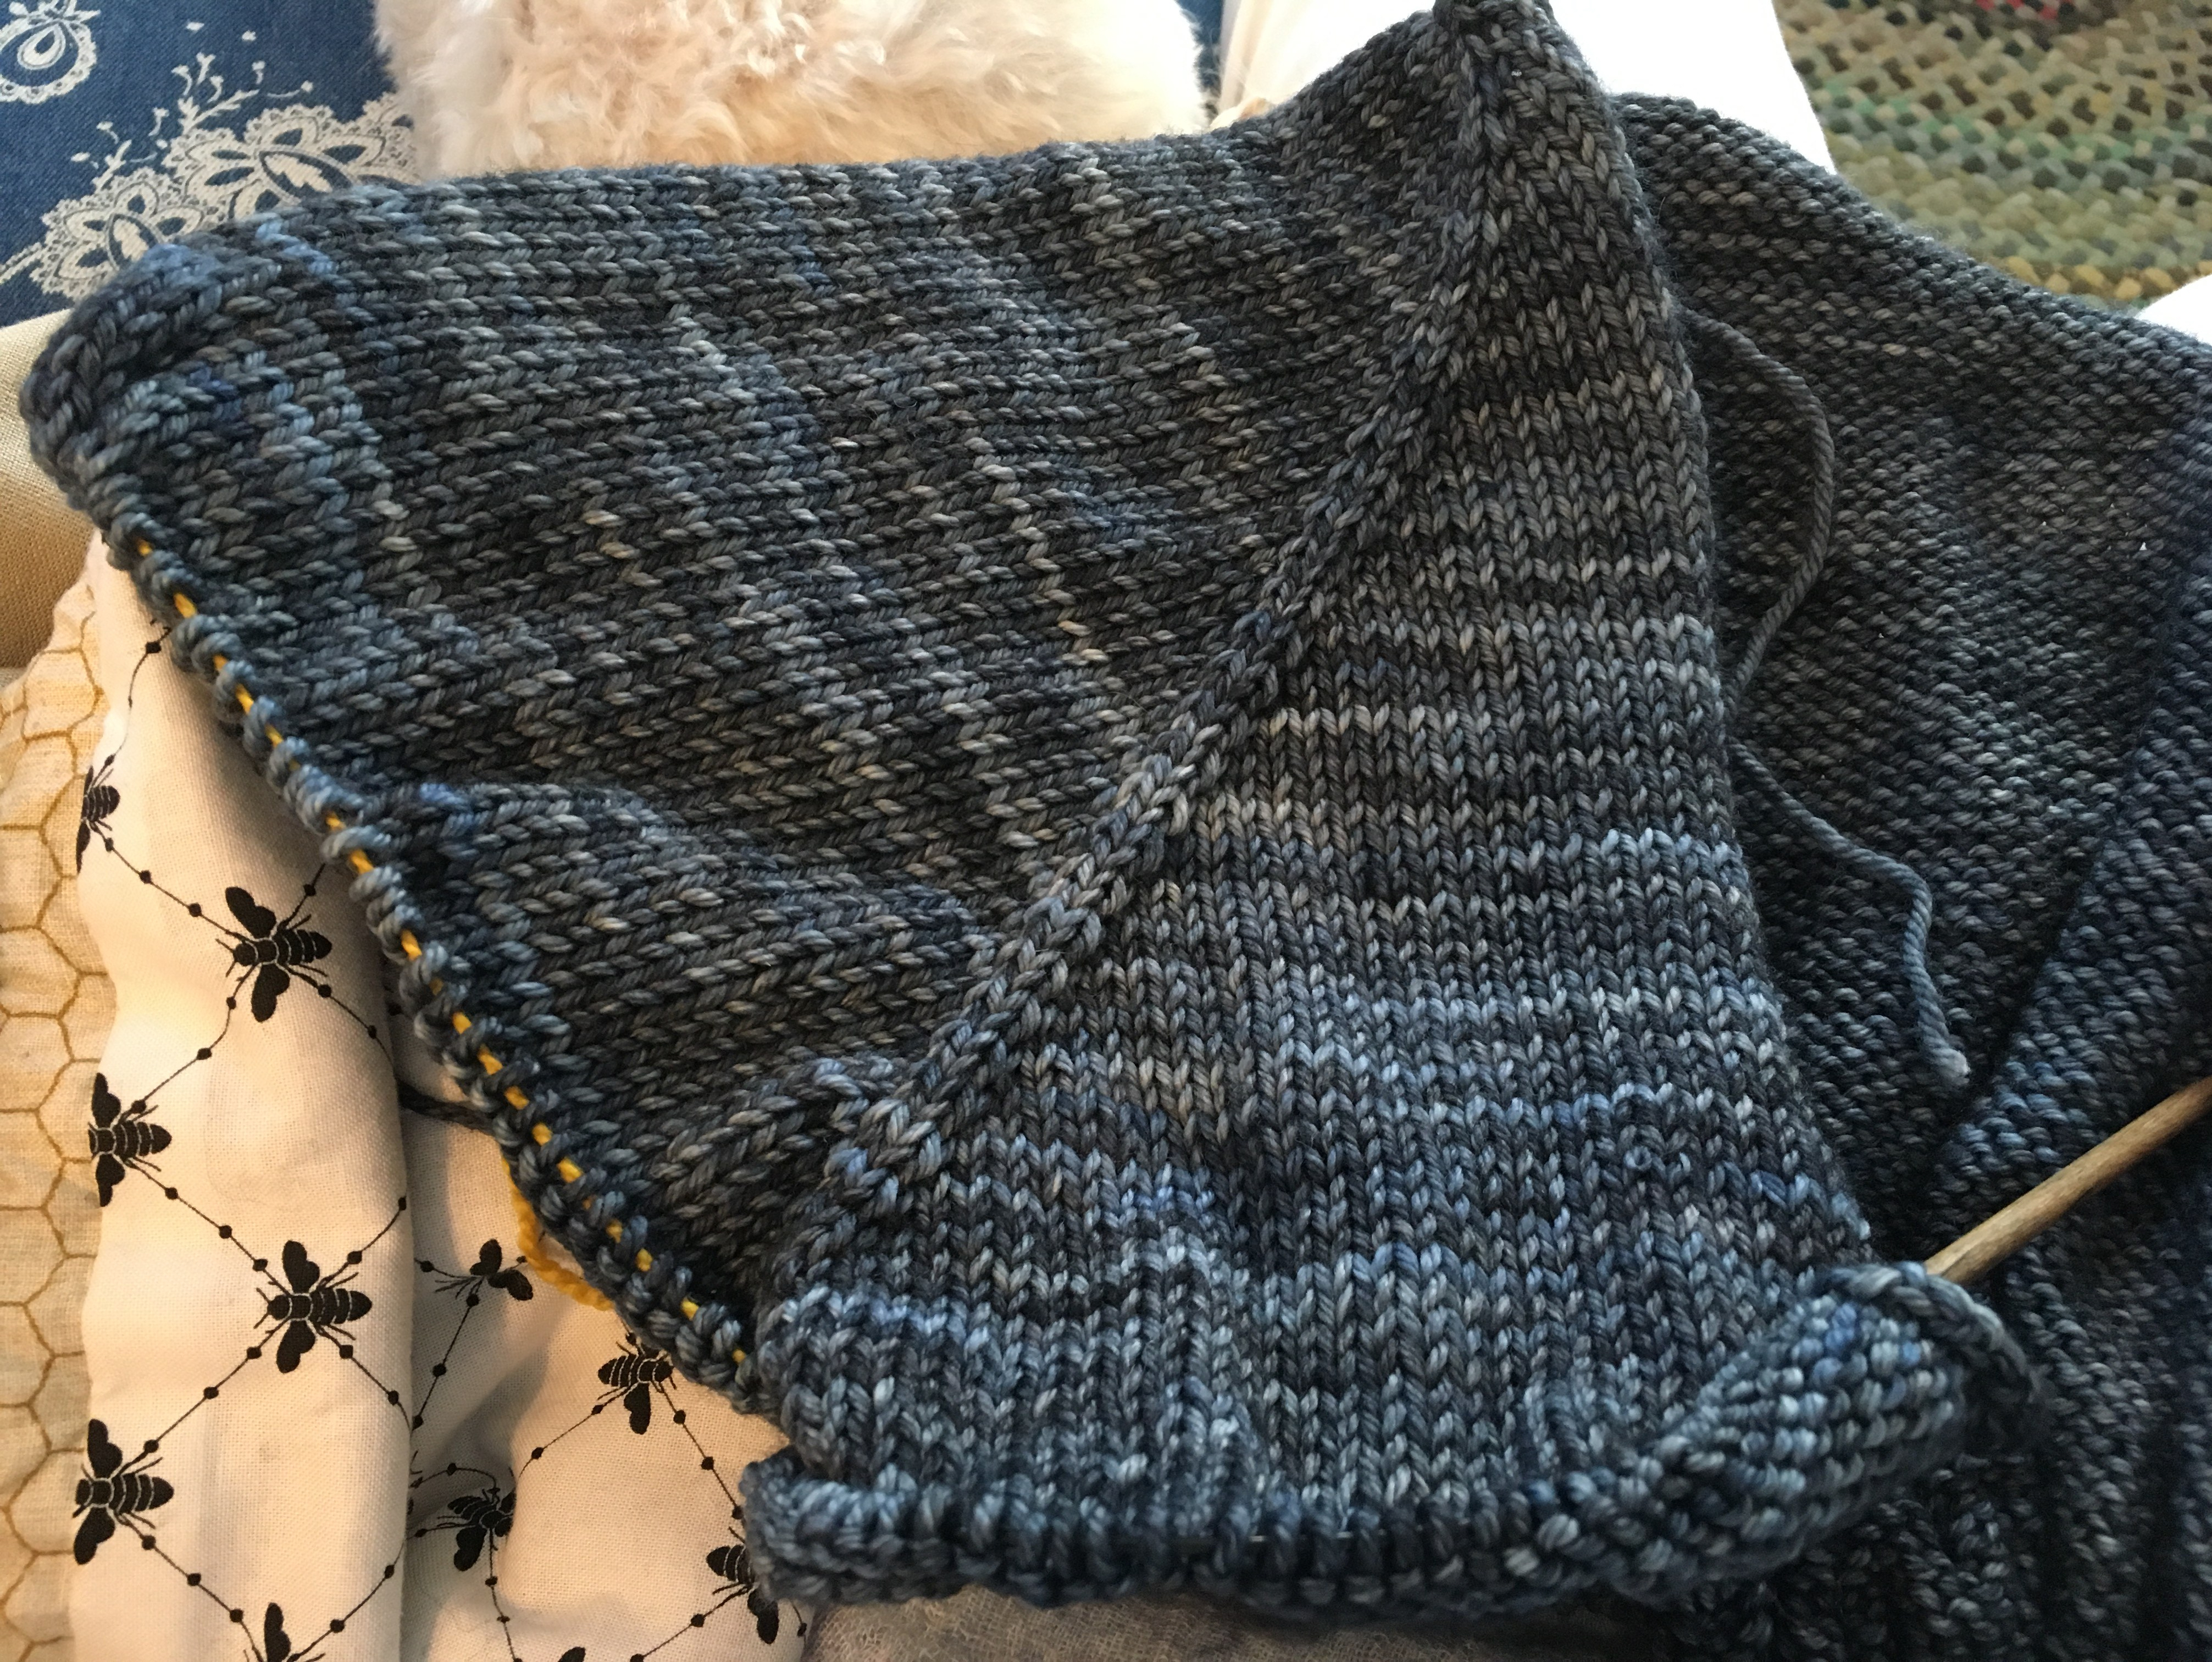
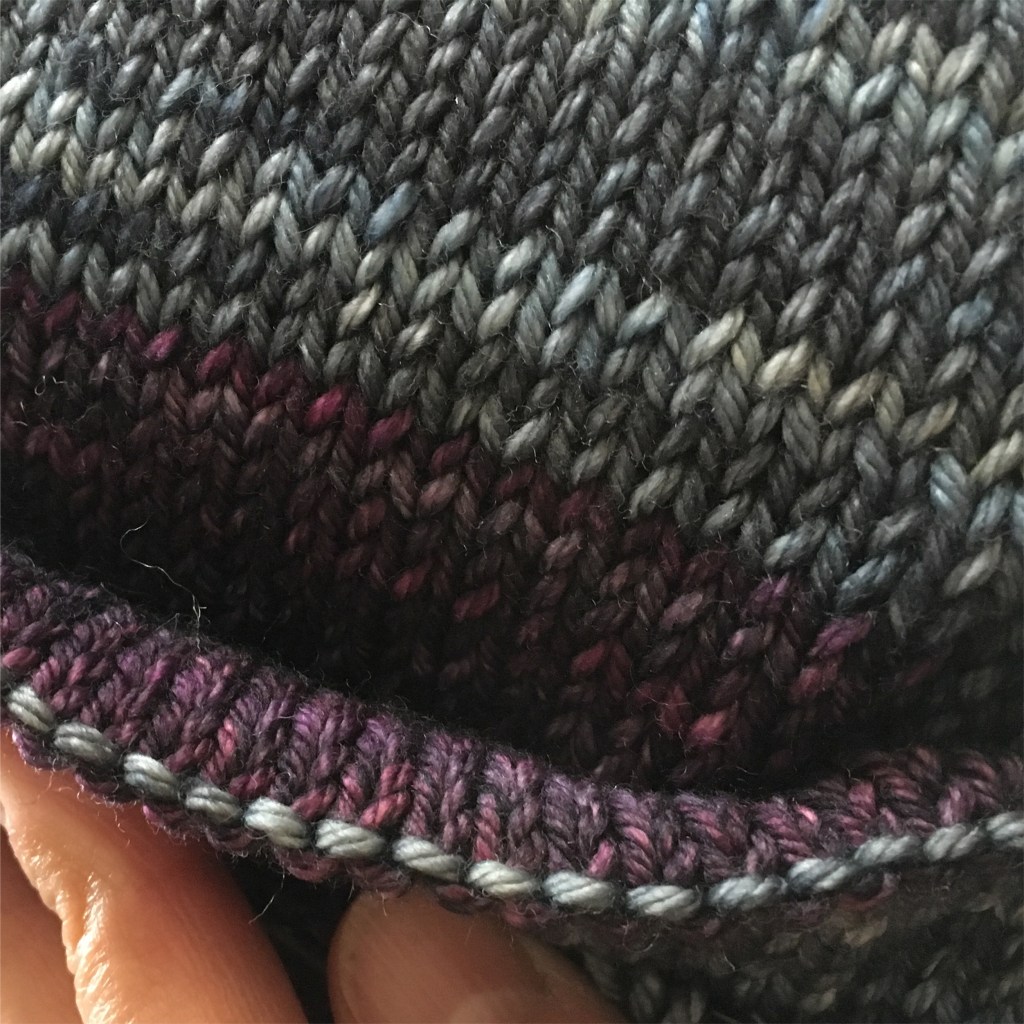
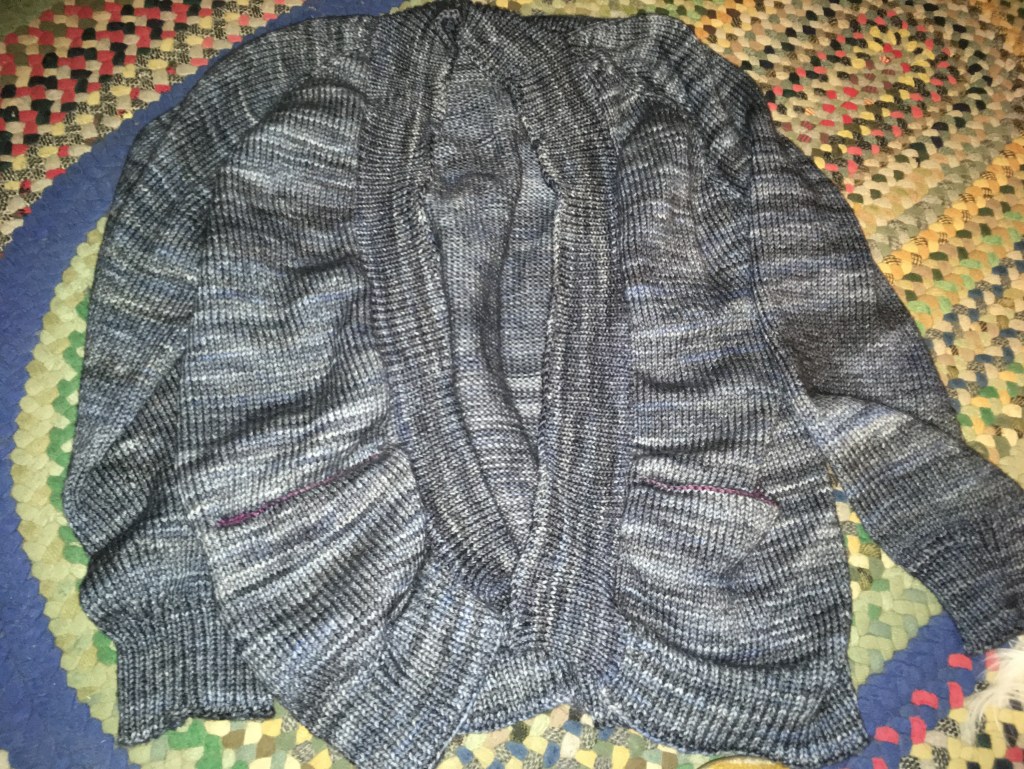
I went through the normal (ha! like anything I do is “normal”) process of figuring out what pattern and what yarn to use … I had this great blue tweed in my stash and it’s a worsted weight yarn. This, I decided, would be the color. BUT we had a sweater pattern at work called Digger Jacket and I loved the idea of putting a construction vehicle on the sweater. I didn’t love the jacket pattern, however. I considered knitting the jacket in my chosen yarn with the intarsia vehicles but I really love the Wonderful Wallaby pattern. I love the construction method of Wallaby and the pouch is something little kids love. SO, I decided to knit the Wallaby with no hood, a crew neckline and a steam roller on the pouch.

To be very honest, I had planned to knit the steam roller into the pocket but I forgot. It’s one of the “symptoms” of anxiety and lack of focus that I’ve been experiencing during this Corona Virus/Covid-19 pandemic and physical distancing. So, I made lemonade and duplicate stitched the pattern onto the pouch after the sweater was completed. I’m really pleased with the outcome!

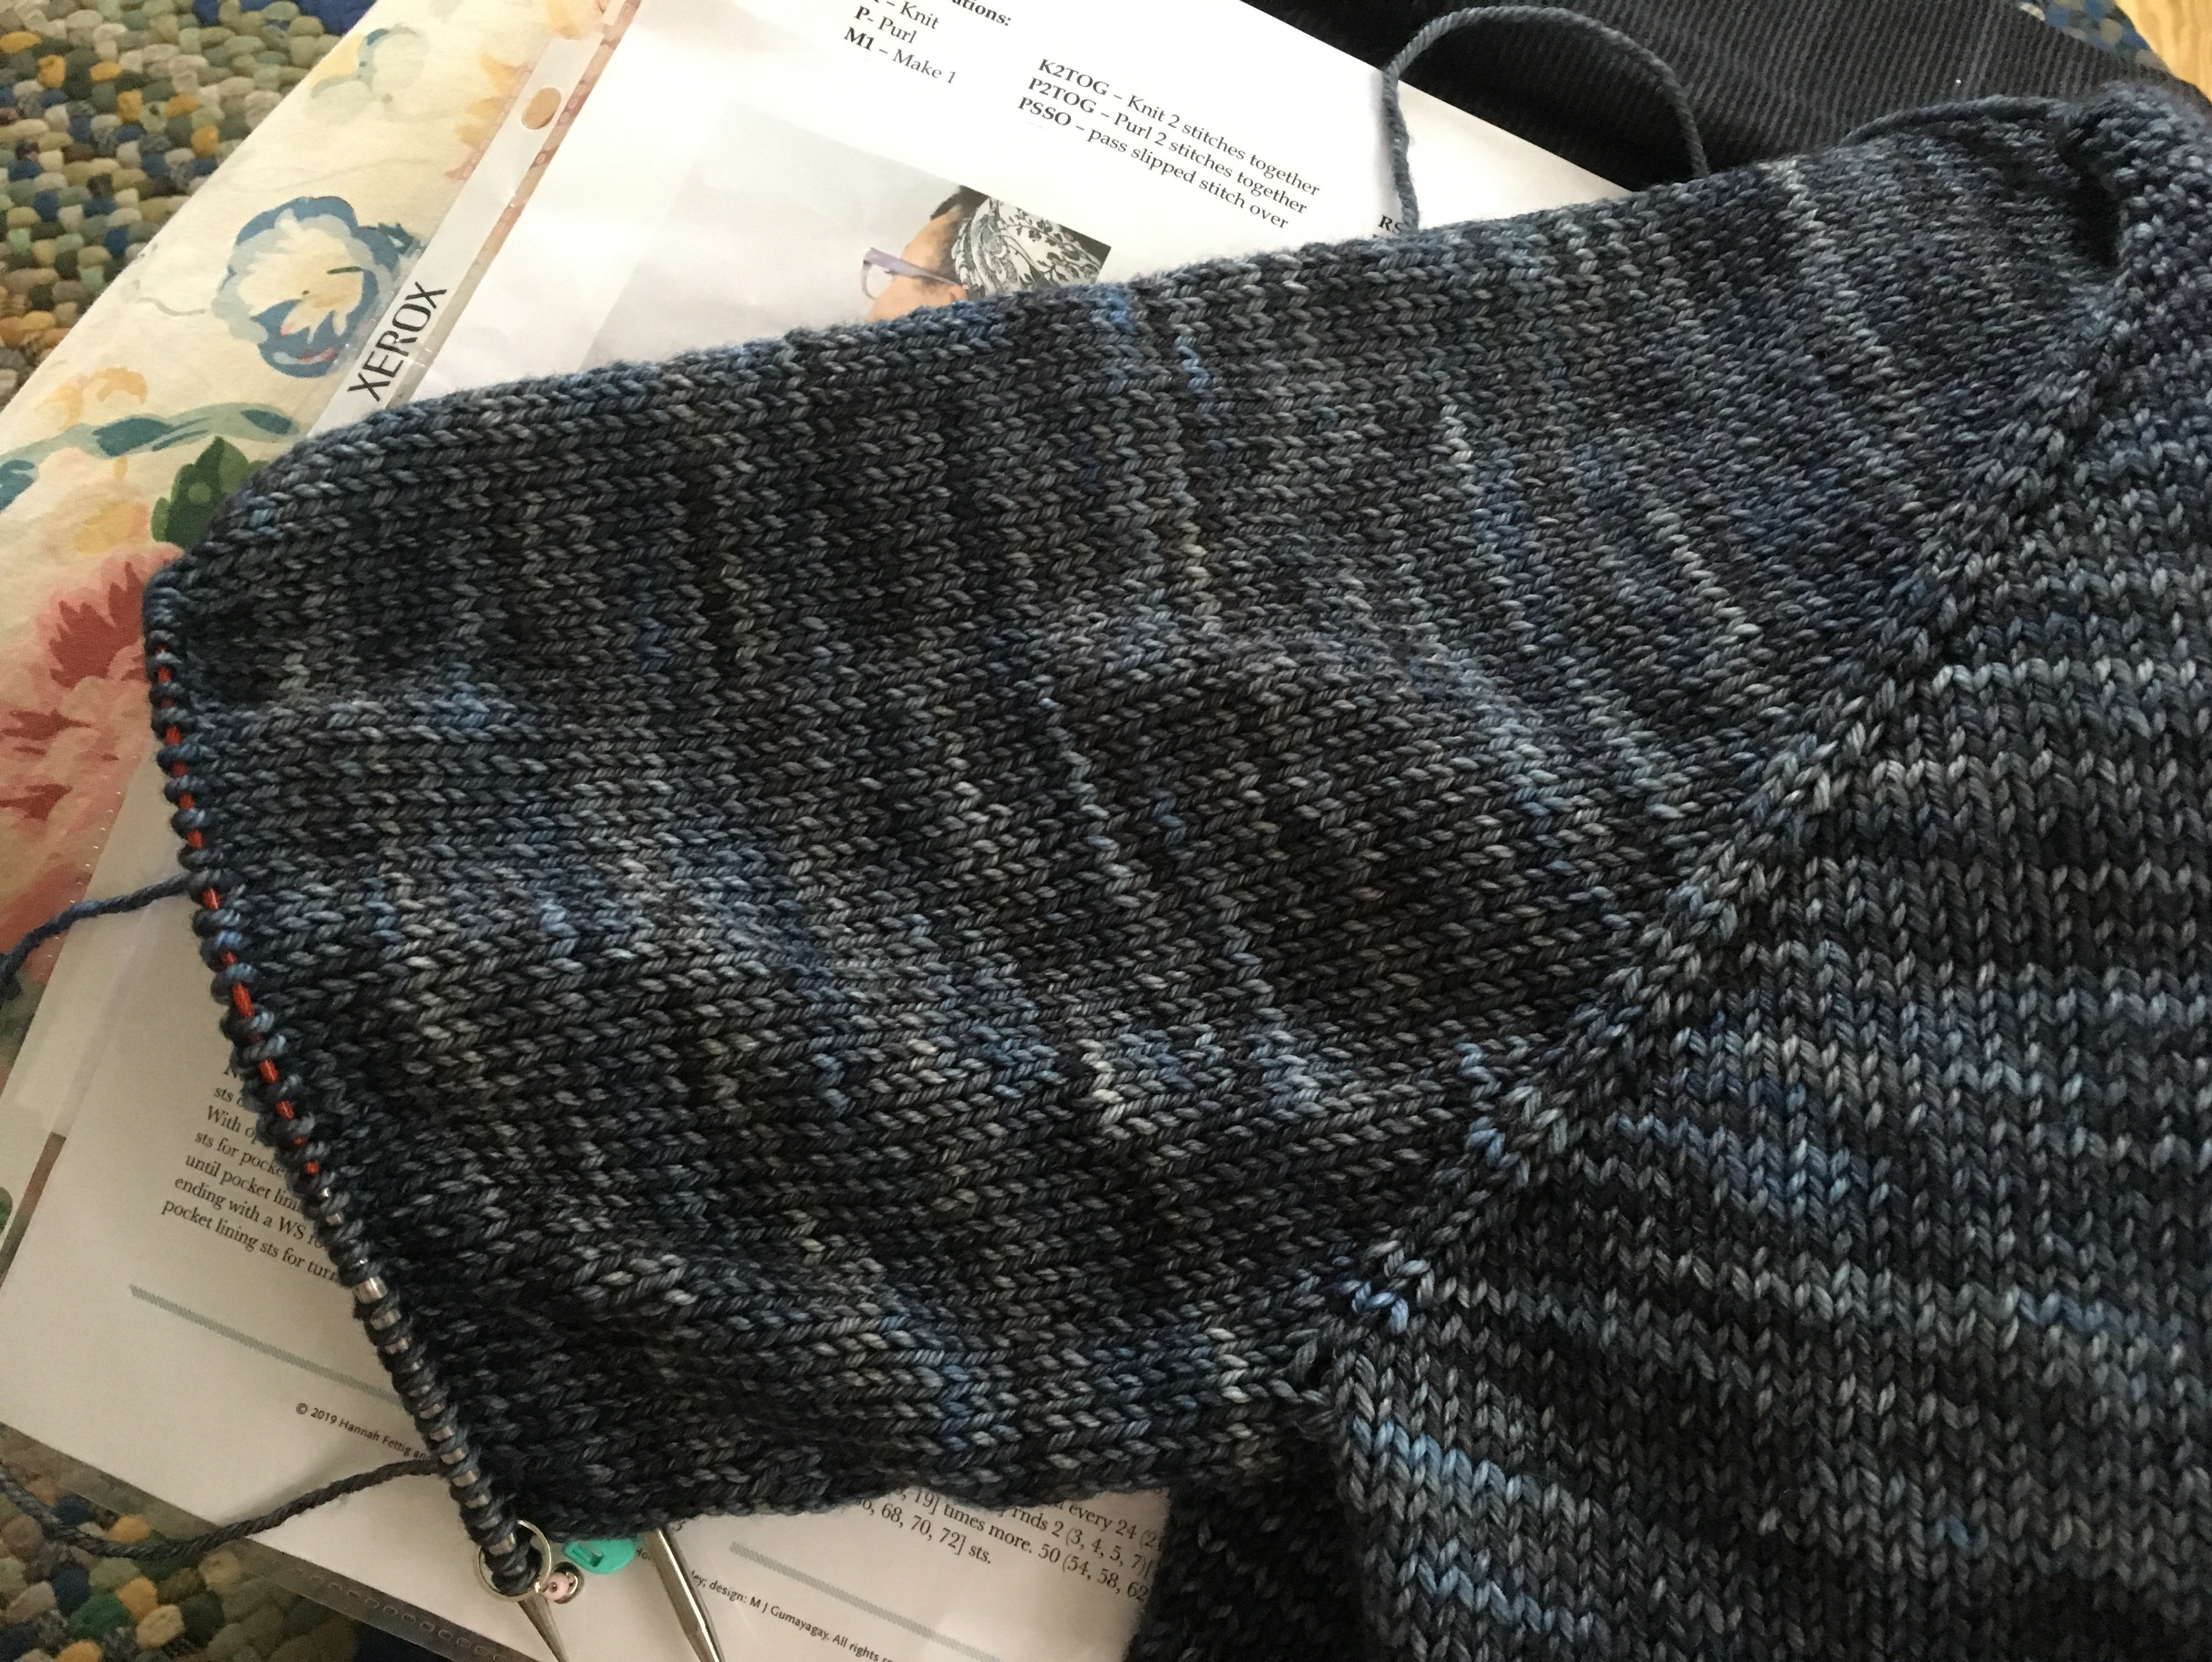
My nephew lives in Northern California and I didn’t think that the hood as the Wallaby pattern is written would be a good idea. Typically, the Wallaby has a divided placket and a hood, neither of which I wanted. I followed the pattern up to where the placket begins and then I went off on my own, fingers crossed, hoping that I really do know what I am doing. I continued the decreases at the shoulders as set until I had 60 stitches. The head opening was too small. I frogged back to where I had 76 stitches and it was much better. Six rounds of 1×1 ribbing and a bind off round in pattern and the sweater is pretty much done … I just have to seam the underarm and sew in the ends, block it and put it into the mail. I already got online and sent a little board book about construction vehicles in advance of the sweater. My son loved his trucks books and I hope Hugh will, too.

Wallaby Pouch – finished!

Gone knitting!

Join me on Facebook: Queen Bee Knits by LindaWarner, on Instagram: @QueenBeeKnits and you can see all of my photos and information on this project and others on Ravelry, I’m lindar.

Allison Cardigan

It hasn’t been an easy path for this wonderfully soft and beautifully dyed Malabrigo Rios yarn. I started out knitting one sweater and then another but both got frogged because of the fit or the style. (Both were pretty horrendous!) The yarn went into “time out” for awhile until I found the Allison Cardigan by Hannah Fettig.

Getting started!

This cardigan is knitted from the top down in one piece with US7 needles. I knew that to get the right gauge, I needed to knit this yarn on a size 7 needle. This pattern seemed perfect. It’s a simple sweater, pretty straight forward in the top down sweater world.

The yarn is Malabrigo Rios in the Cirrus Grey (845) colorway. I love, love, love this color! It’s somewhere between a denim blue and grey and everything in between. I chose the Purpureas (872) colorway for the pocket. This is another rich purple color and I think it’ll be just enough zing when the interior of the pocket shows against the blue sweater. I can’t wait to wear this sweater!!! Rios is what I would call a light worsted weight merino yarn. It’s not got a whole lot of twist and that’s why I want to knit it up on a “smaller” needle. The US7, in this instance, I think will be perfect. I loved the fabric on my swatch.

Incredibly purple pockets!

The construction of the pocket was different than any pockets I’ve knitted before. It is knitted into the body of the sweater and then seamed at the sides. Initially I thought it would be bulky but it’s not. And my hands will be so warm!

Once the body of the sweater was finished, I started on the first sleeve. One of the tricks I’ve learned over the years is that if I want to make the sleeves even and balanced, I need to use the tools that I have and mark every decrease! It really helps. And the sleeves turned out the same the first time around! No adjustments necessary! Woo! Hoo!

I was a little bit (or maybe a lot) concerned that I didn’t have enough of the main color so I didn’t finish the ribbing on the bottom of the sweater until I had knitted both of the sleeves. Turns out that I didn’t have to worry. I had enough yarn and one extra skein of the purple! Maybe I’ll knit some fingerless mitts to wear with the cardigan!

Ready for blocking!

Here it is before blocking (on my wonderful antique braided wool rug made by my husband’s grandmother.) I will post another picture or two after it’s blocked and in some good light. I blocked it tonight and I know I’m going to love wearing this cardigan this fall/winter!

Gone knitting!