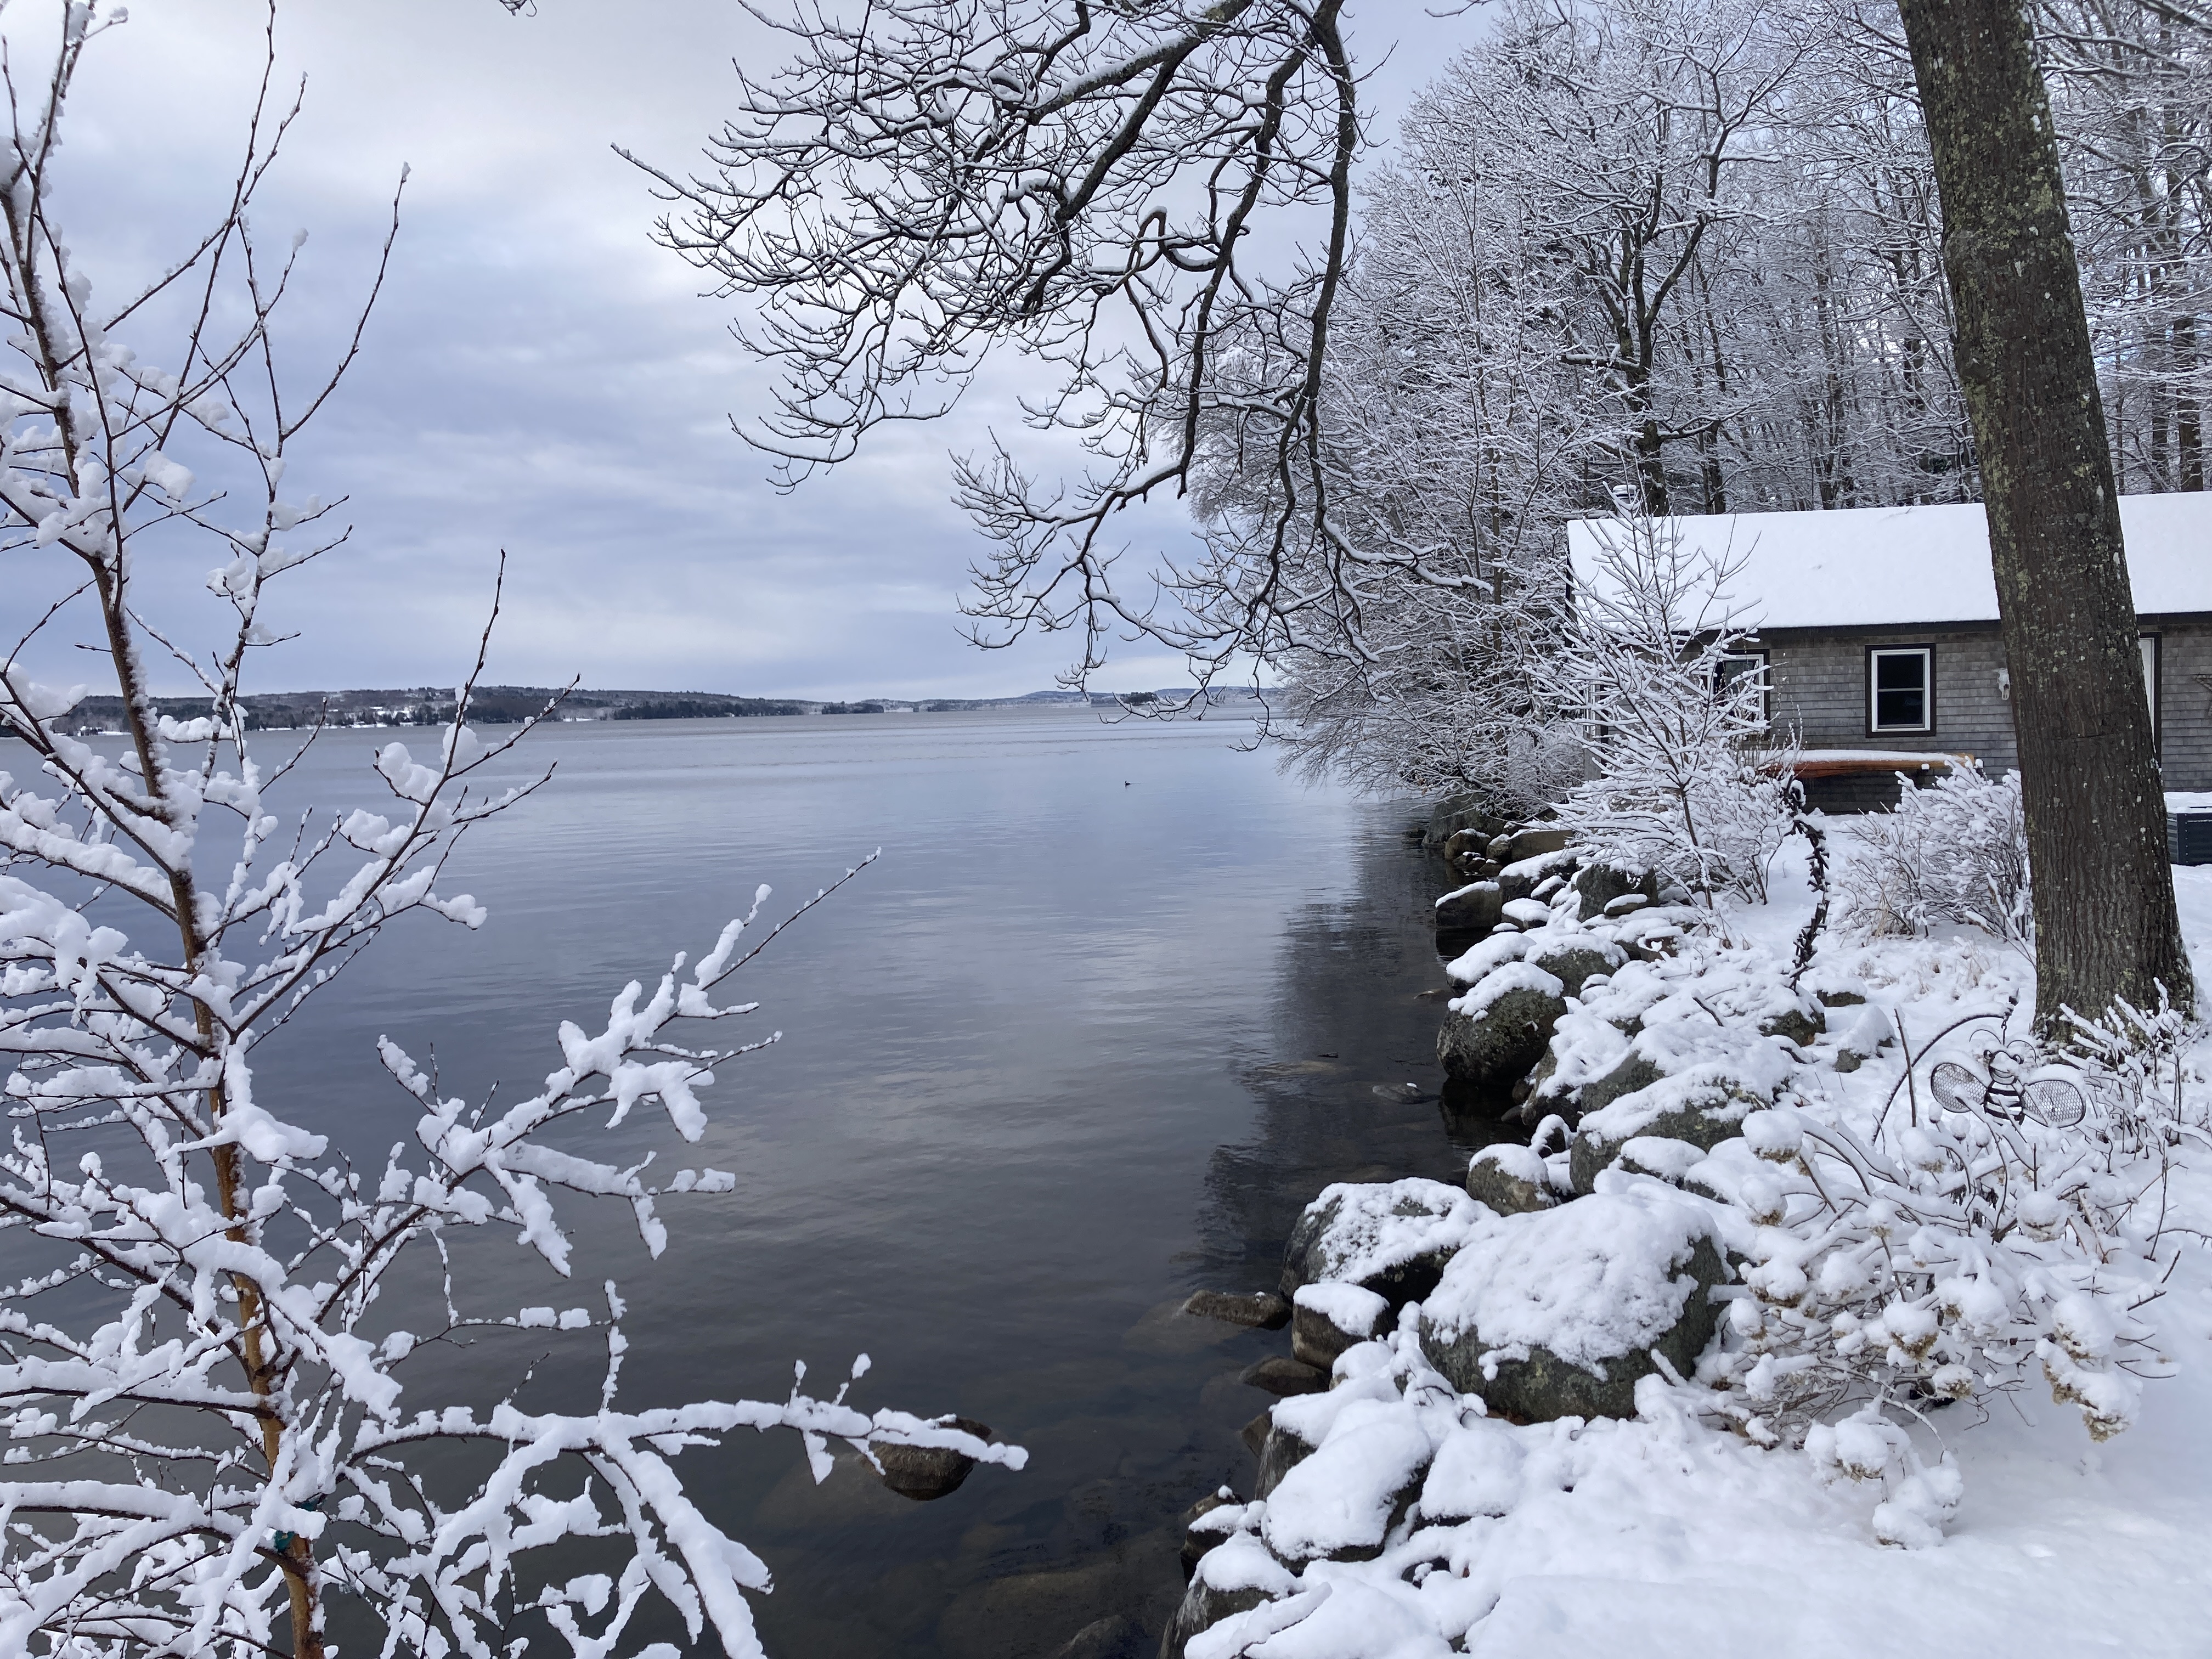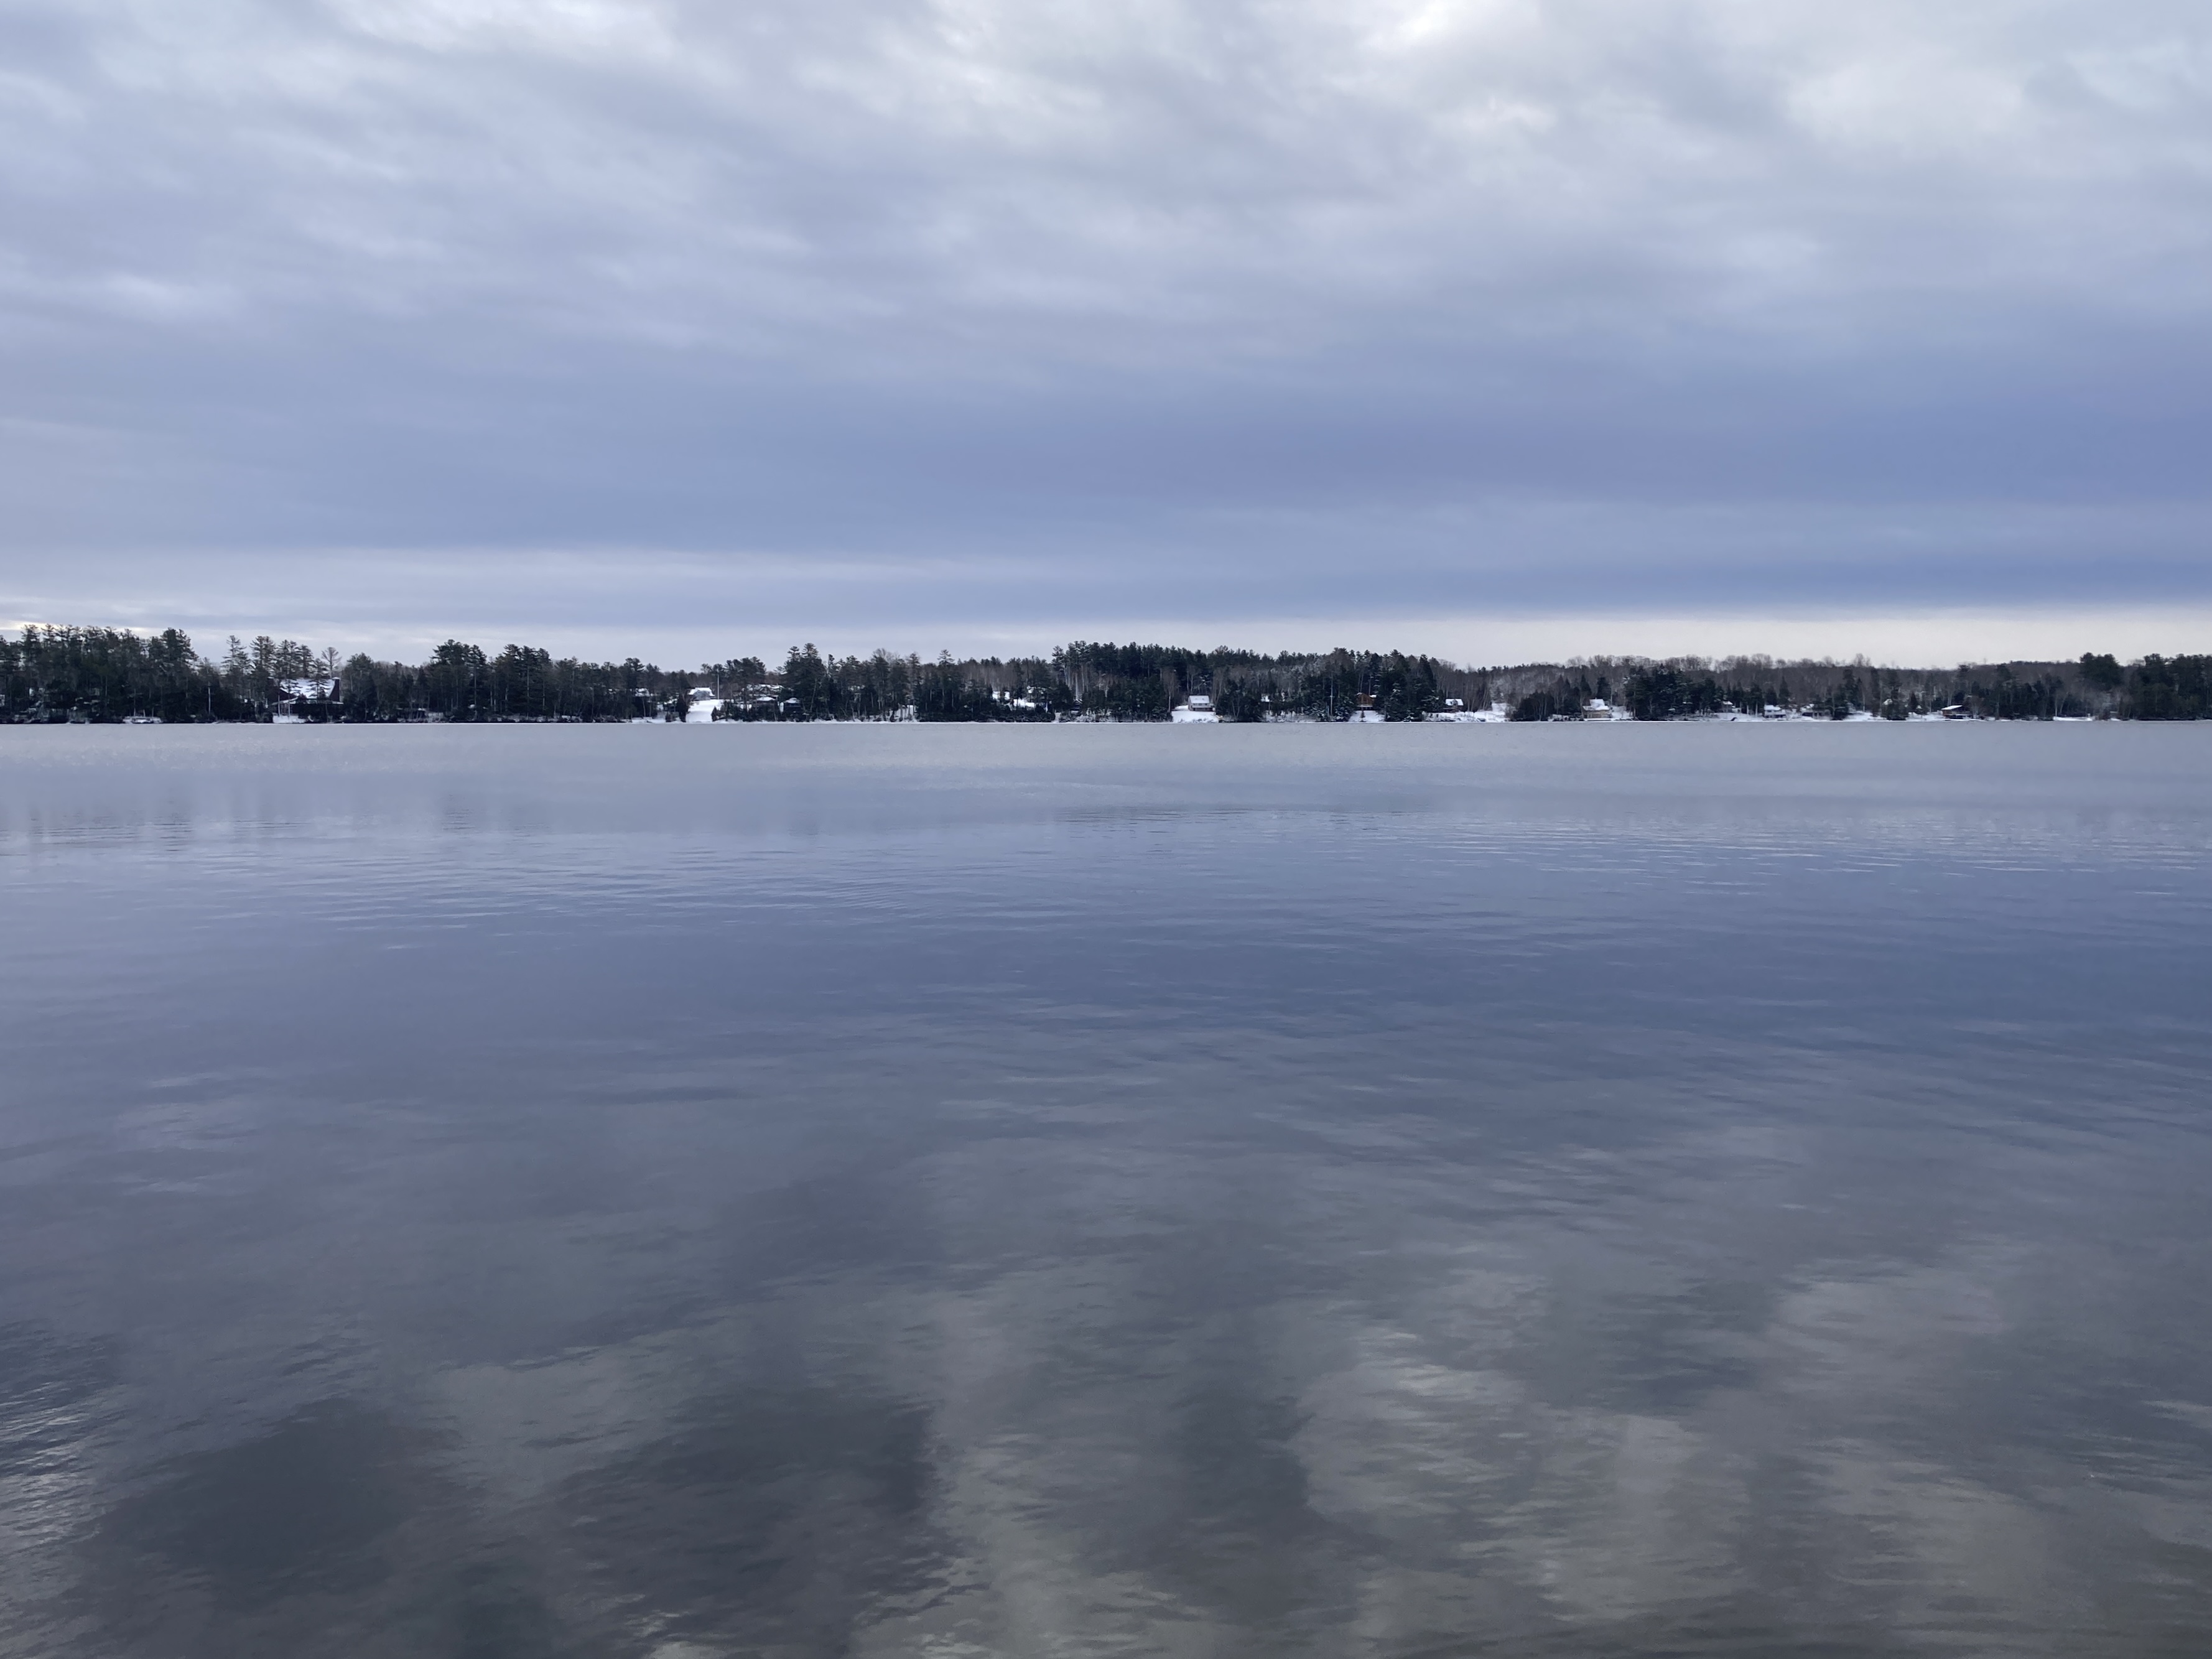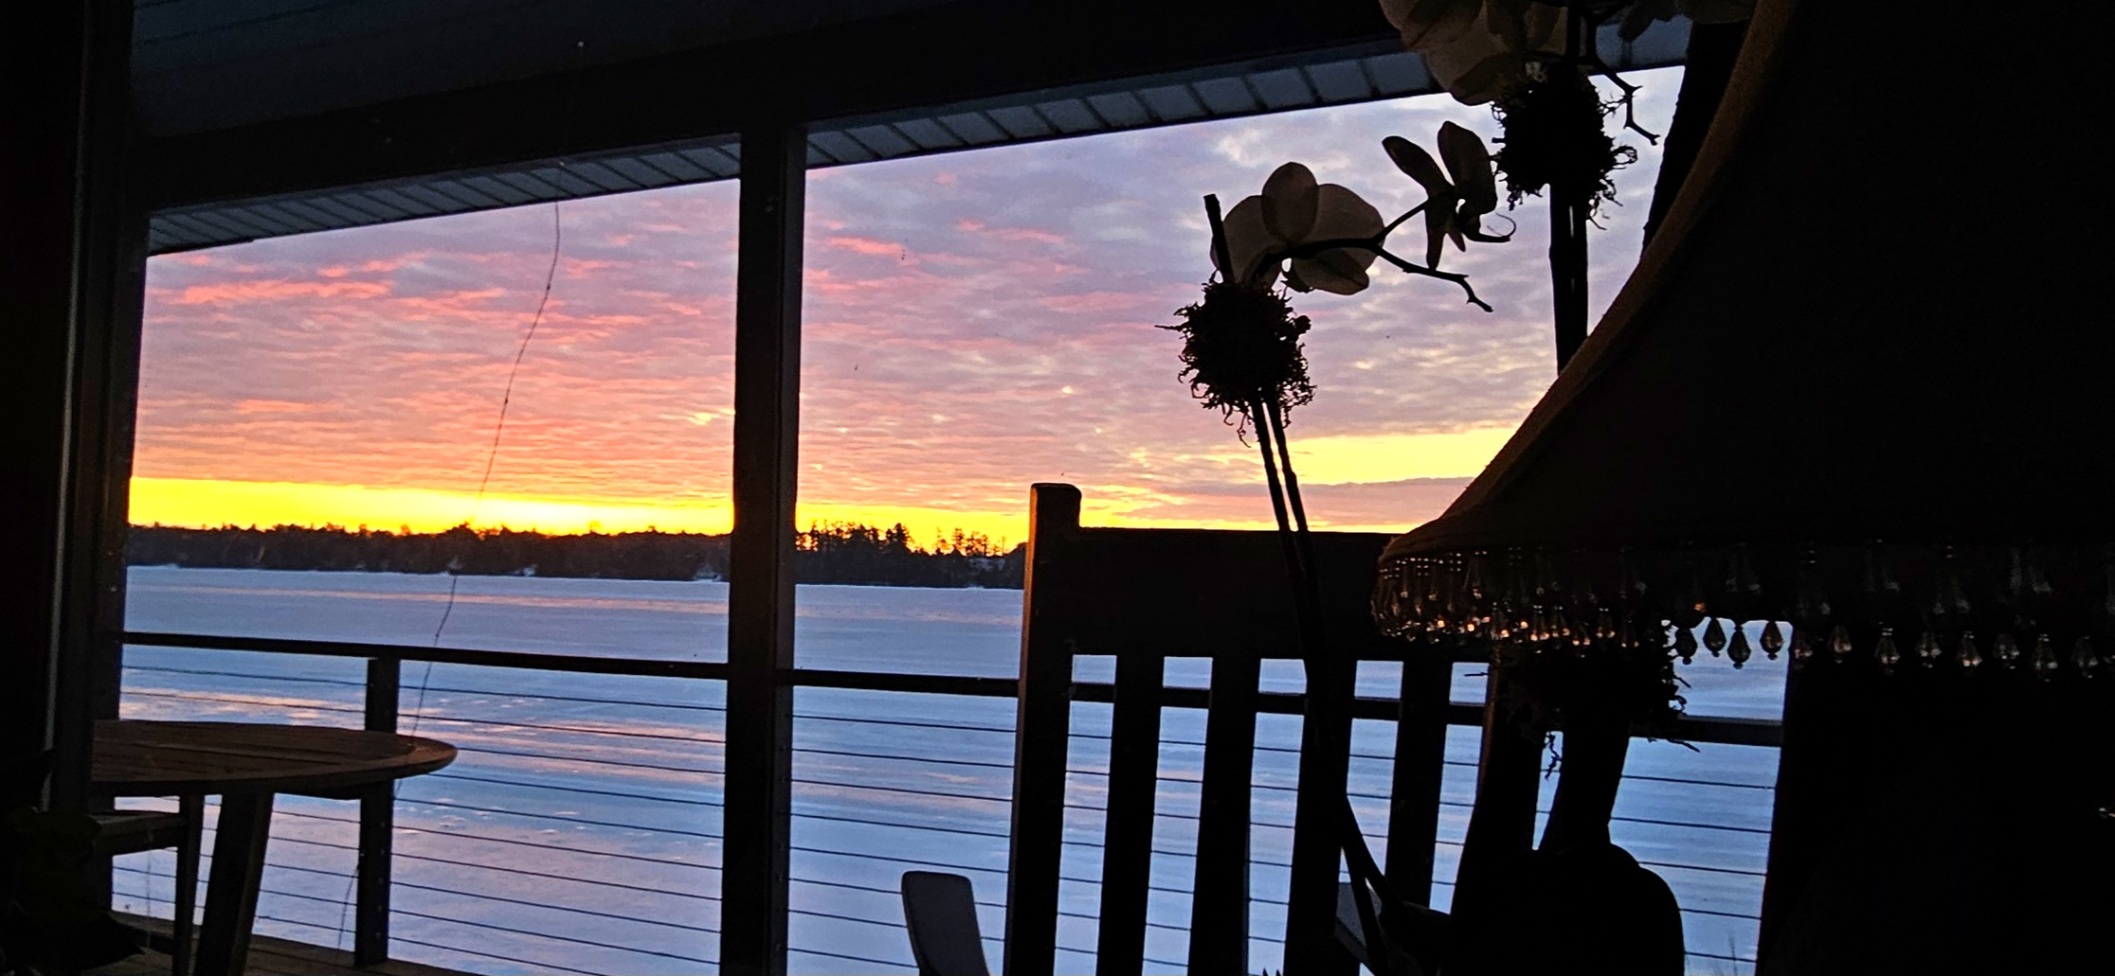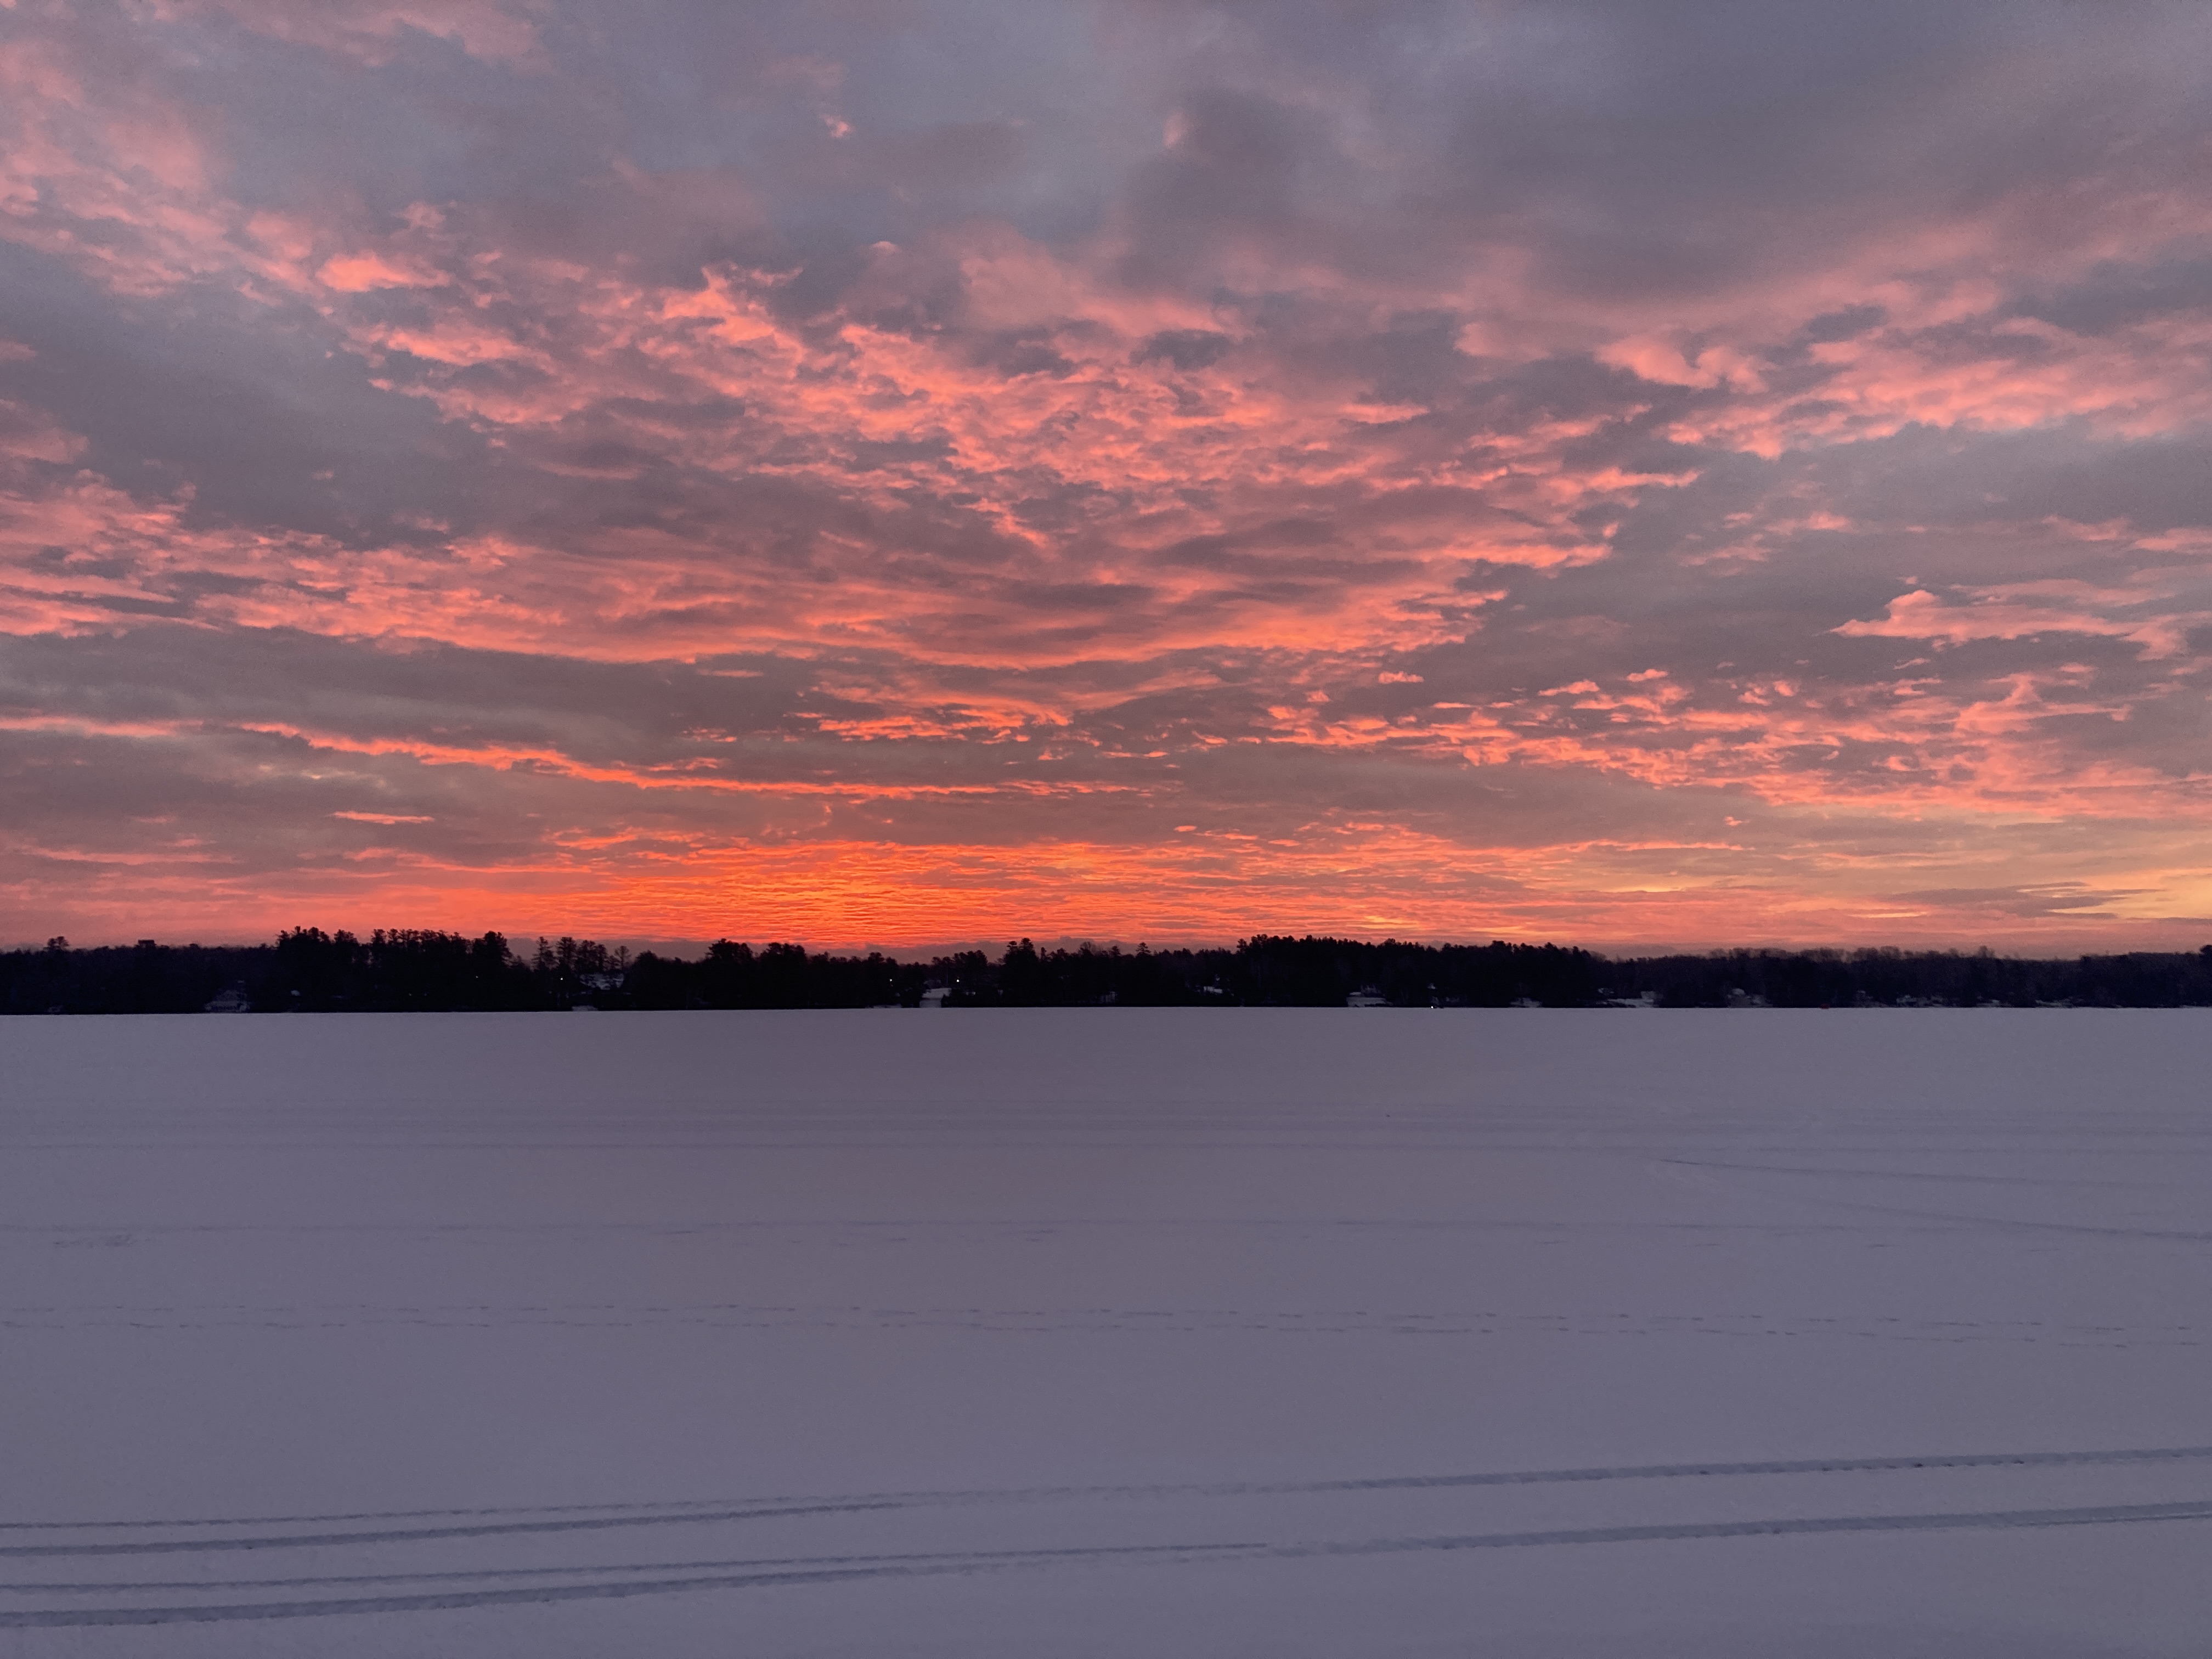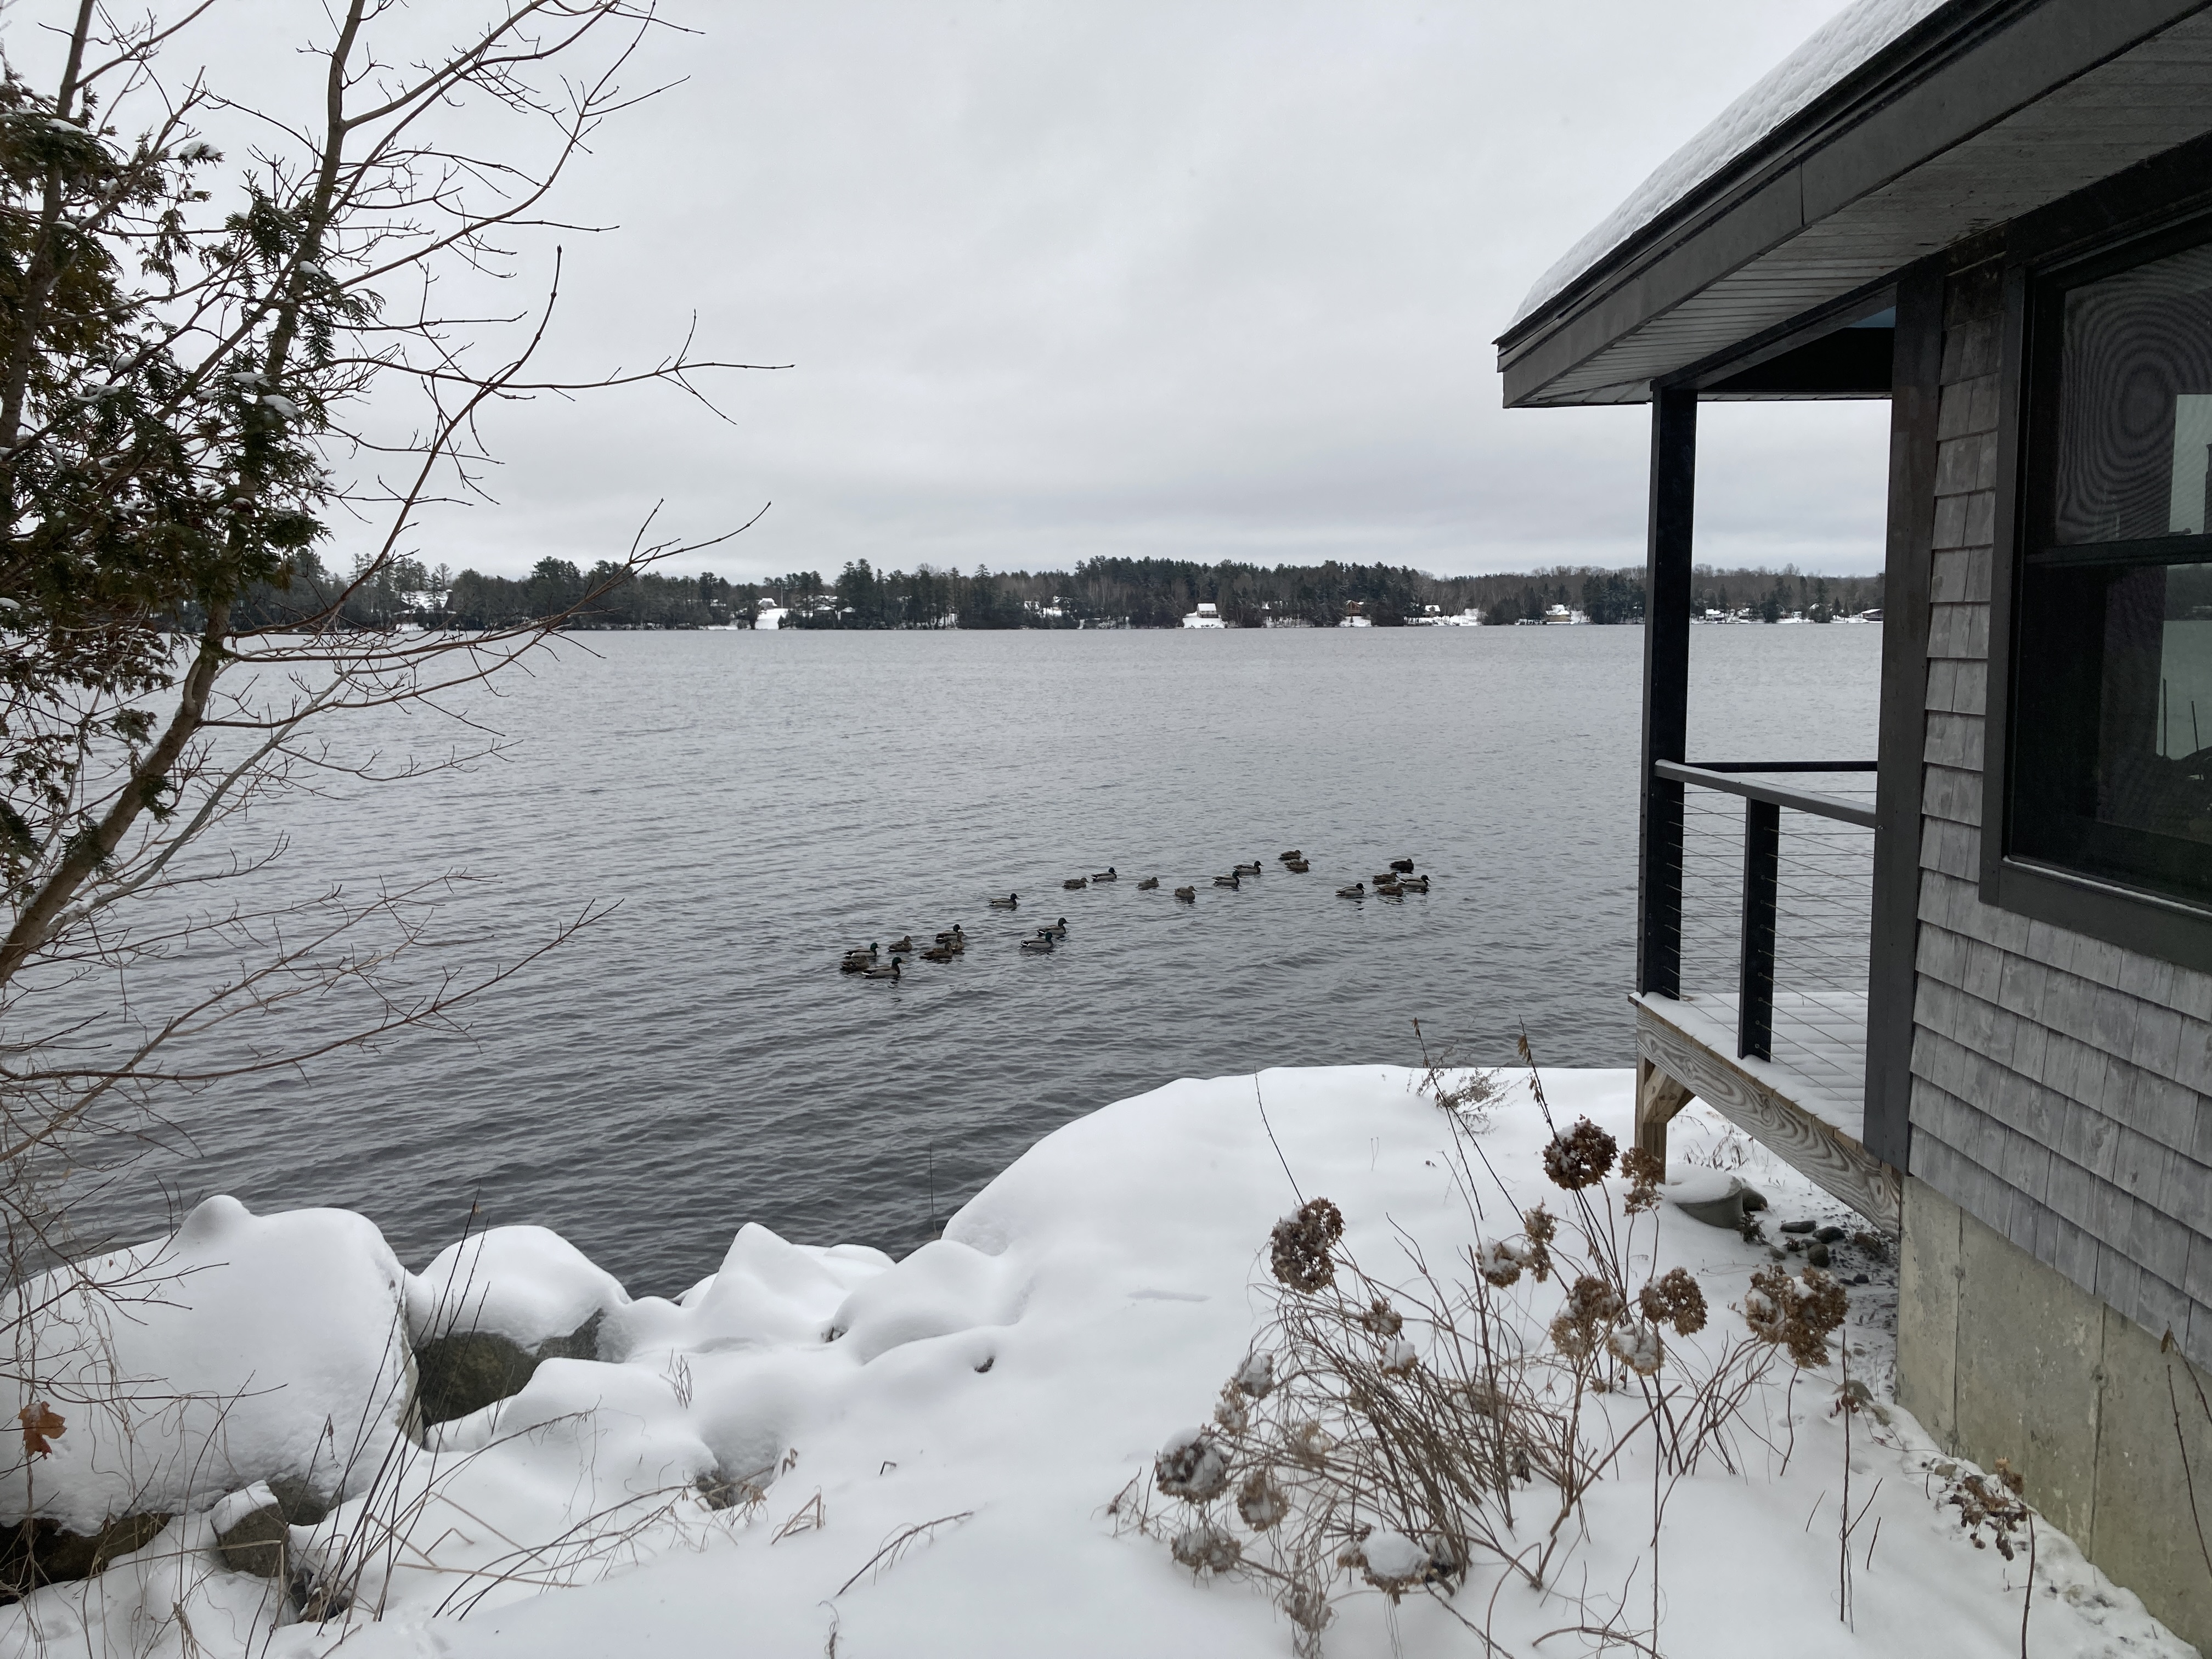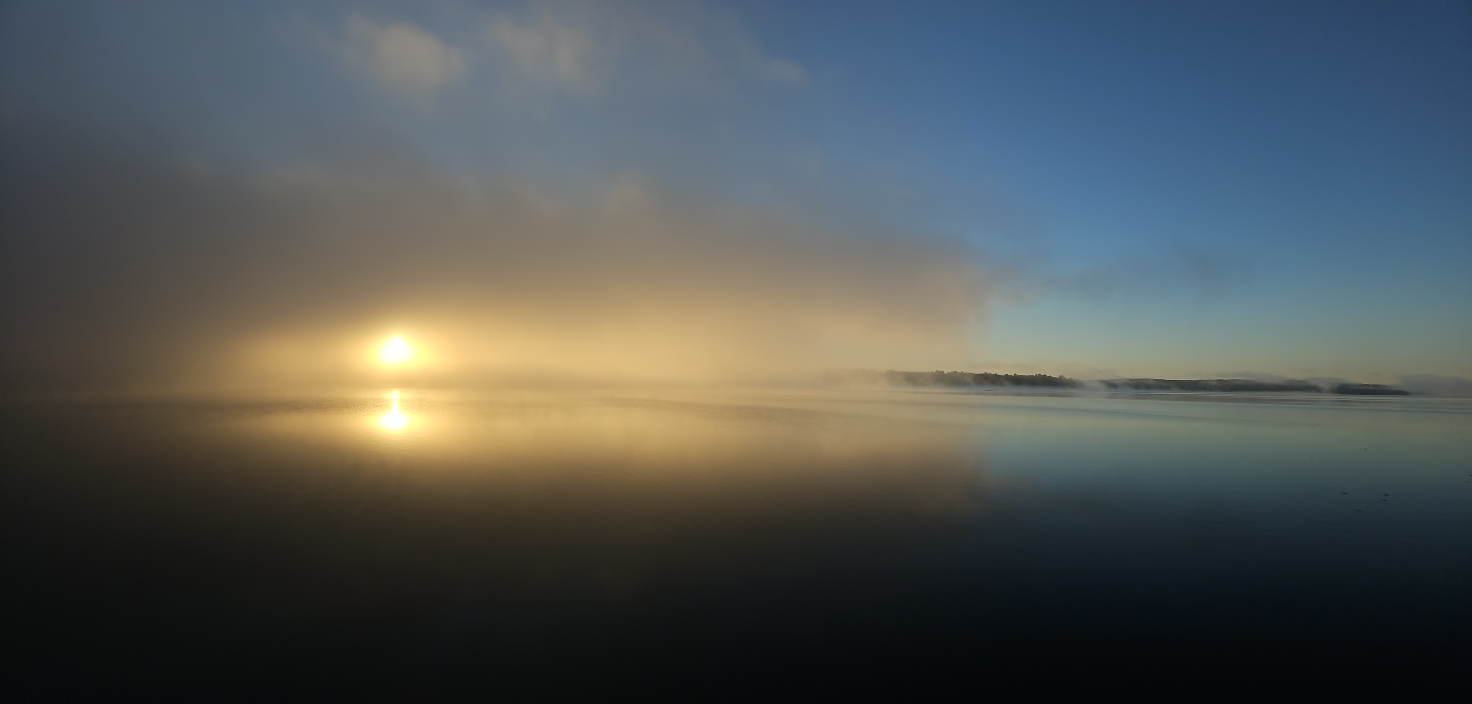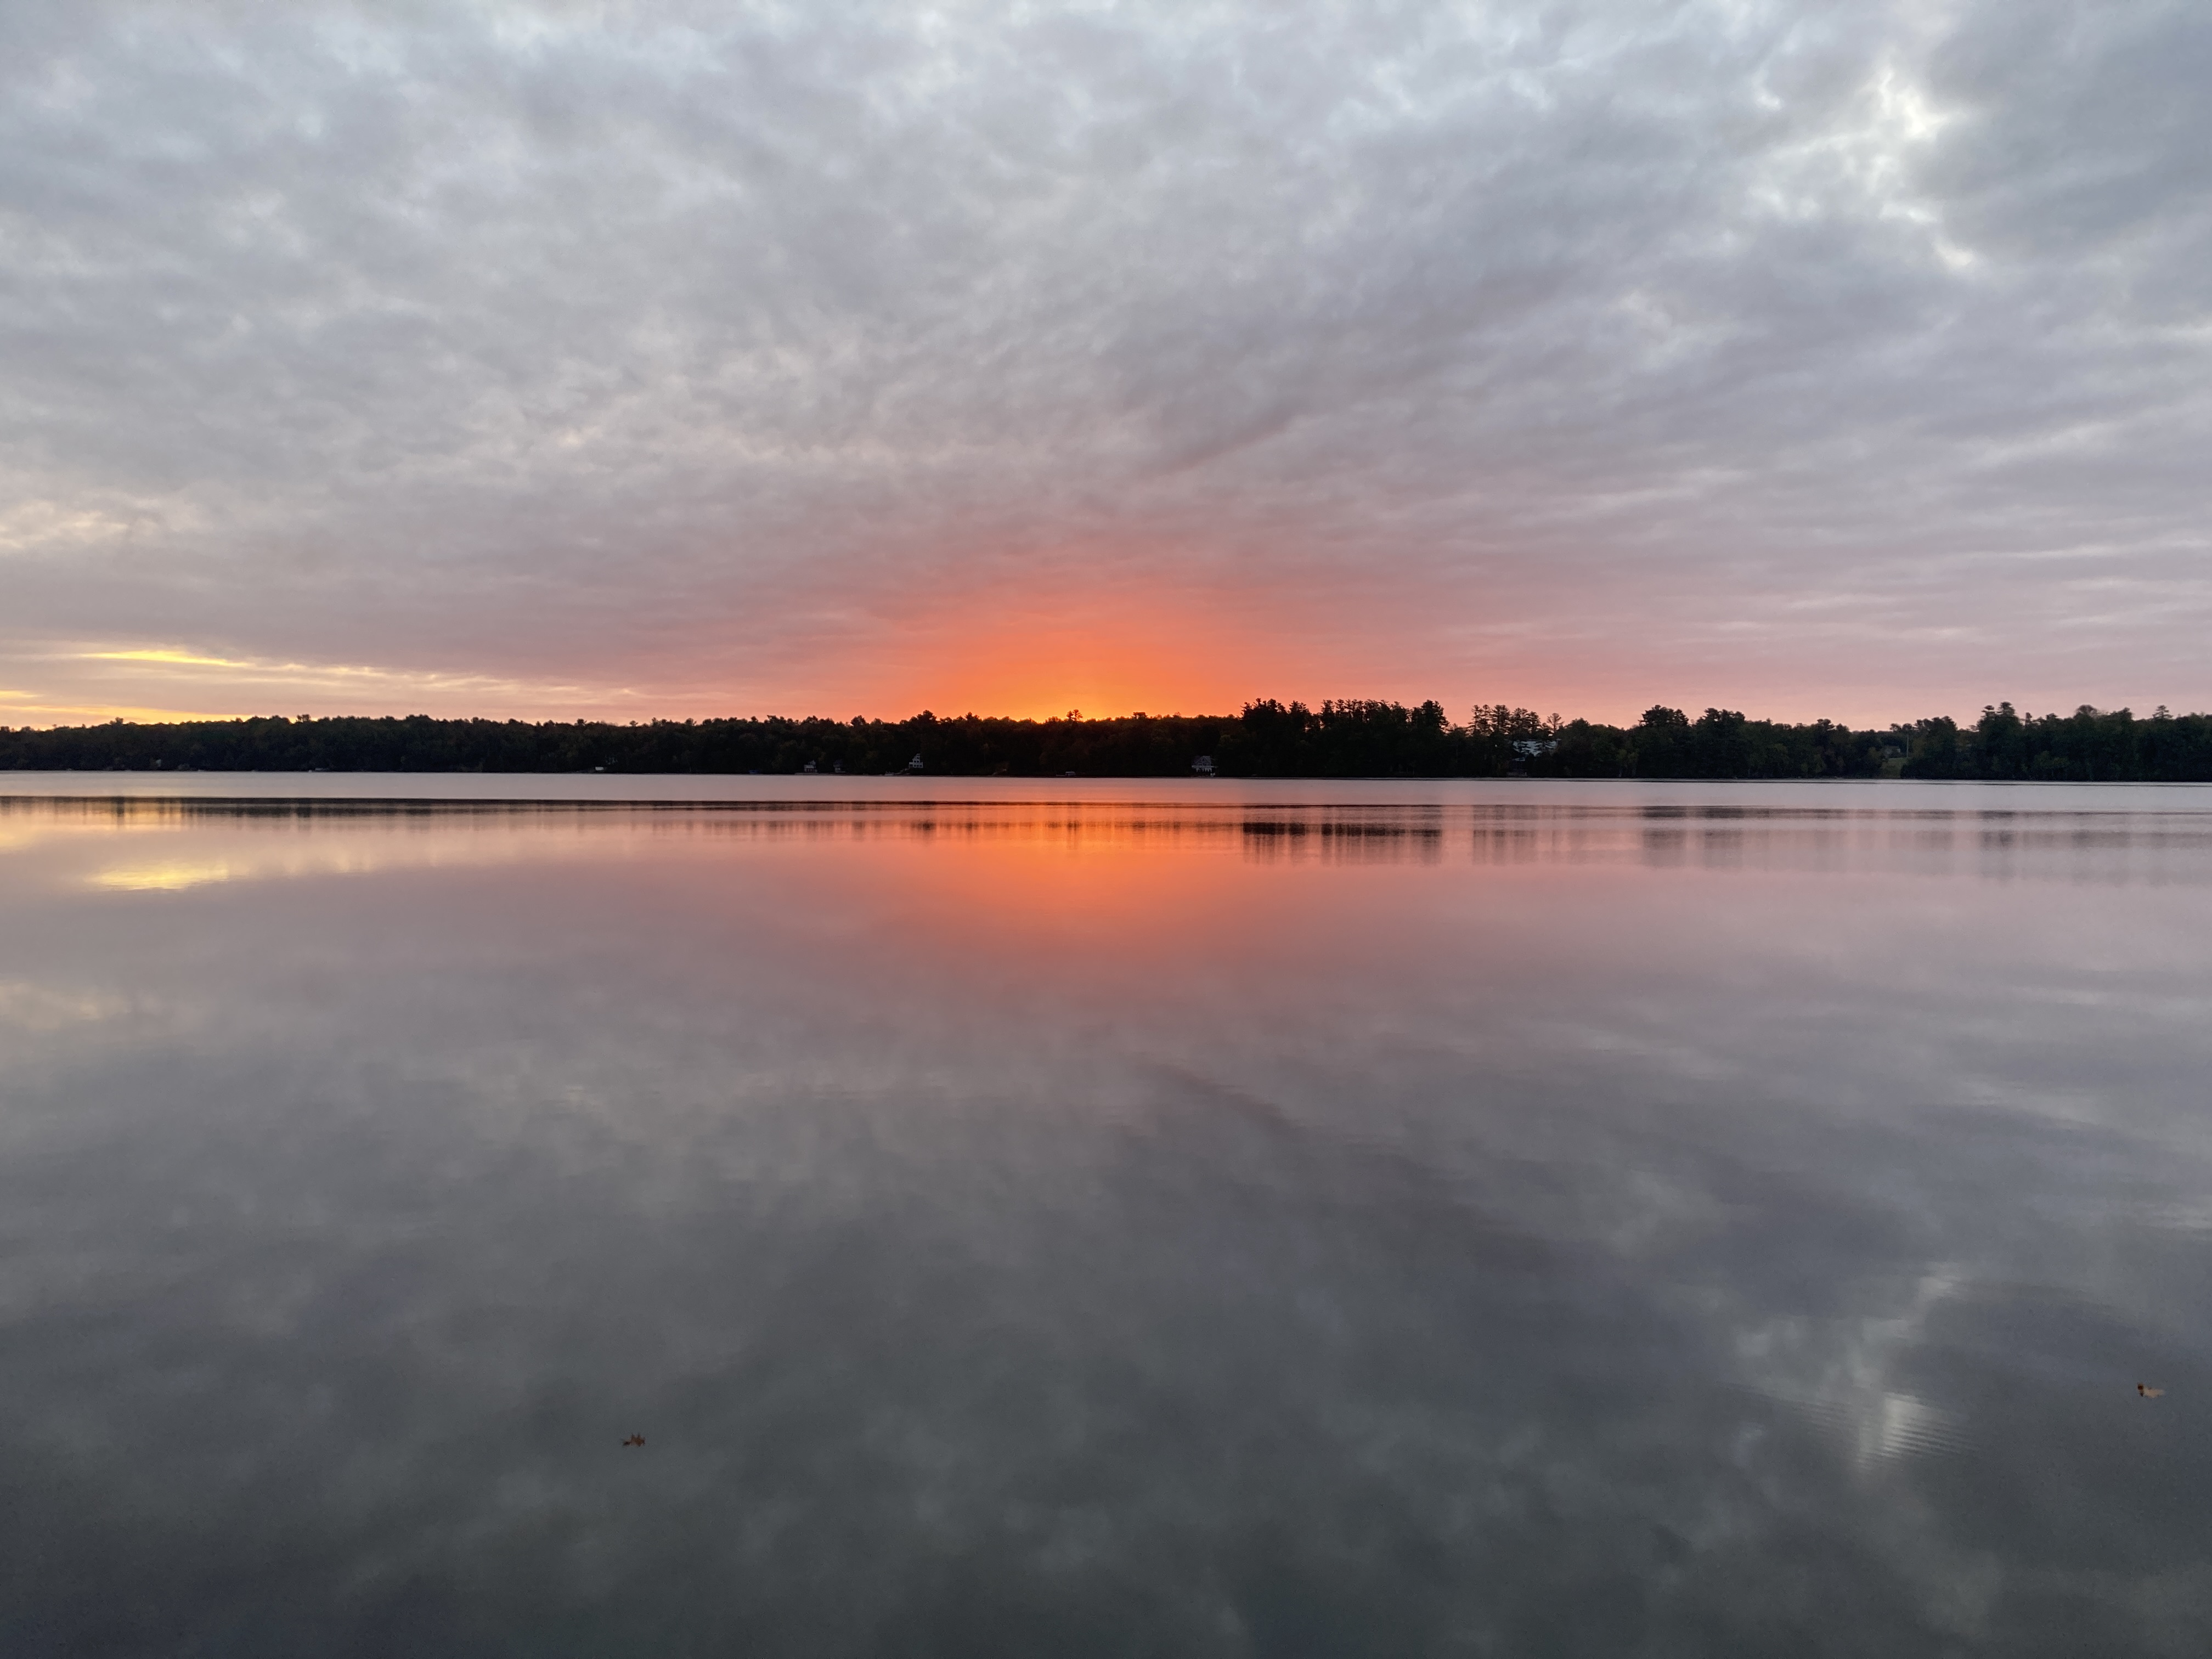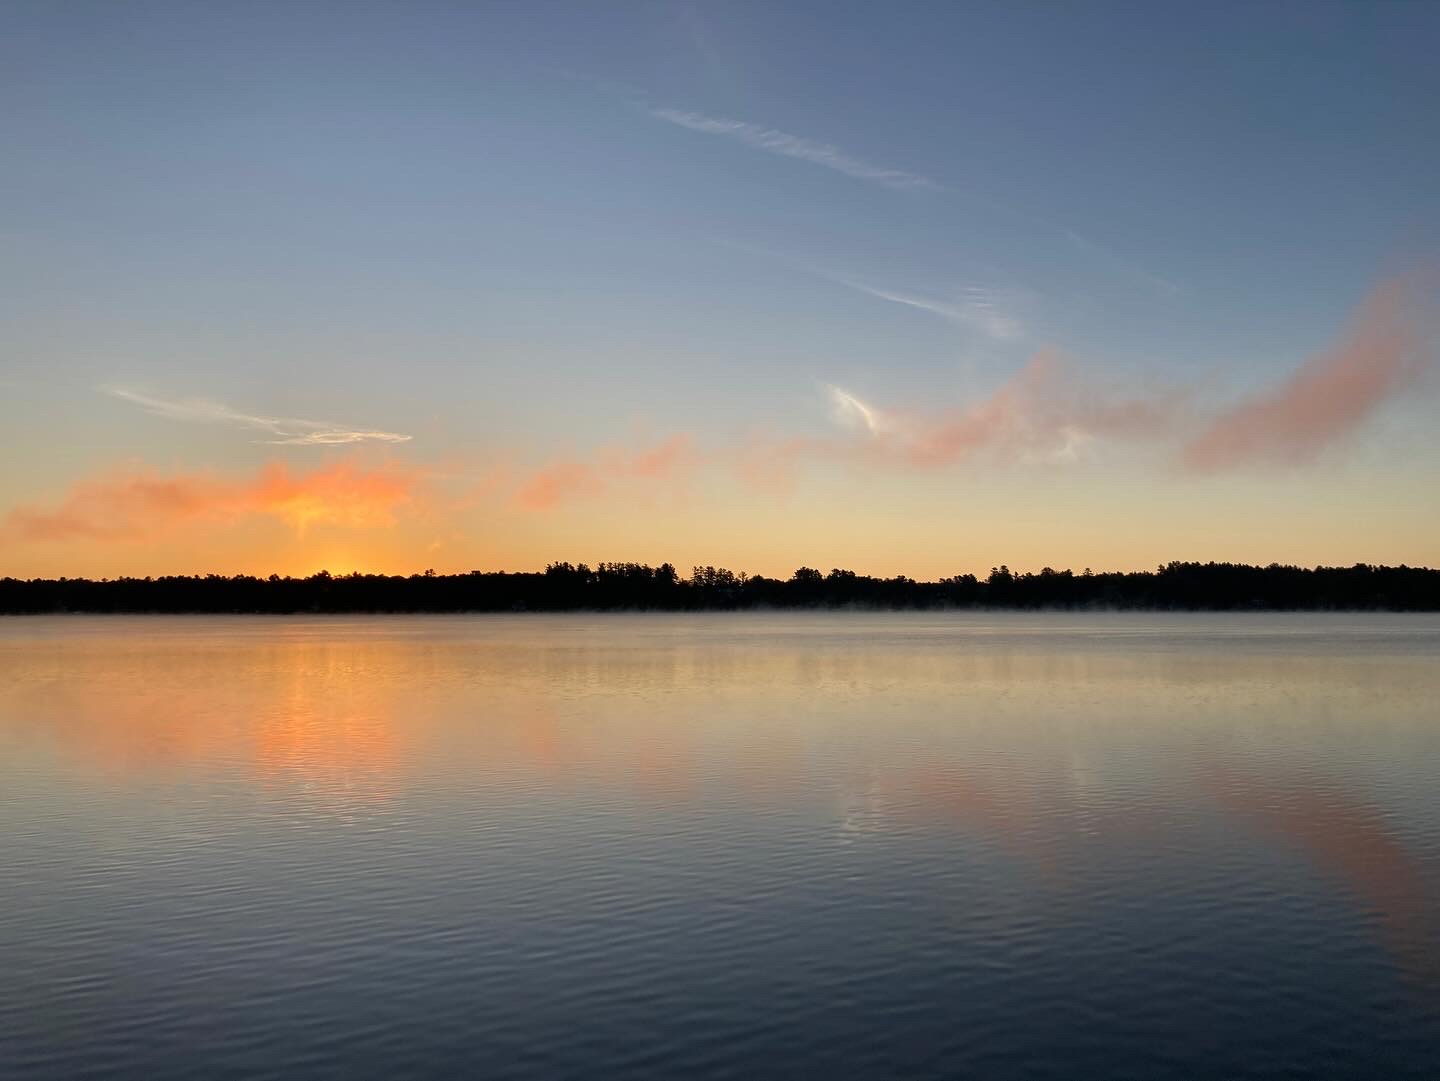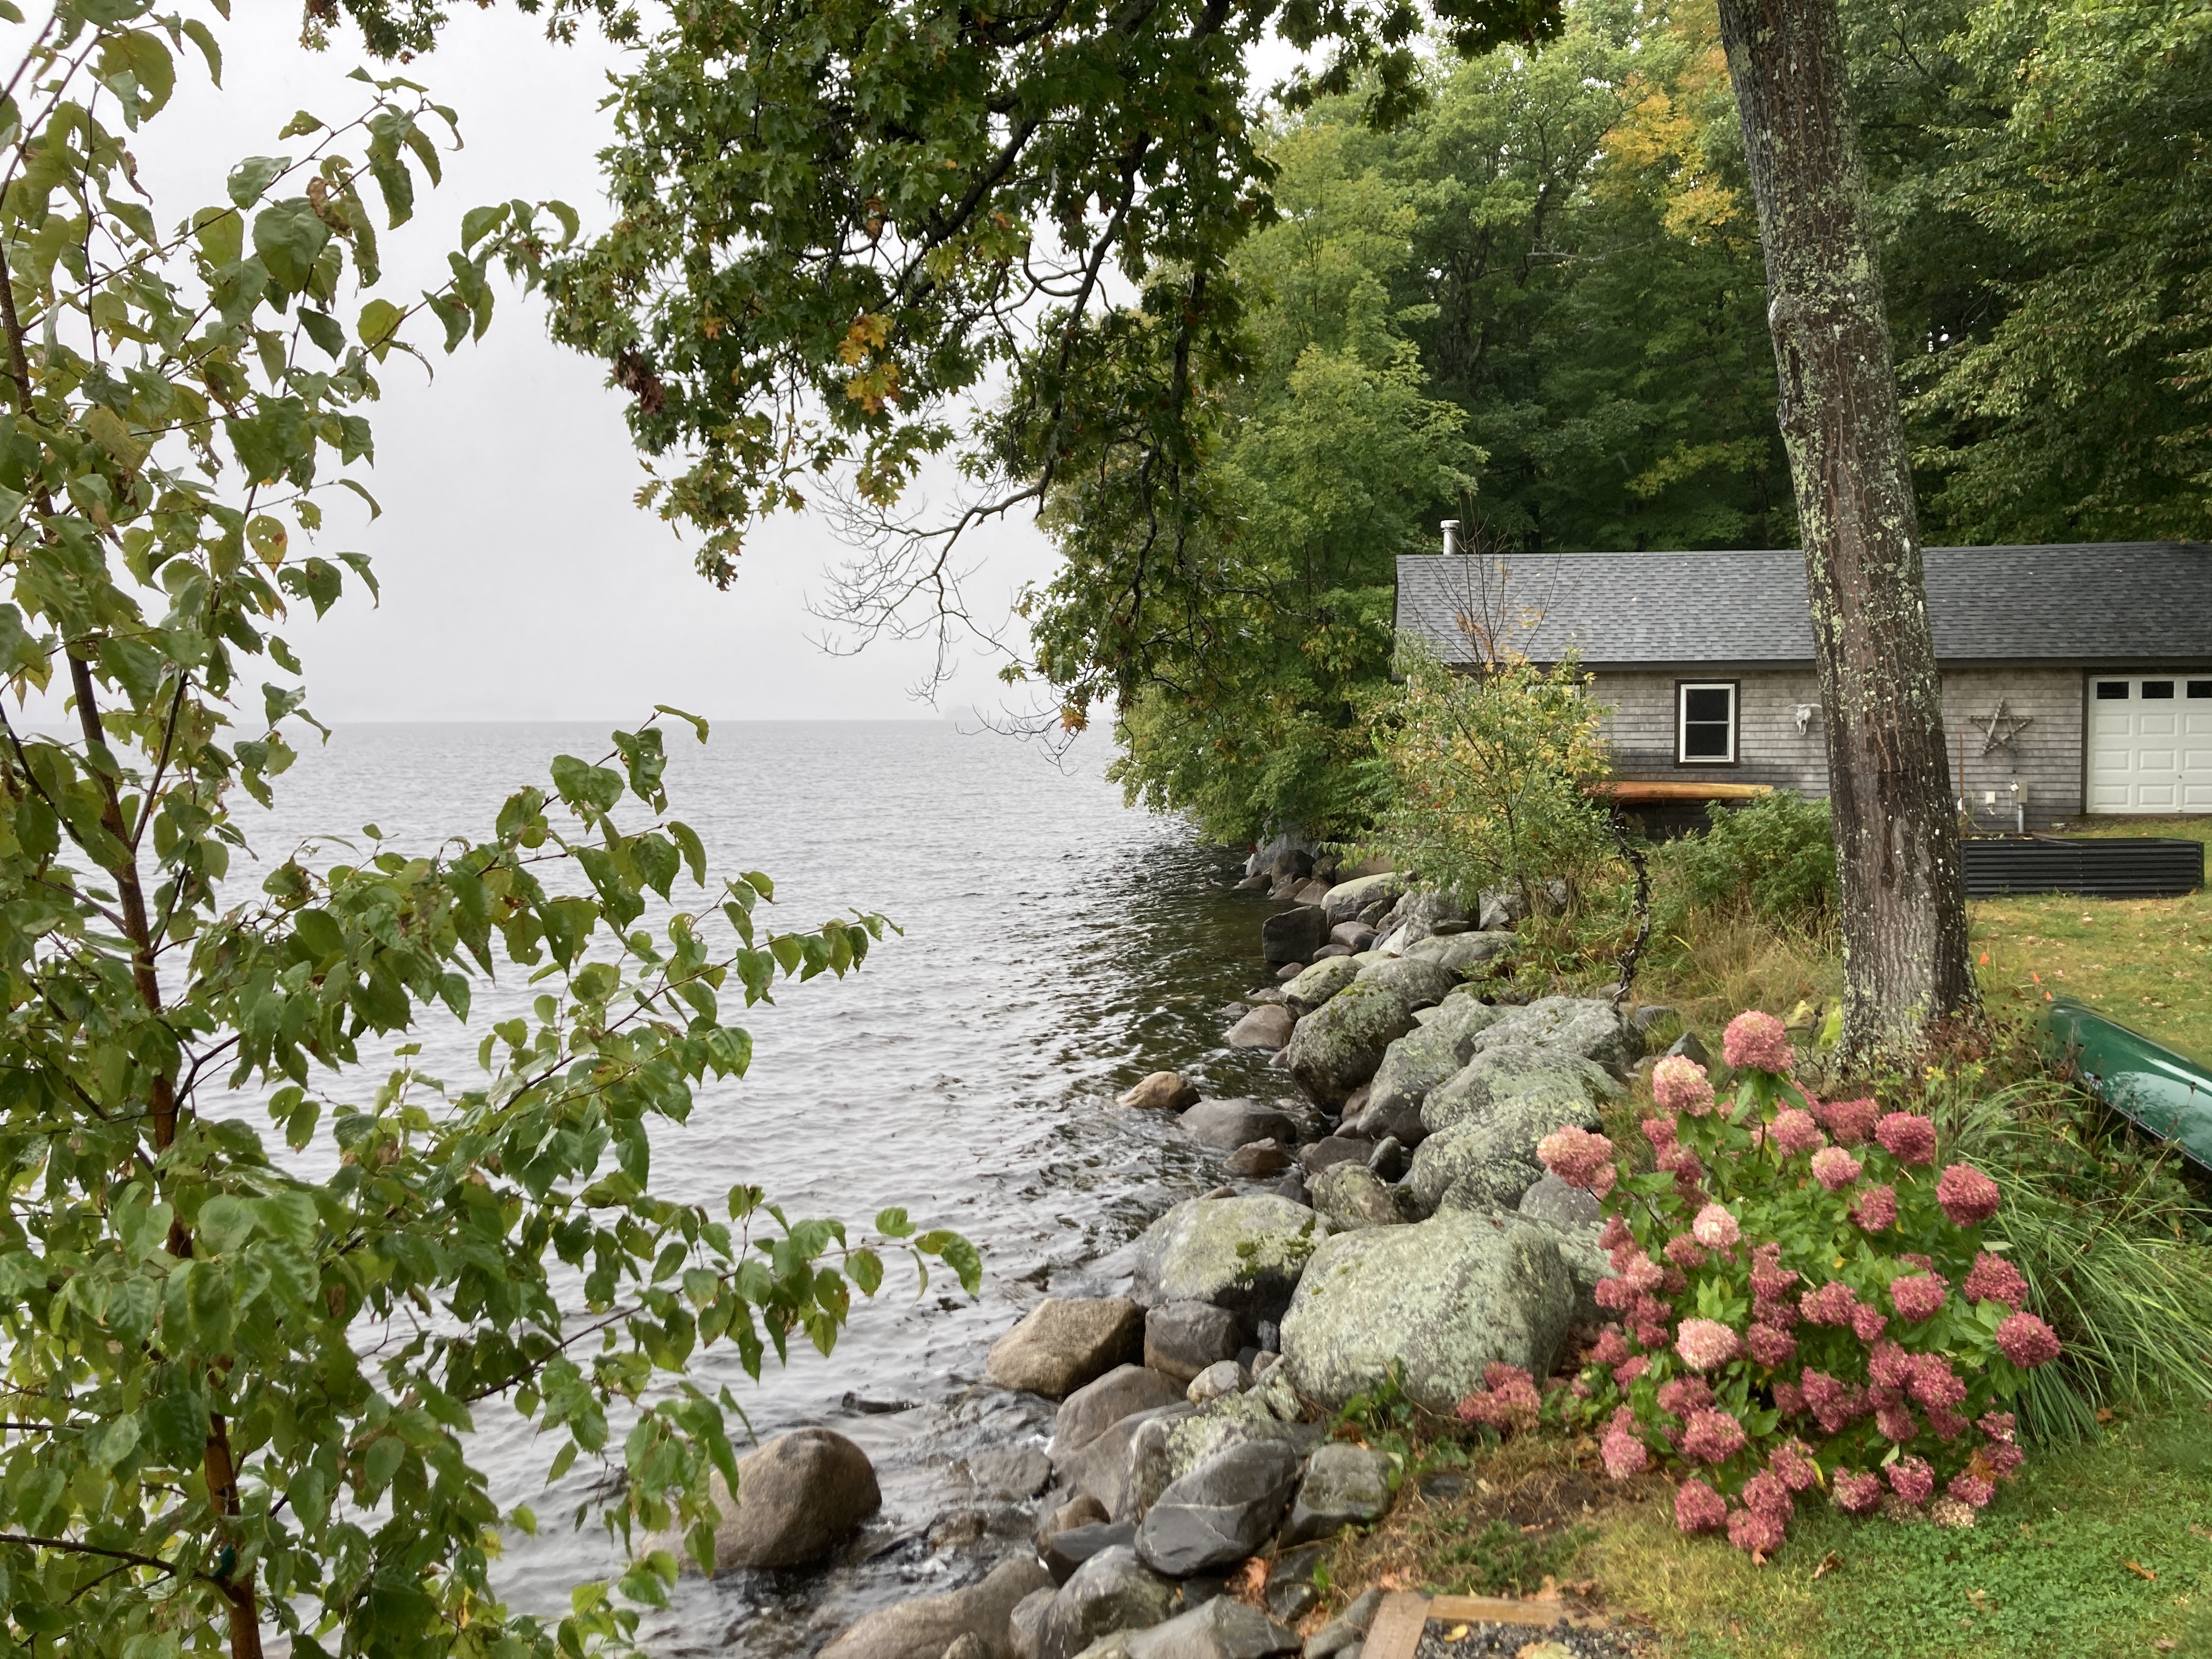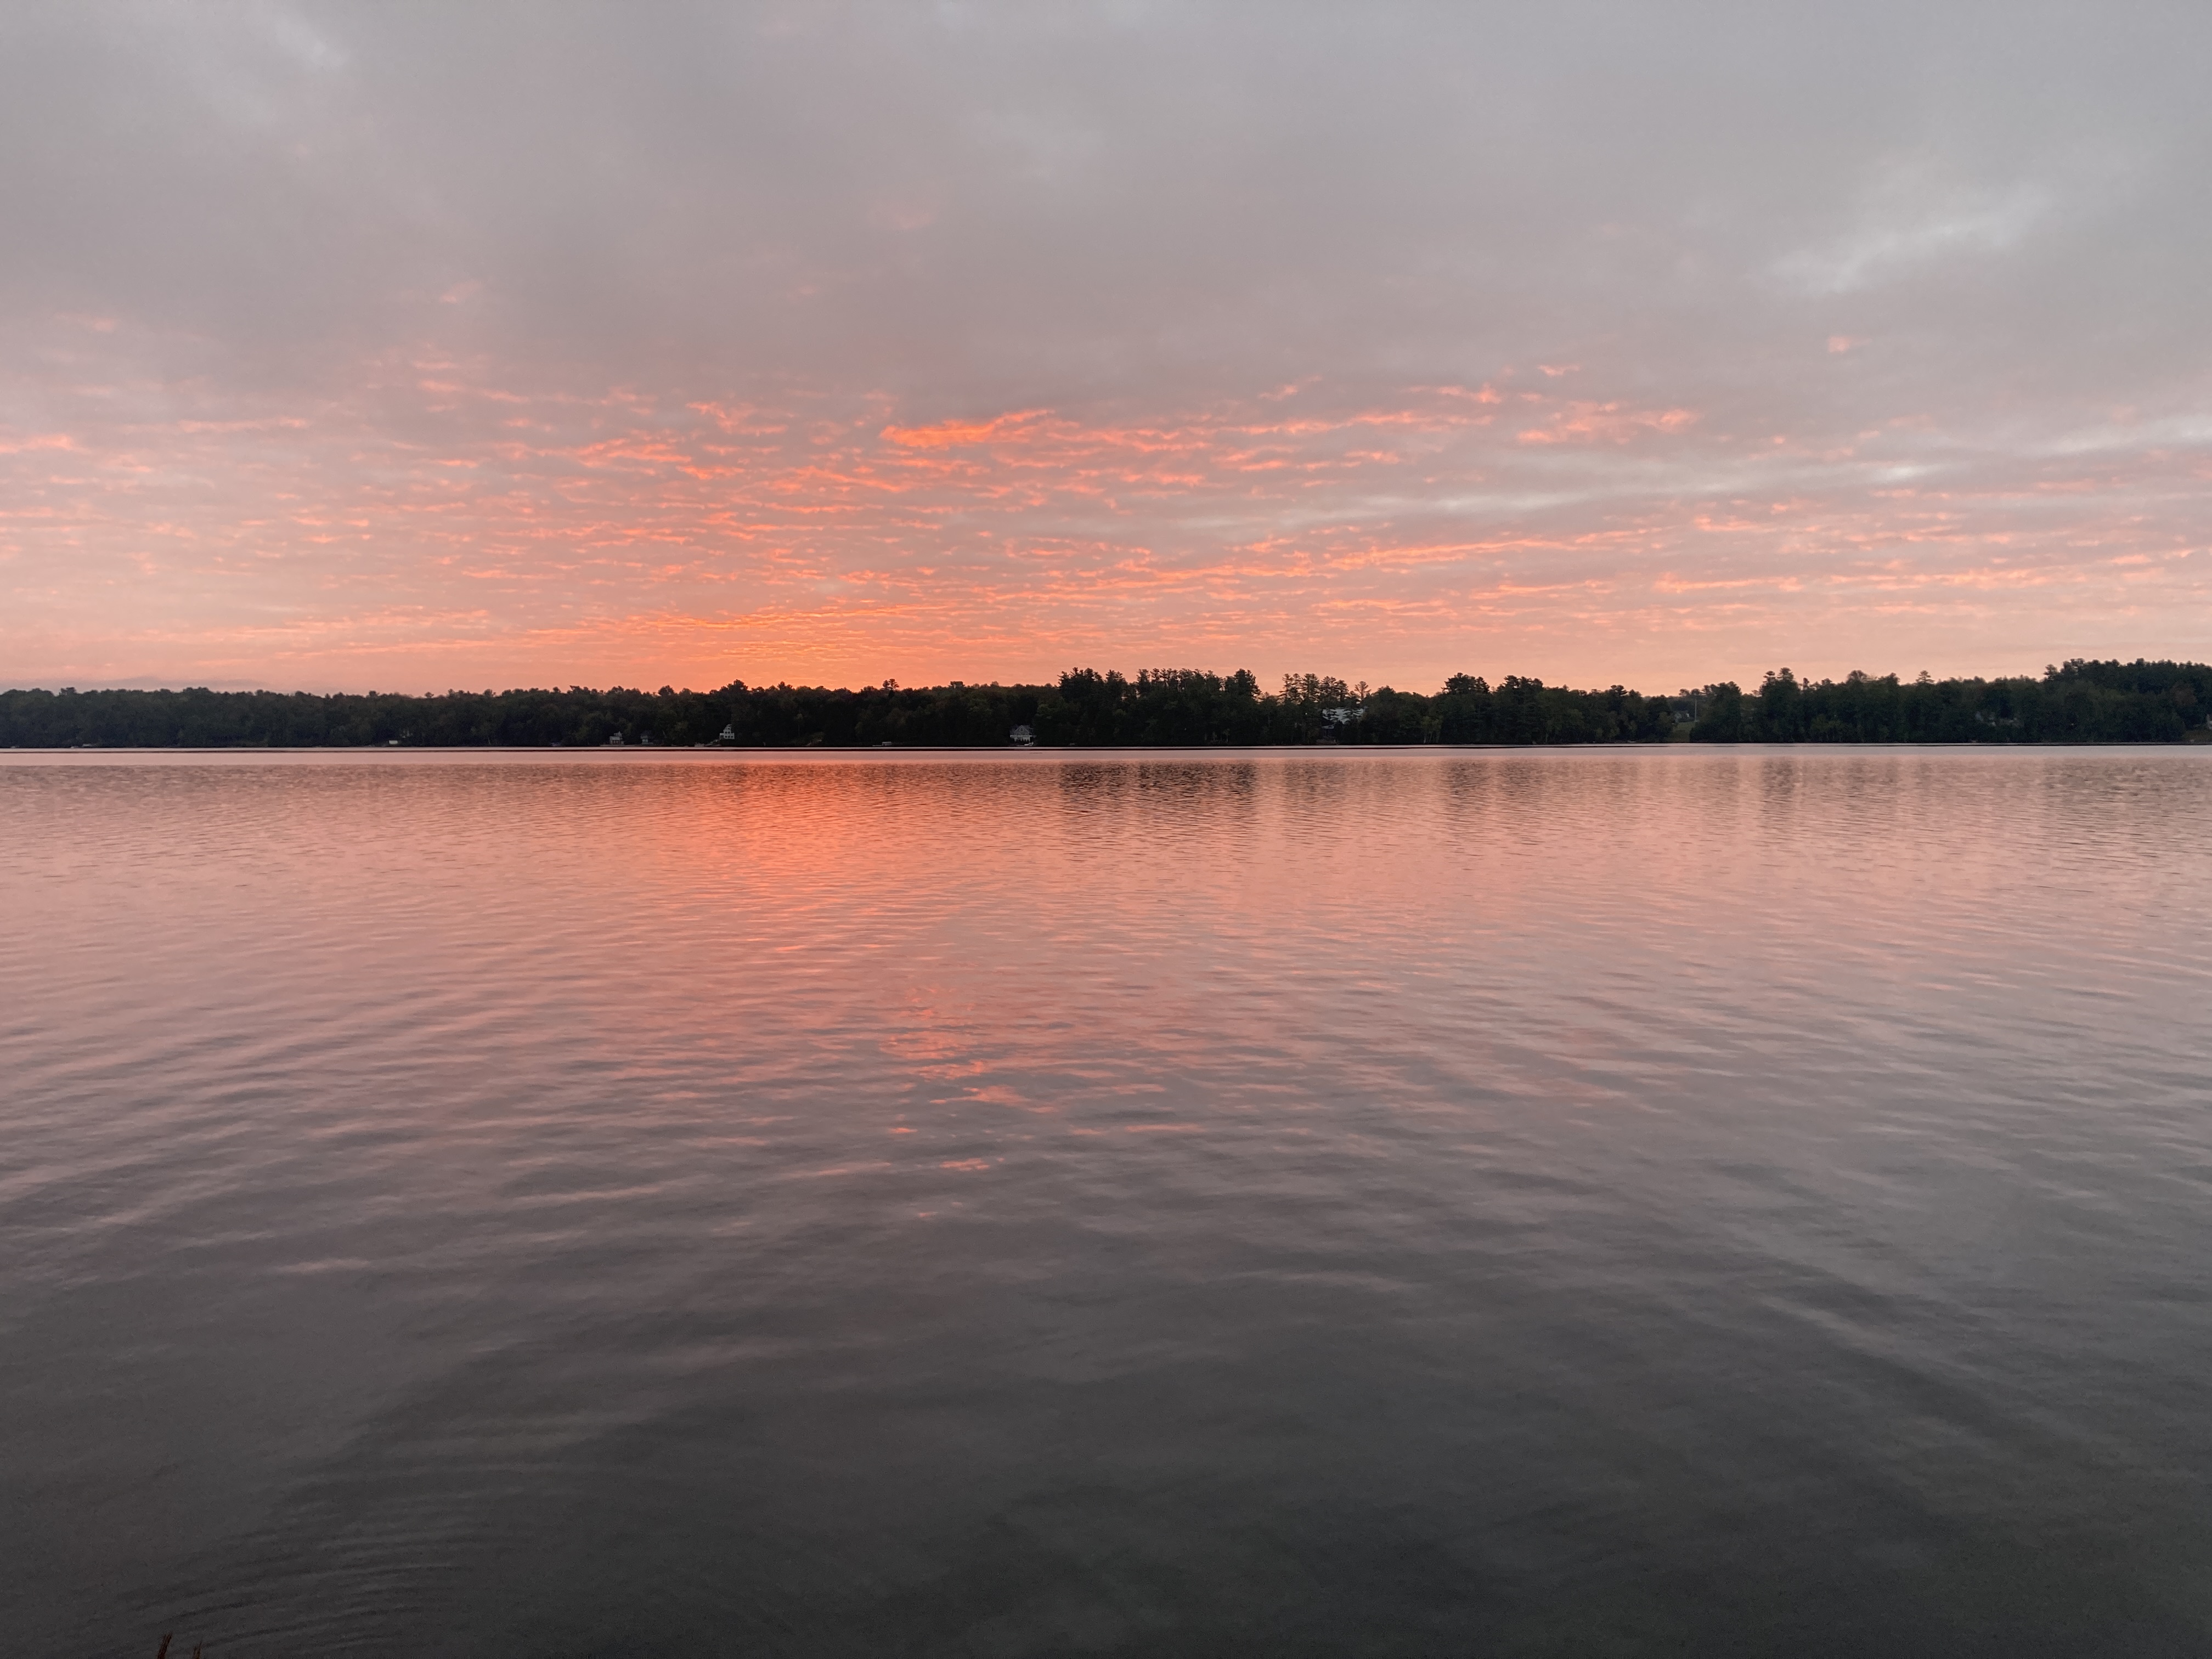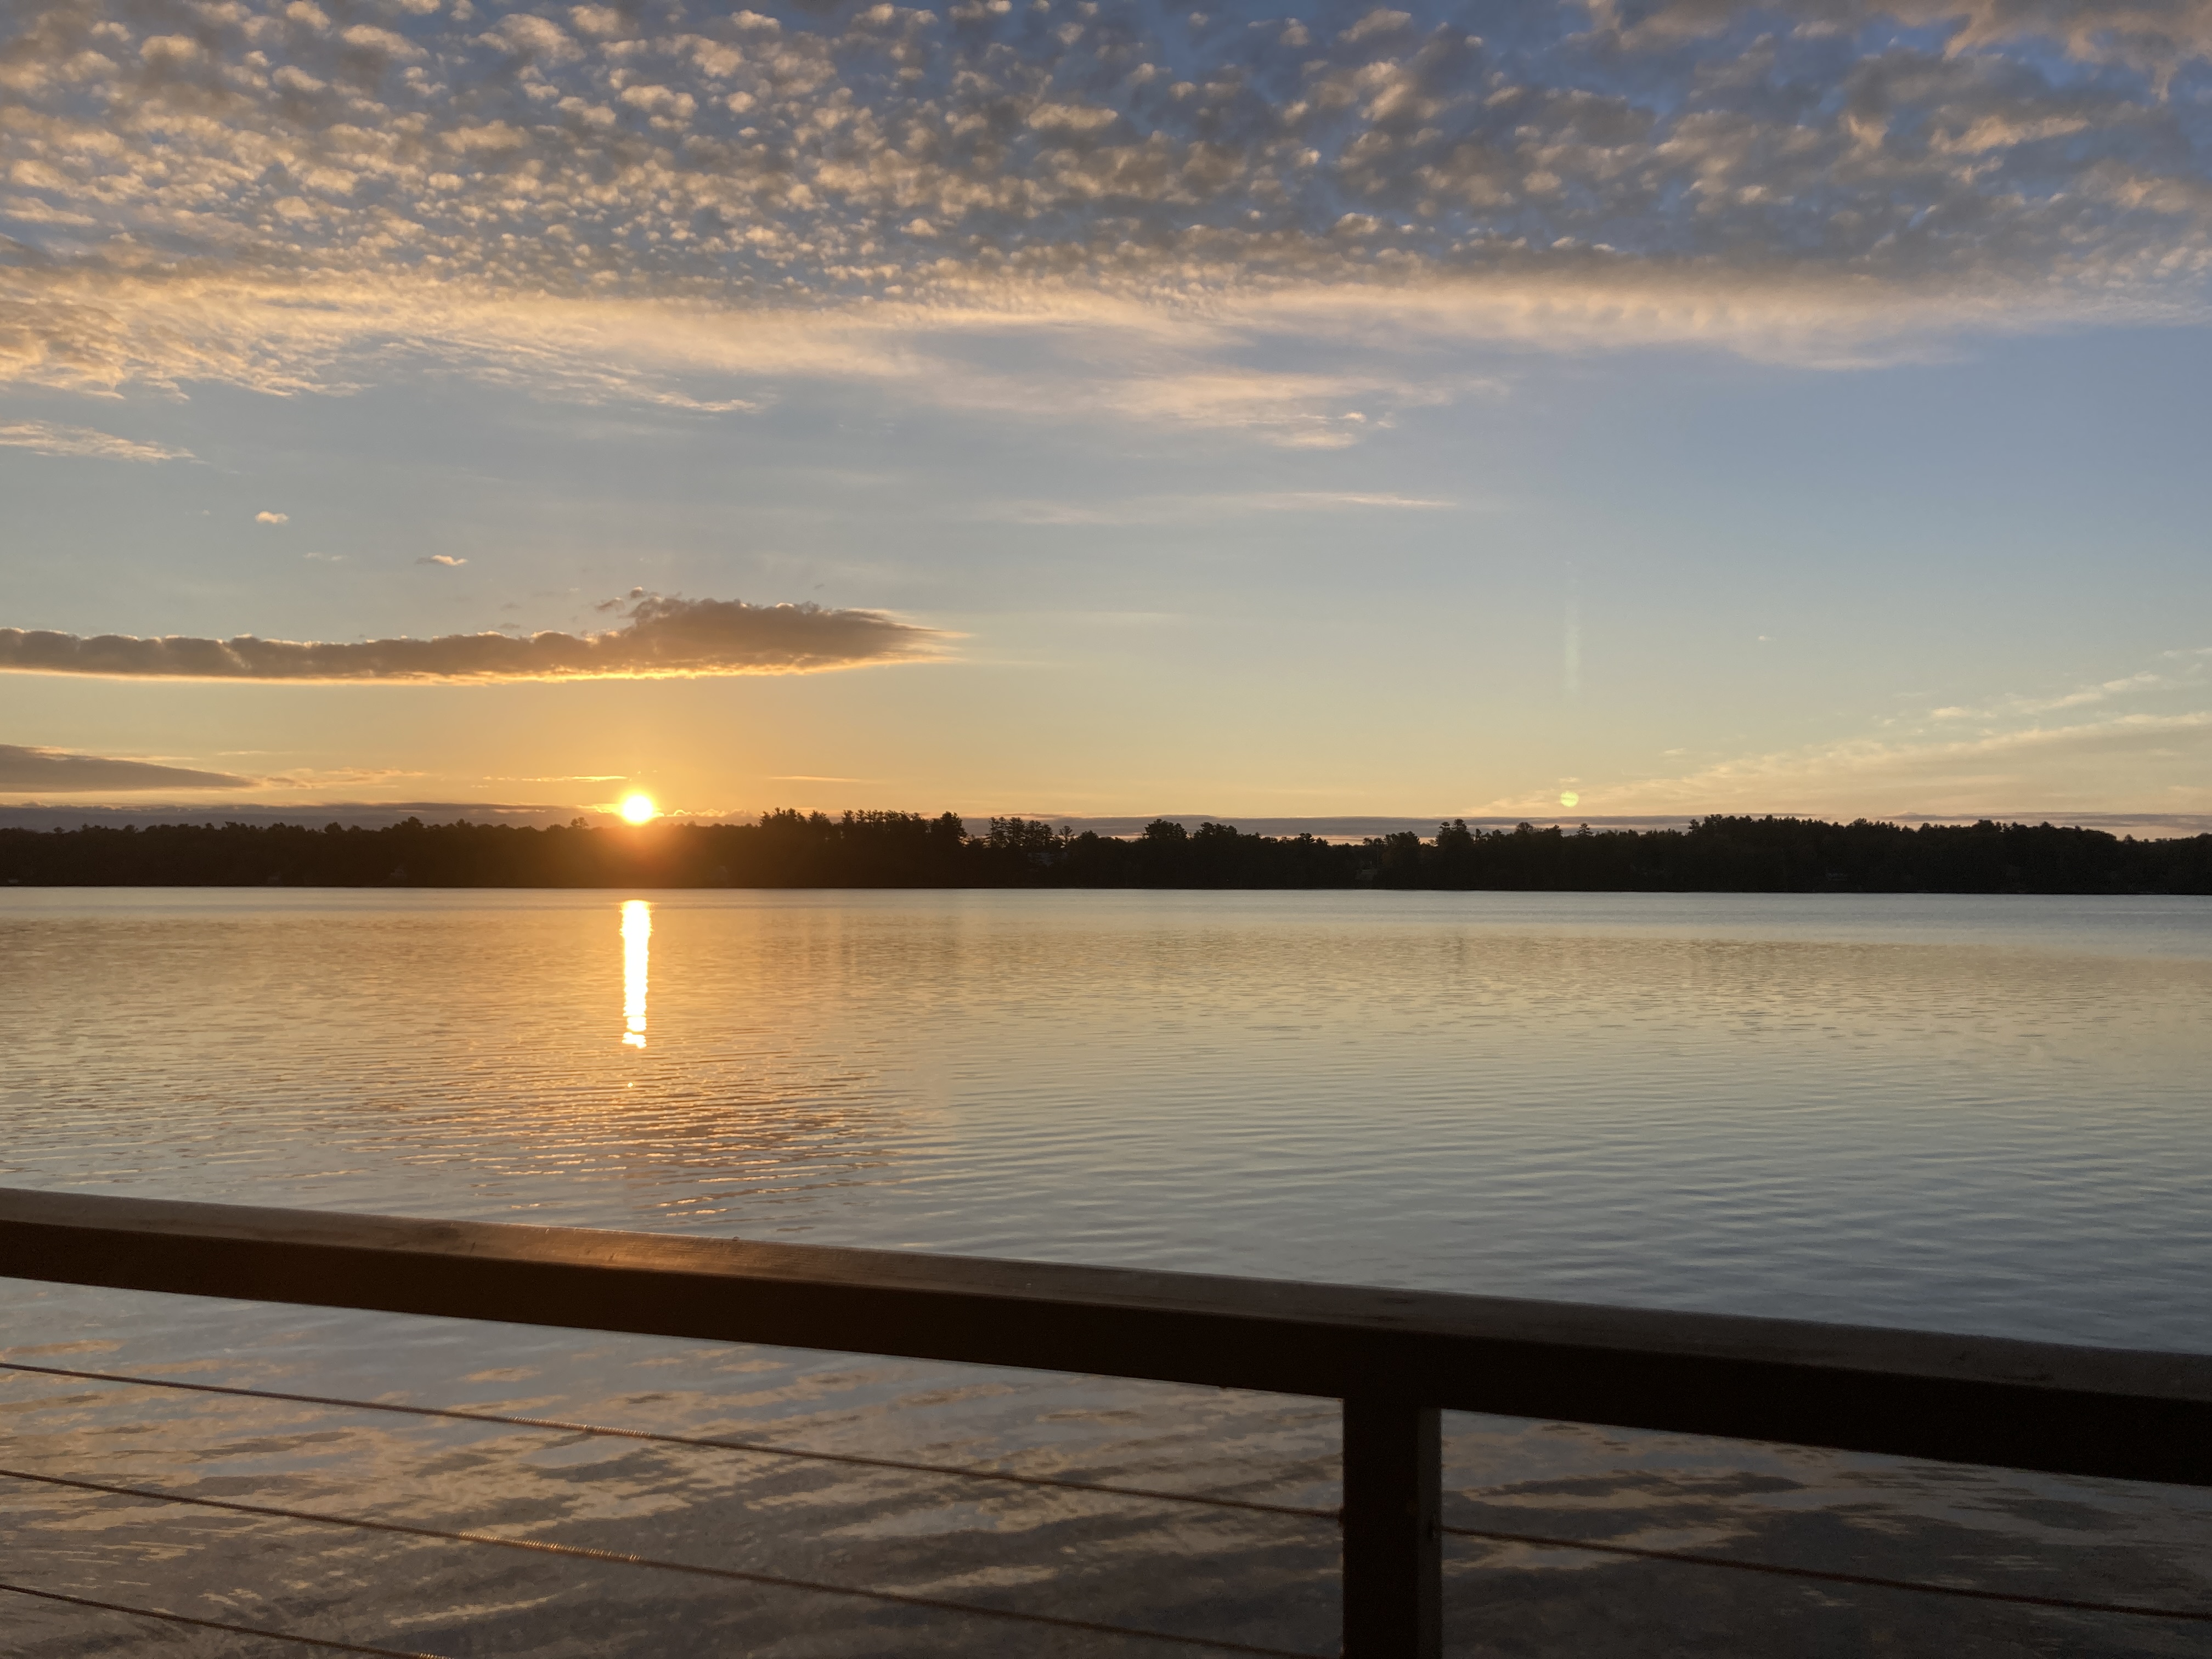
My husband took this shot before I dragged my sorry butt out of bed this morning. I was so comfortable and cozy. Anywhoooo … he’s the better photographer in the family and caught the sunrise just as the sun was peeking up over the horizon across the lake. Our hummingbirds are gone, we haven’t seen any since the day we got home from the beach. Our mornings are a little bit less fun without them. But we still have our baby loon. It was fishing this morning with a parent and it was so quiet that we could hear them “talking” to each other. We are so lucky to be able to witness these things and realize that not everyone else does.
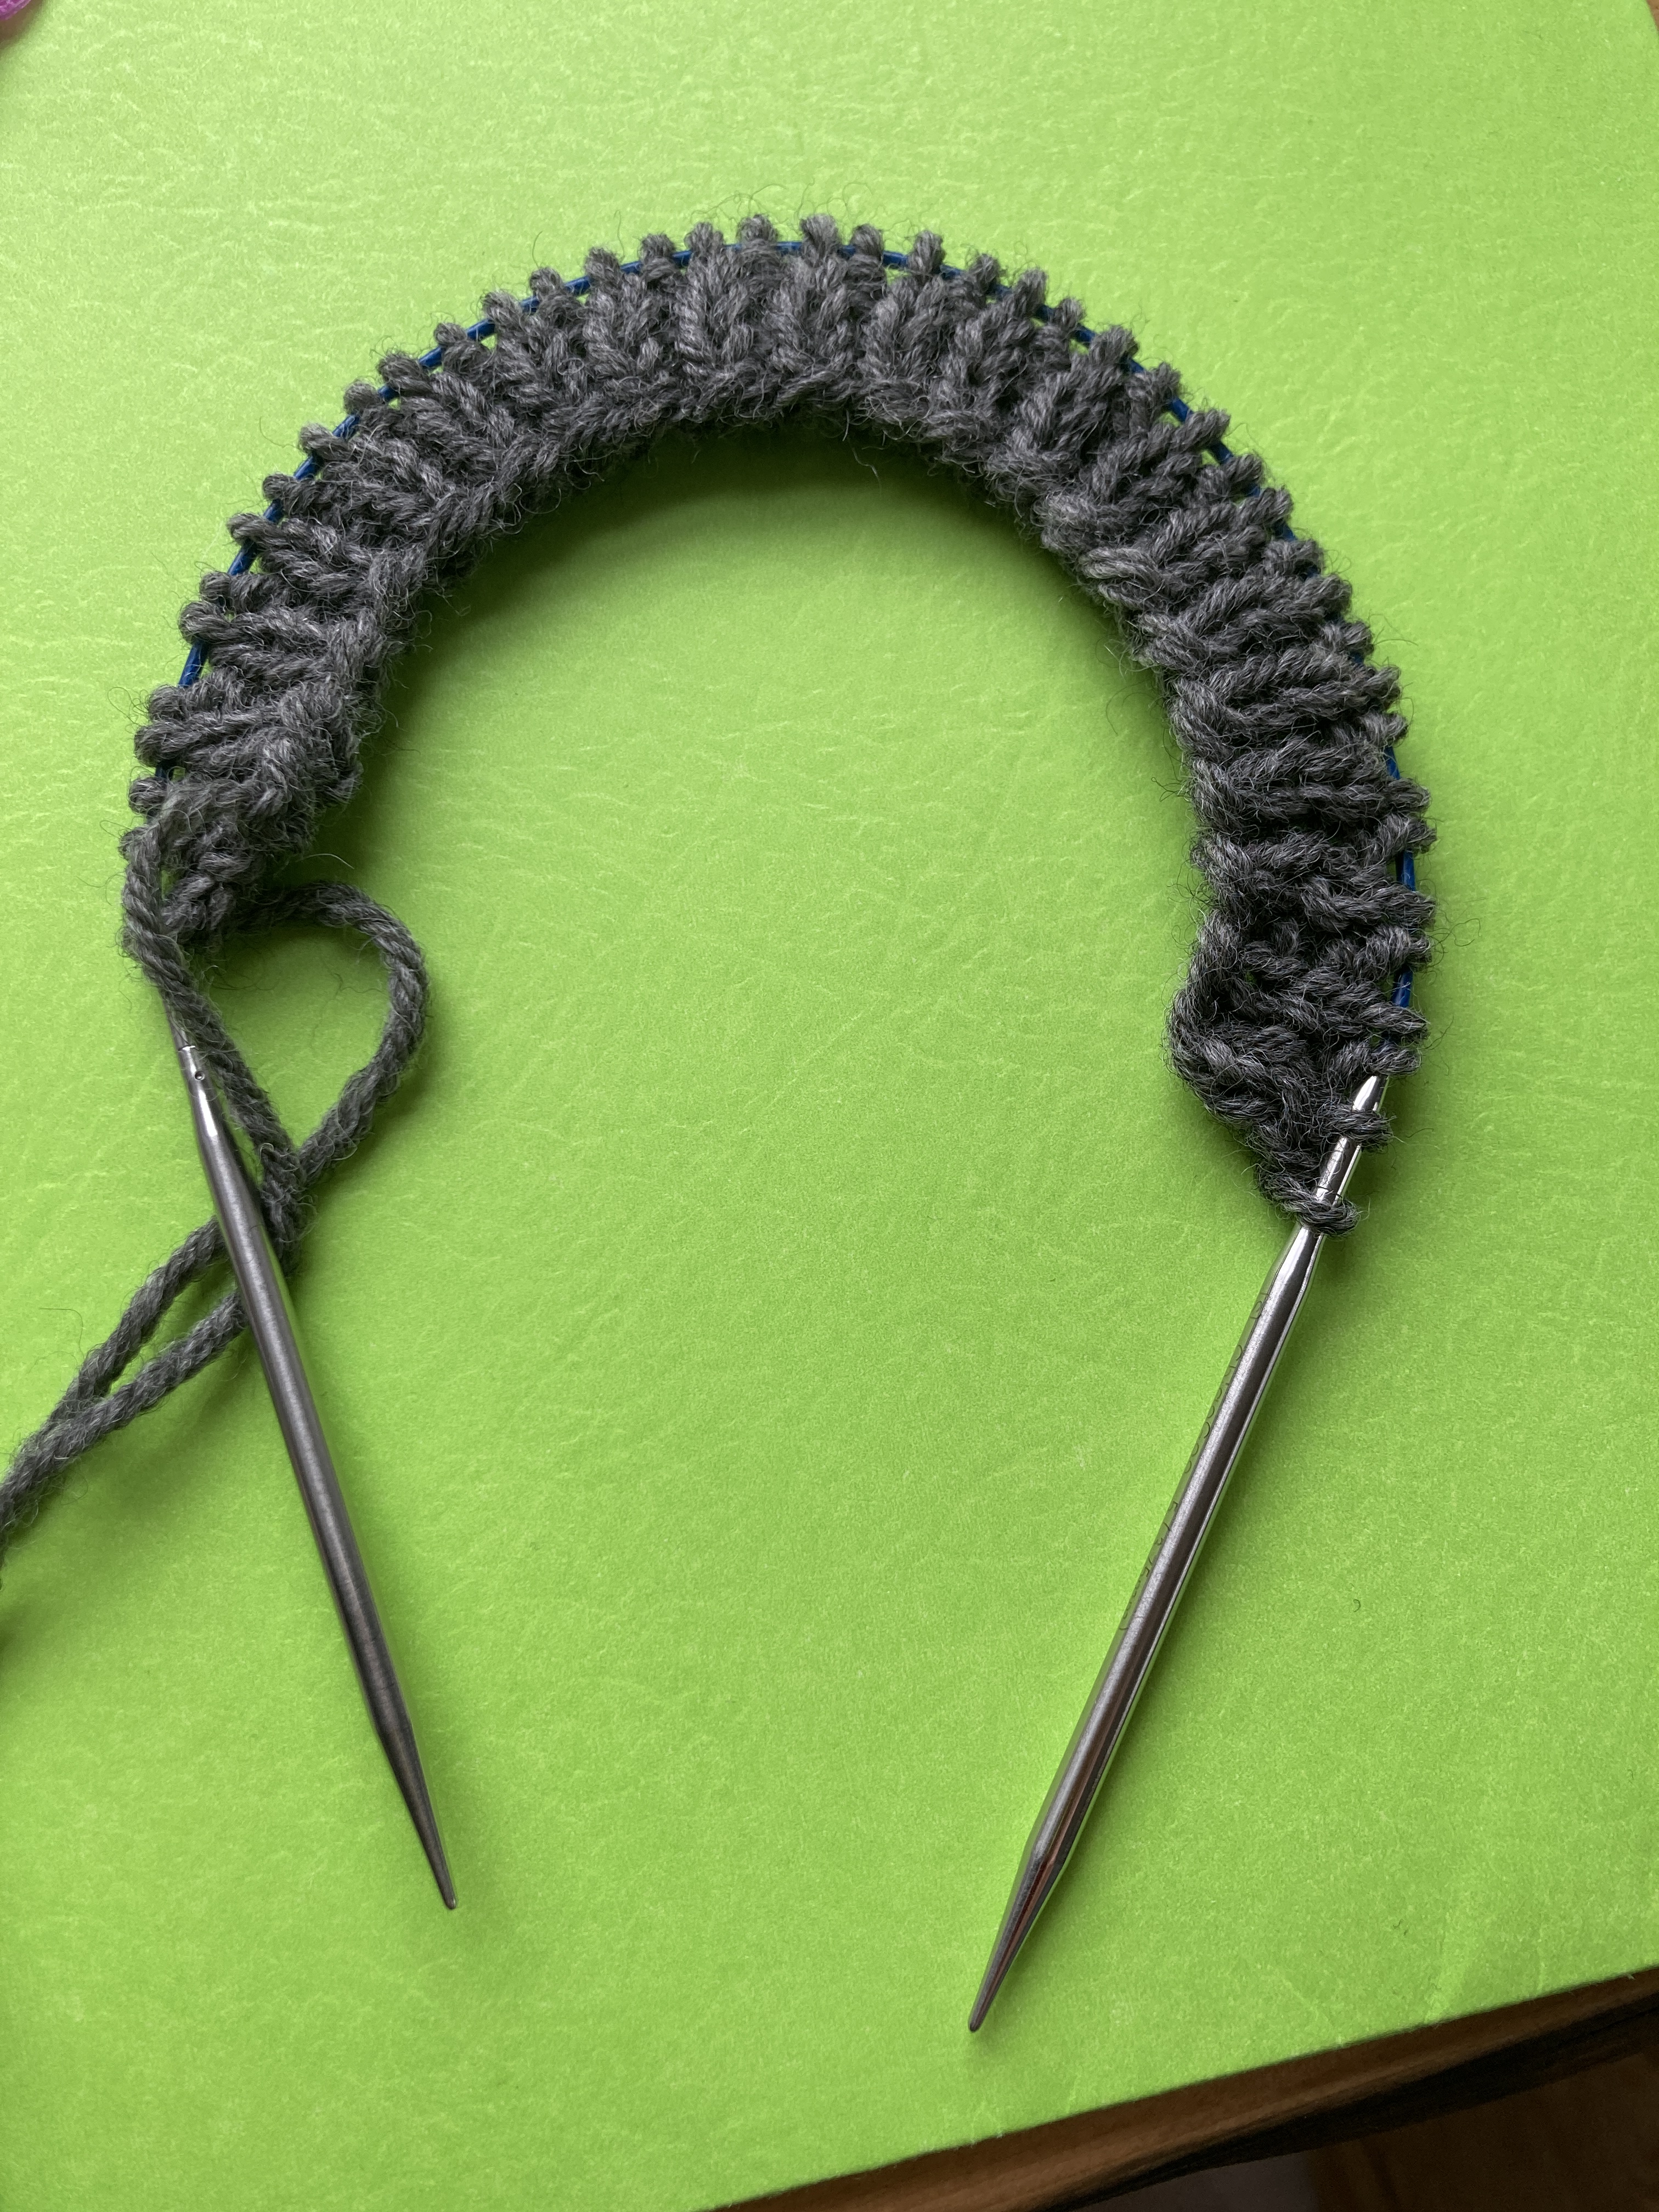
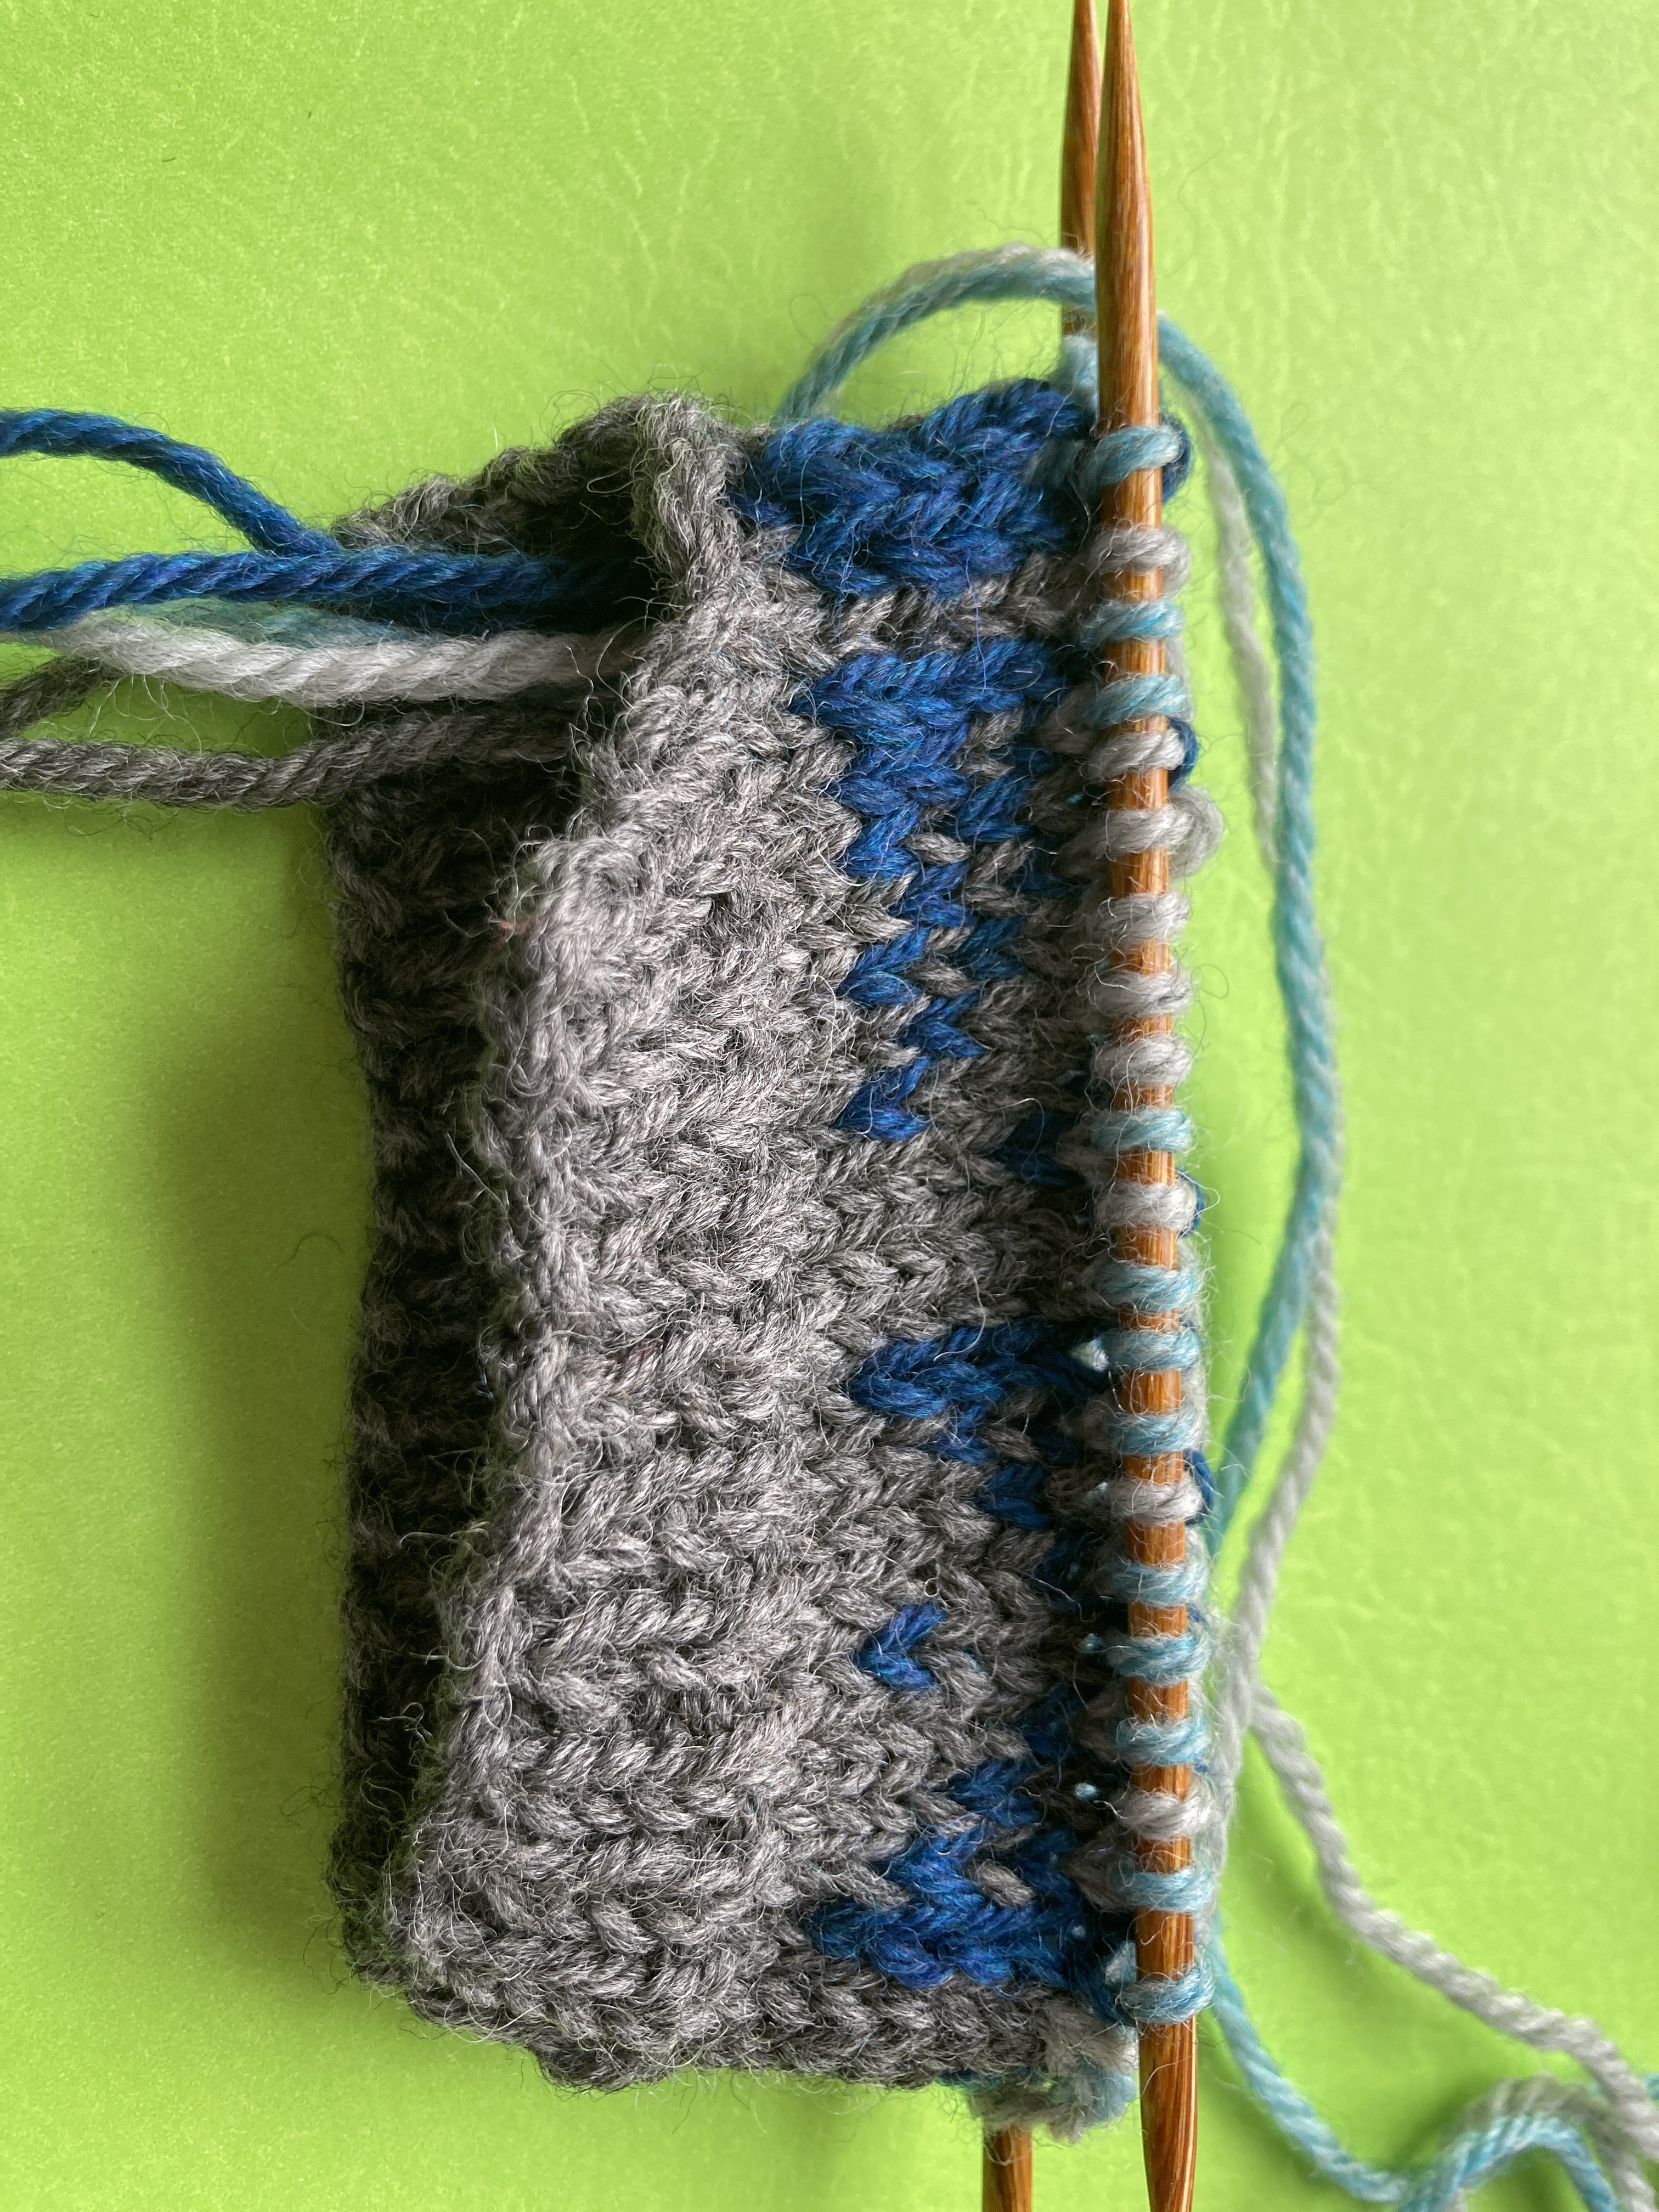
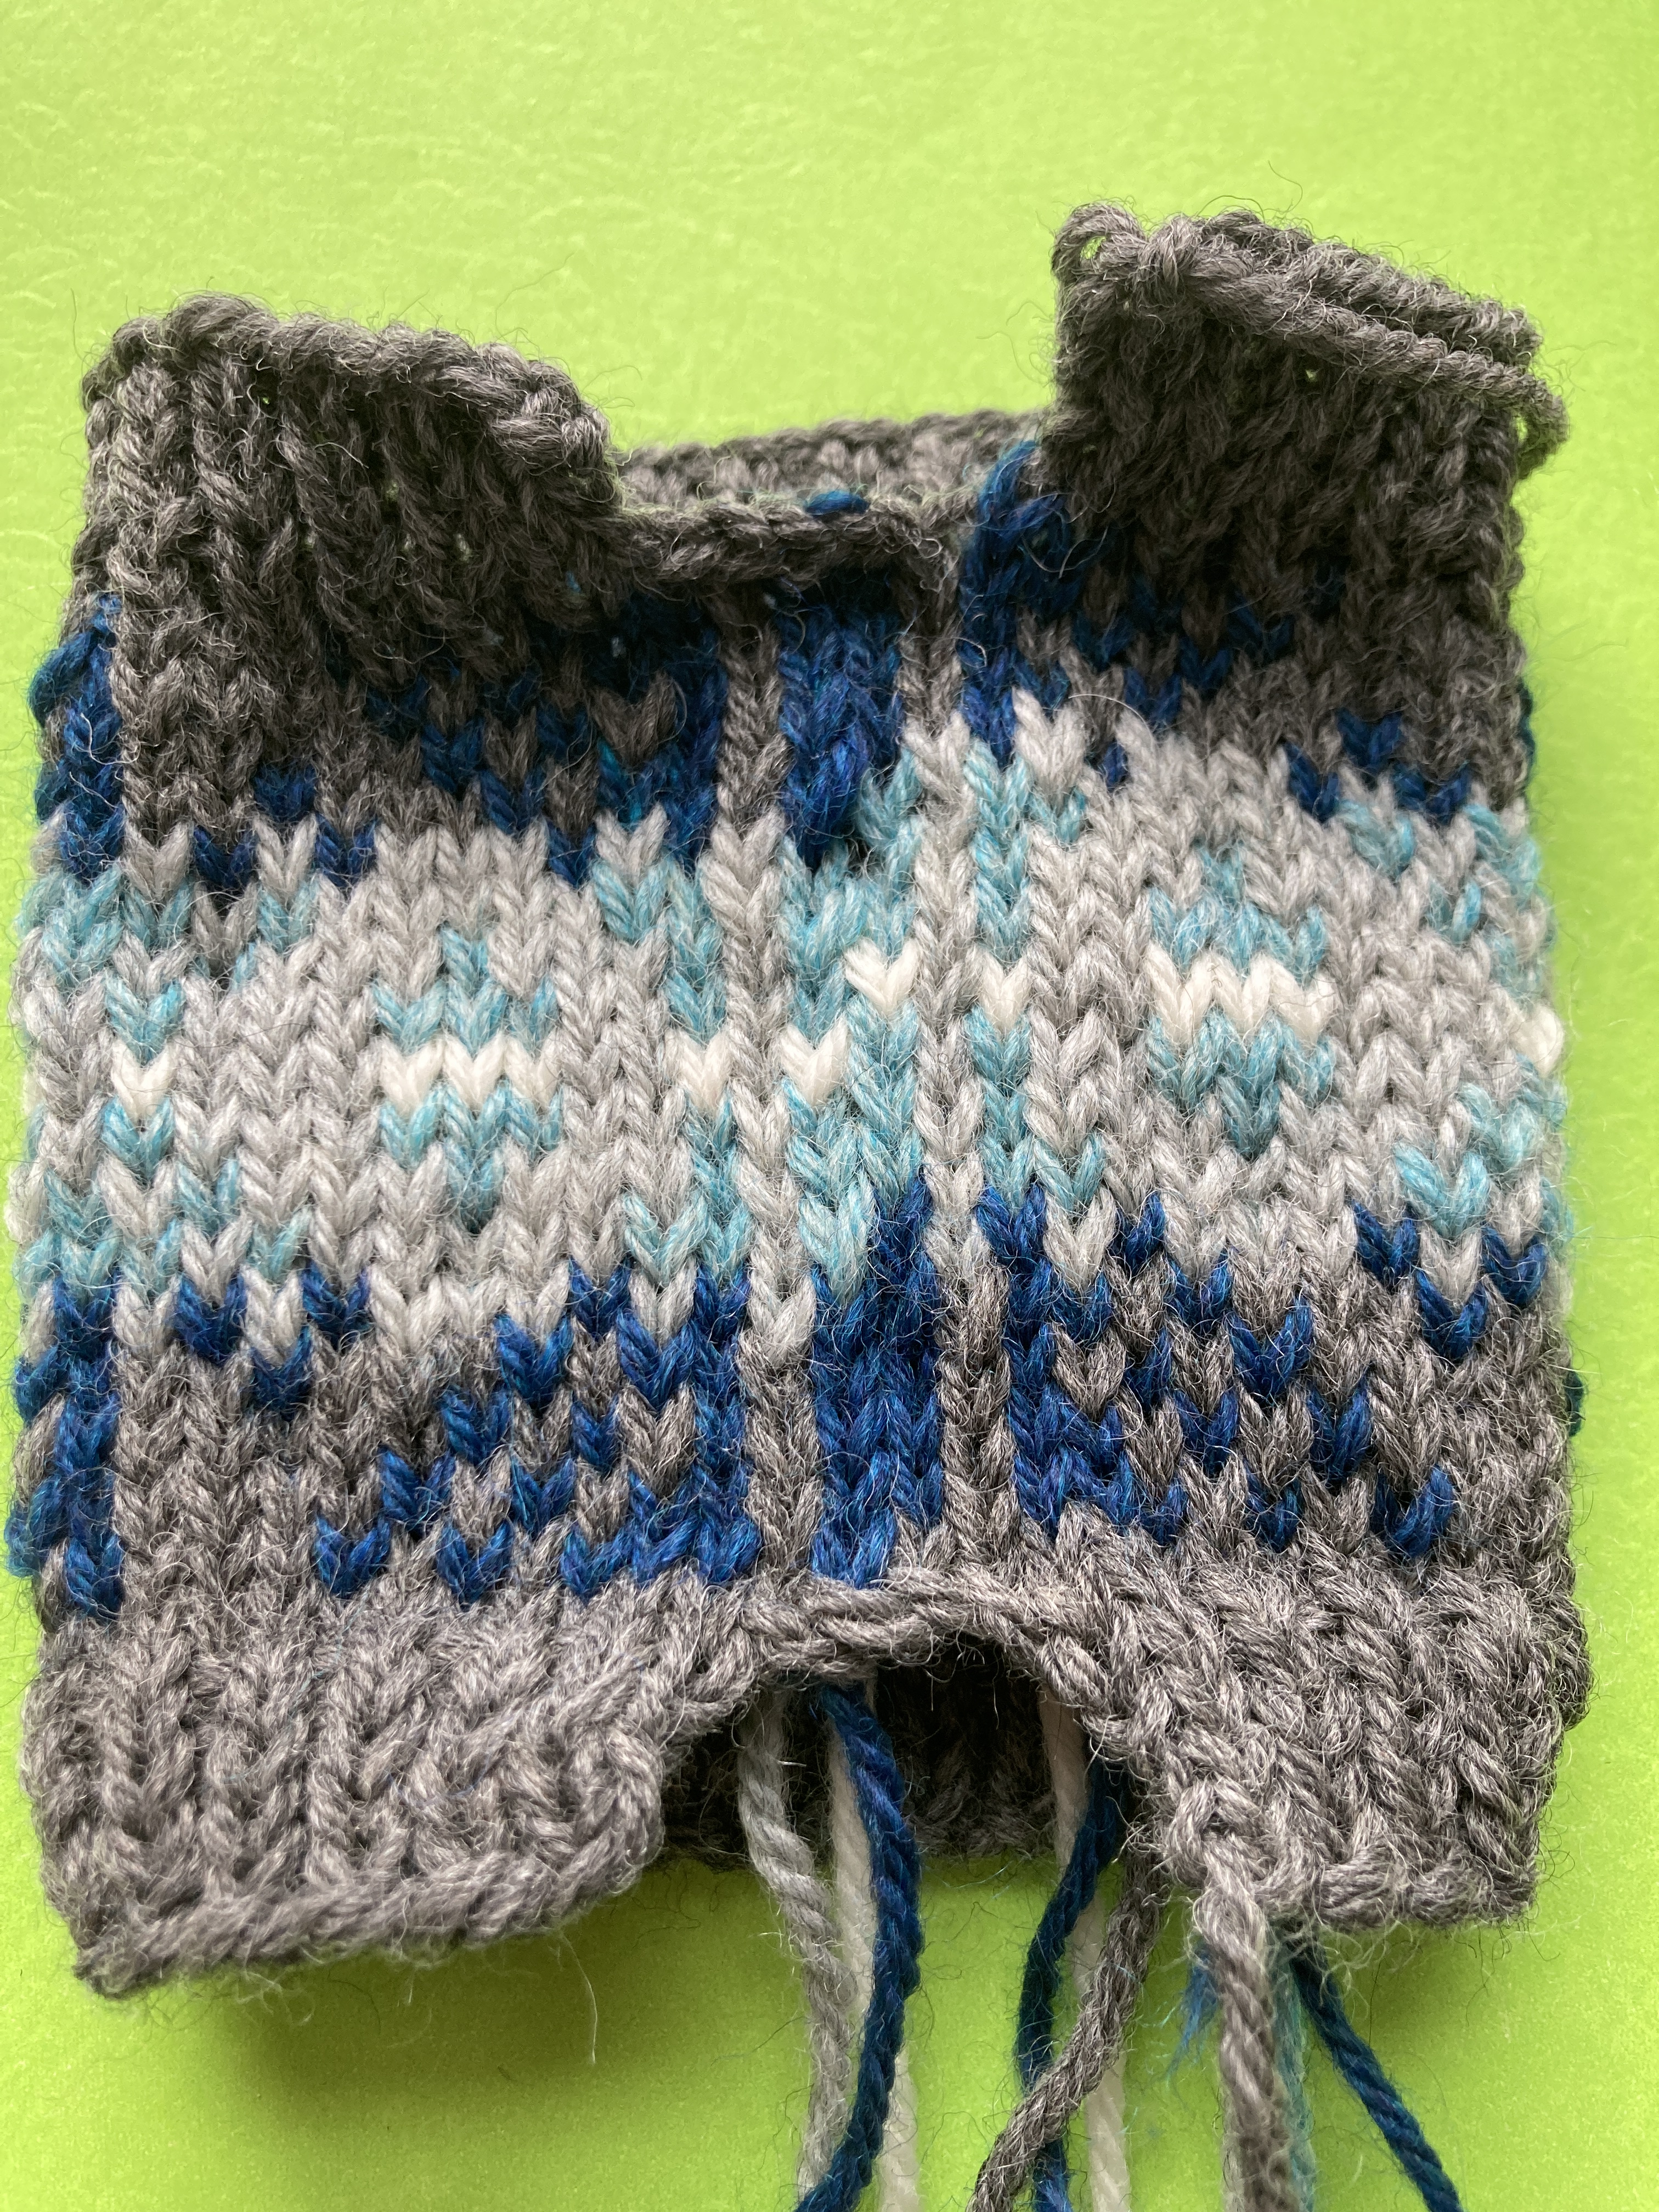
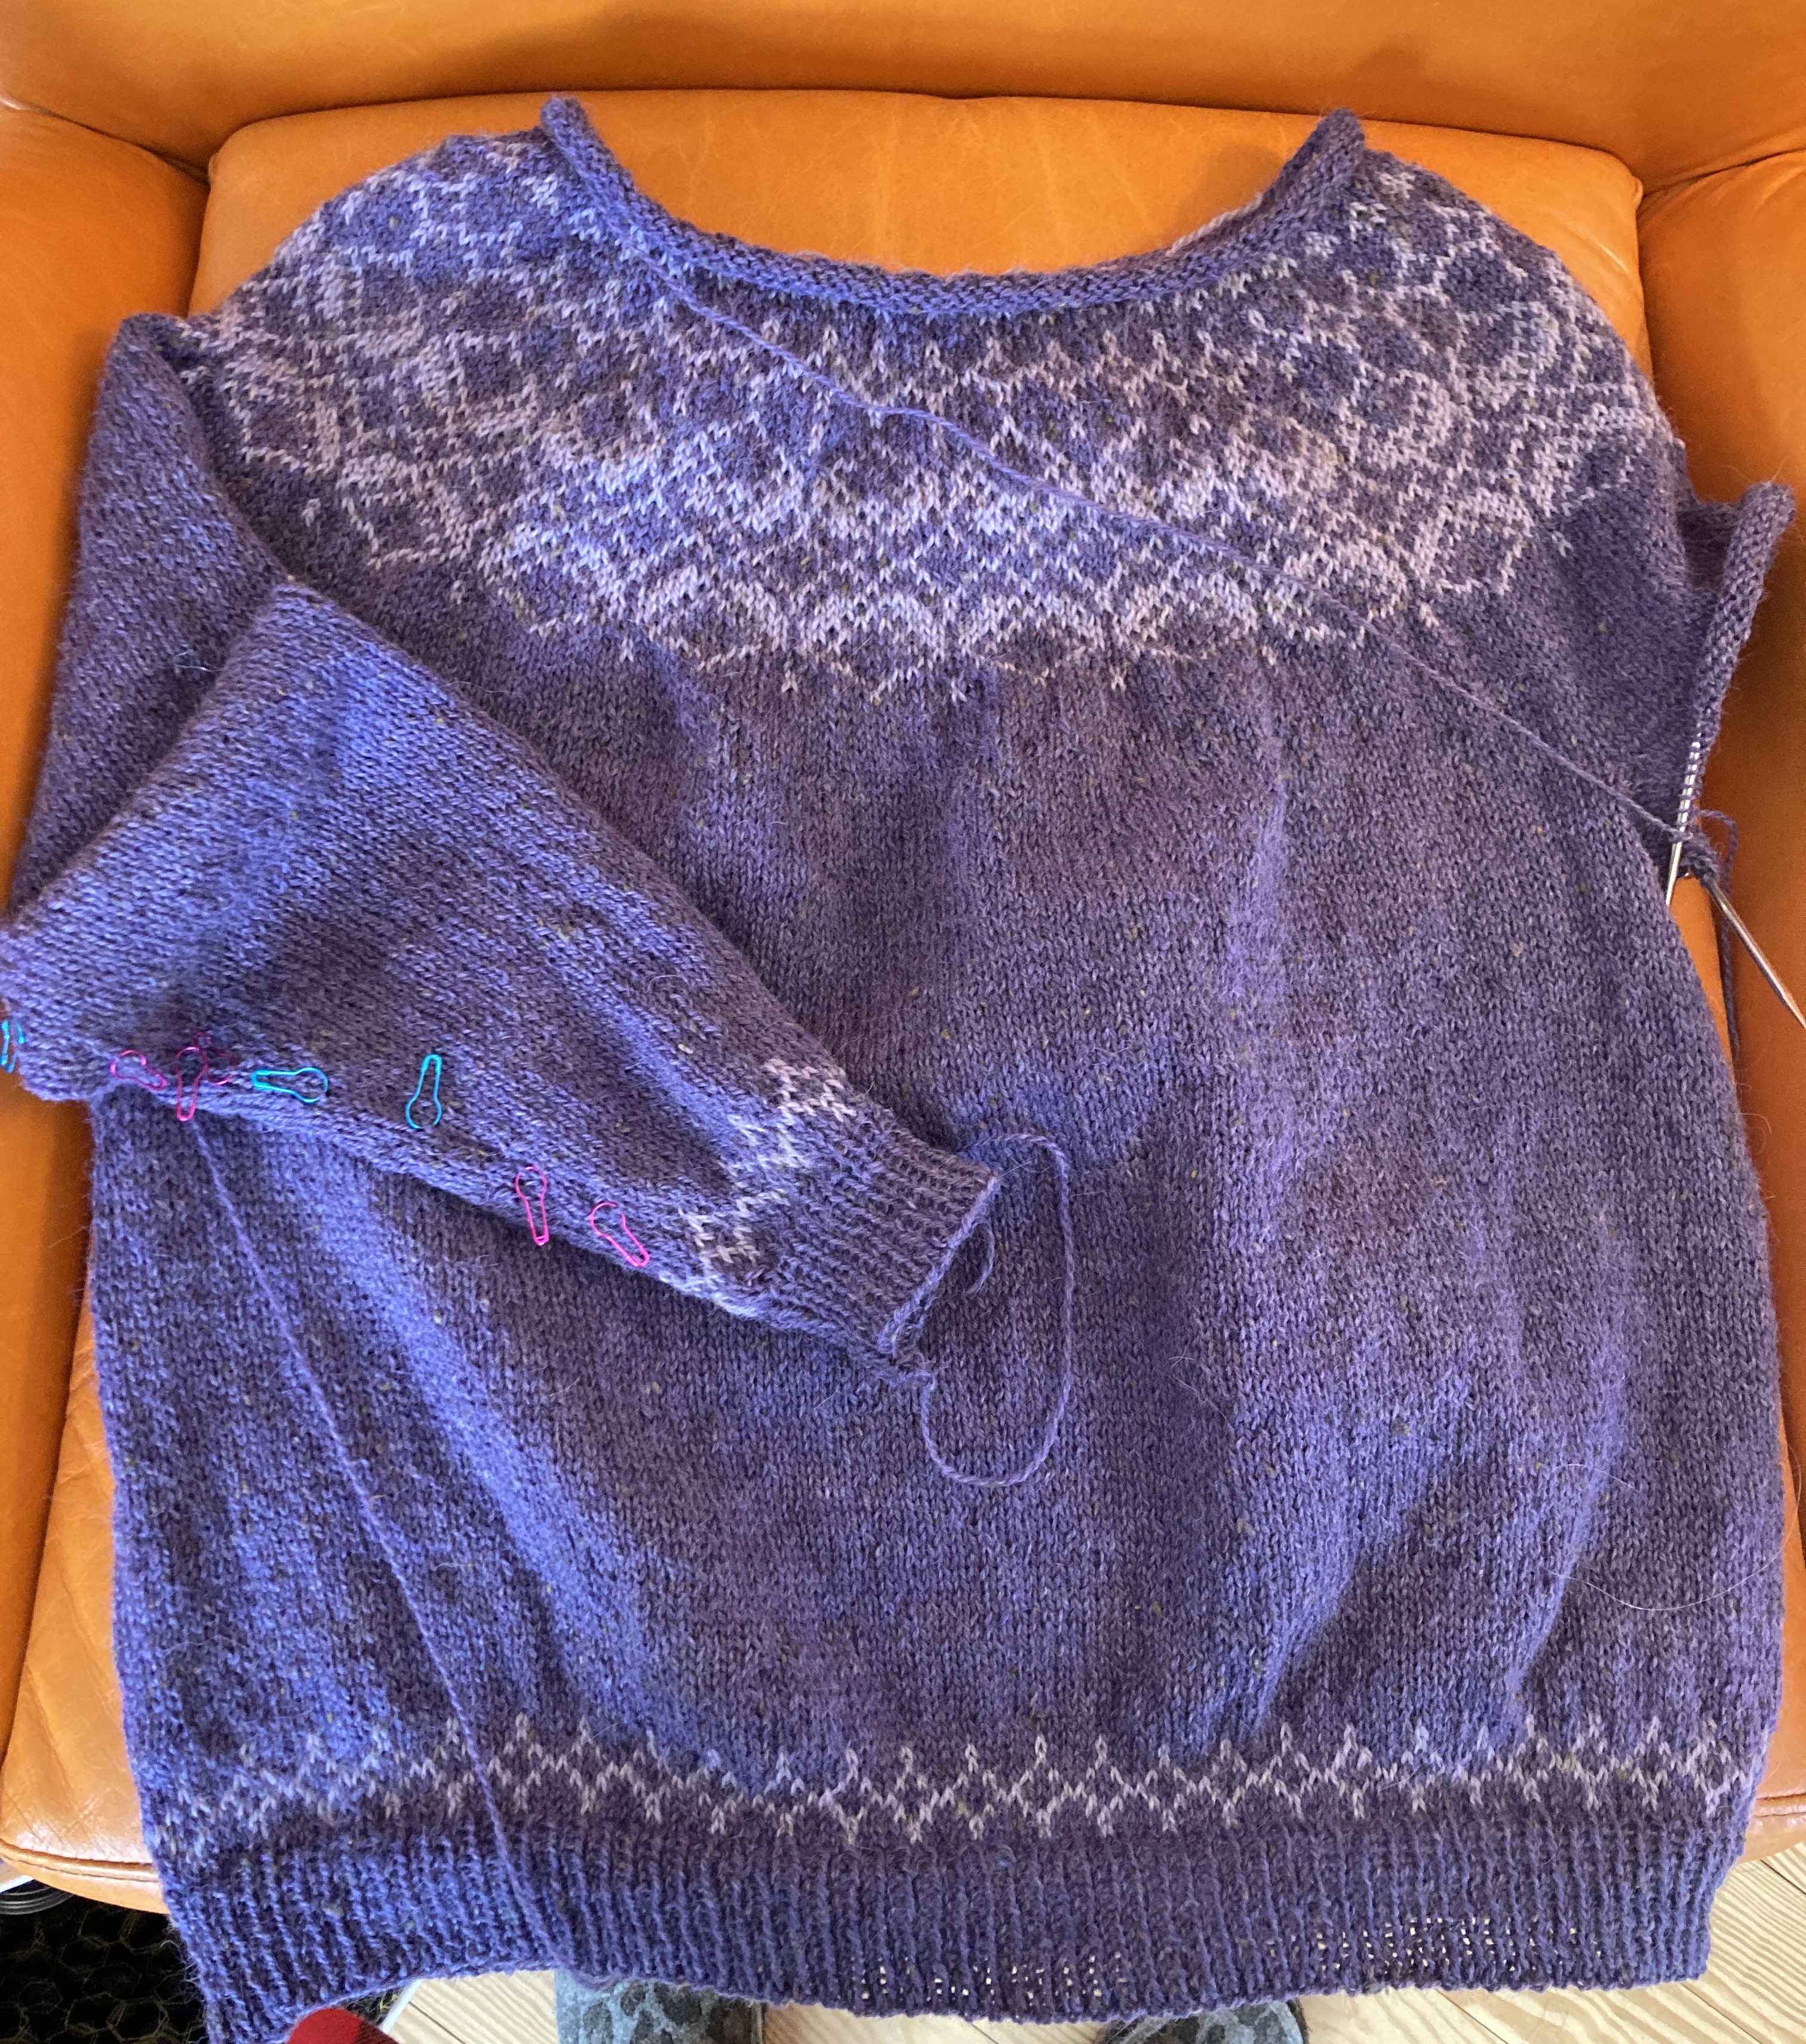
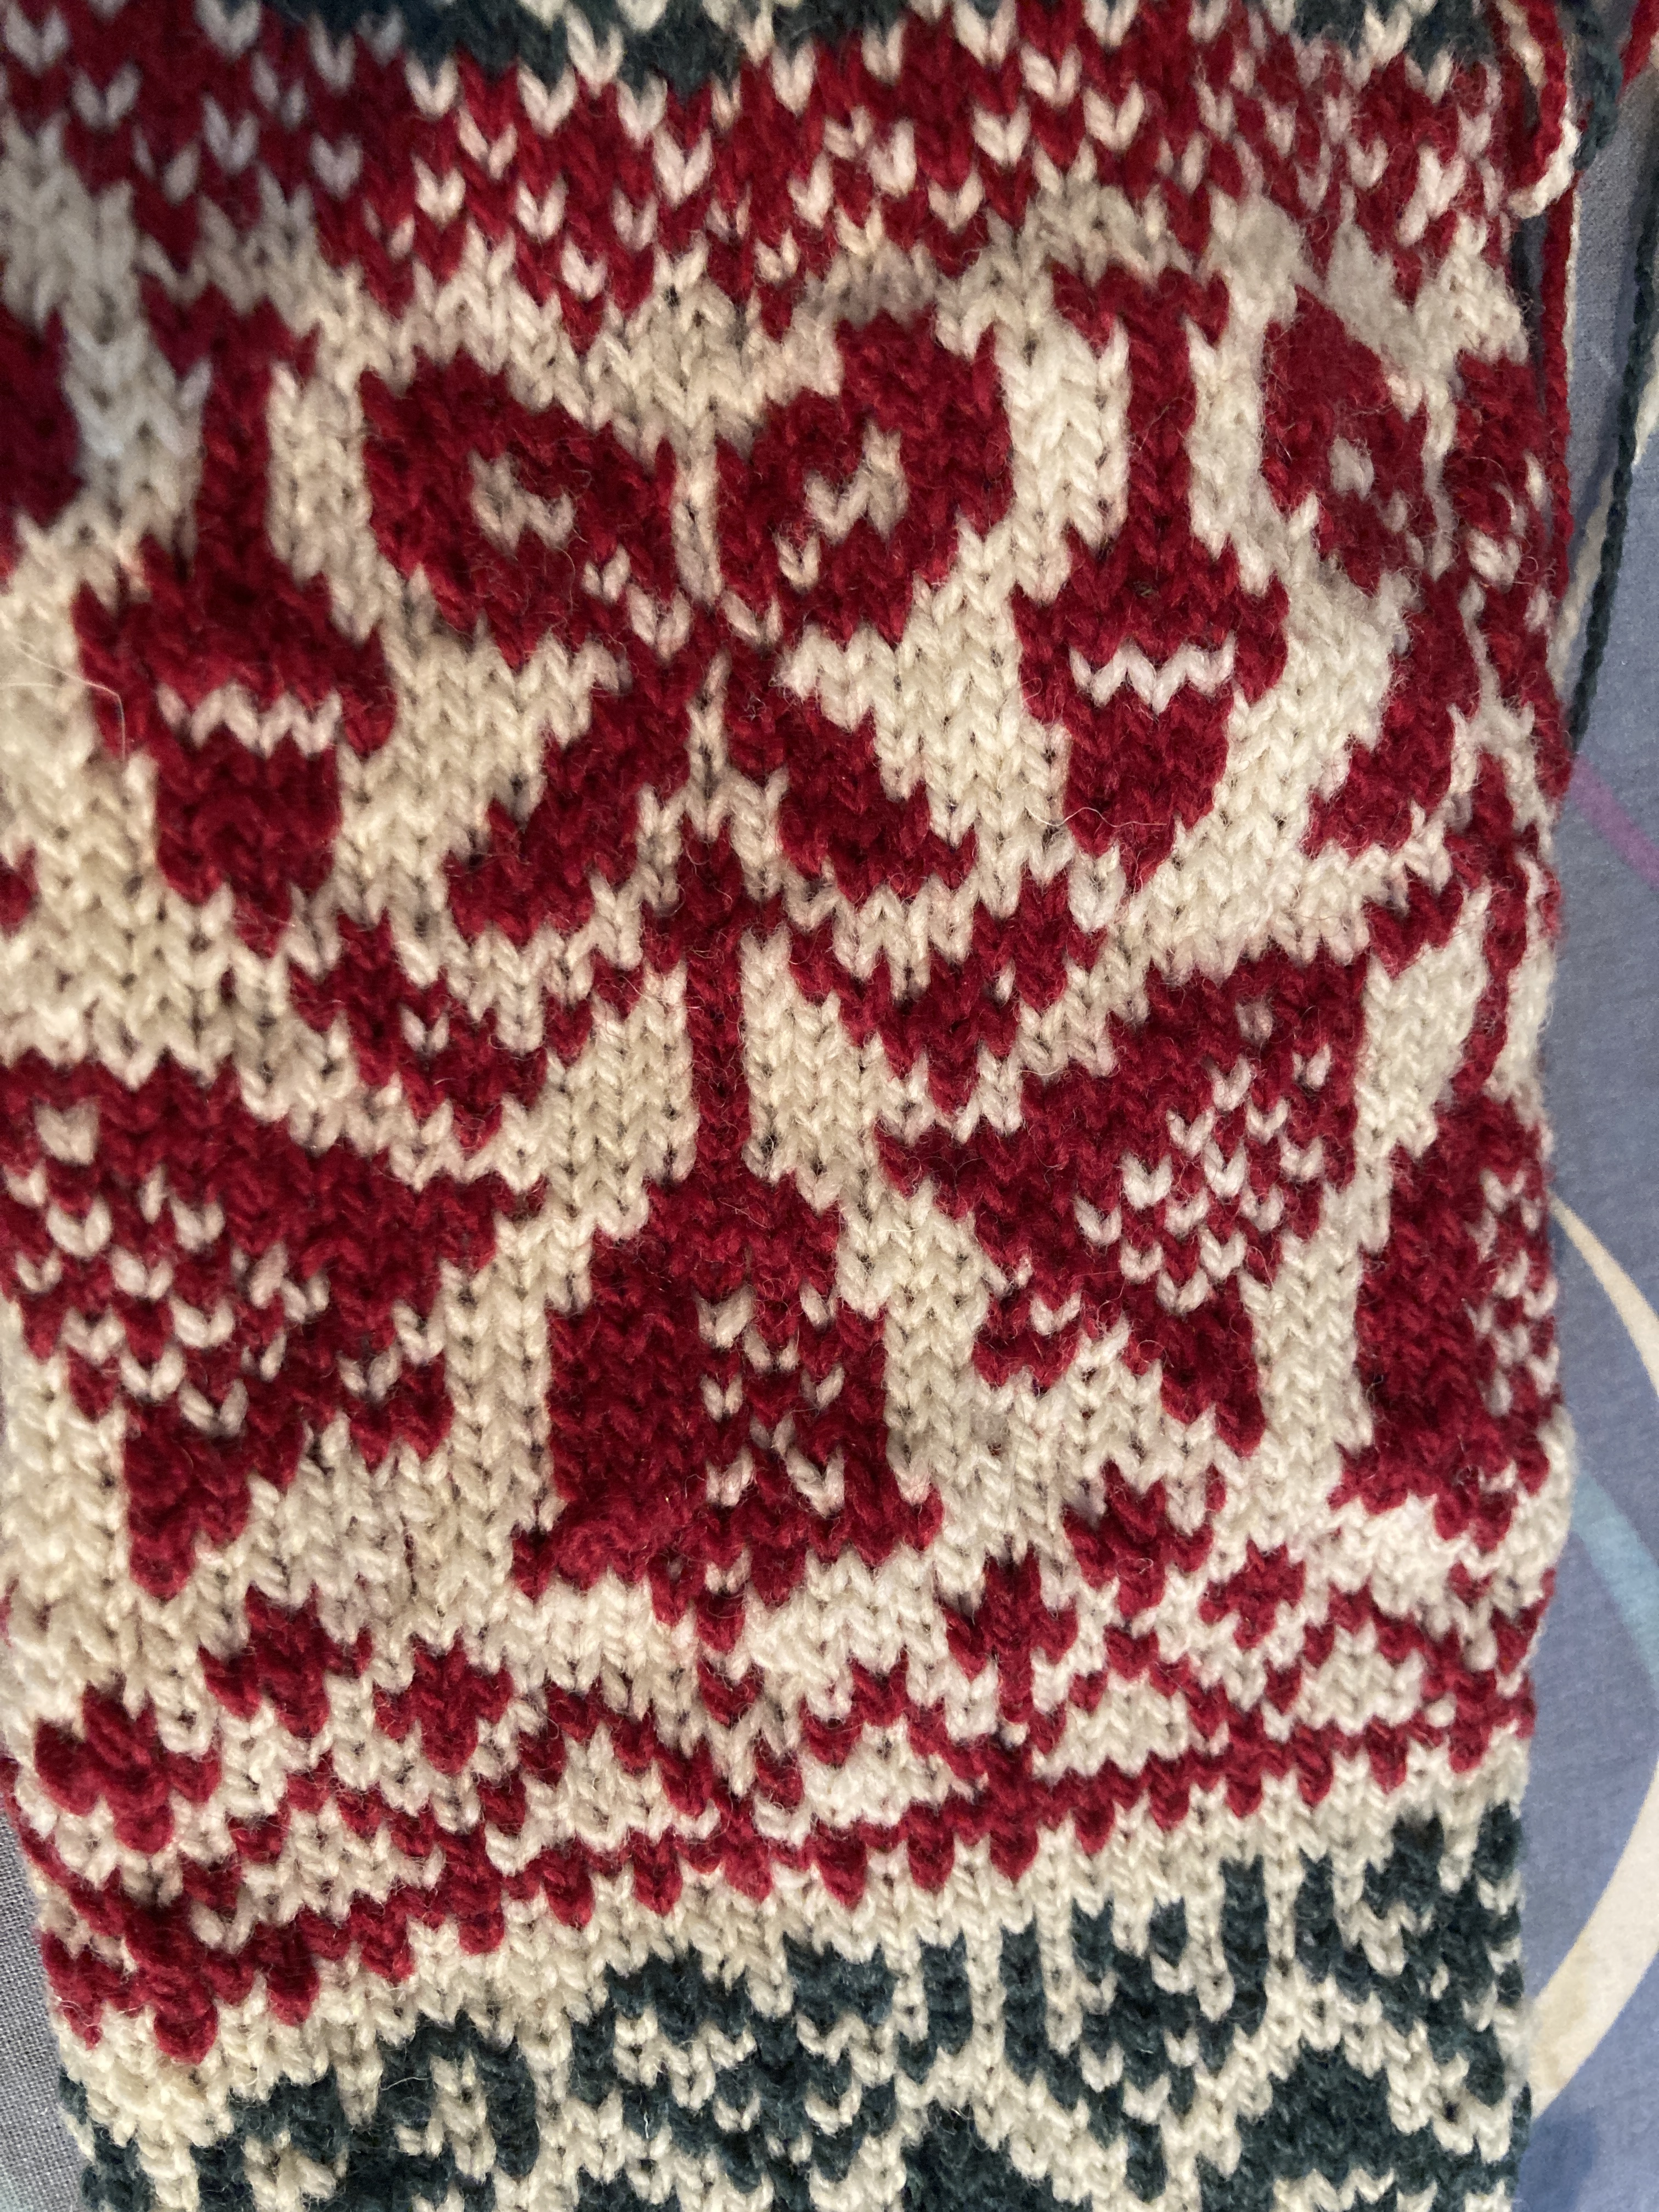
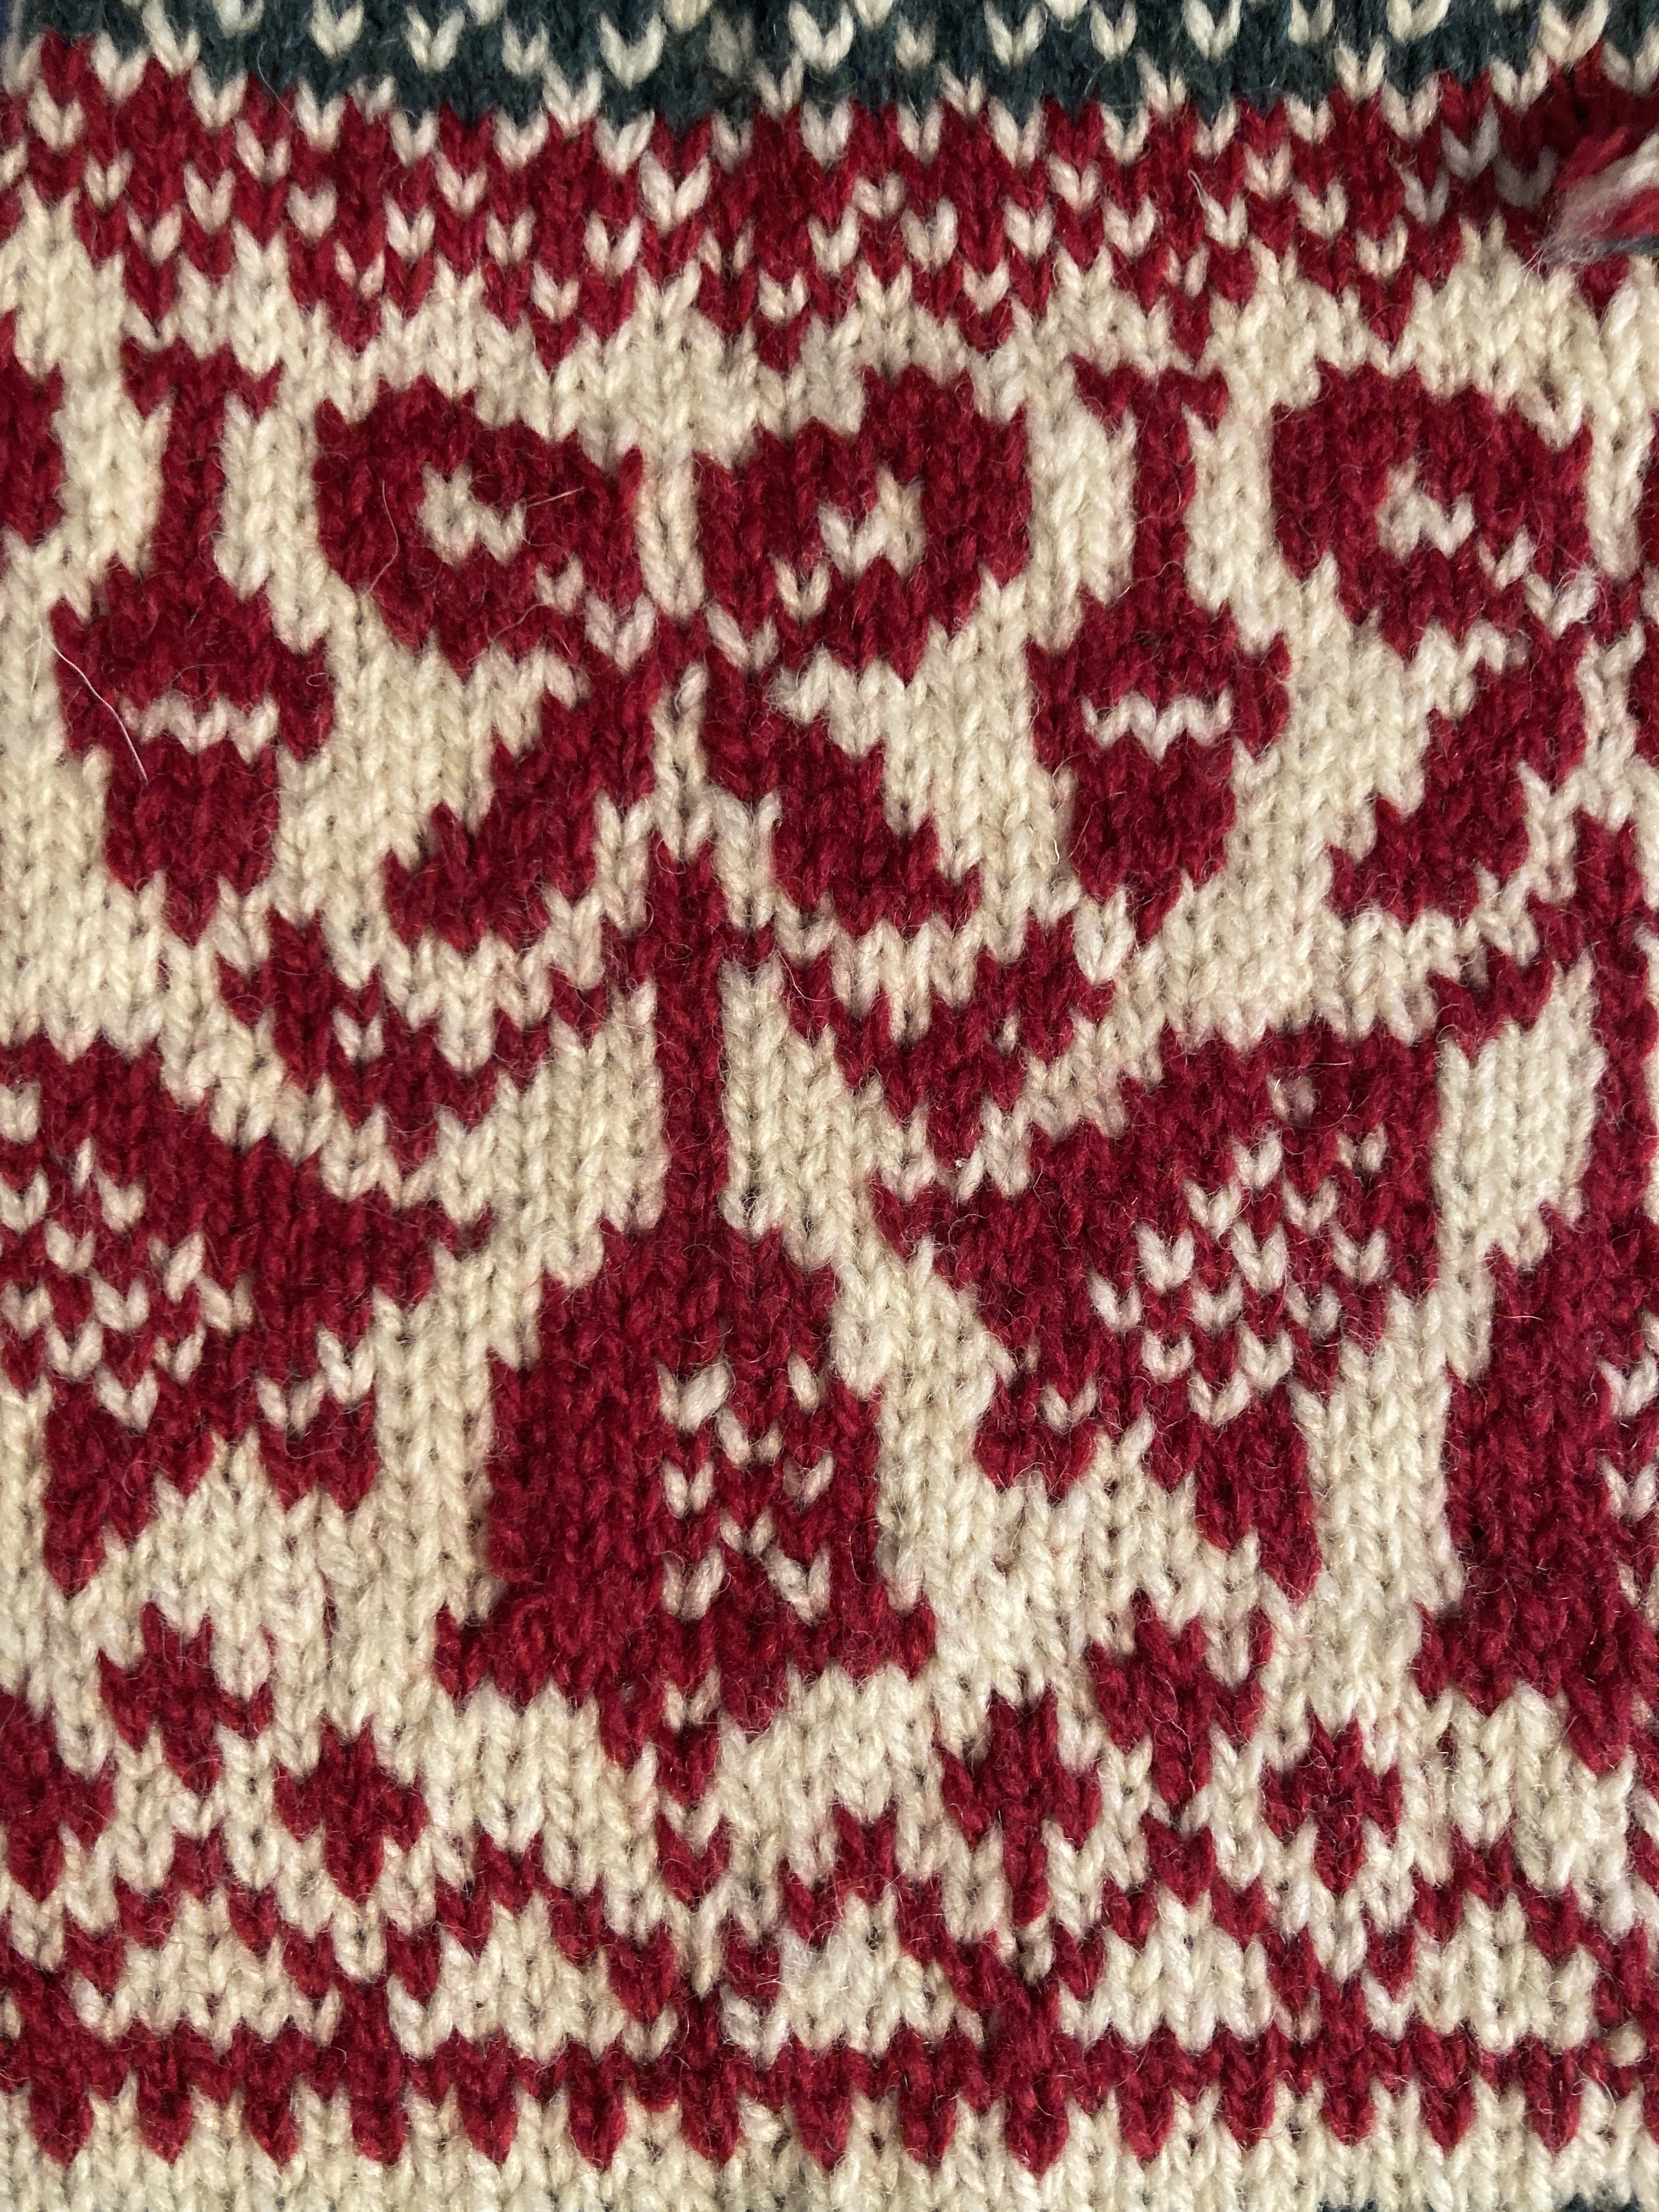
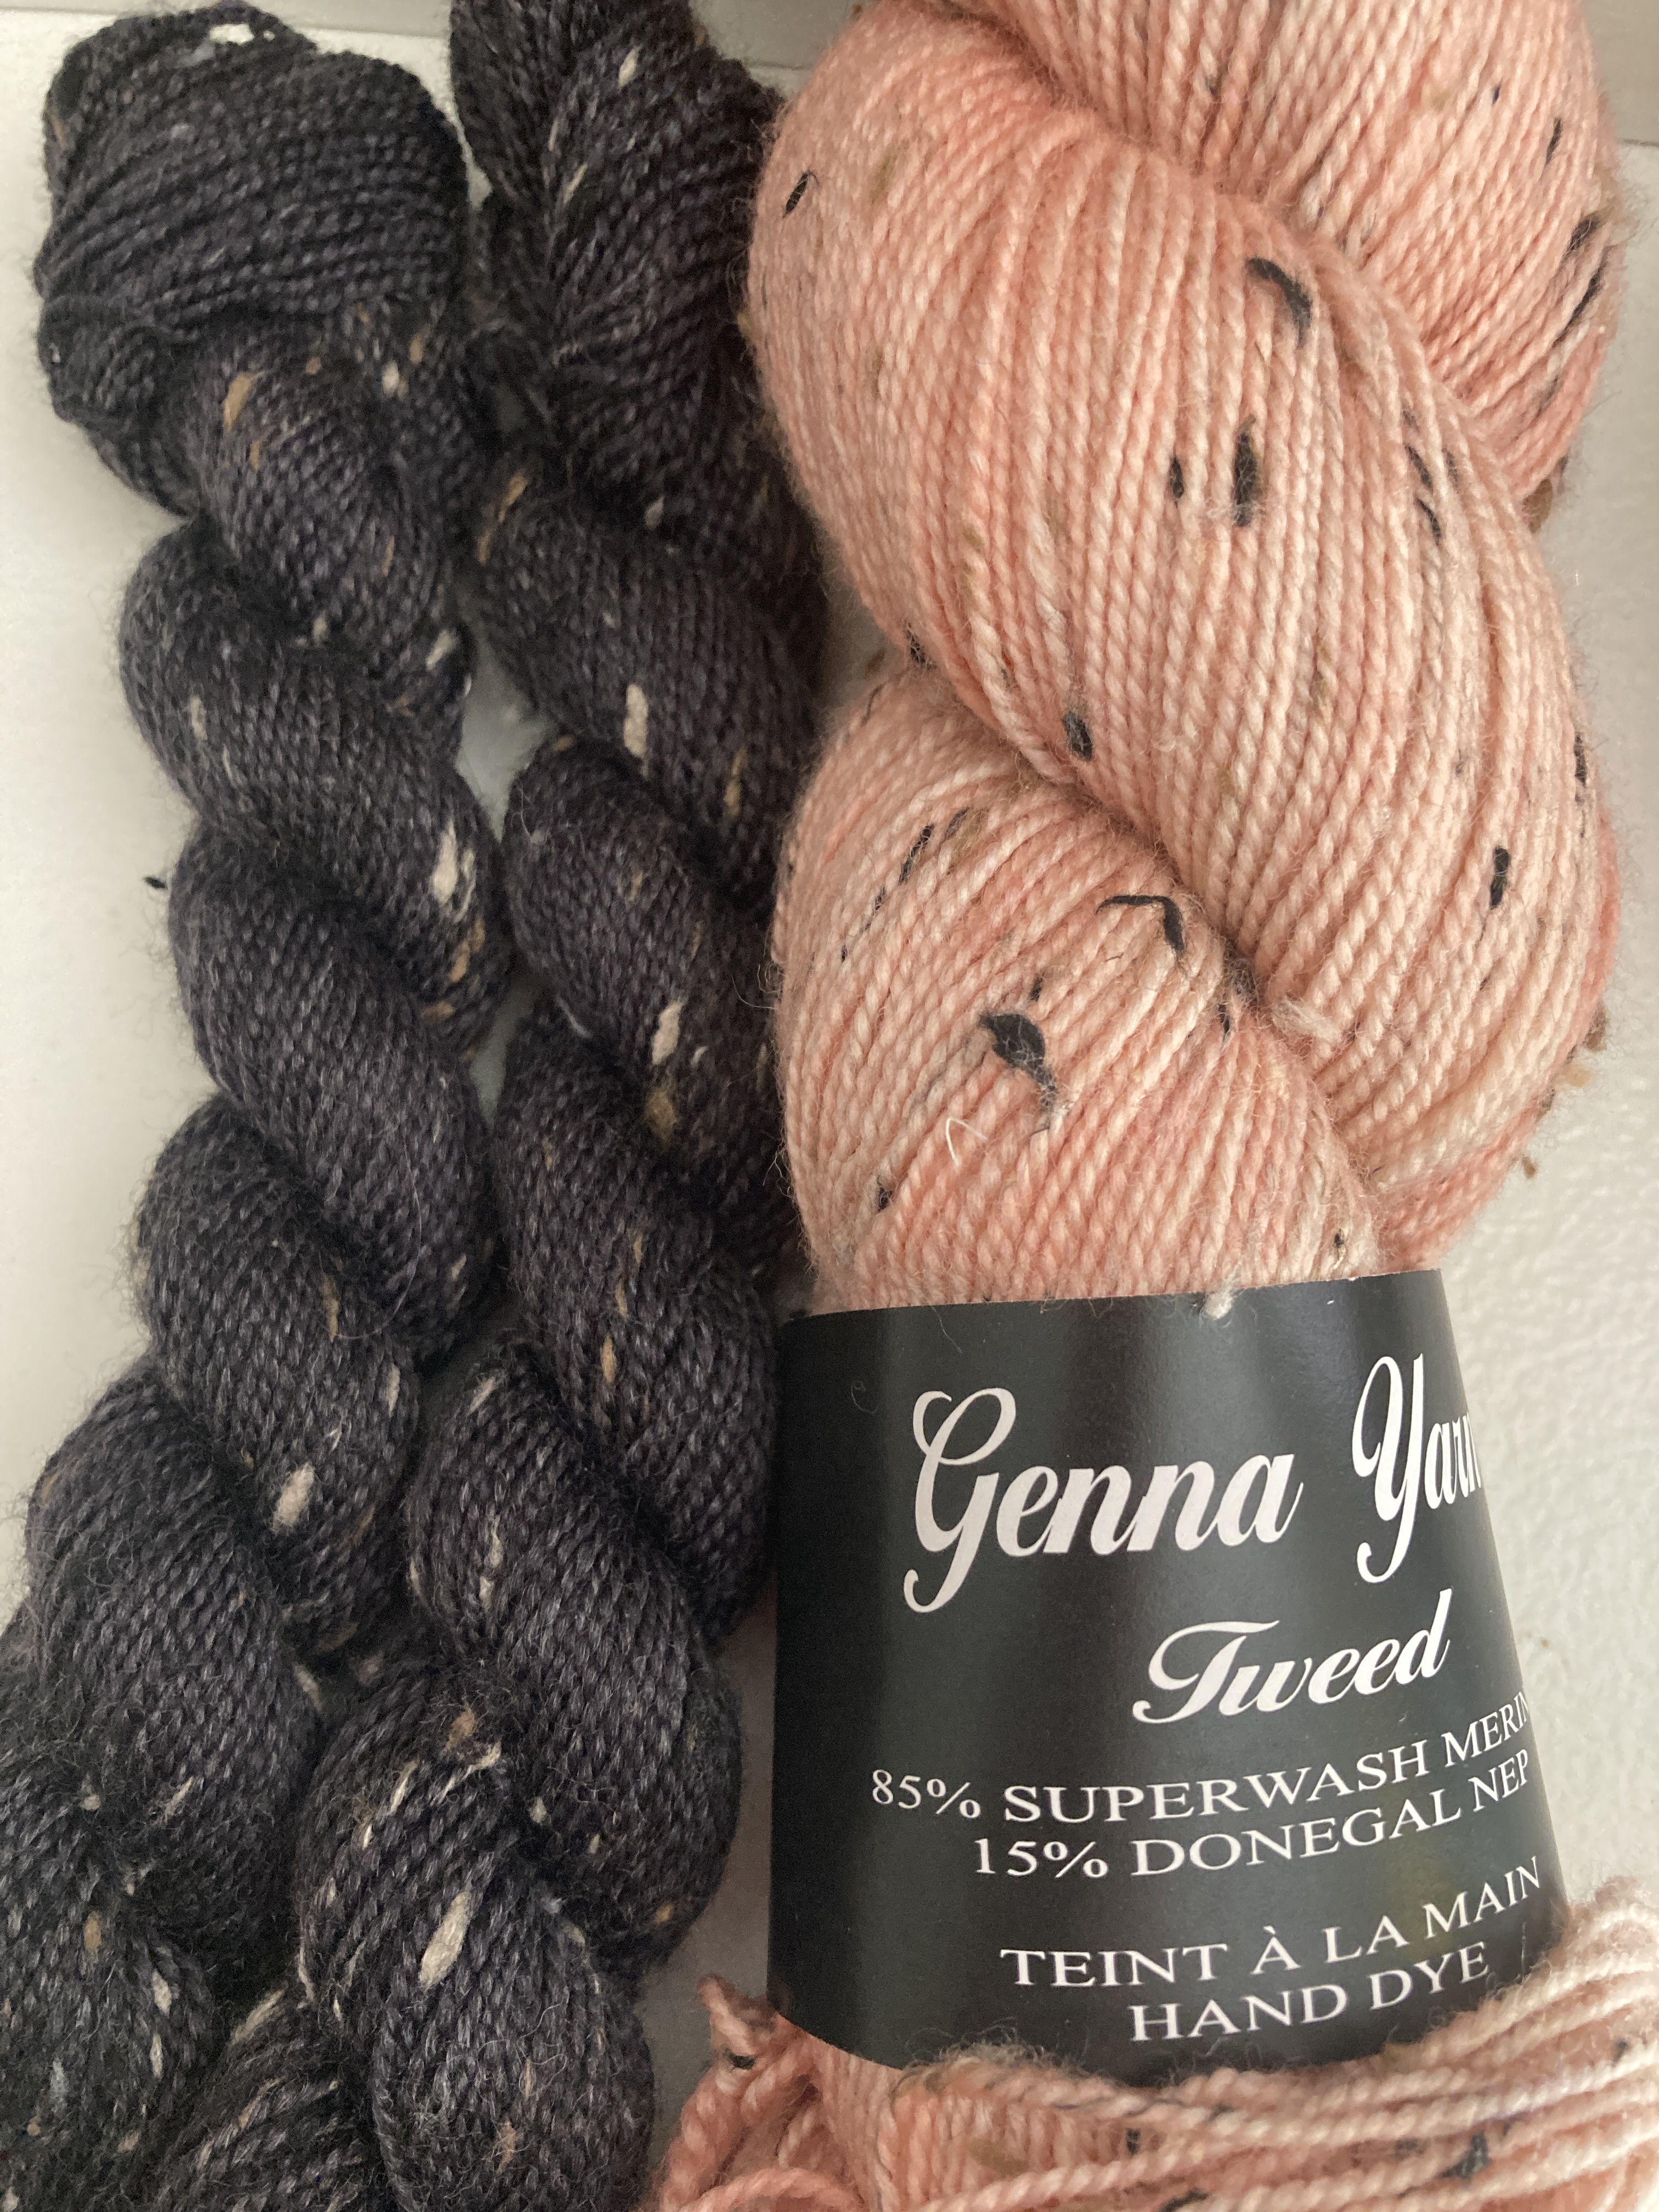
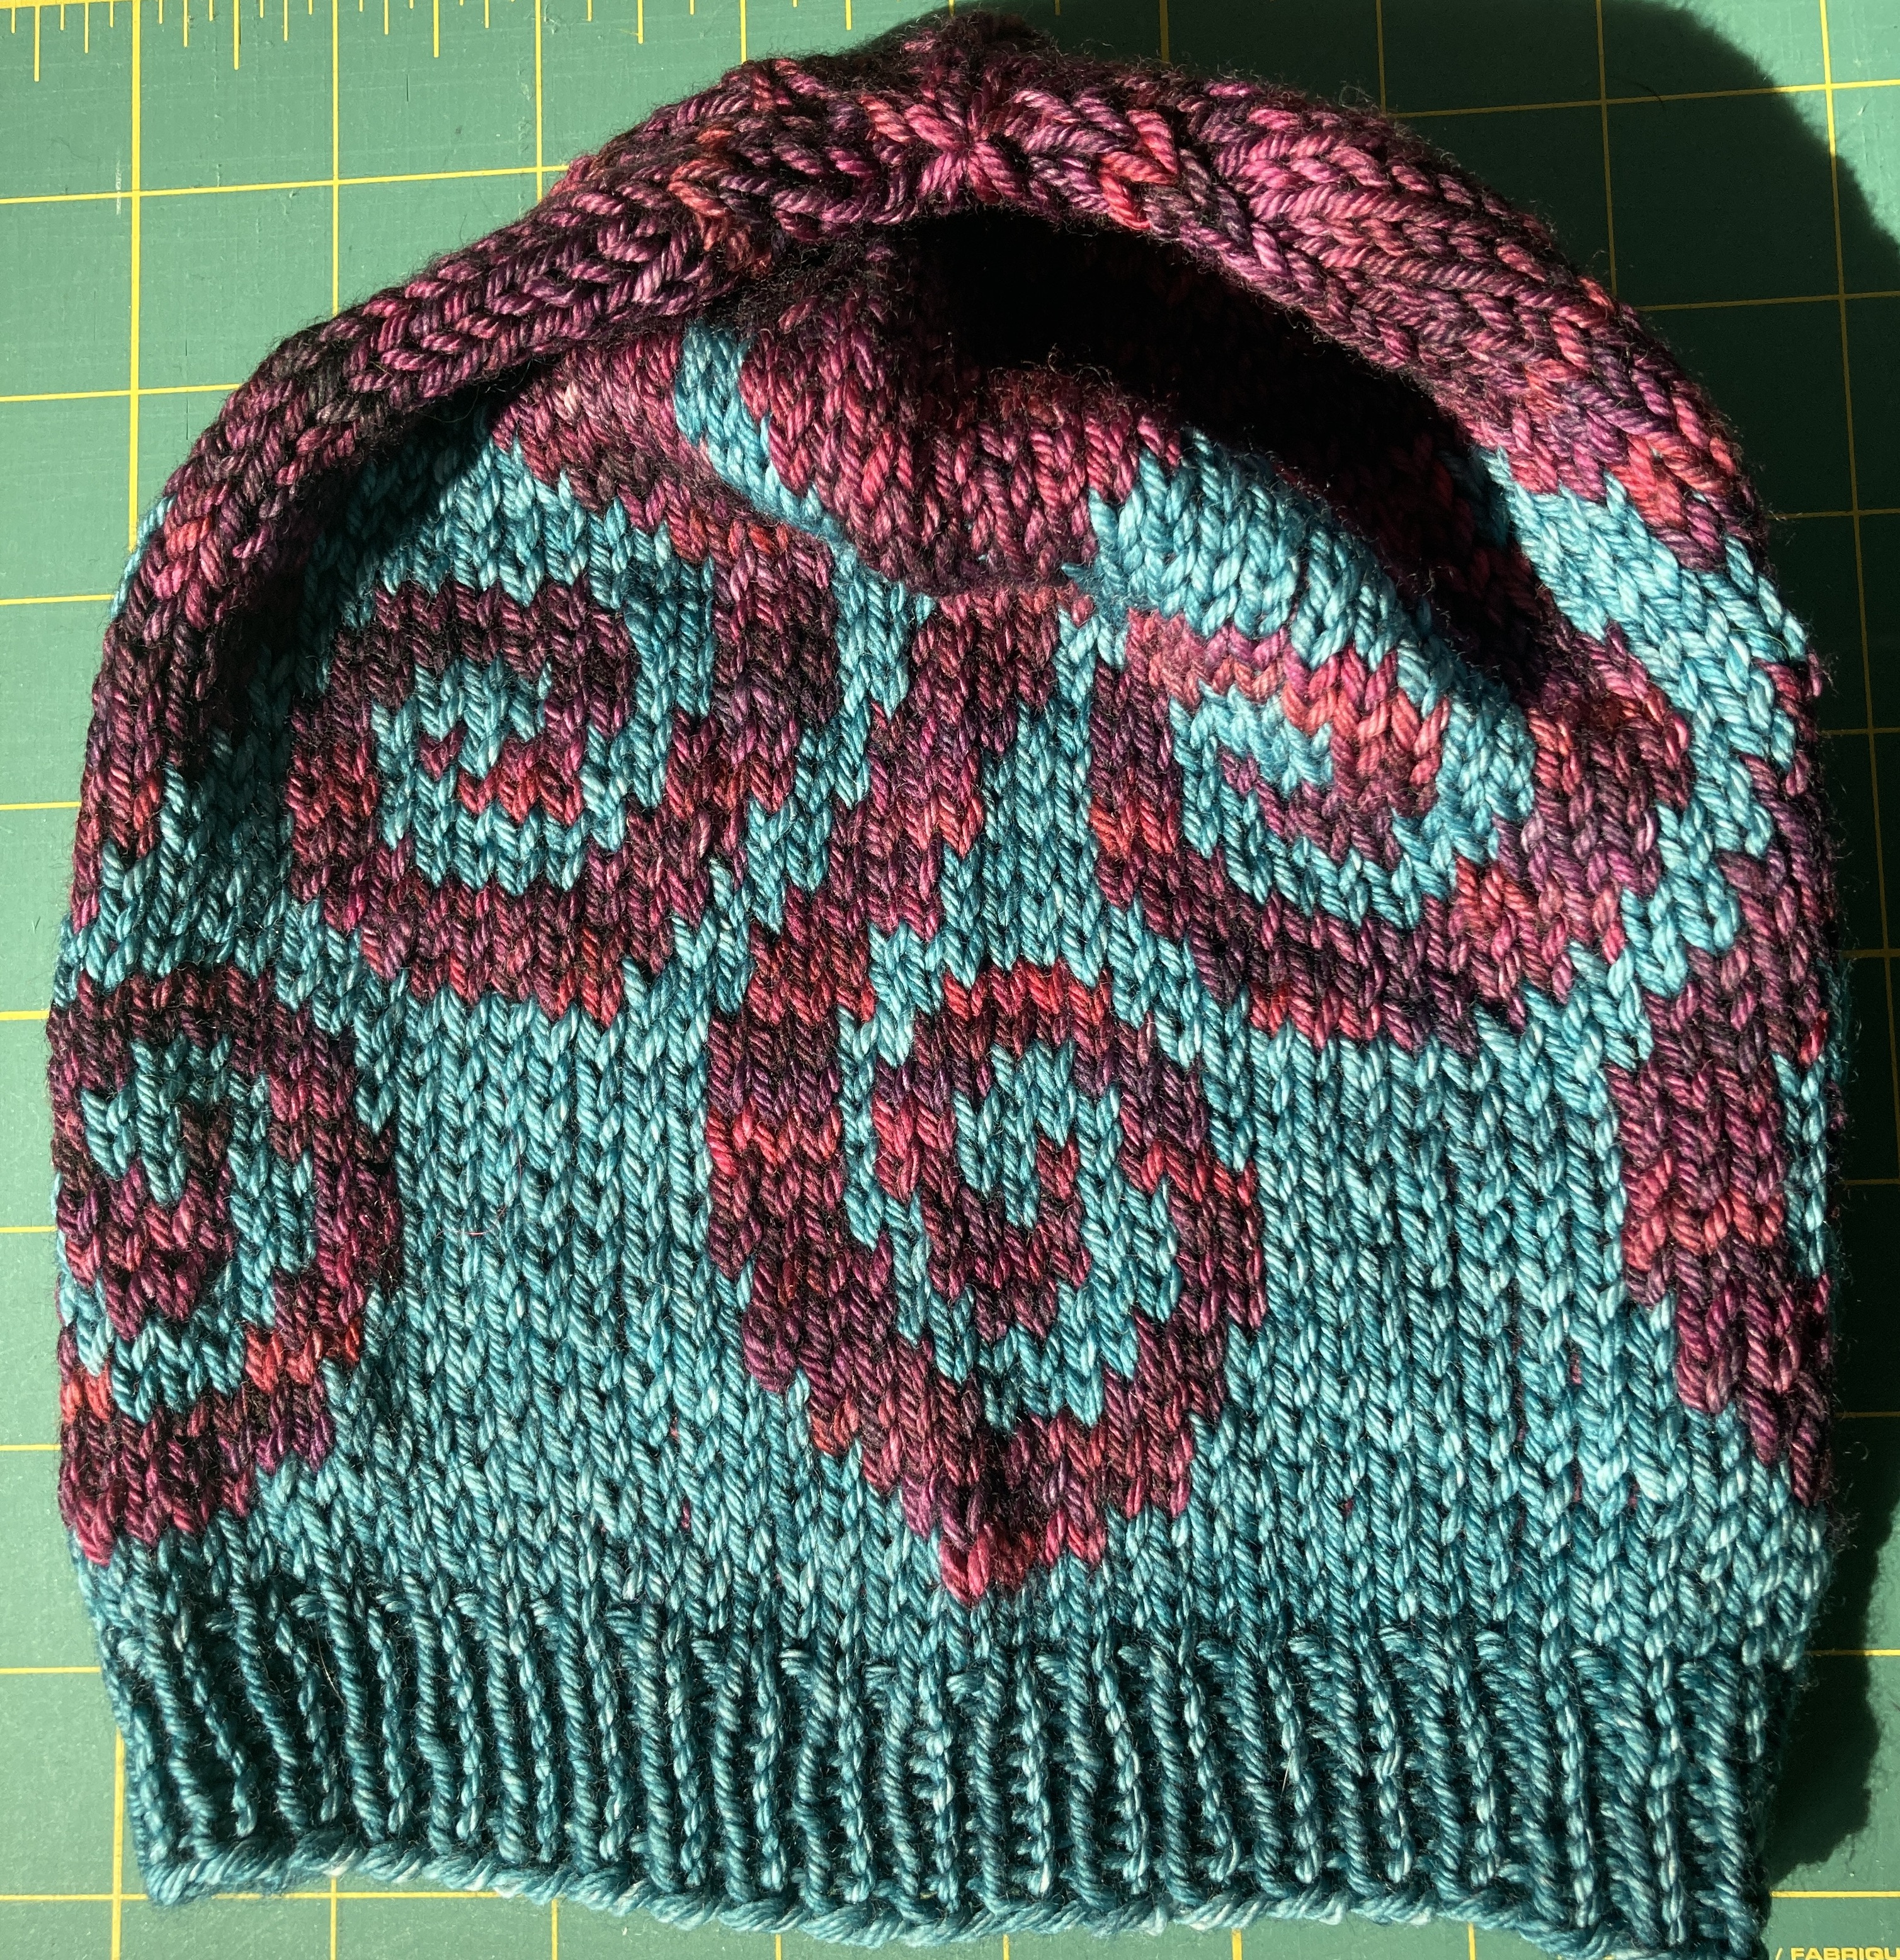
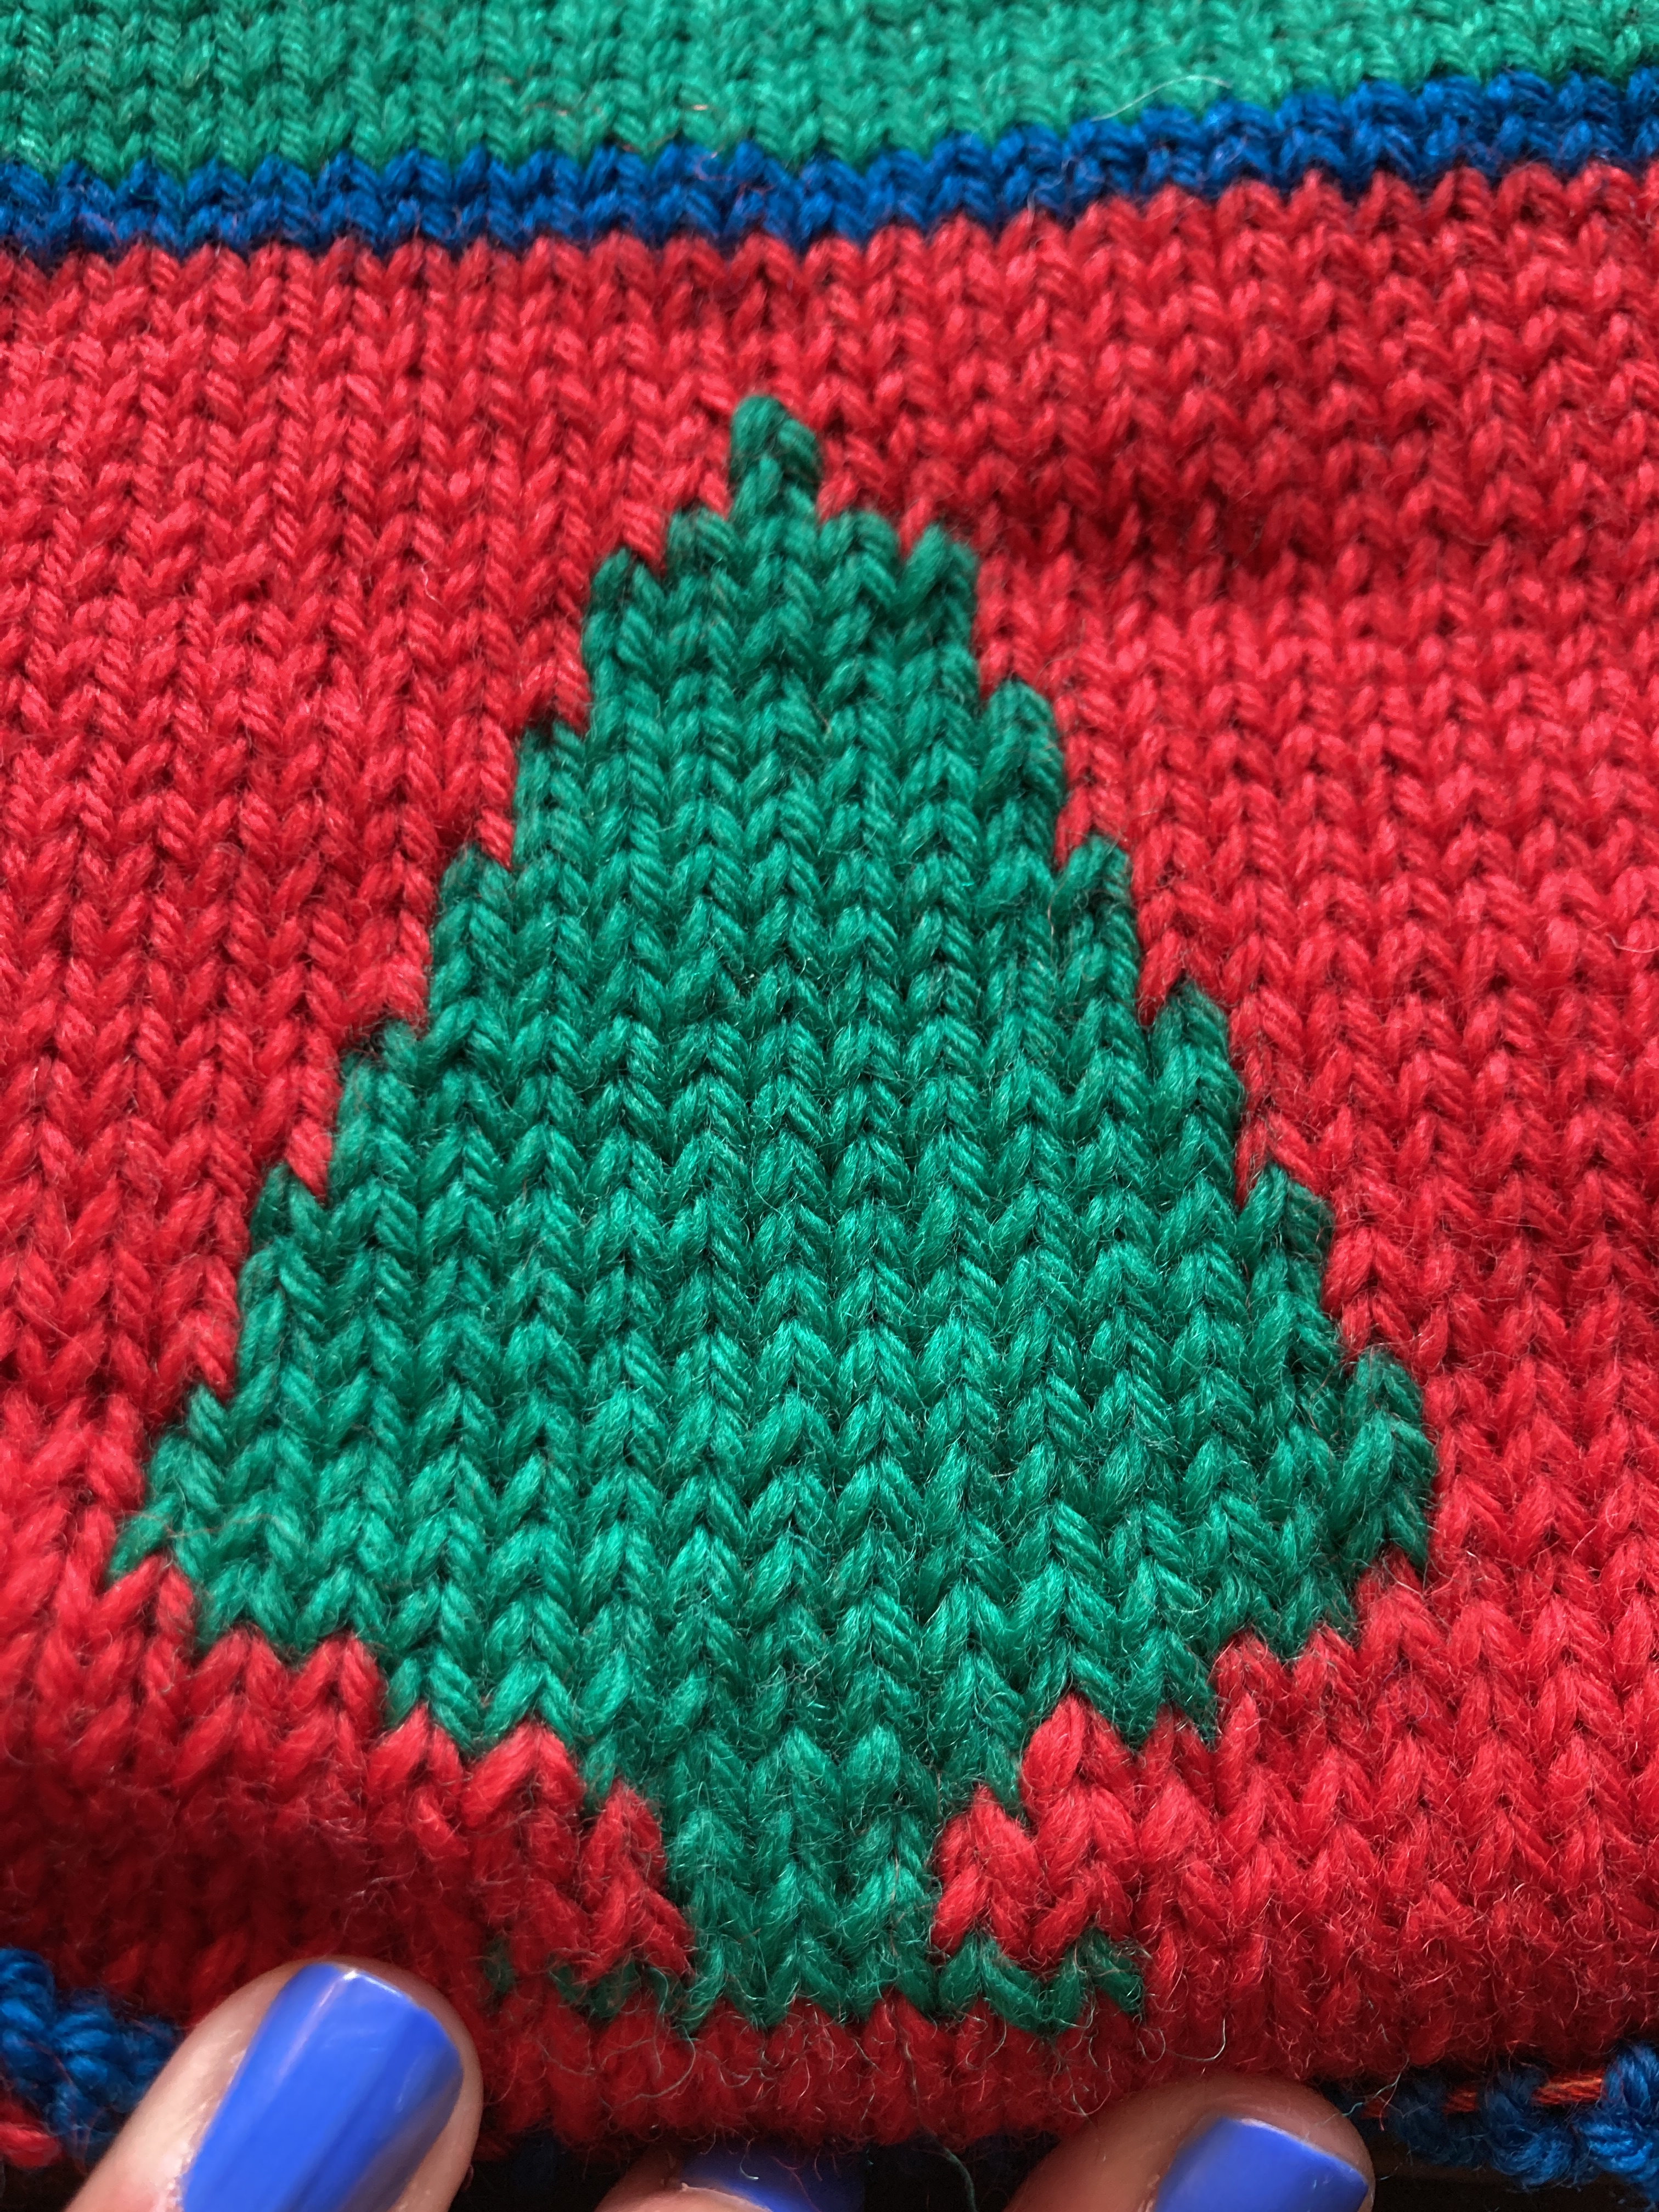
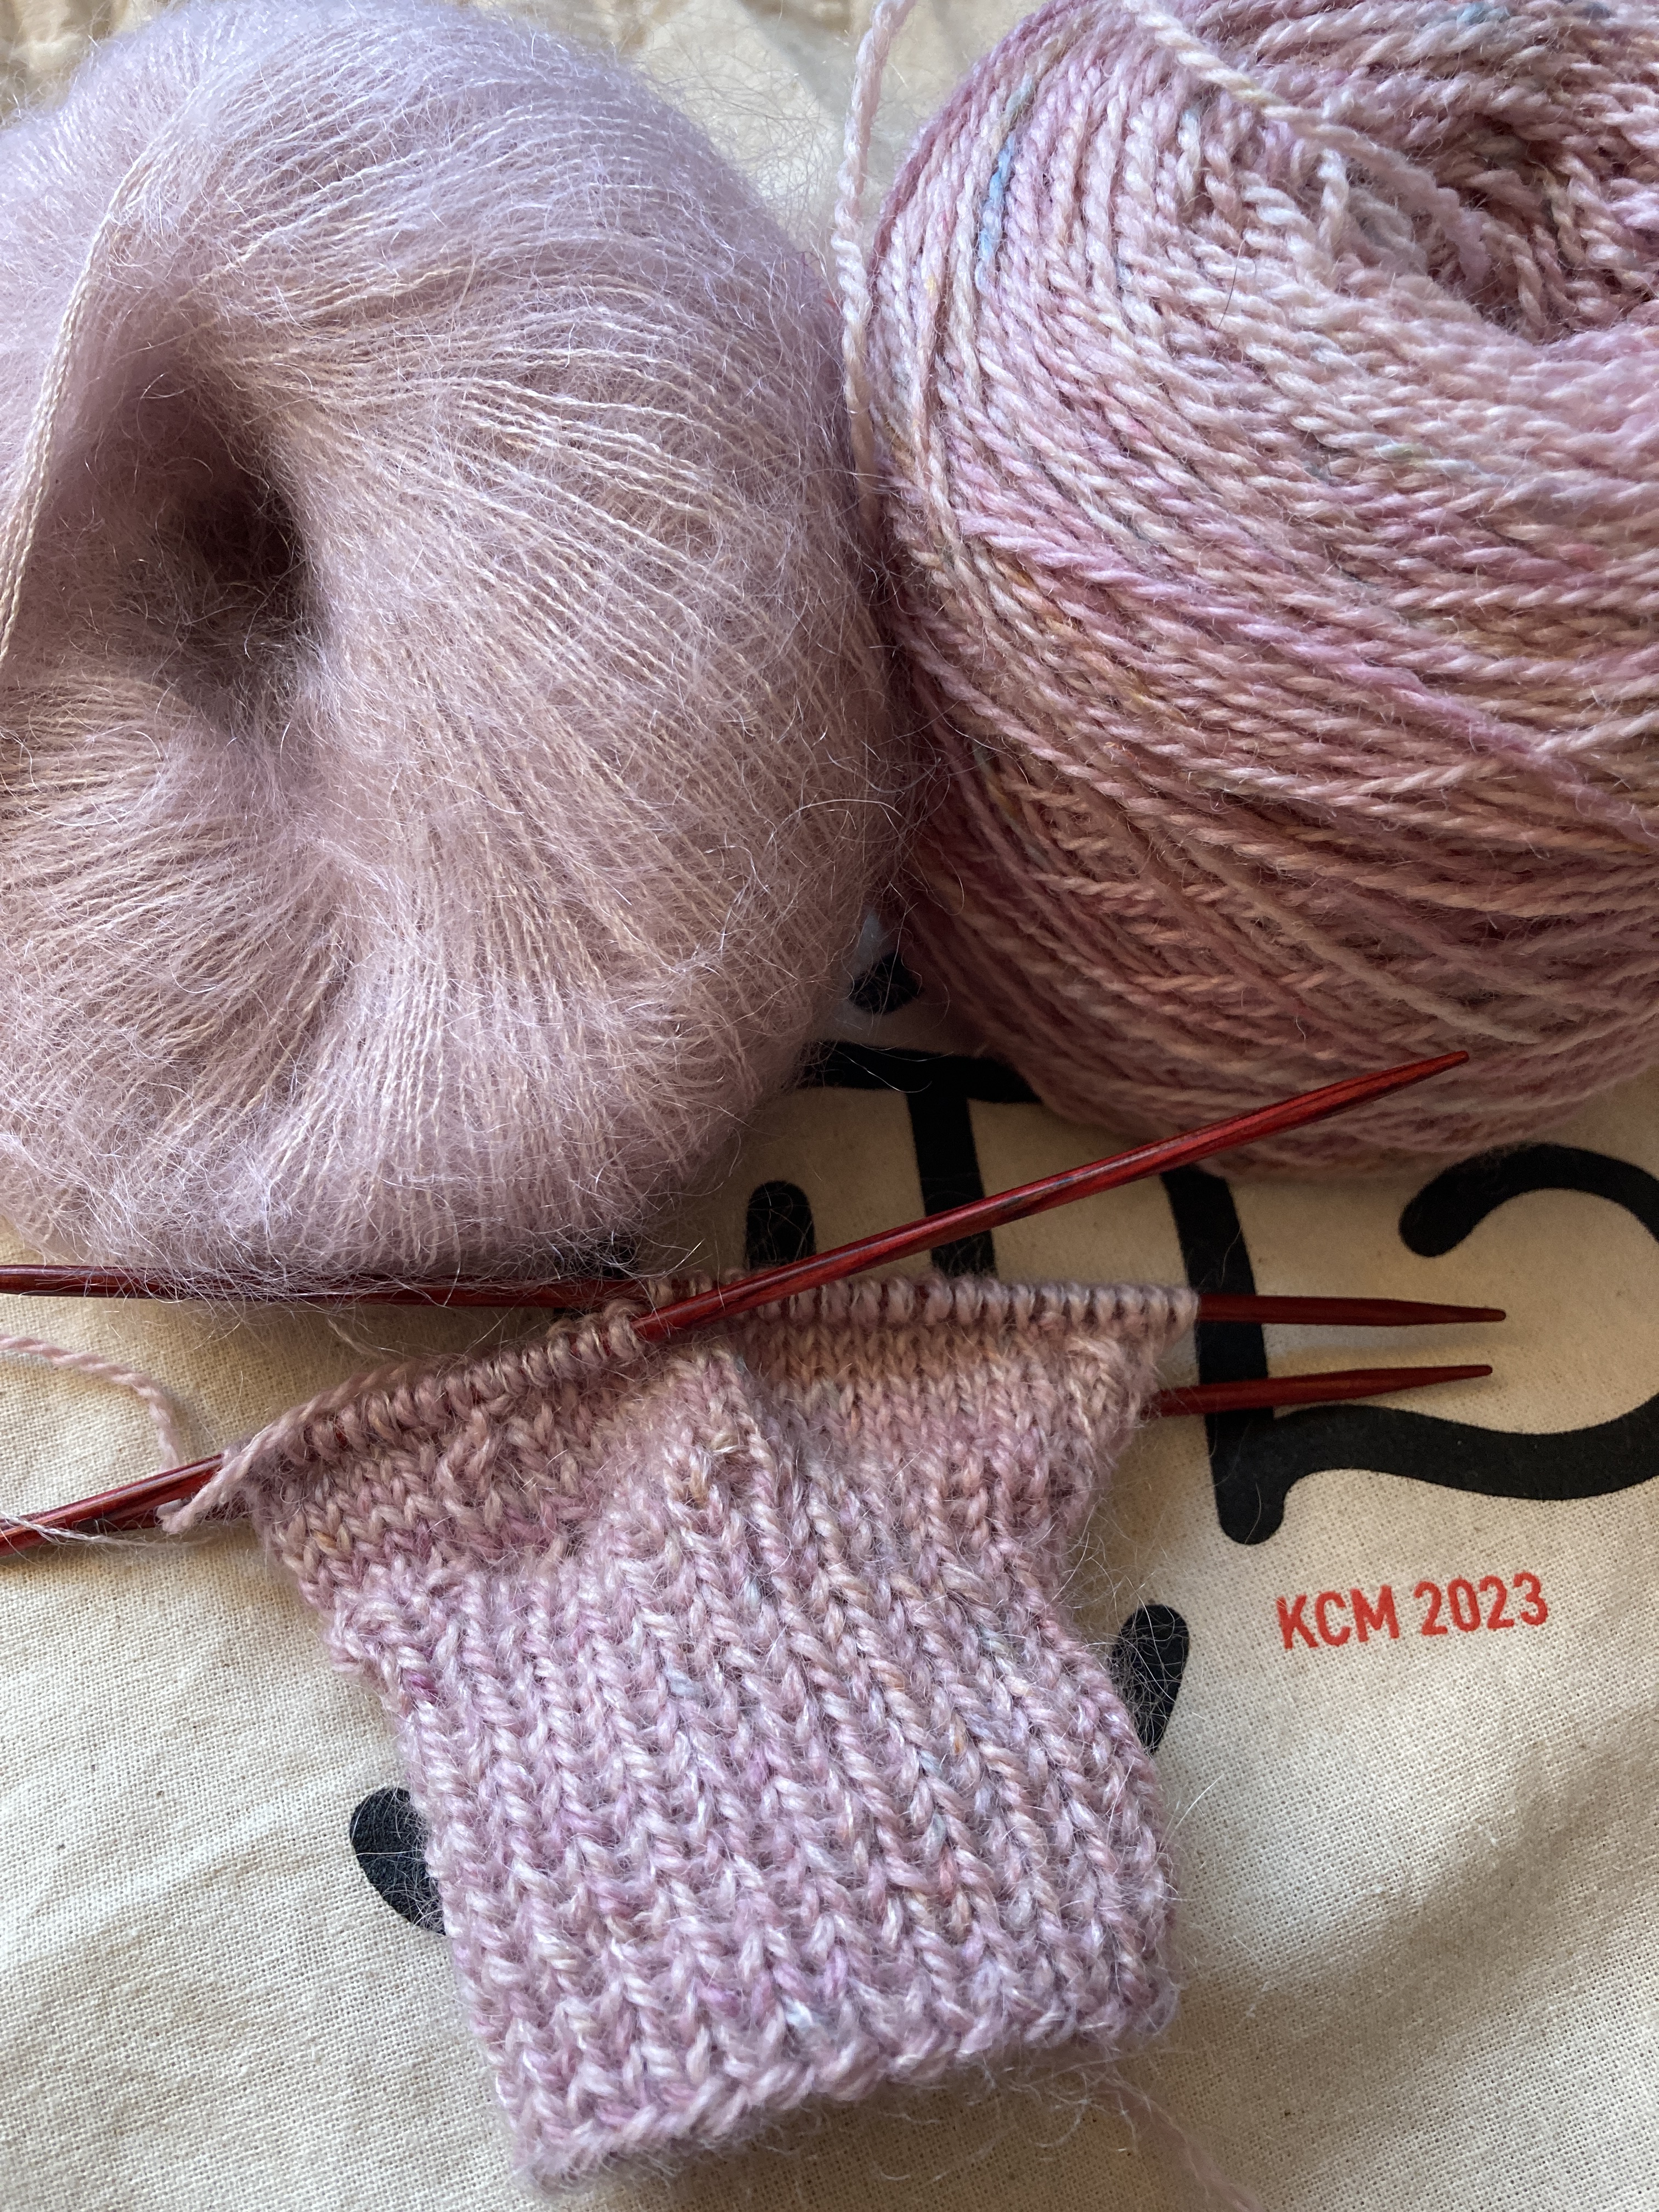
I’ve been working on two sweaters this week and am trying to finish them both before we leave for Colorado next week. I’ve got one that’s a commission for a client, you’ve seen it before, it’s a salmon-y peach fingering weight superwash wool from Urban Girl Yarns. The colorway has the same name as my client’s granddaughter for which the sweater is being made. The yarn is gorgeous. I’m using the pattern, Sorento Cardigan, and the pattern is well-written and clear. A classic cardigan. I’ve finished the body of the sweater and have started the sleeves. I’m knitting two at a time so they’re the same and they’re both done at the same time.
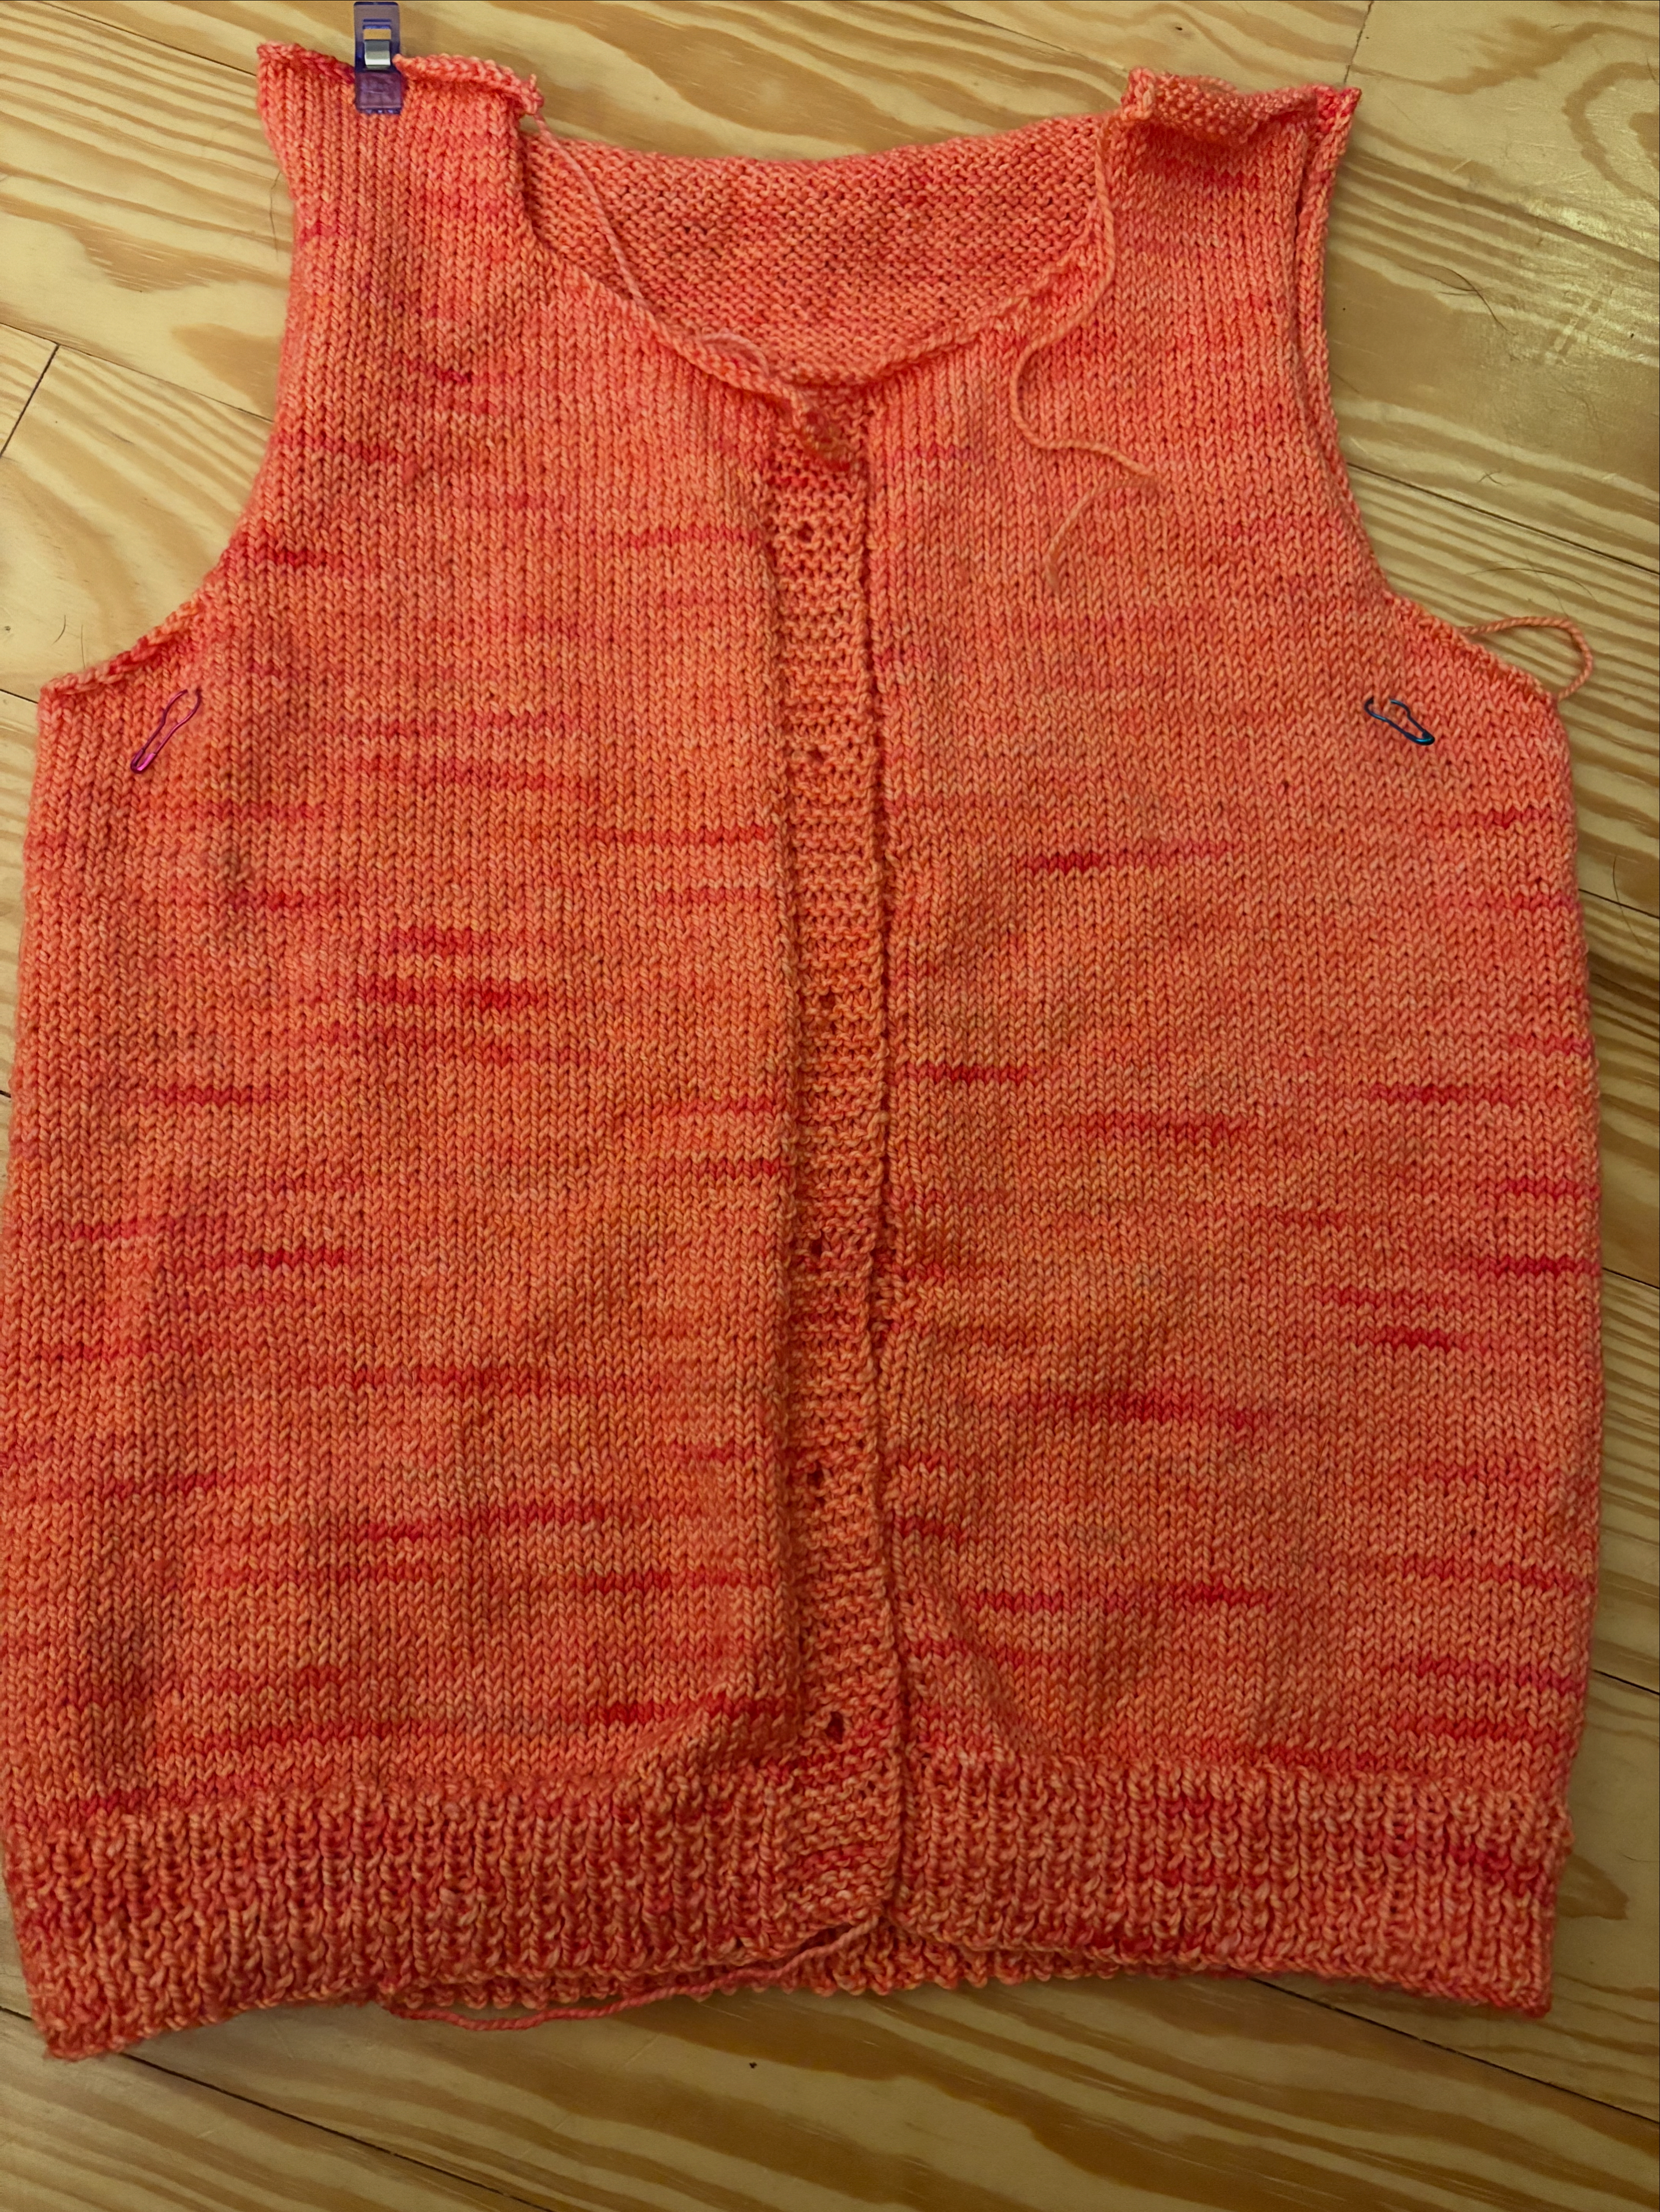
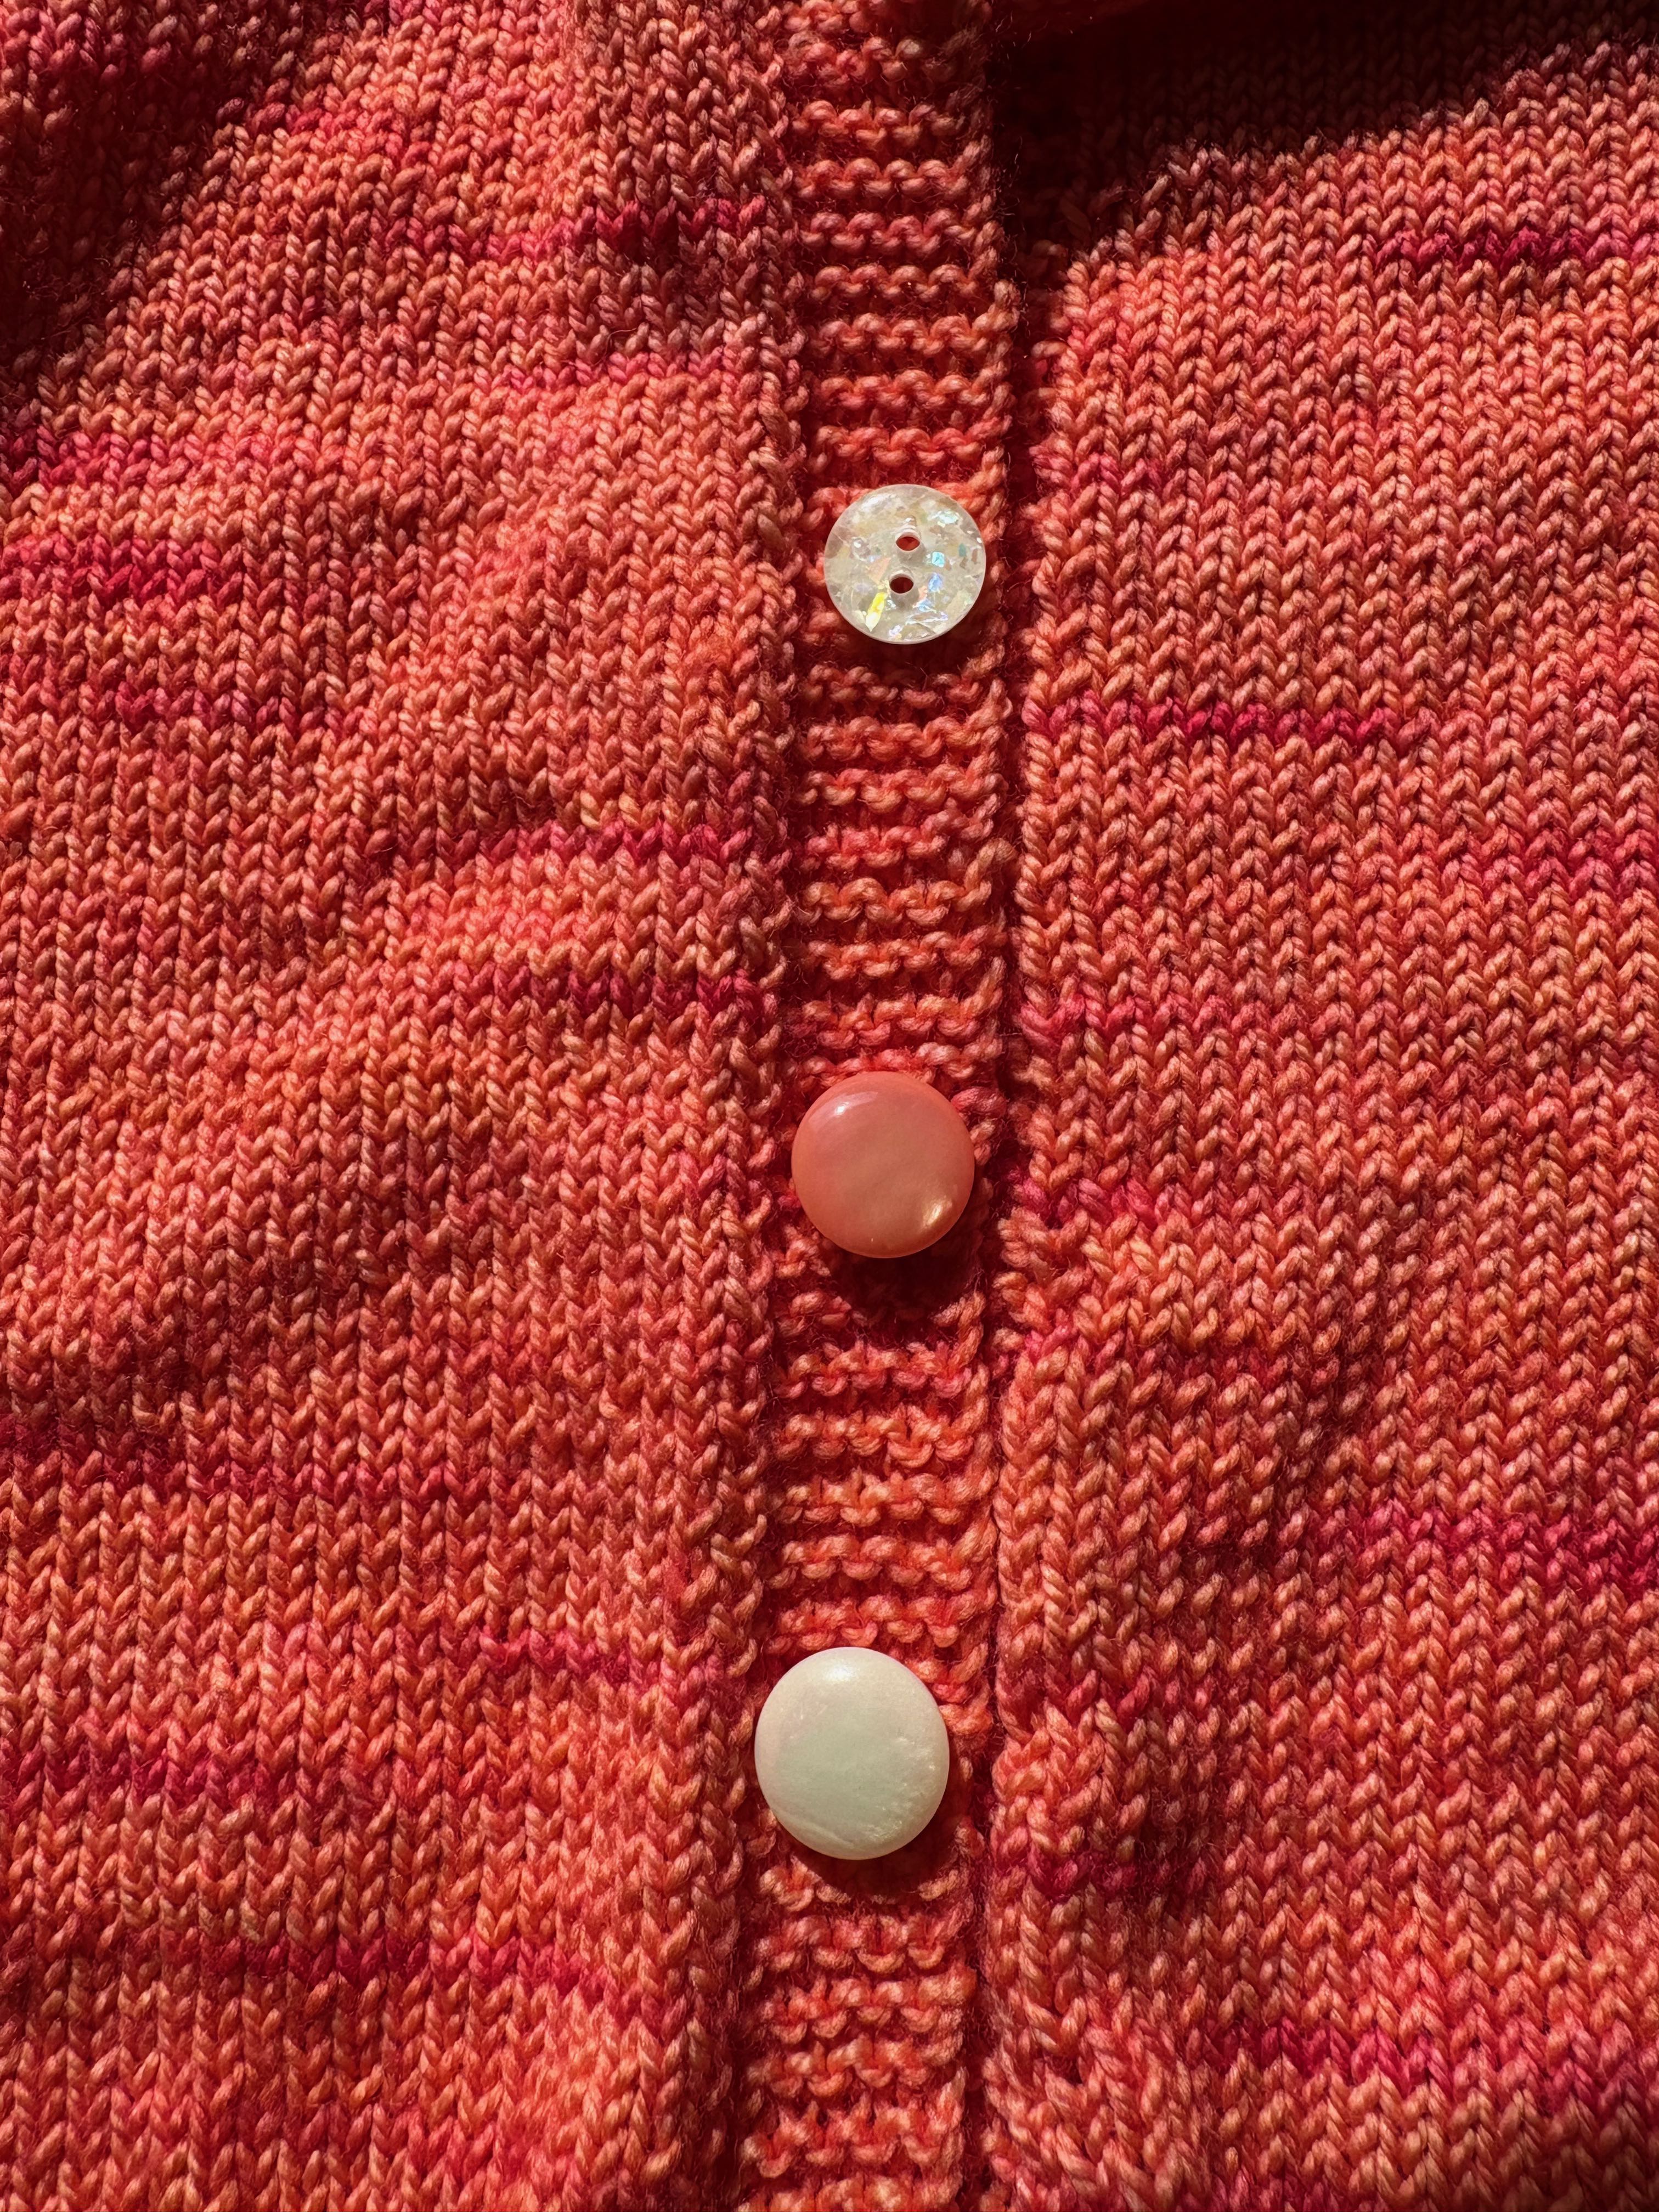
The sleeves are started at the cuff and knitted up to the shoulder and they’ll be sewn into the cardigan. The button band and placket are knitted on as you work up the body so there’s not a lot of finishing. I also put the photo of the buttons I’ve chosen up on my social media to see what people like. Your thoughts? I think the top and middle one are in the lead. The client would like them to be natural materials (these are not) and prefers mother of pearl. I’ll see what I can find.
I’m hoping to have it done and in the mail to Louisiana by the end of September or early October at the latest. Thus freeing me up to cast on more projects. I have a plan to clean up and organize my stash again. It’s gotten out of hand and I am losing track of the projects that I had planned to use with the yarns that I’ve stashed. AND now that we have two grand-babies, double the knitting pleasure! I certainly have some yarn to knit for the kiddos. I also have two grand-nephews to make hats and mittens for (at least).
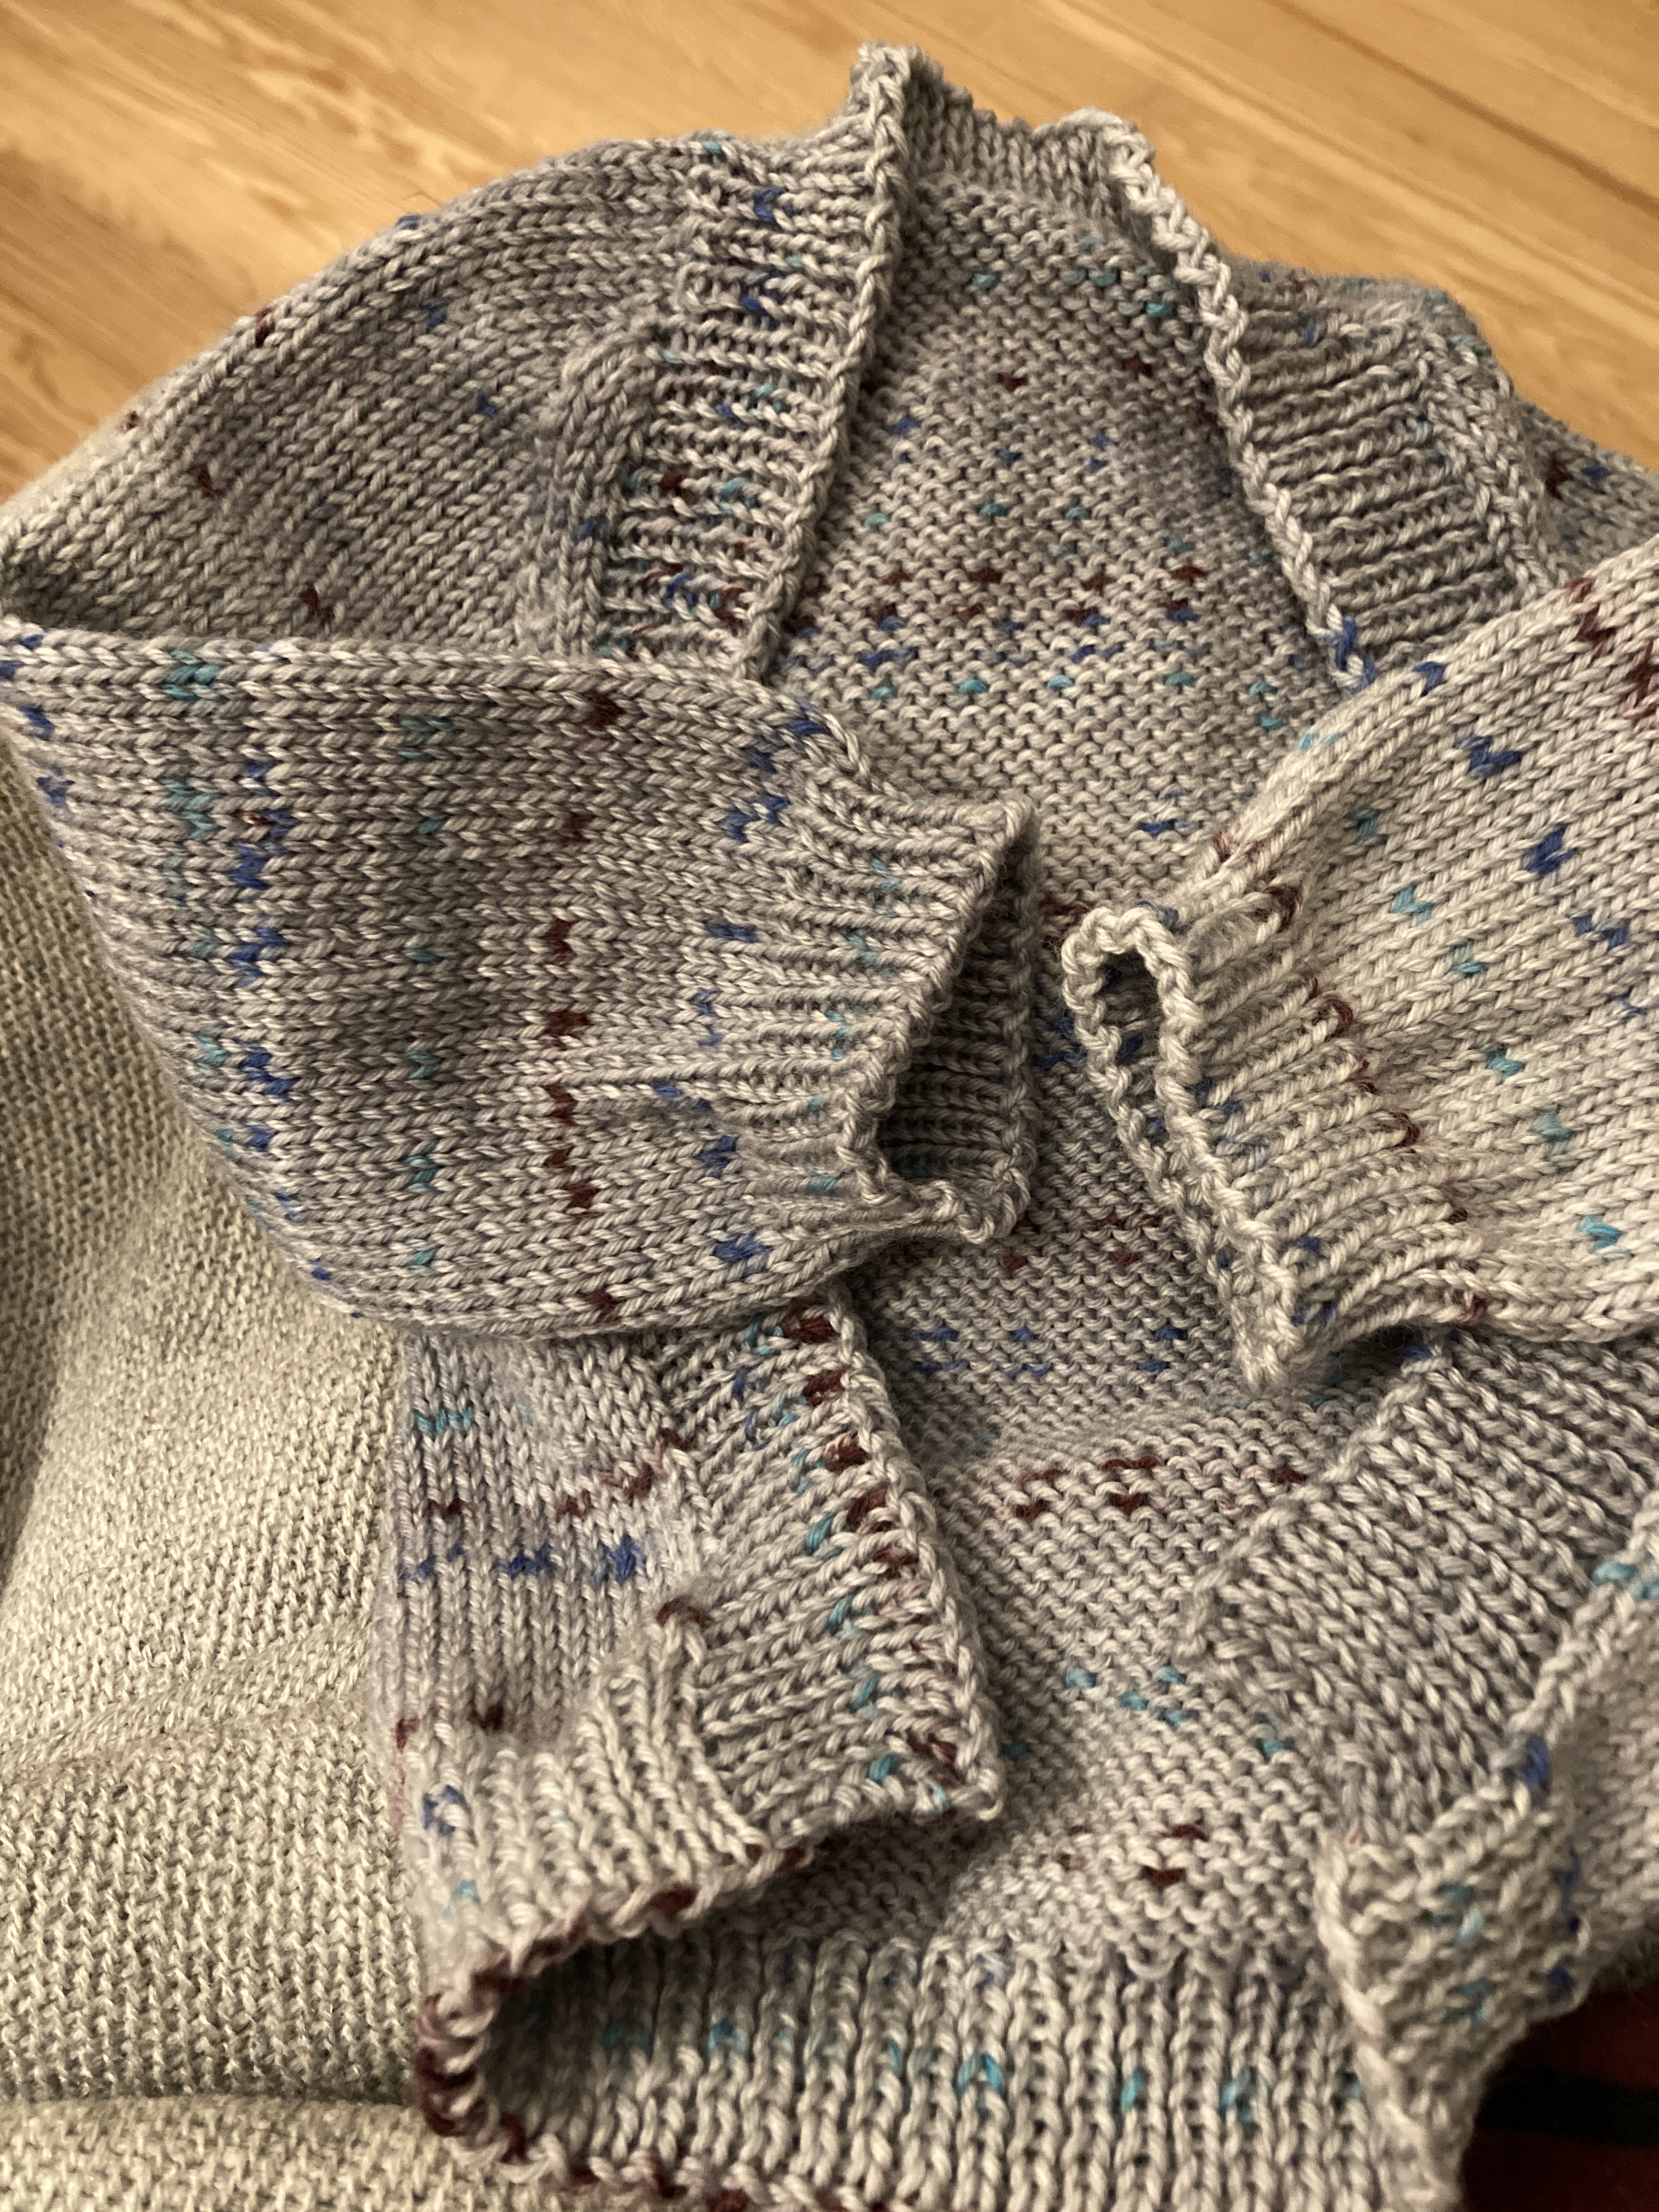
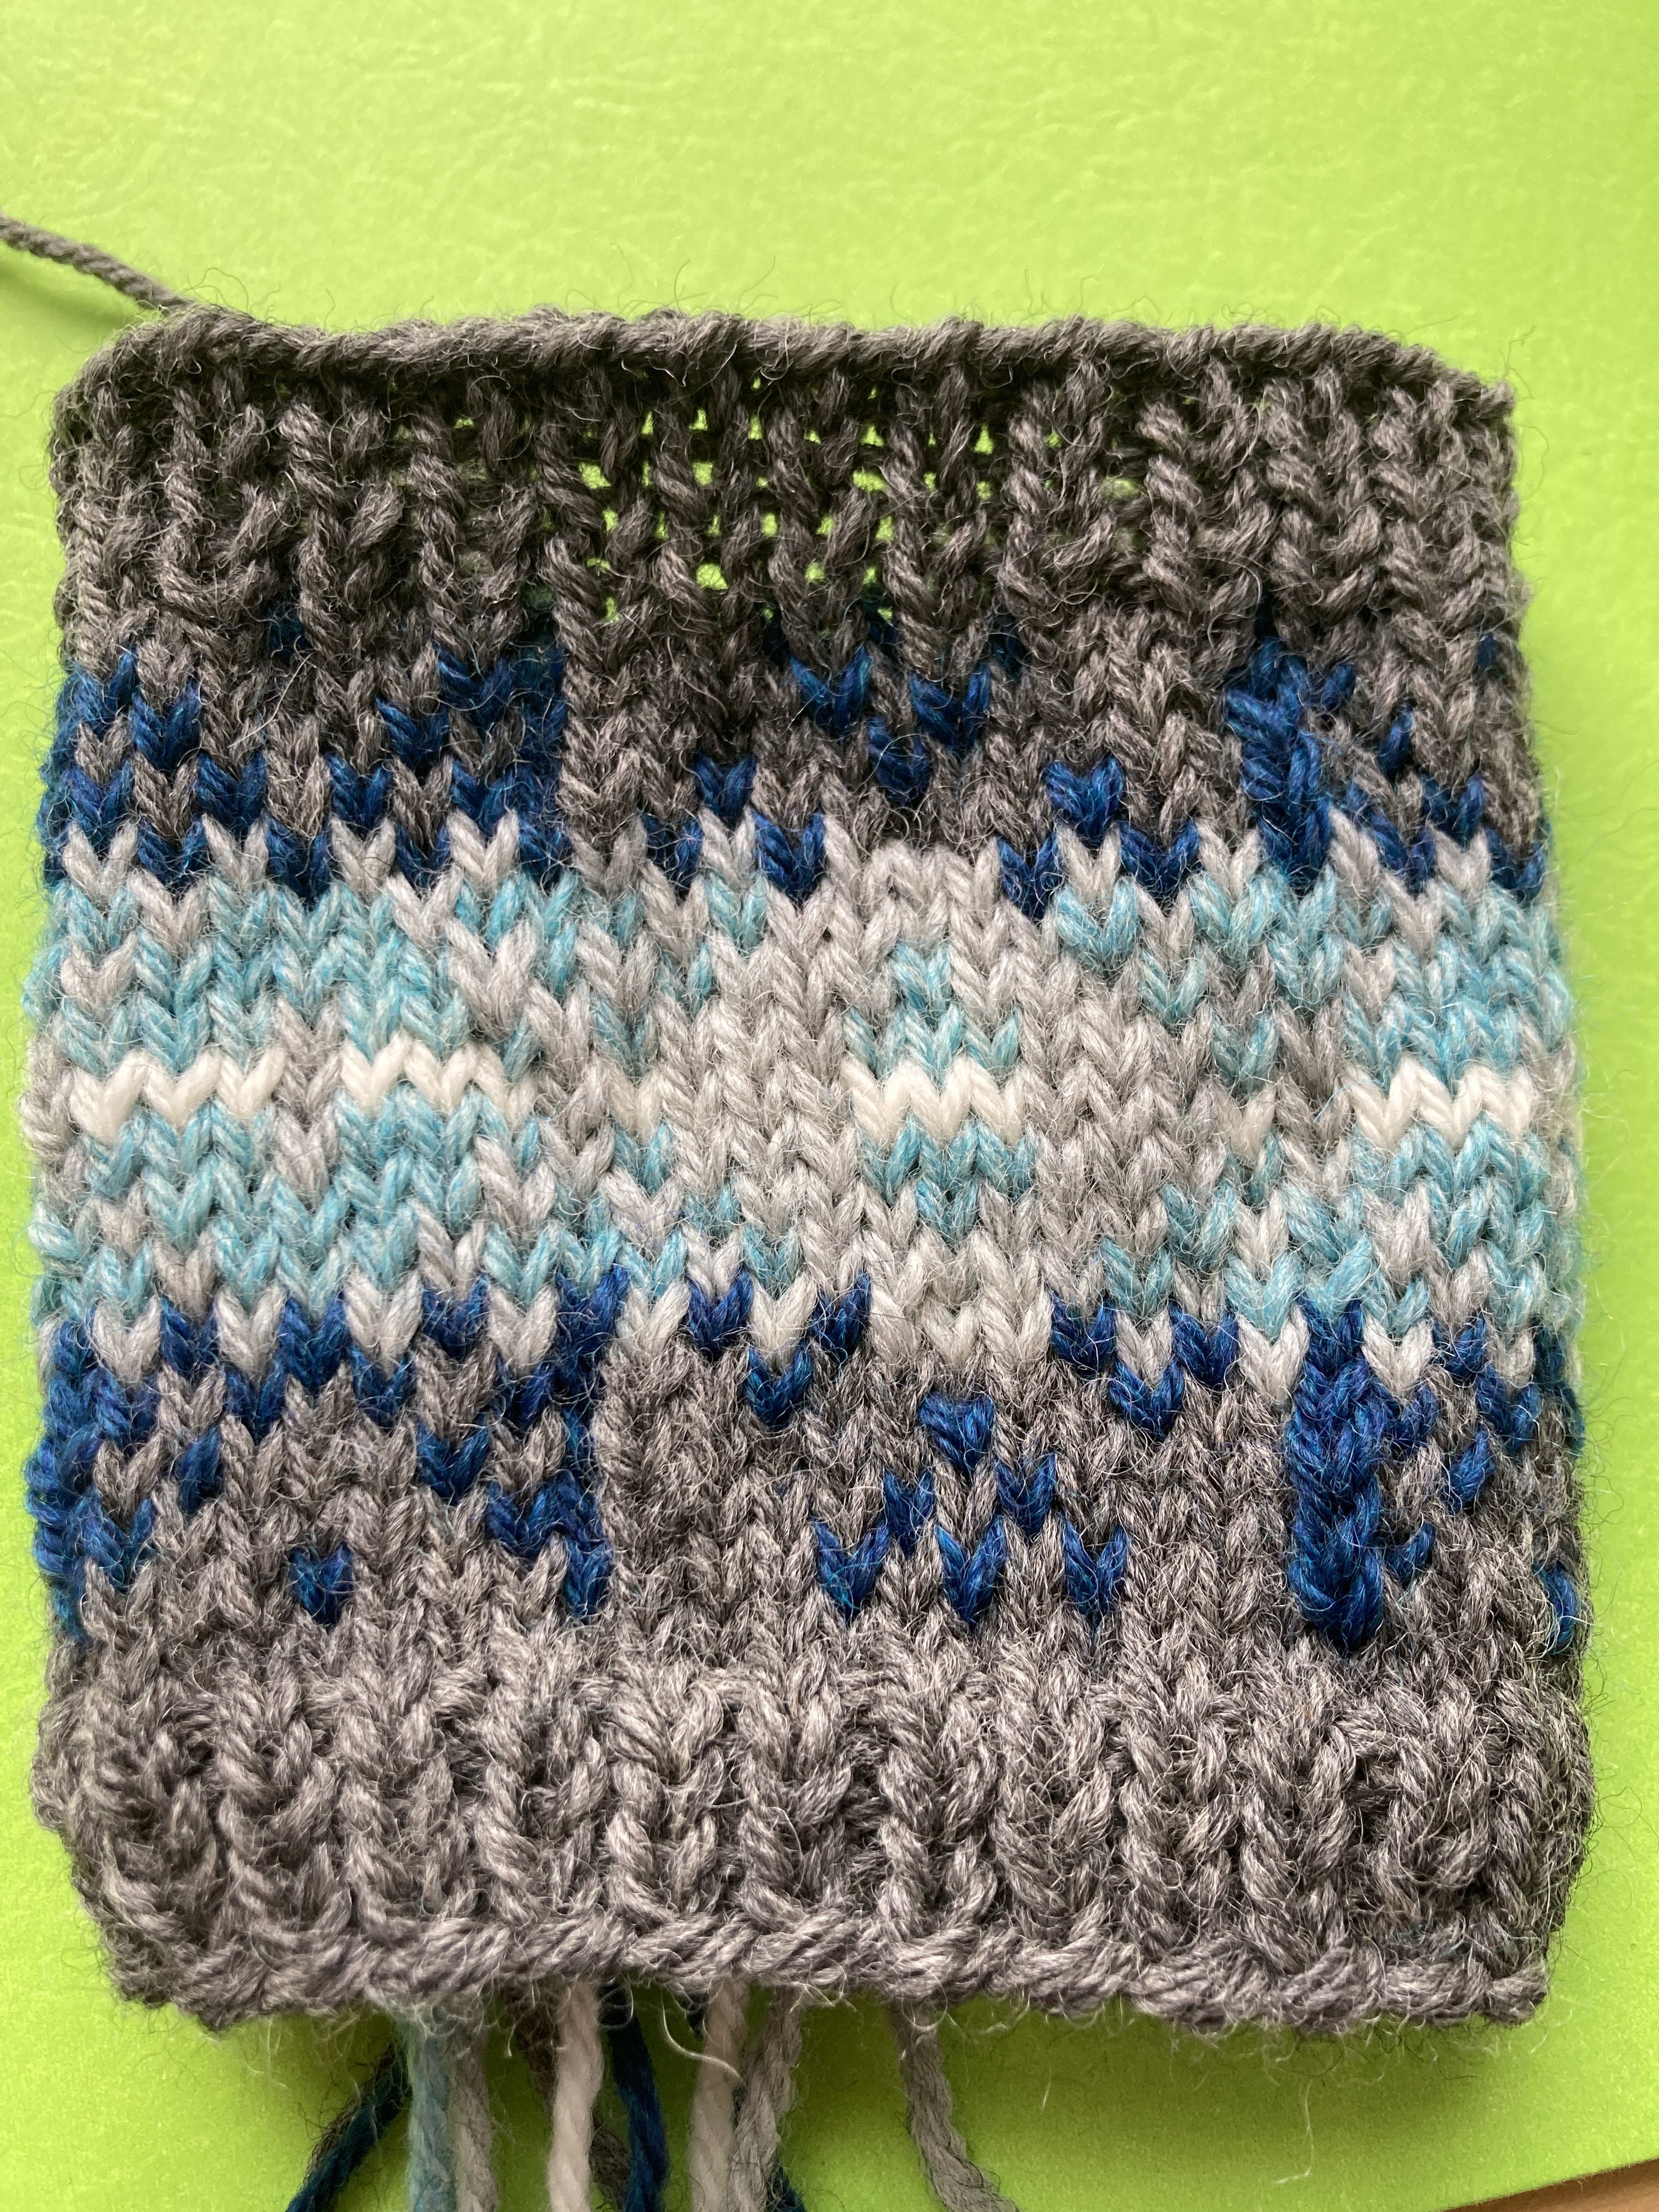
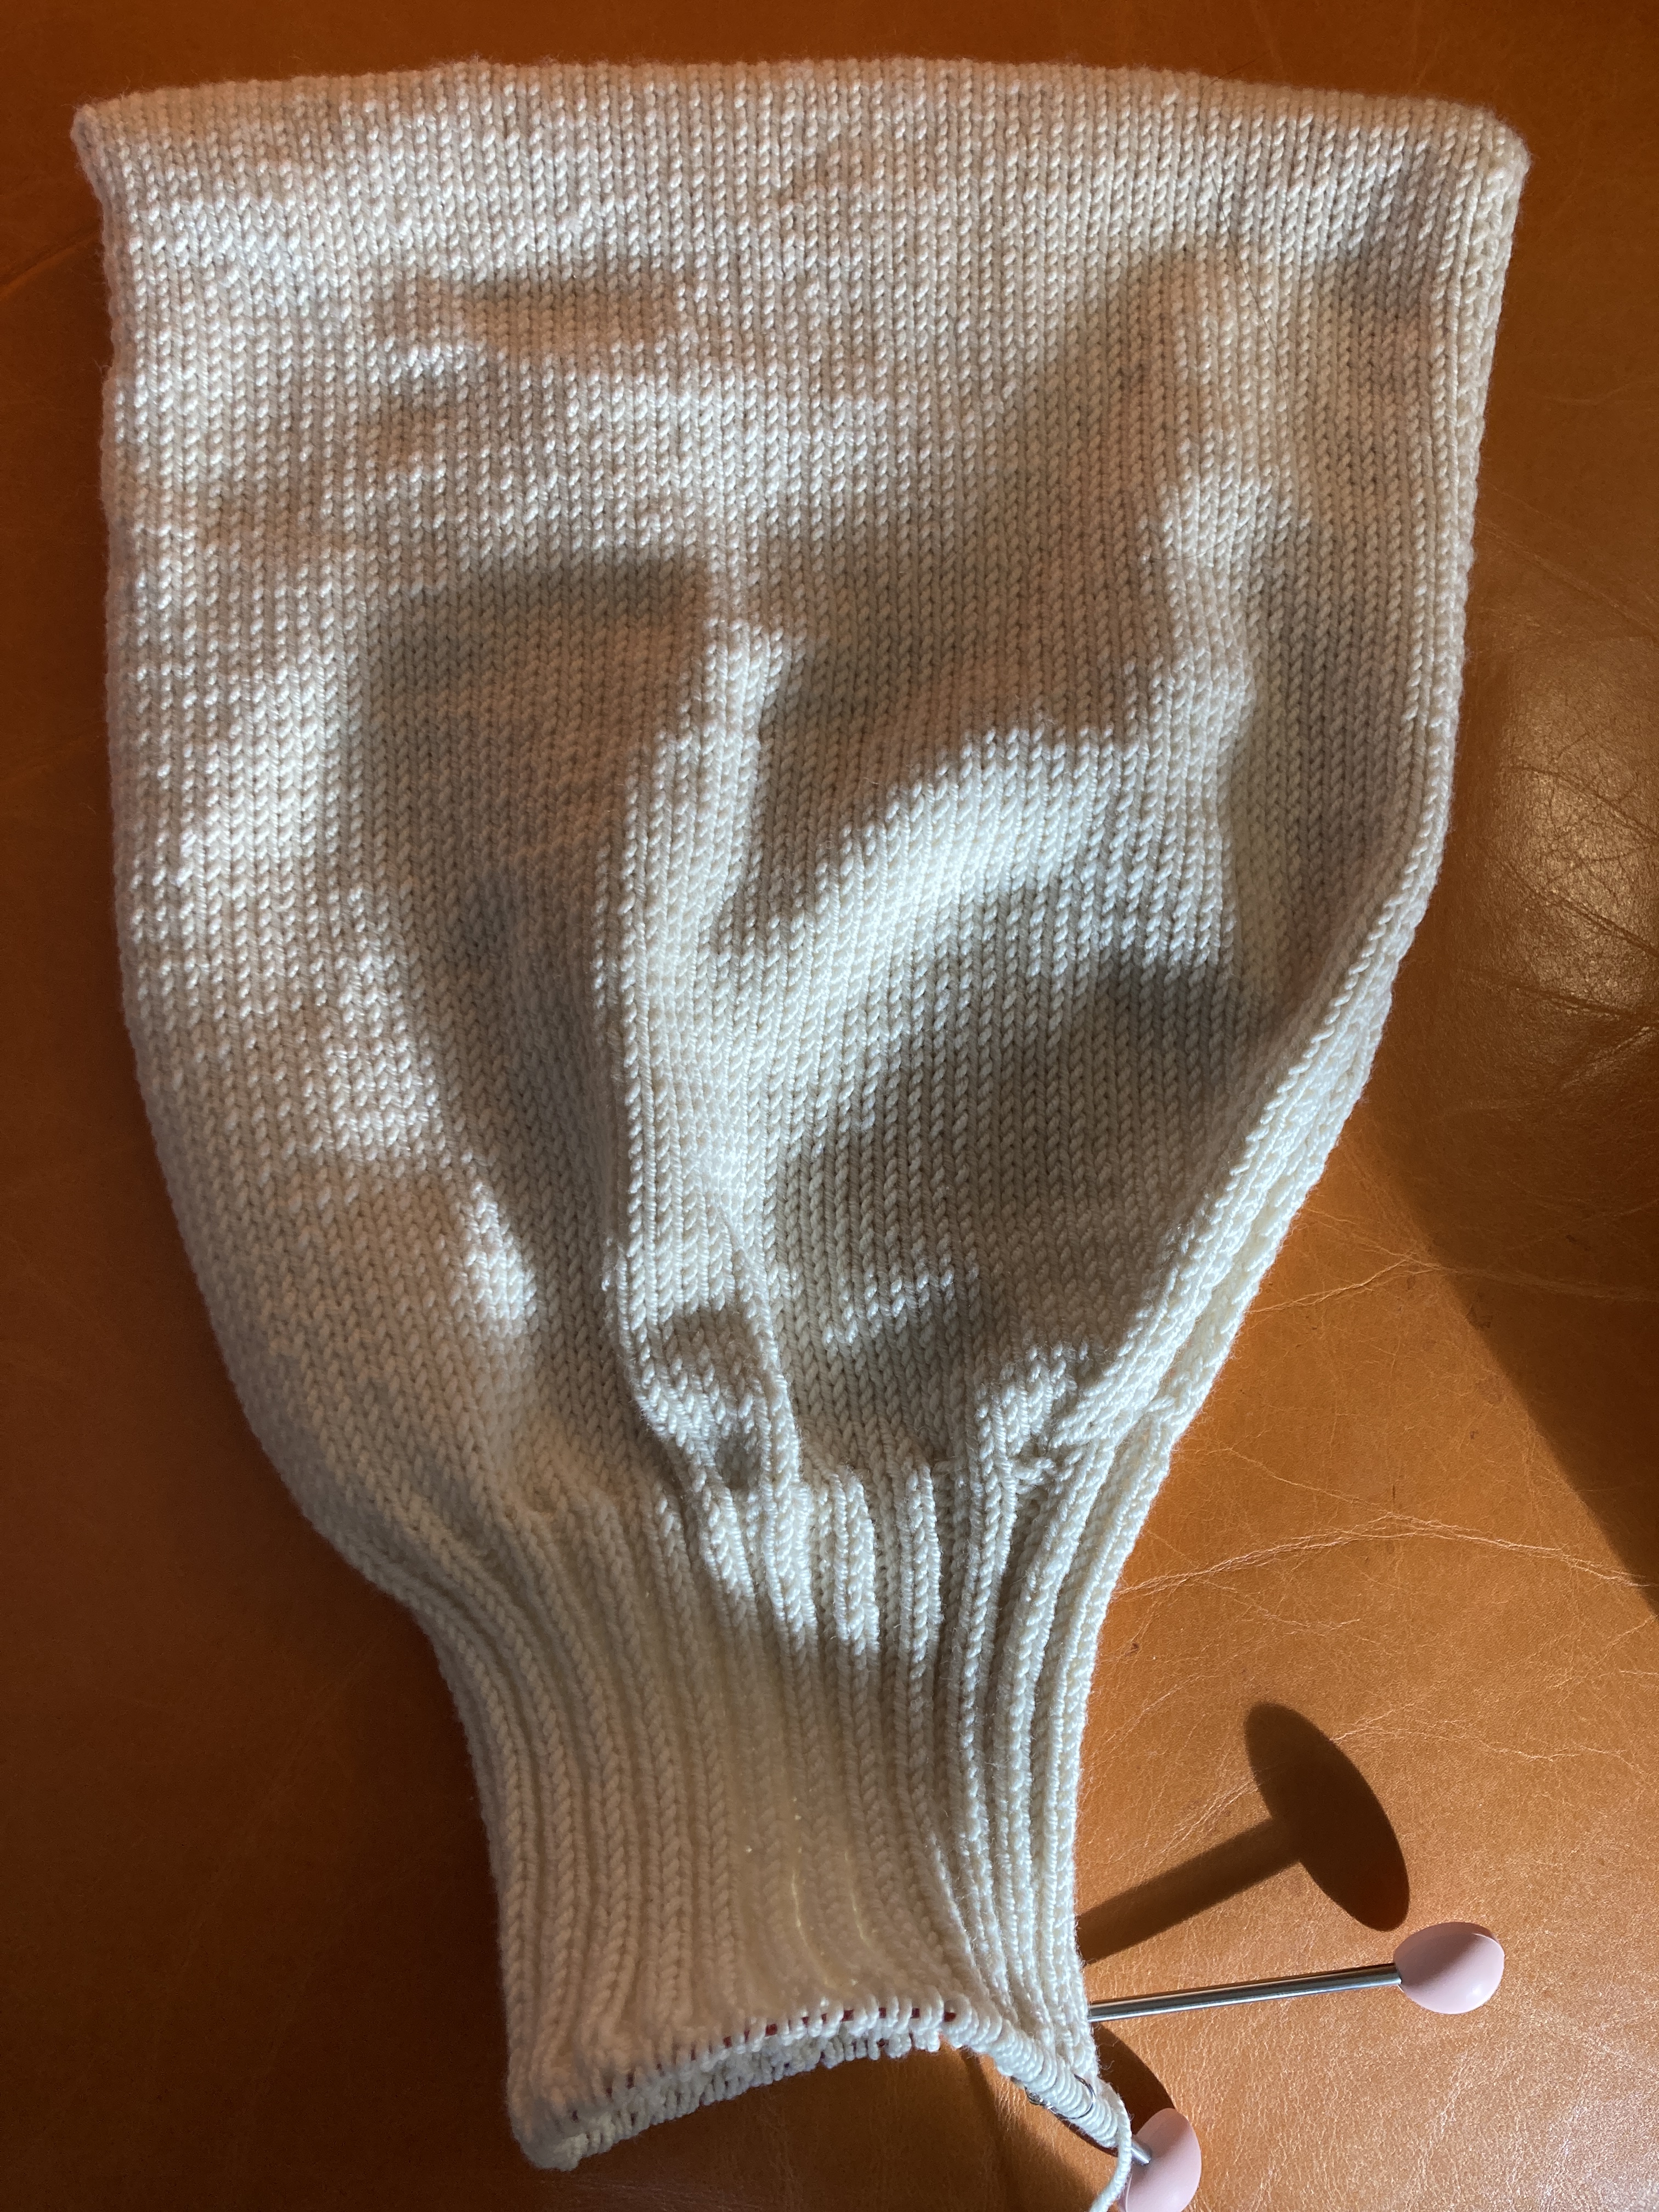
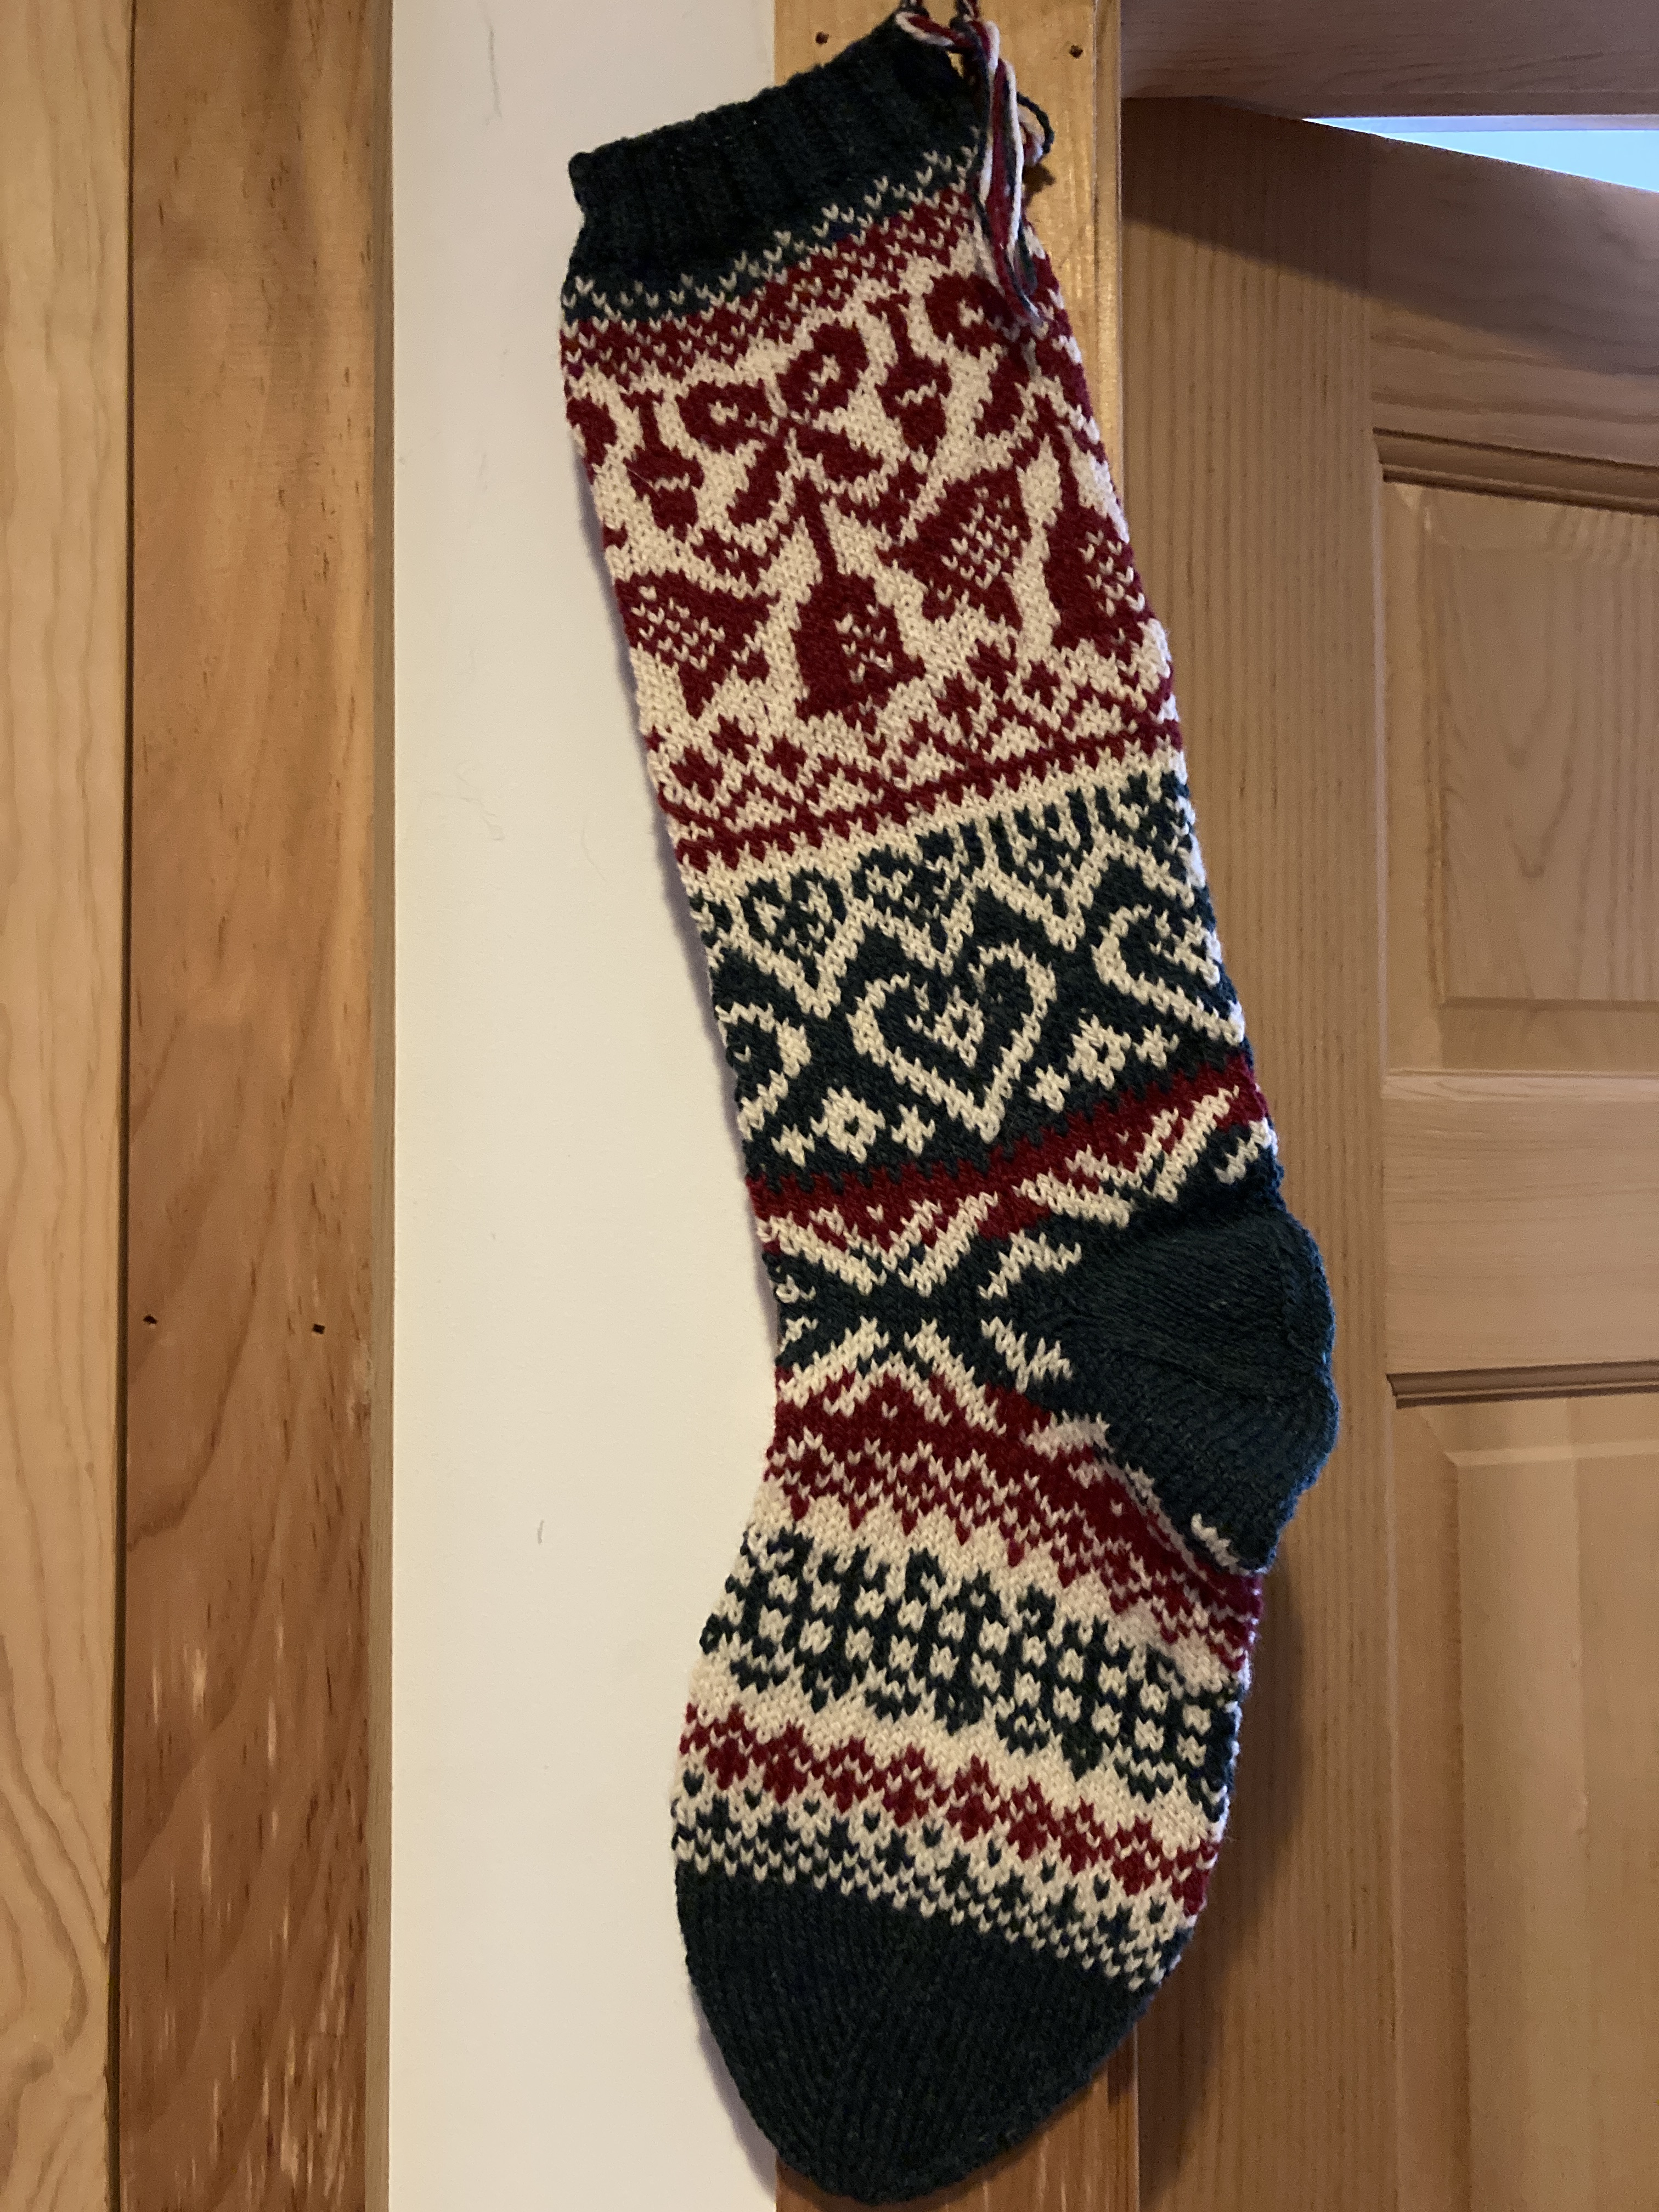
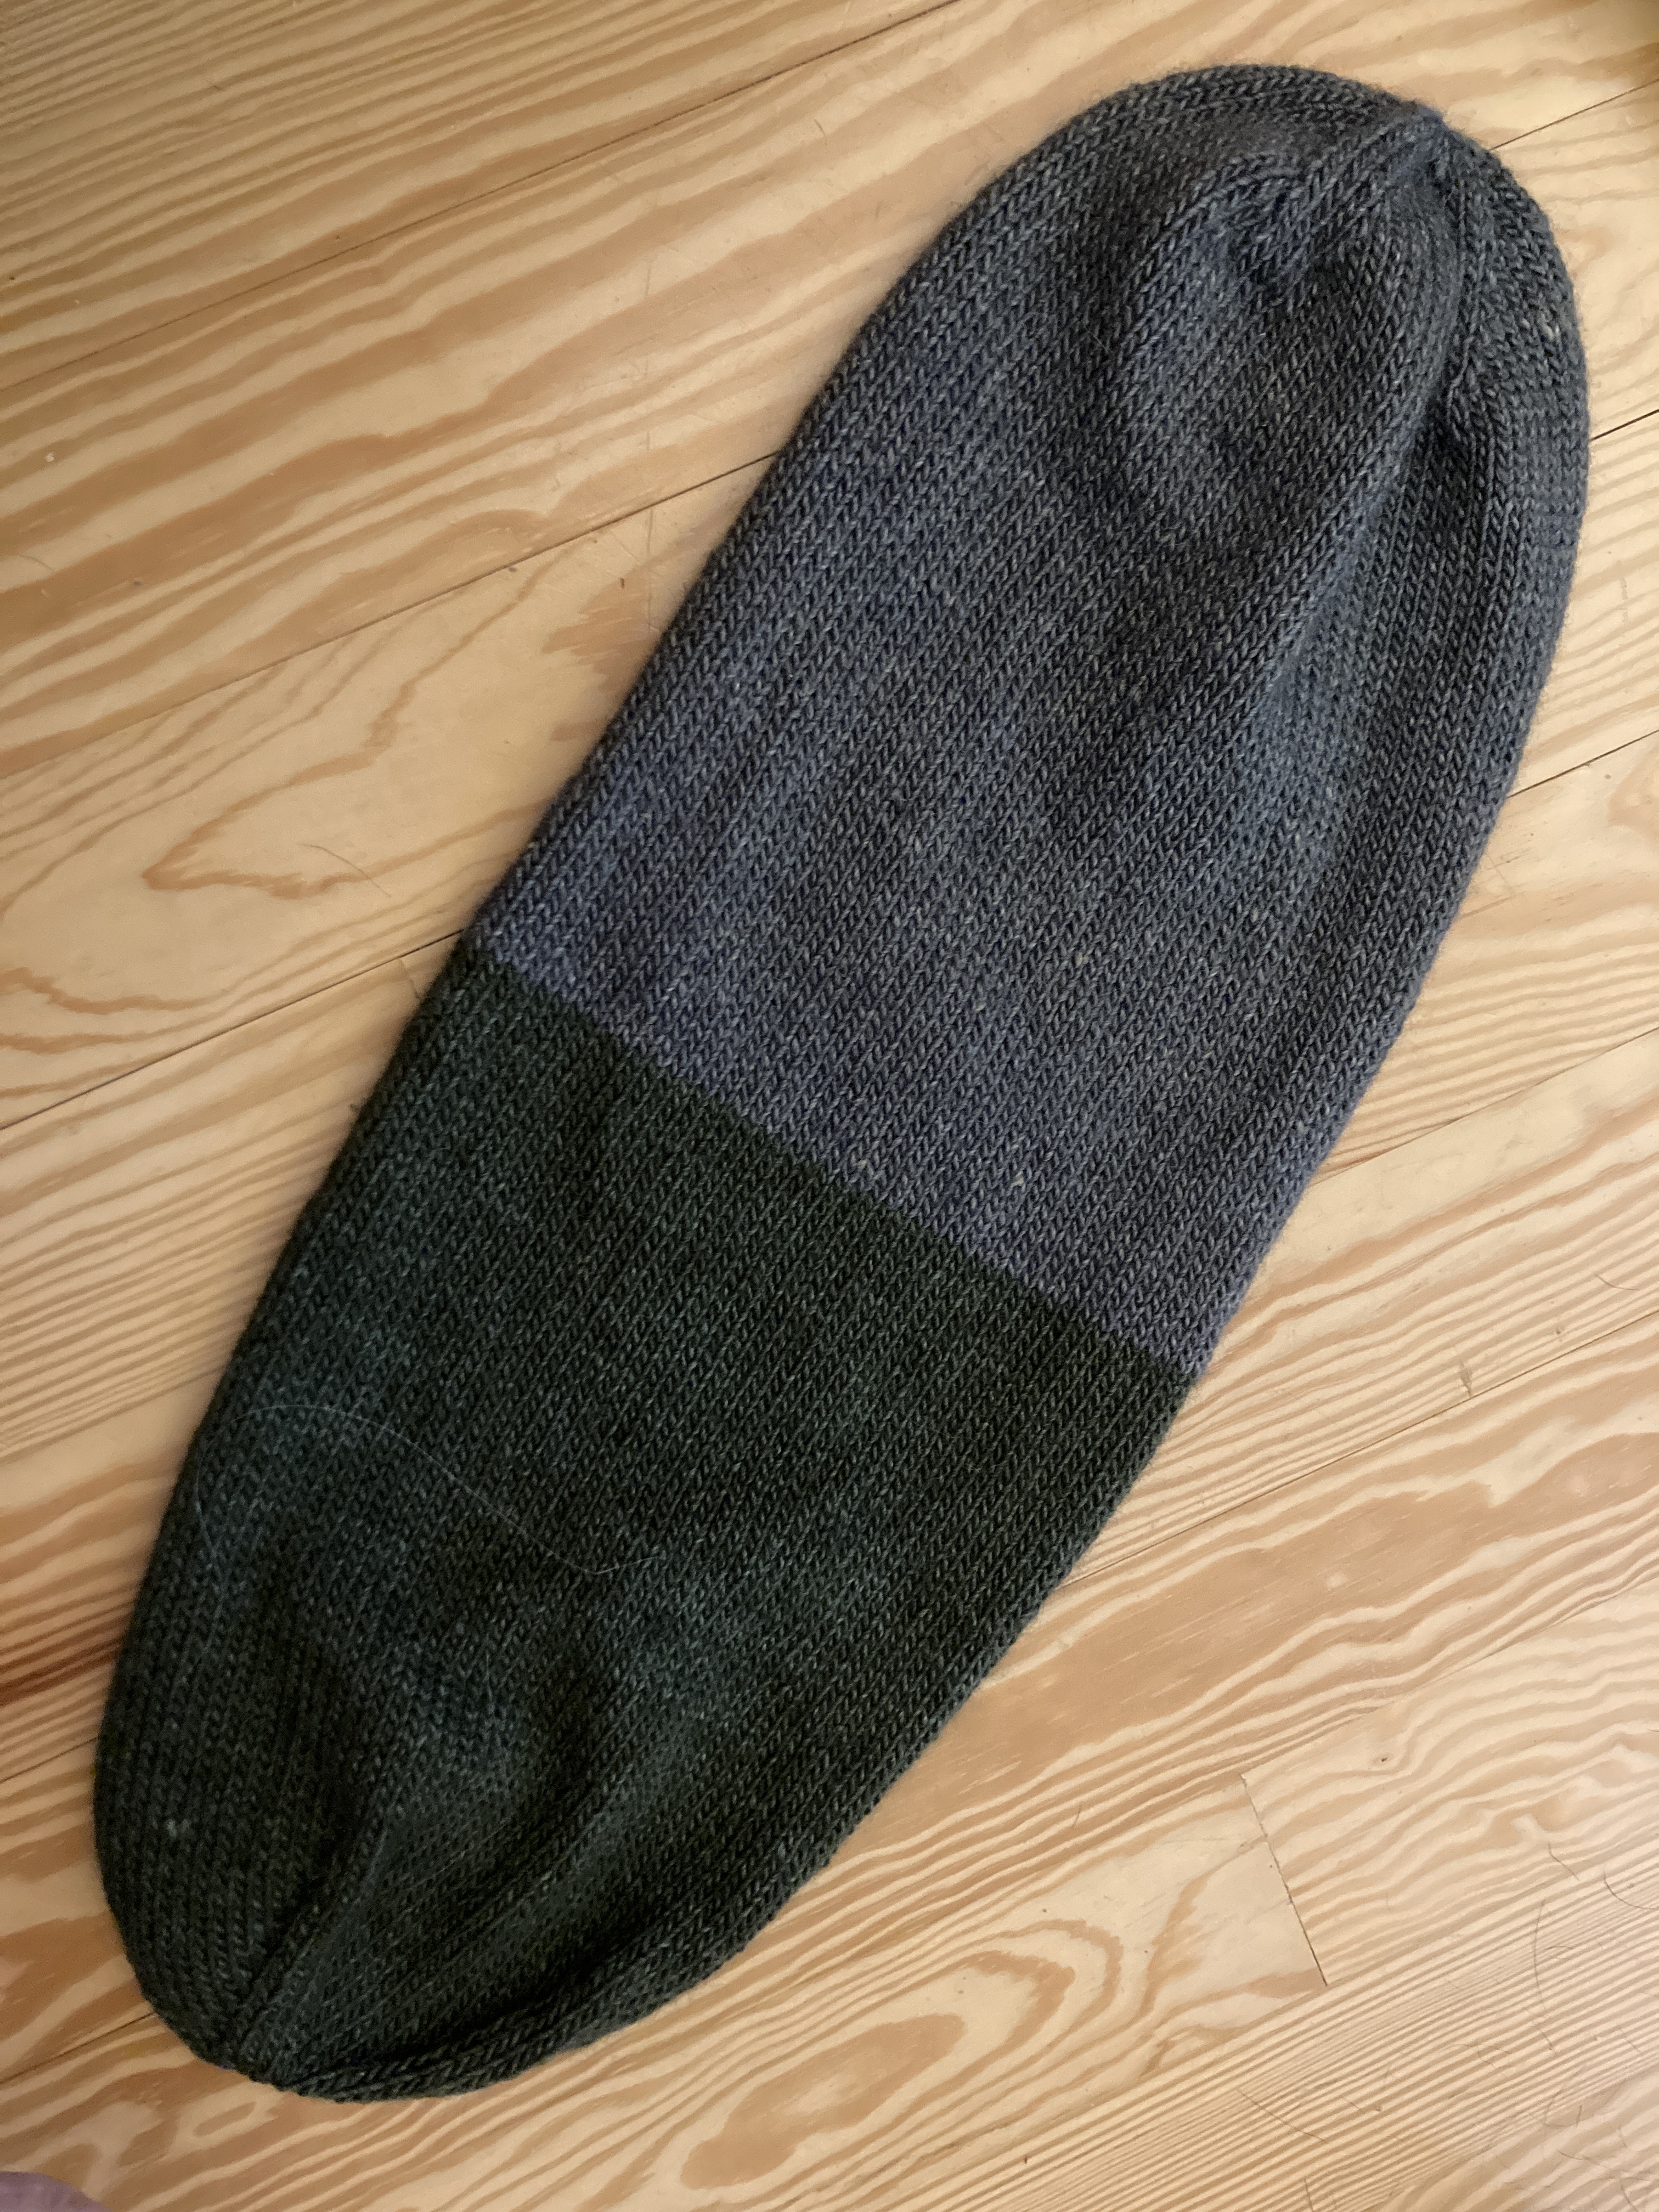
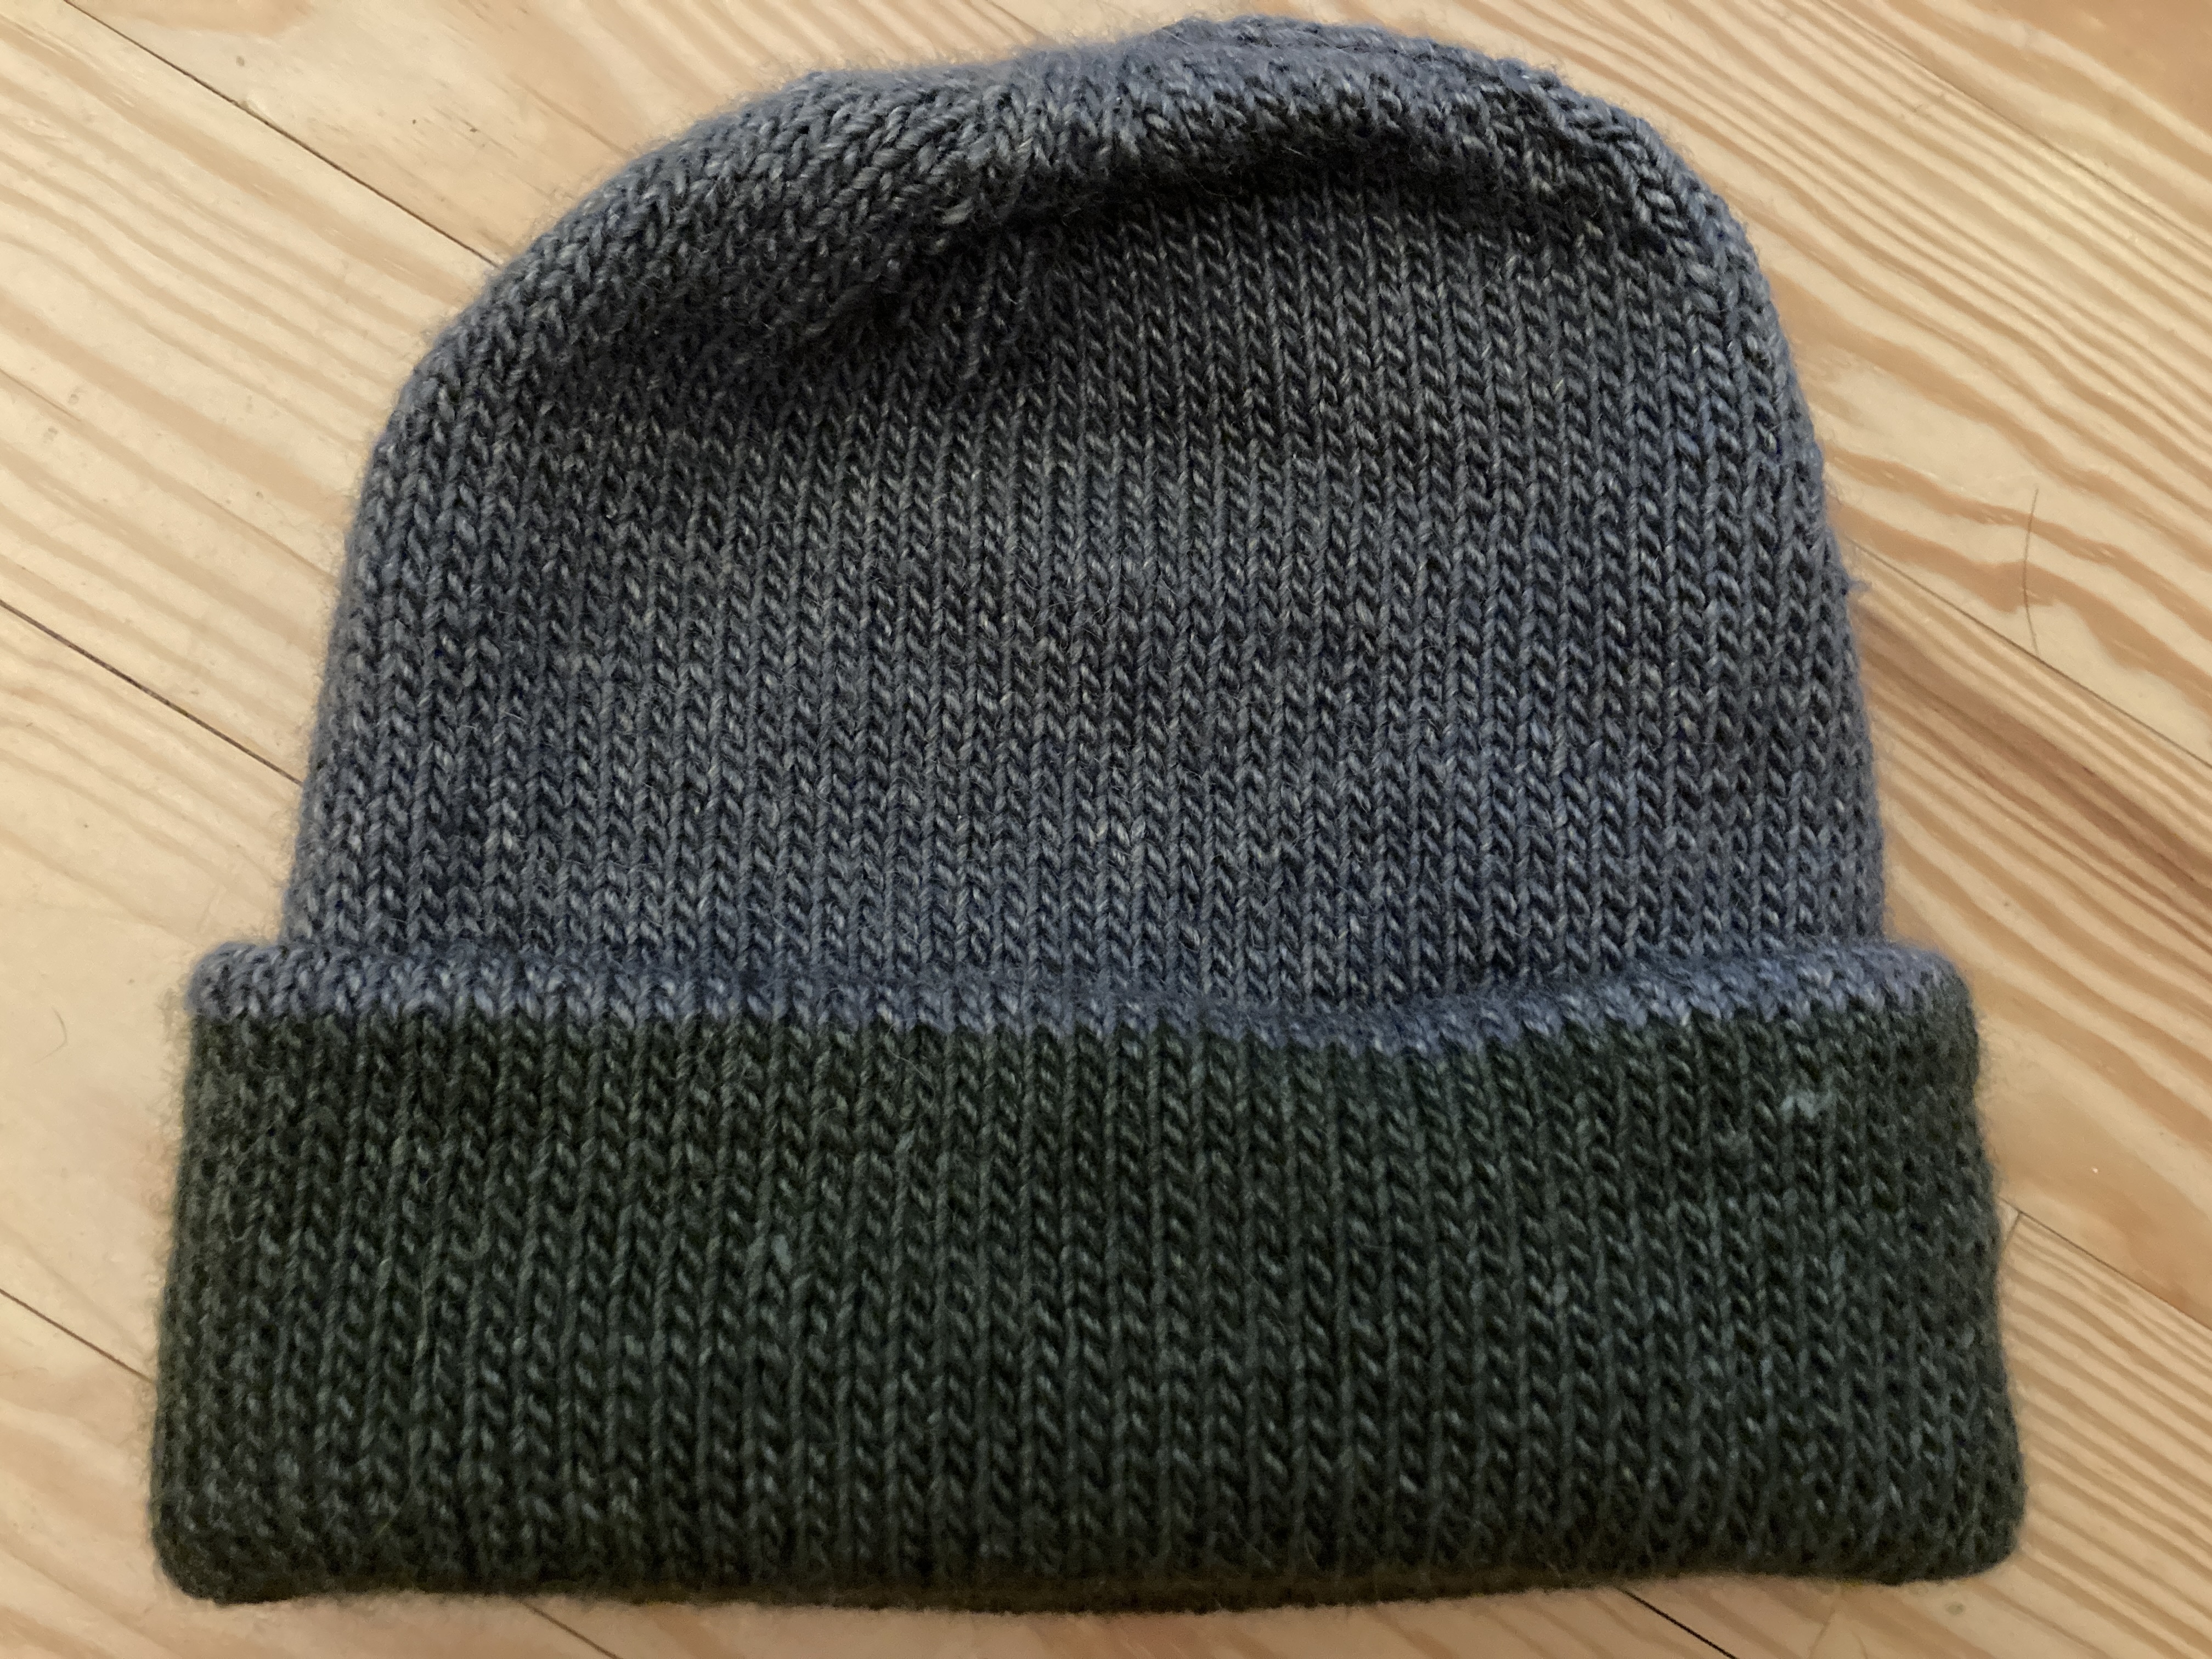
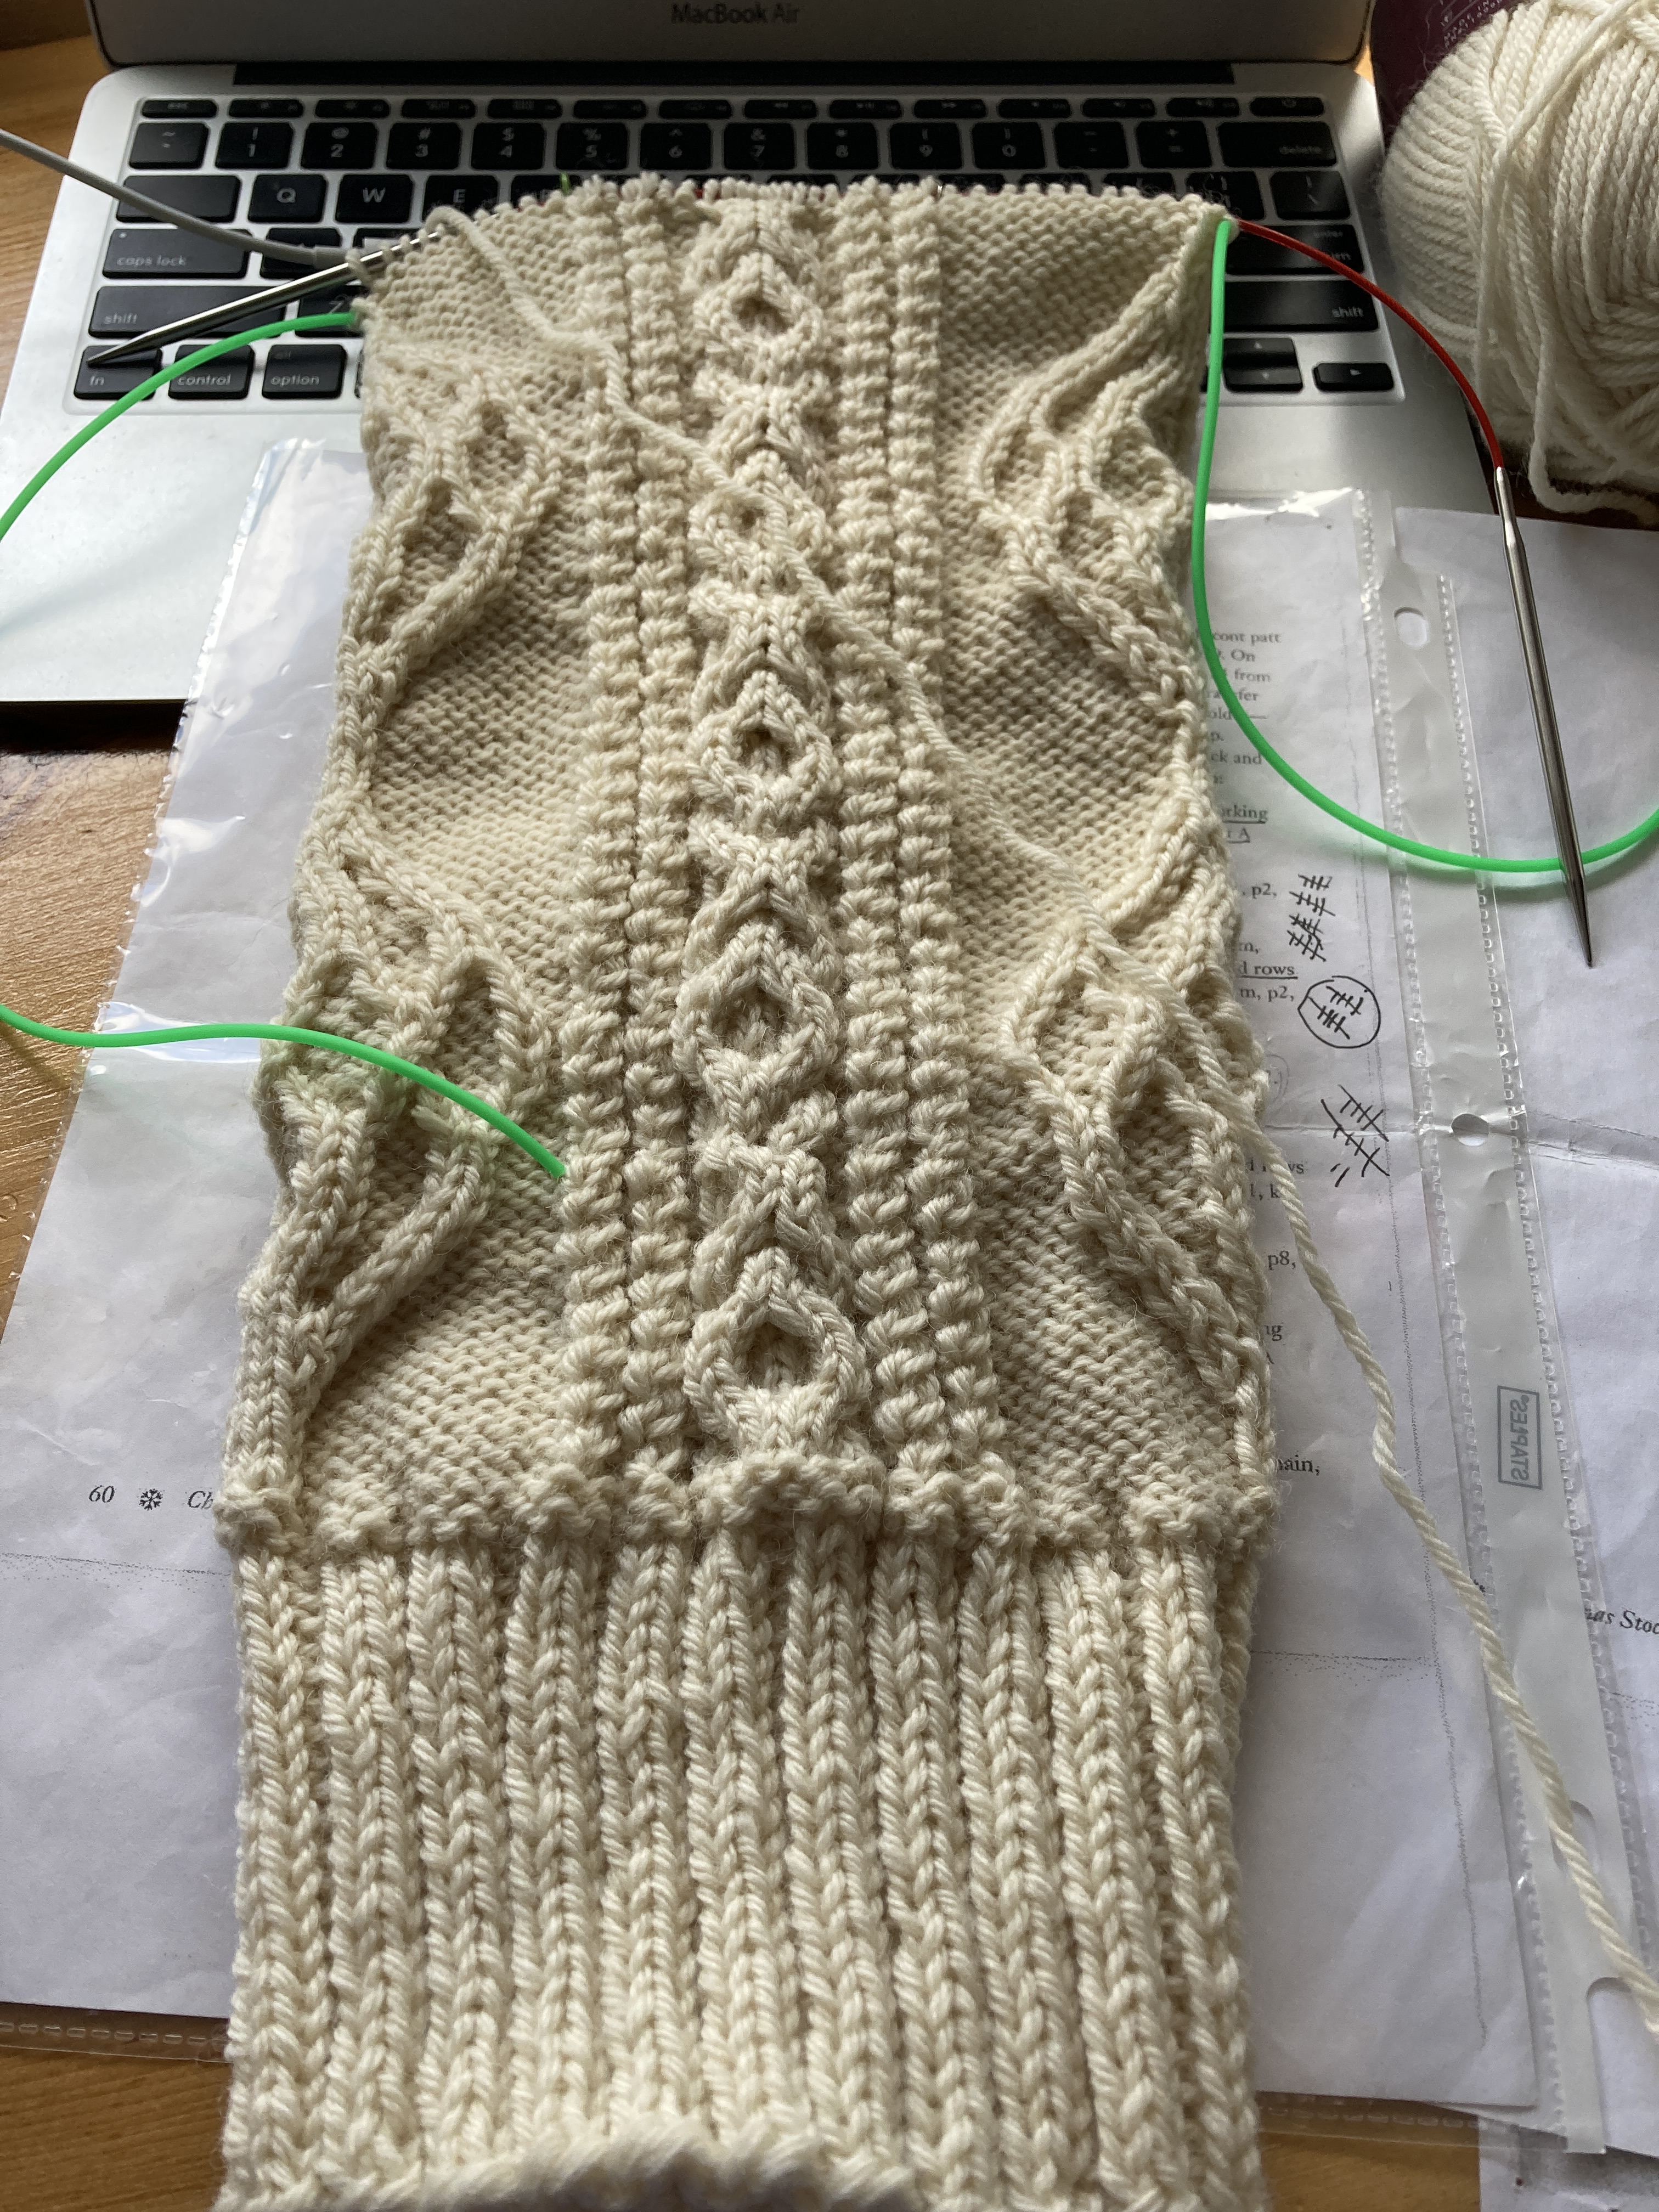
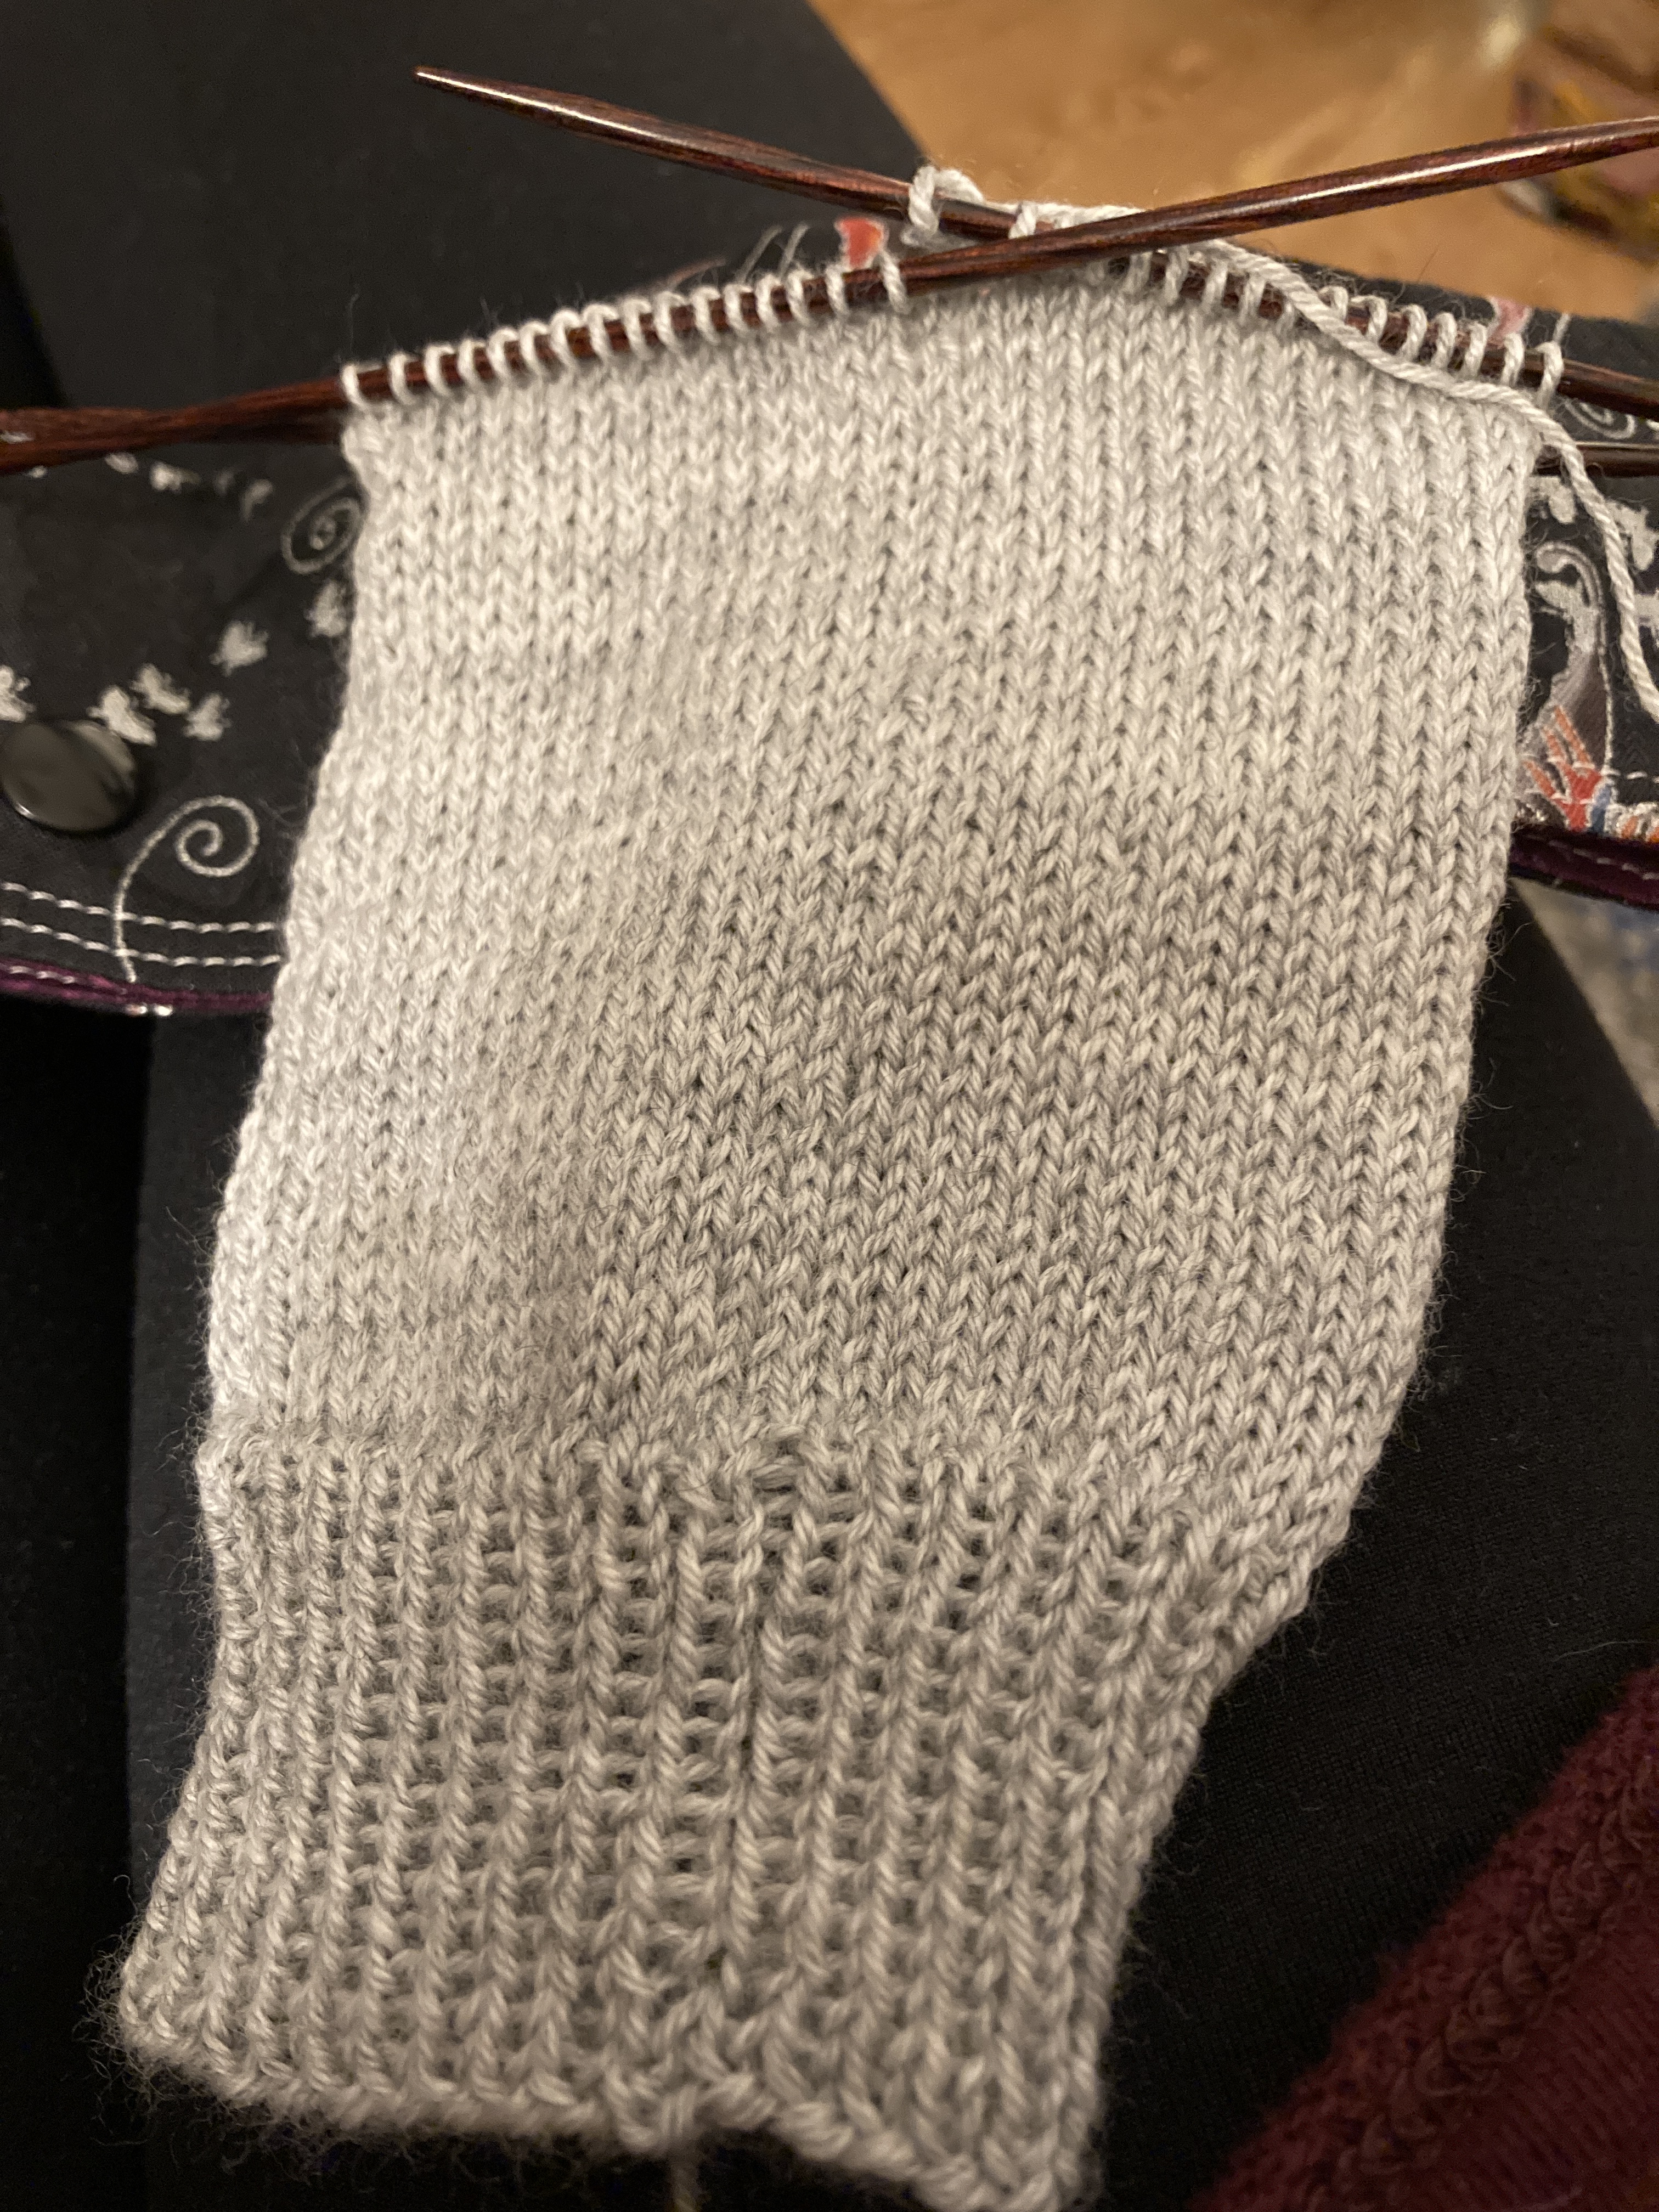
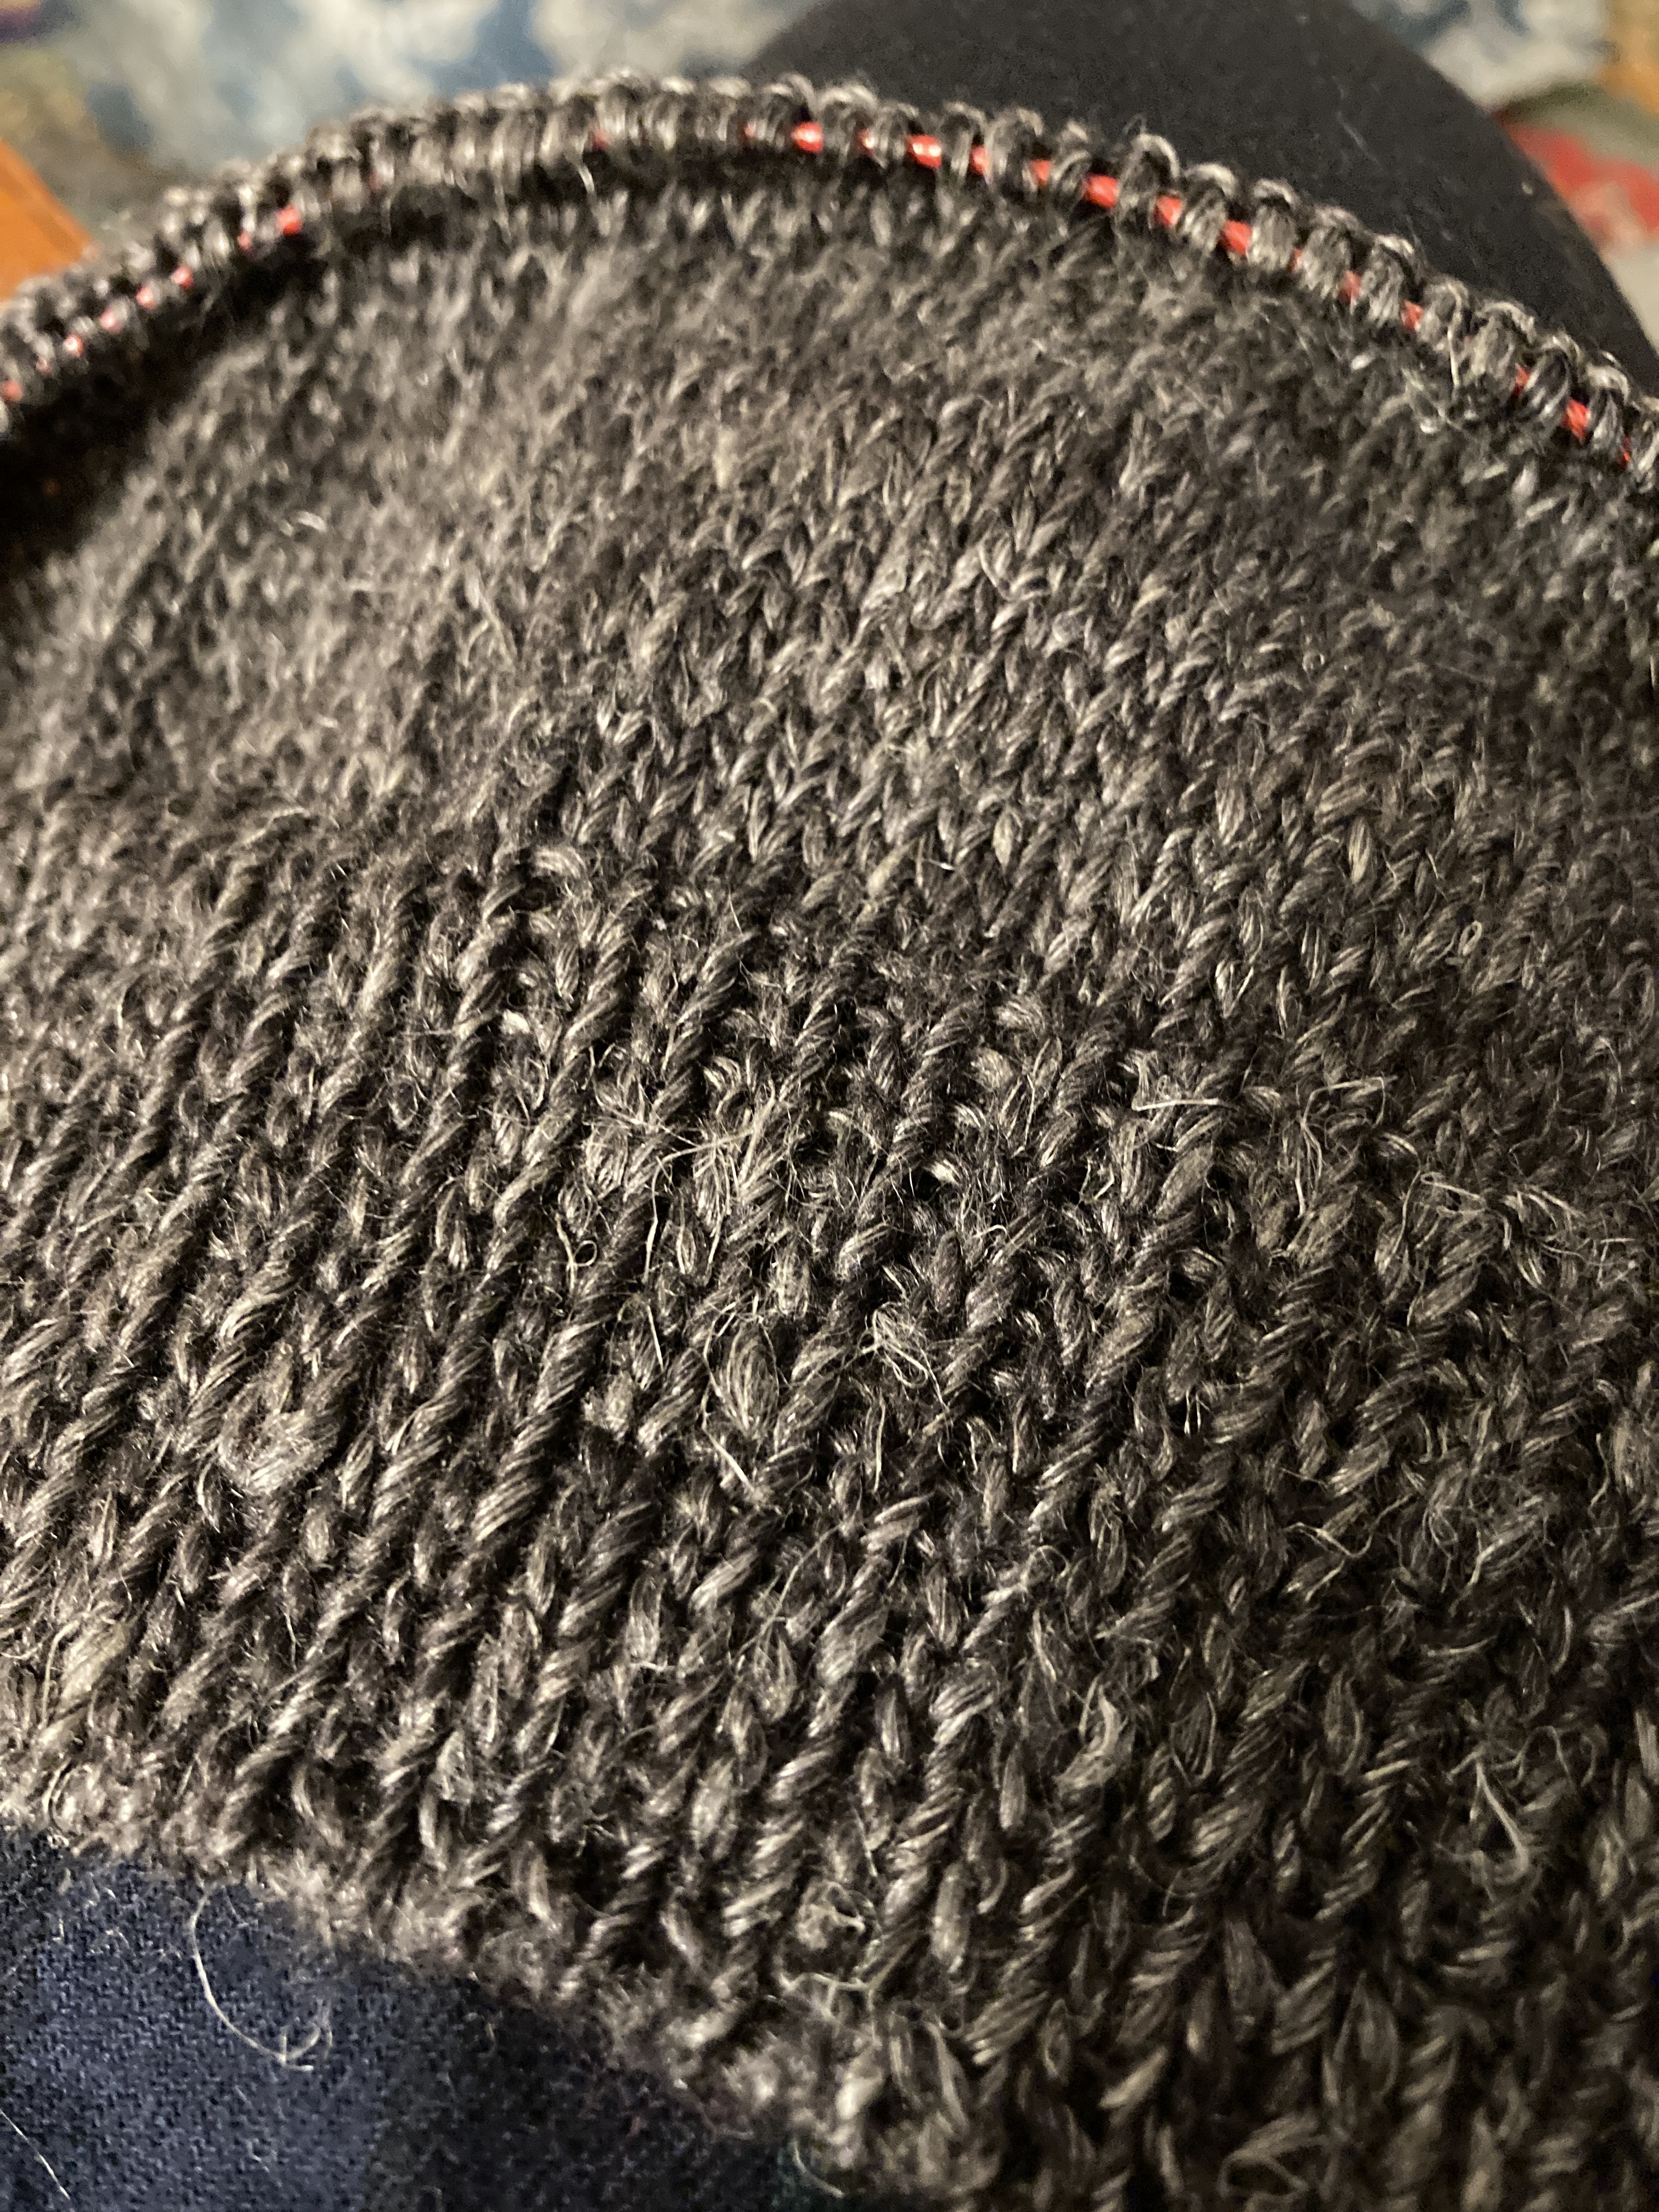
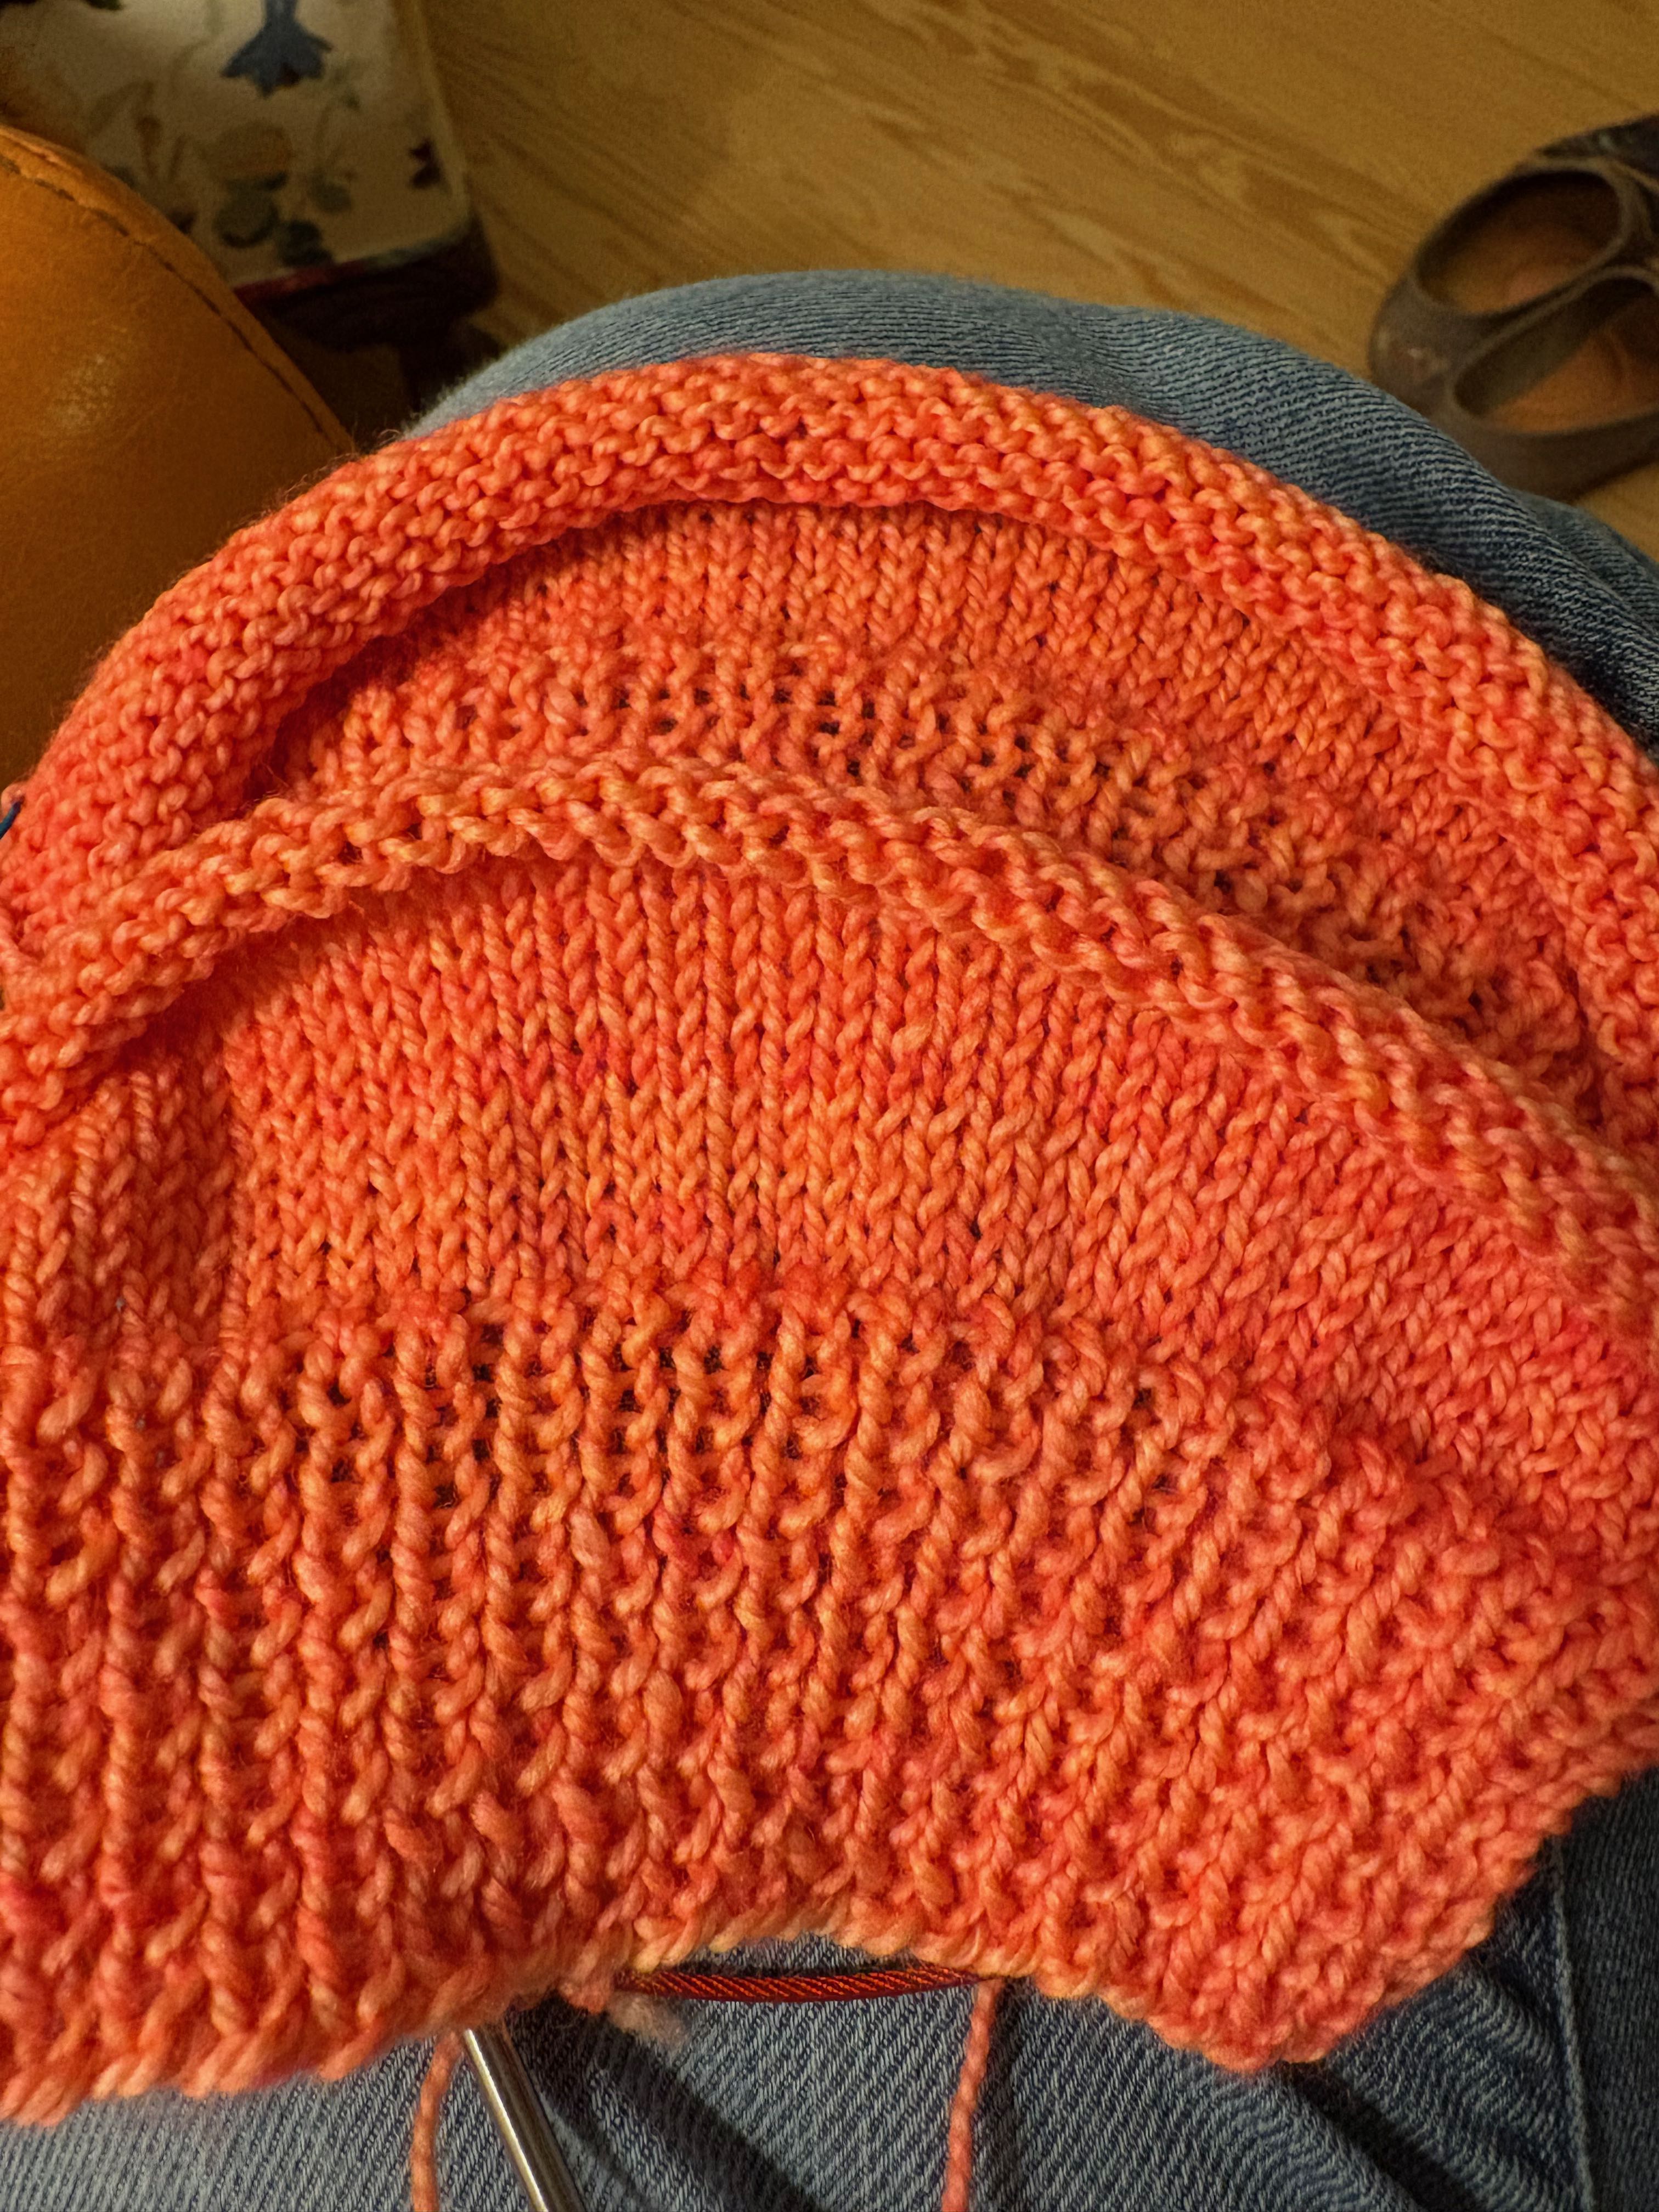
I’ve also been working on my Vanilla Sweater with the kit that I purchased from the Wooly Thistle. I love the wooly wool yarn. It’s such a gorgeous color. I’m on sleeve island here, too. This sweater, however, is knitted in the round, top-down, and the sleeves are picked up and knitted down to the cuffs. I’ve gotten a few inches done today while I was teaching classes.


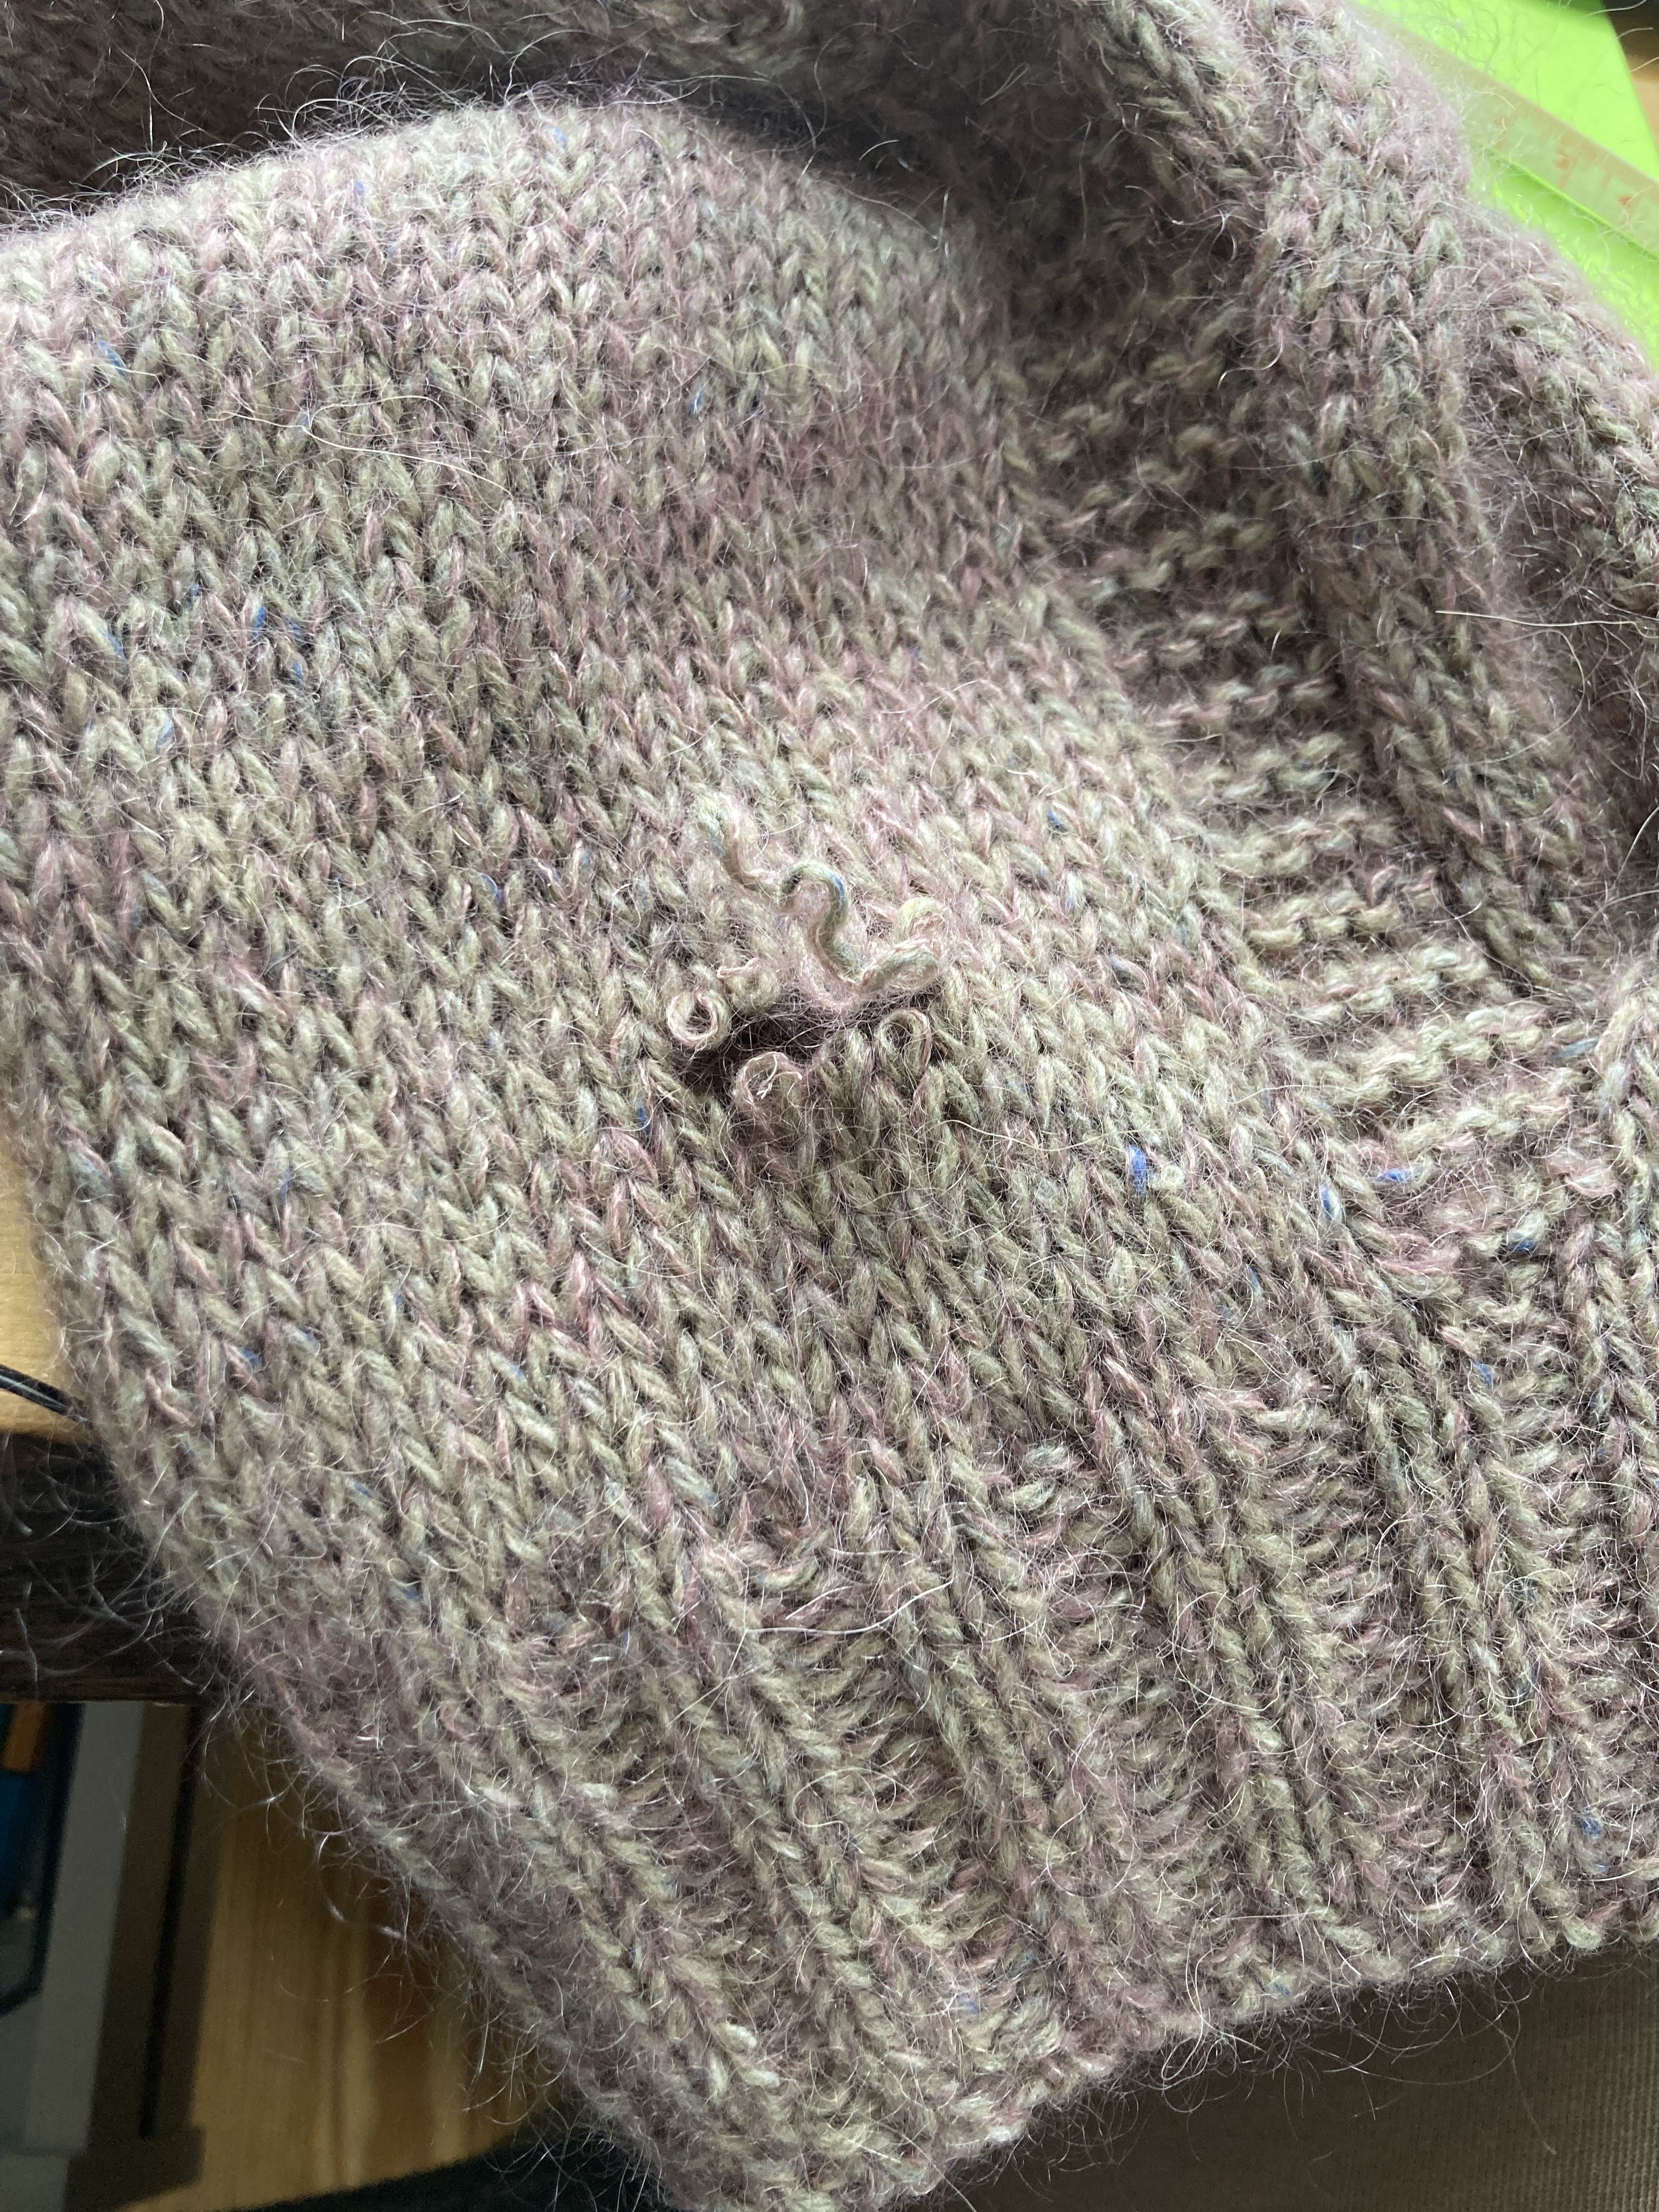
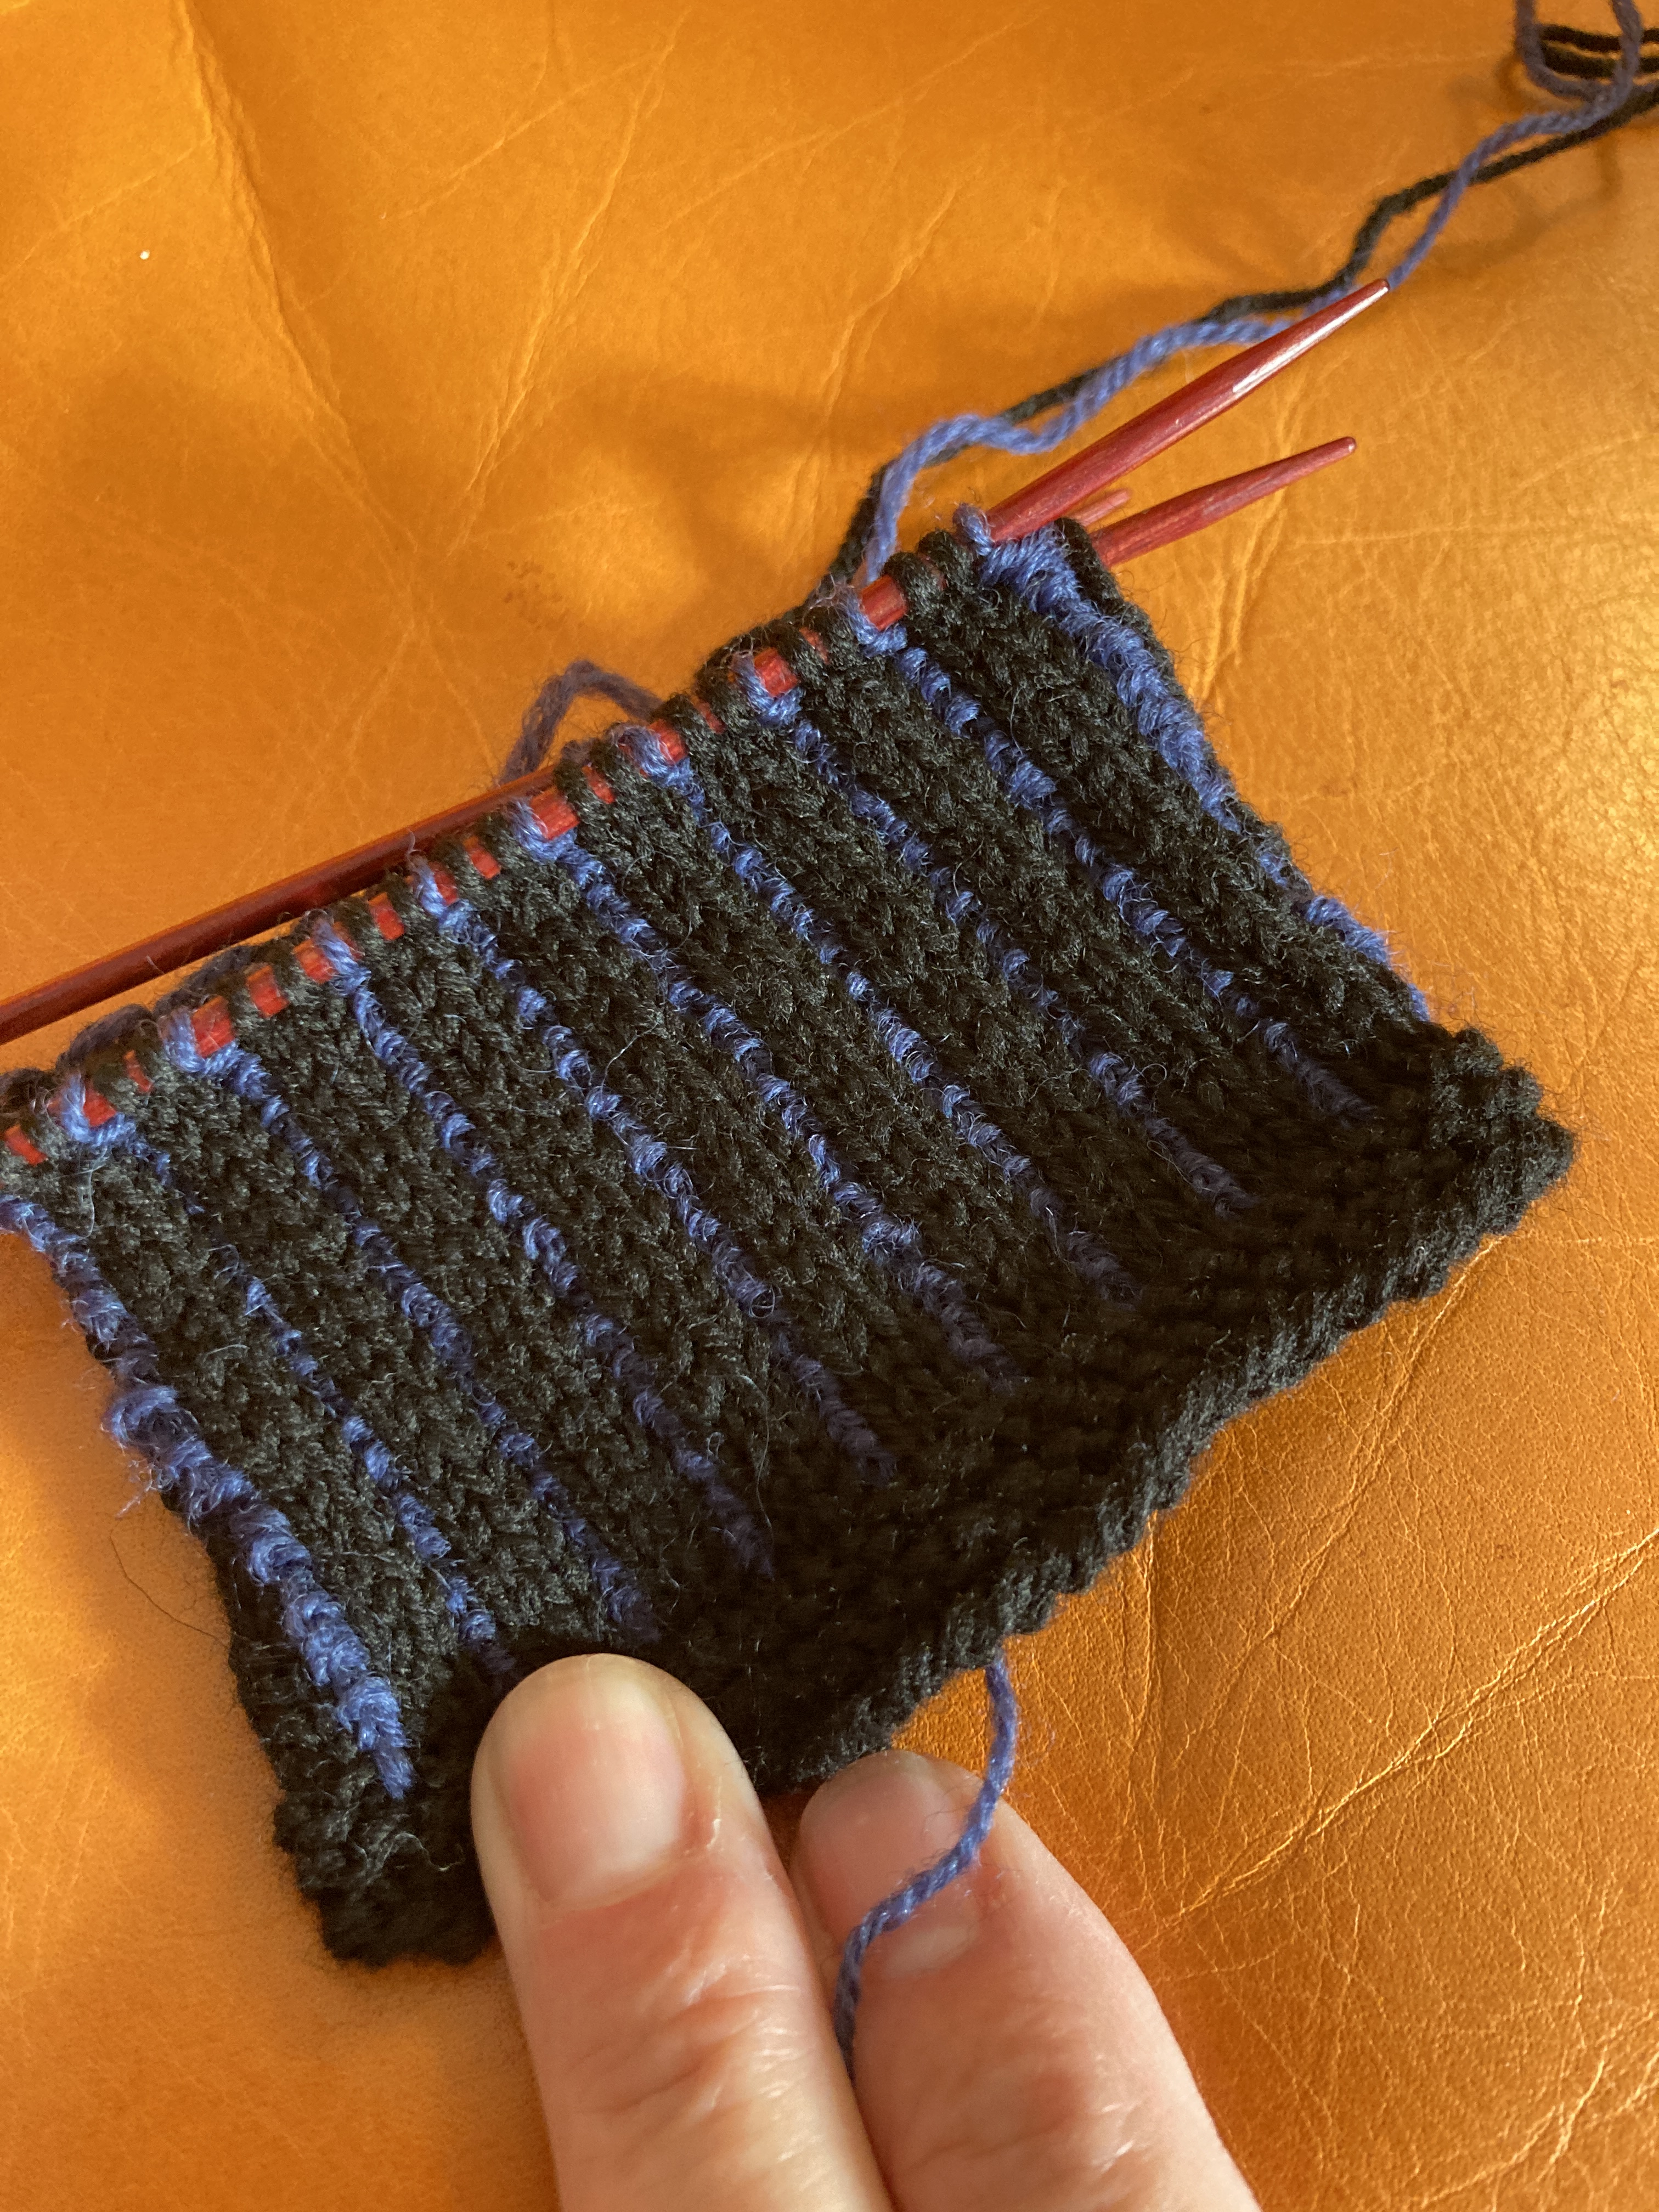
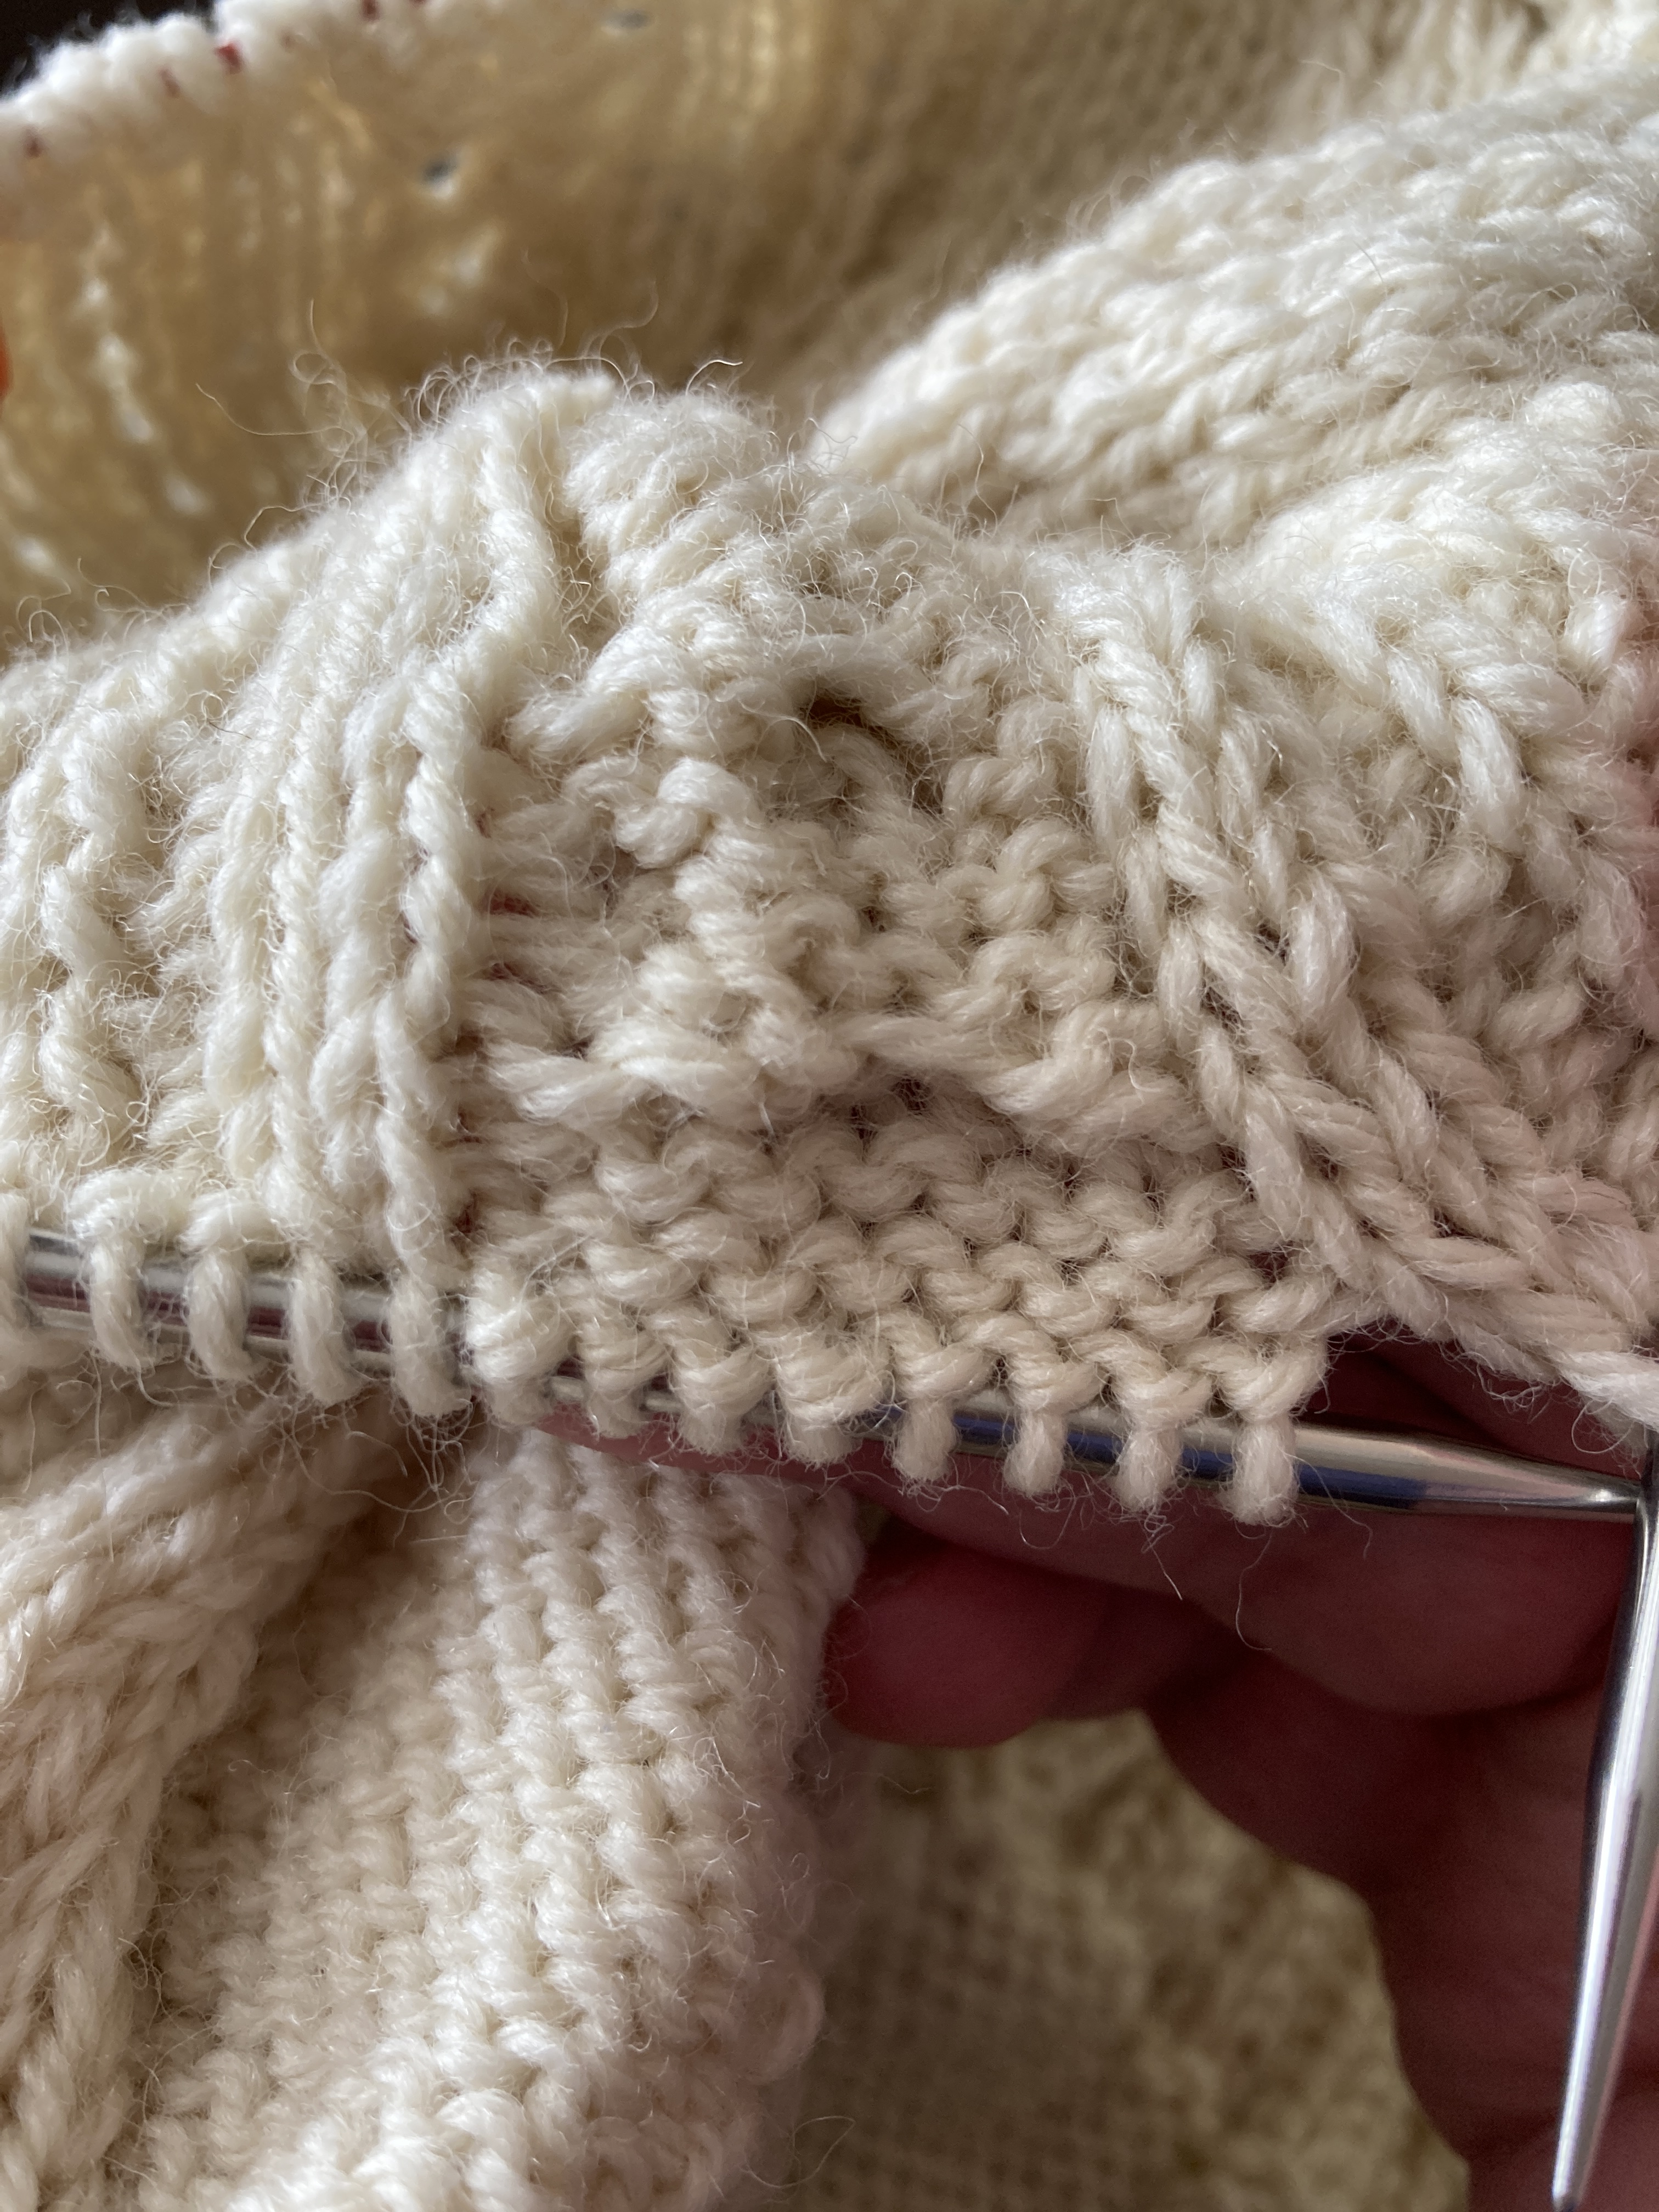
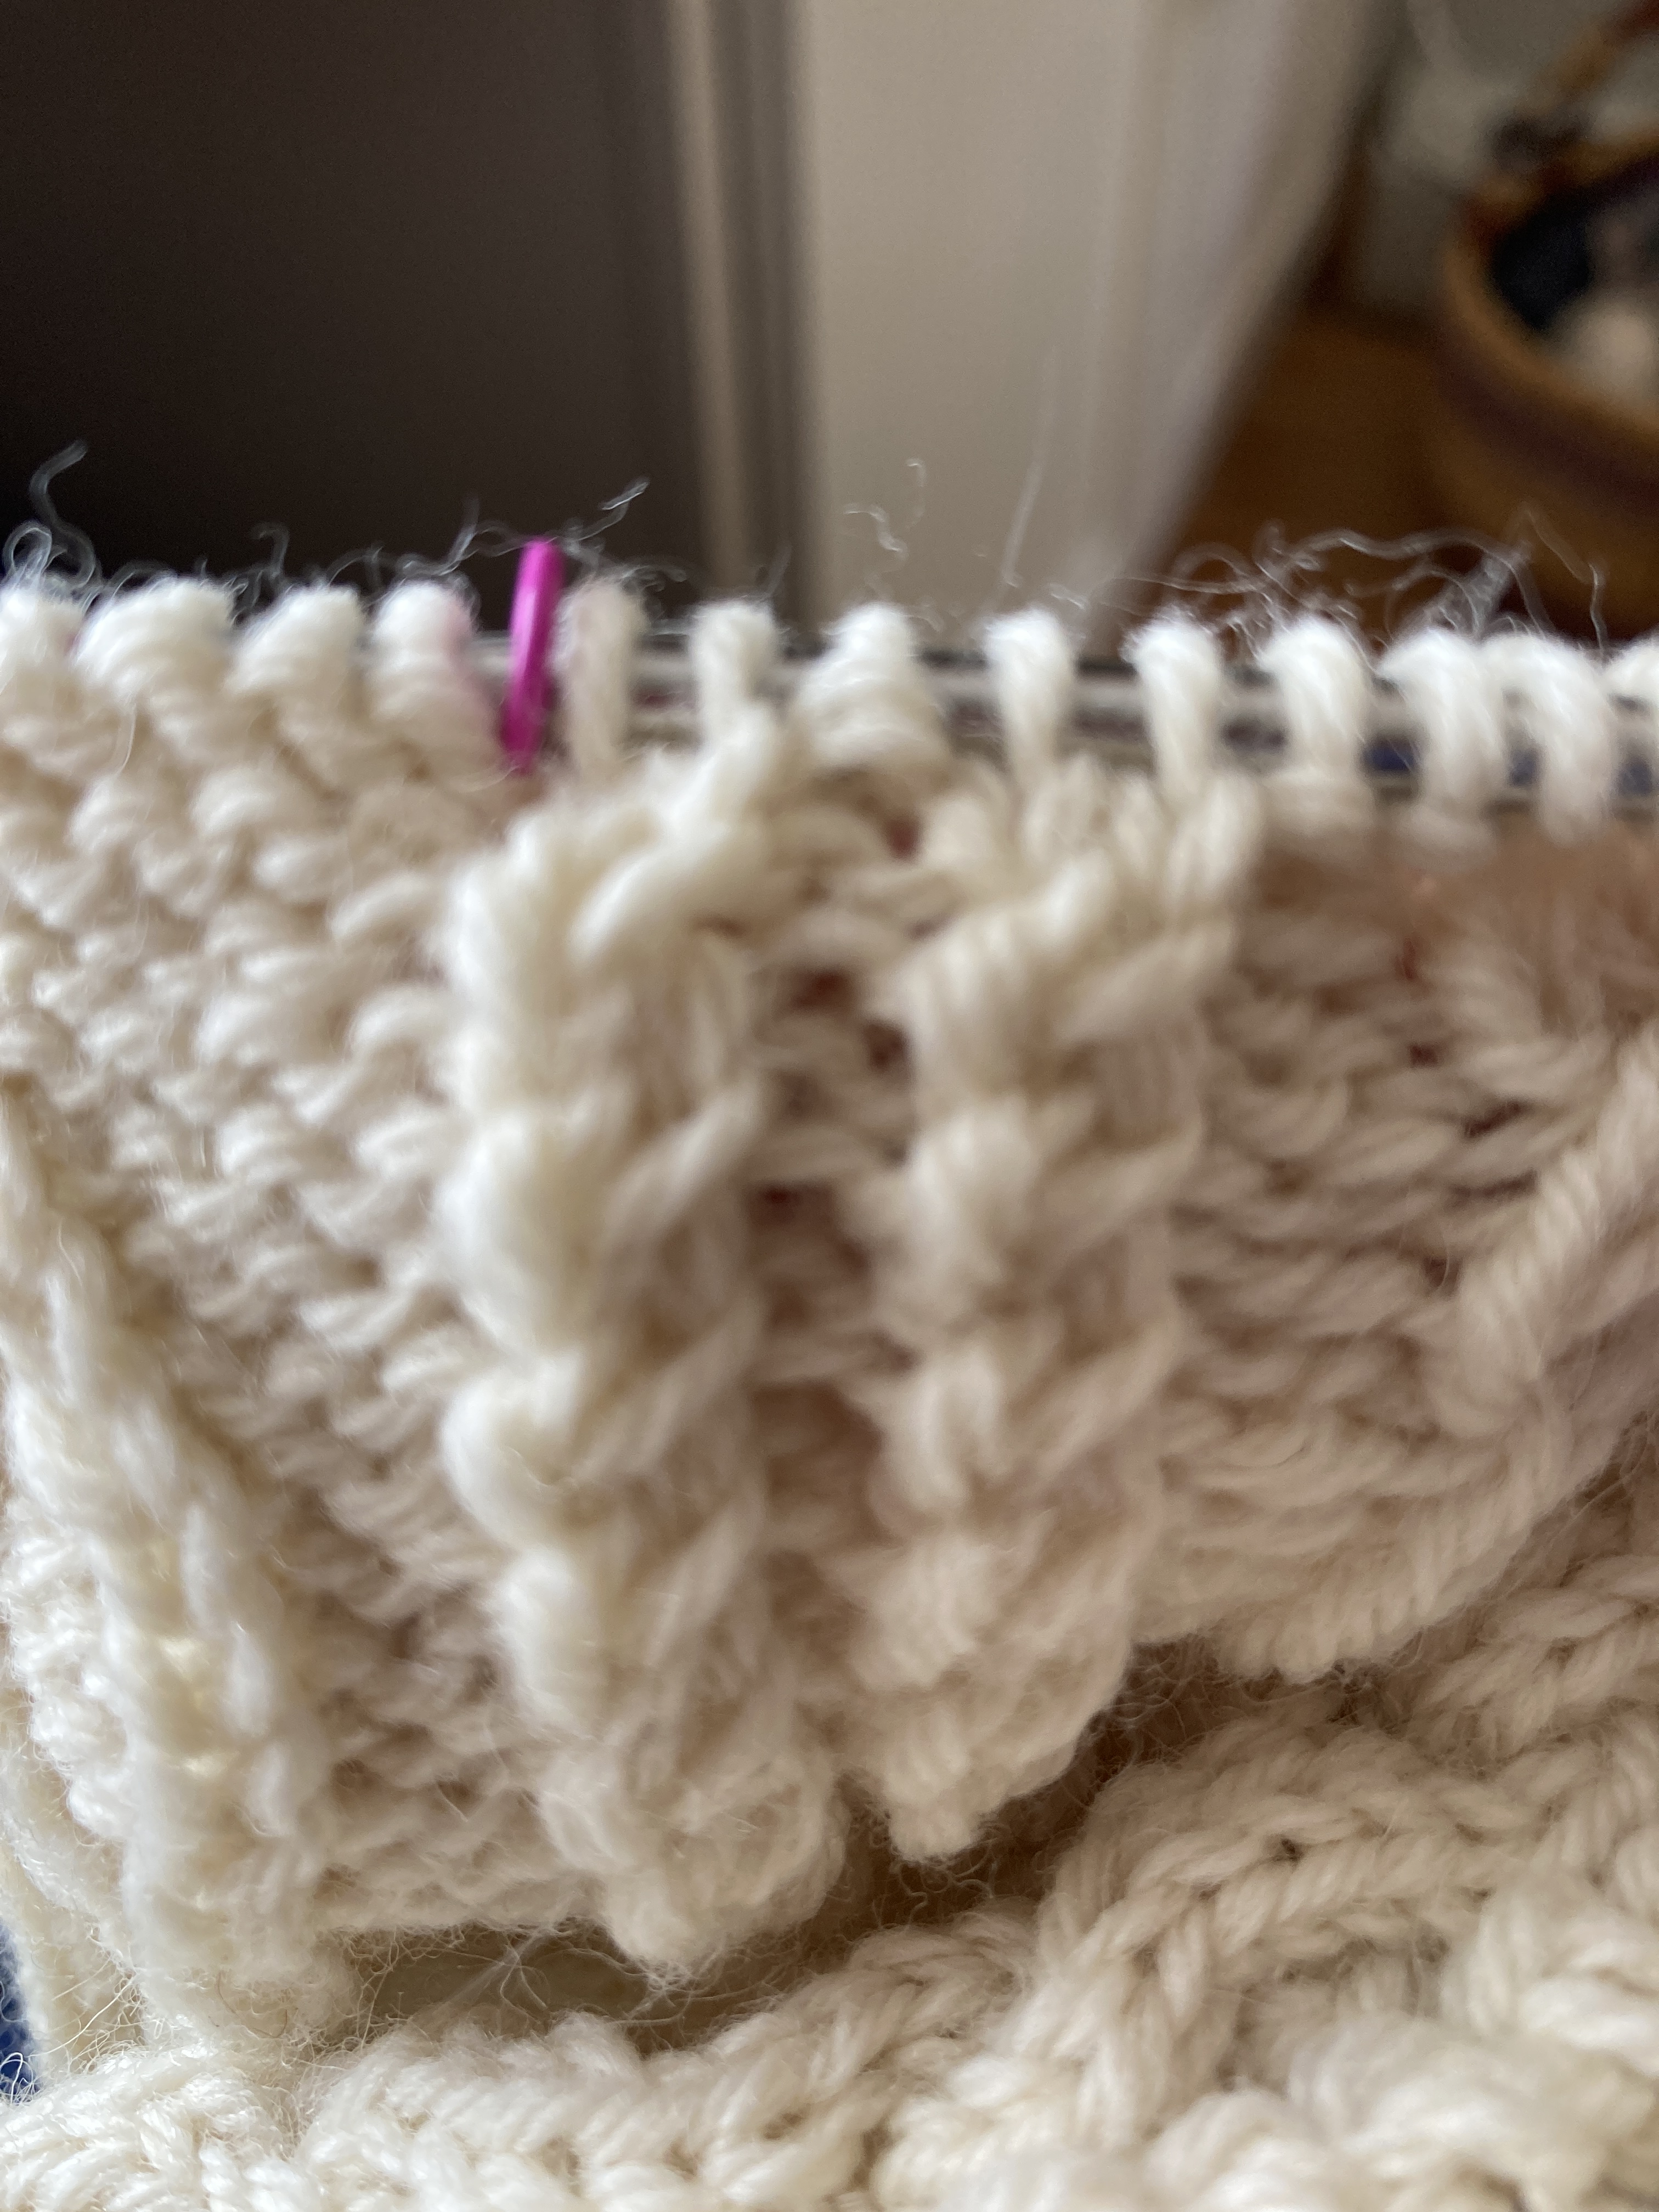
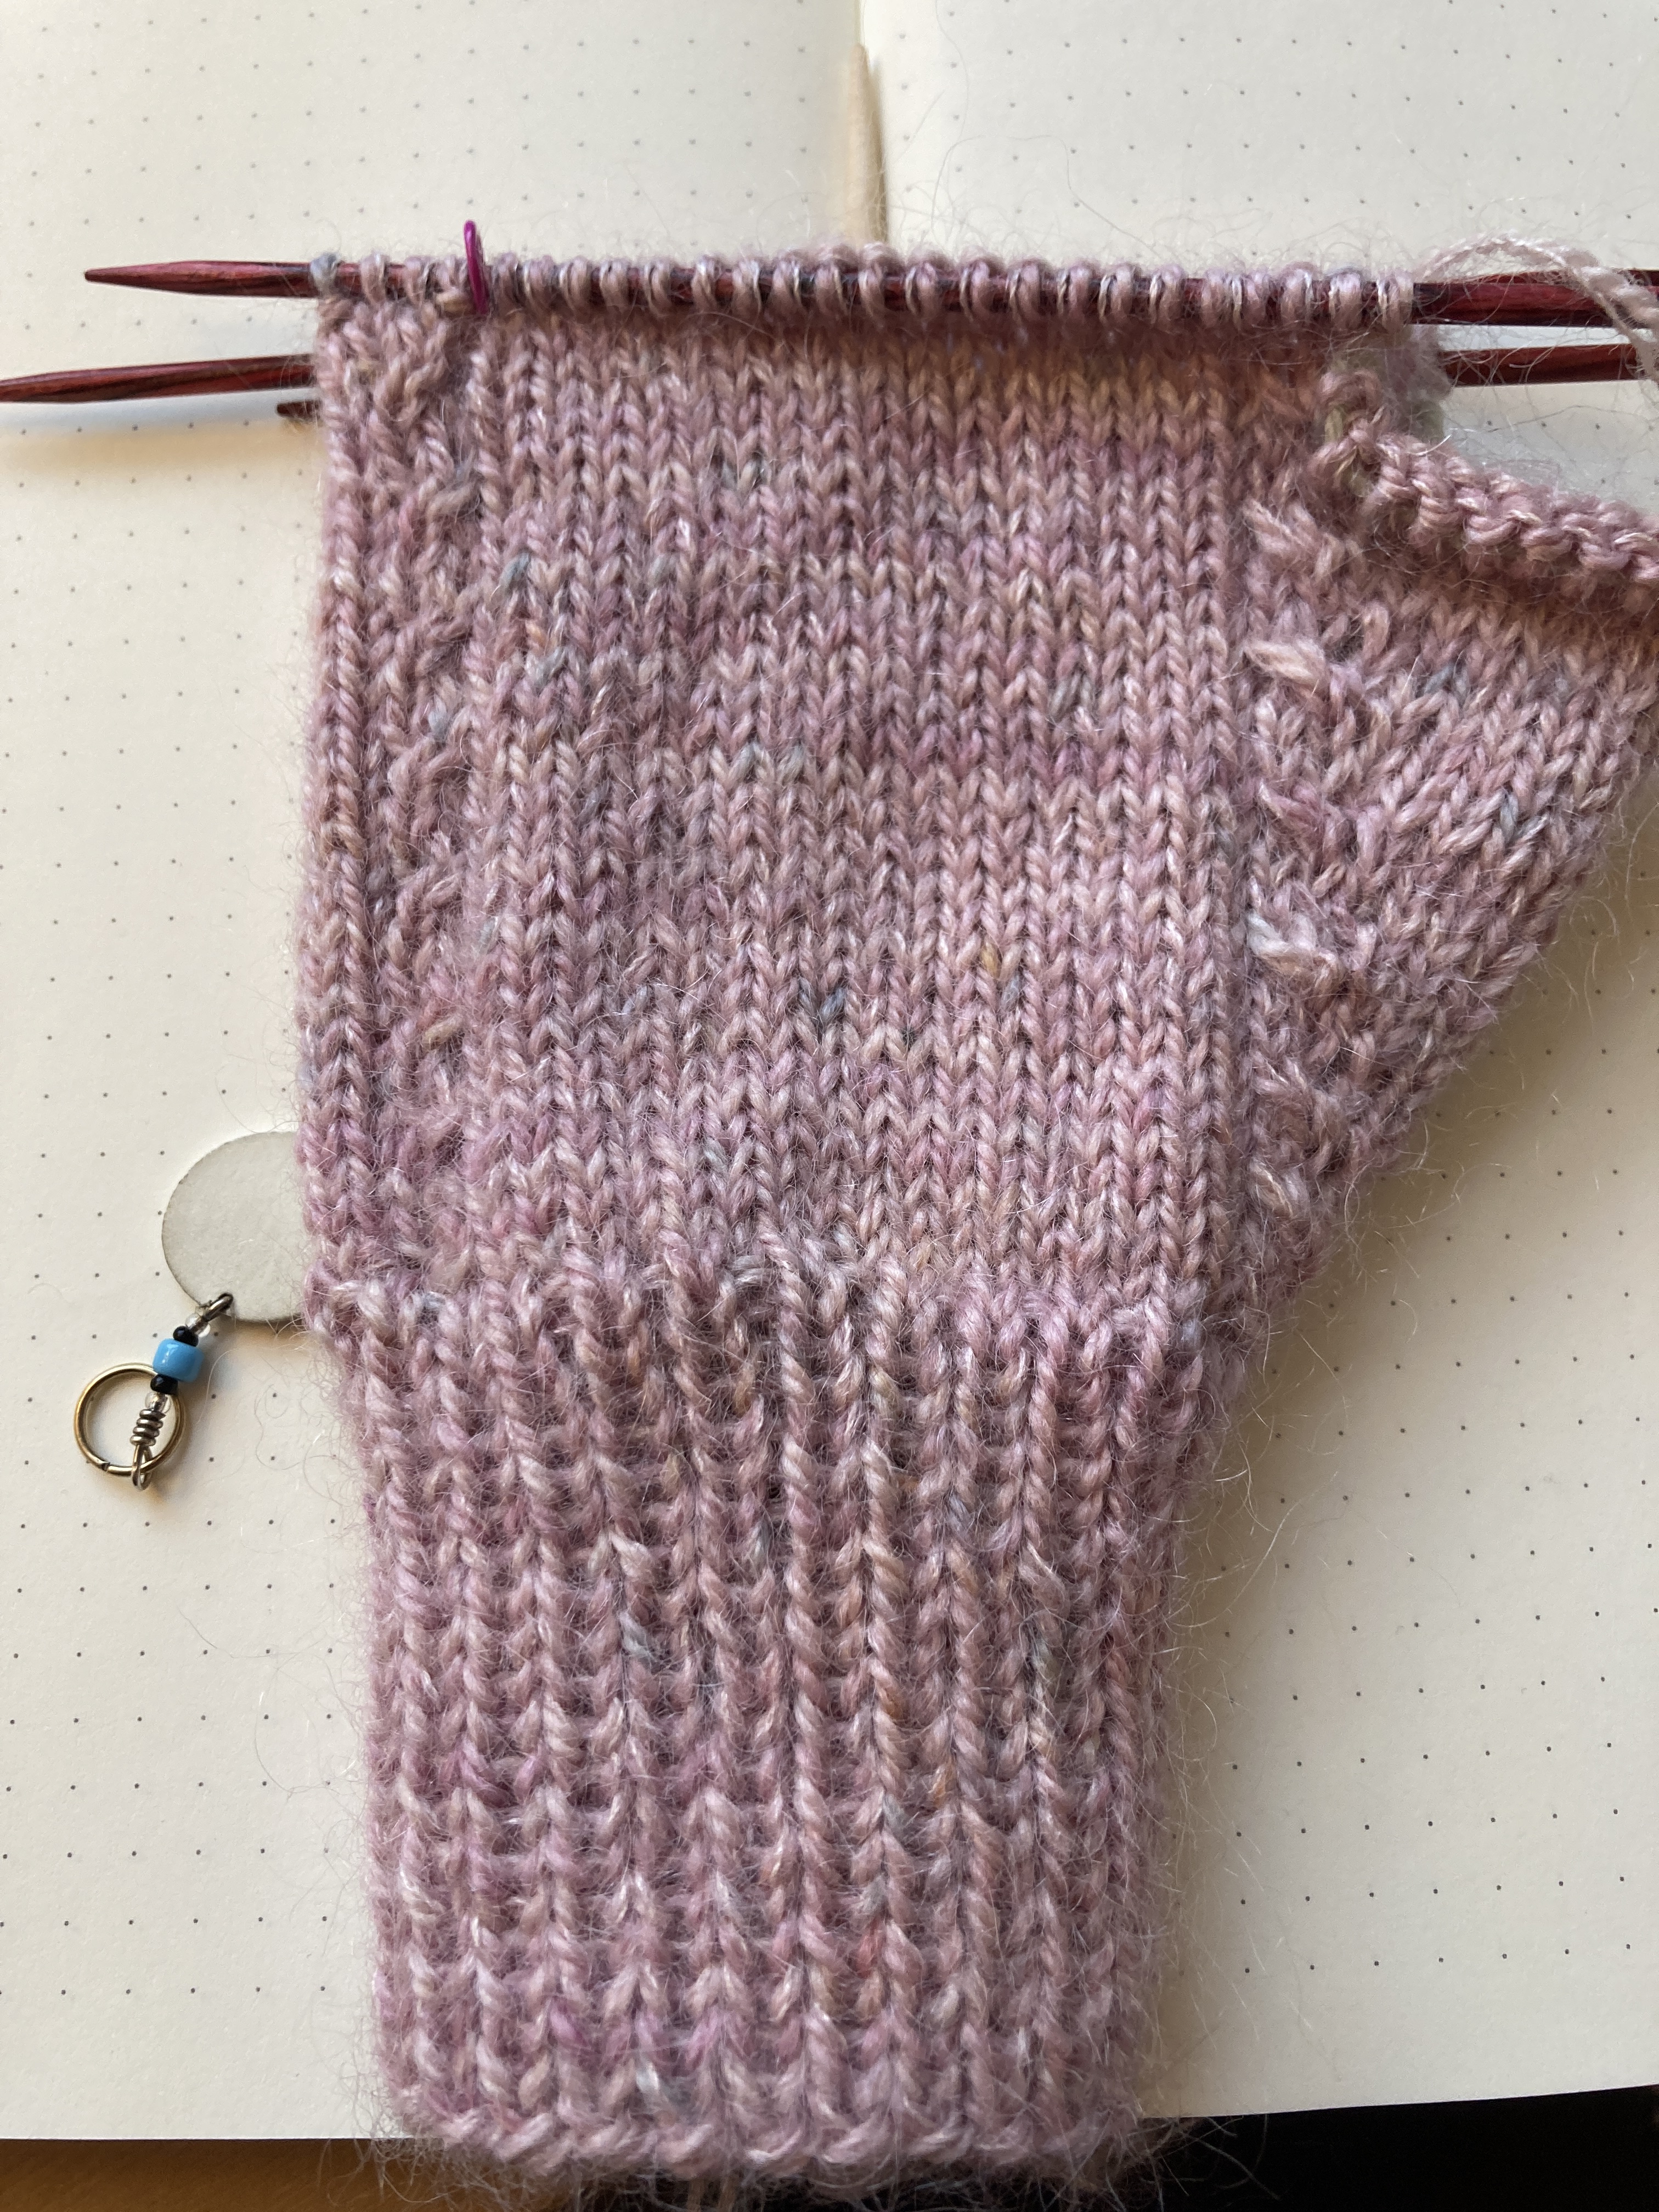
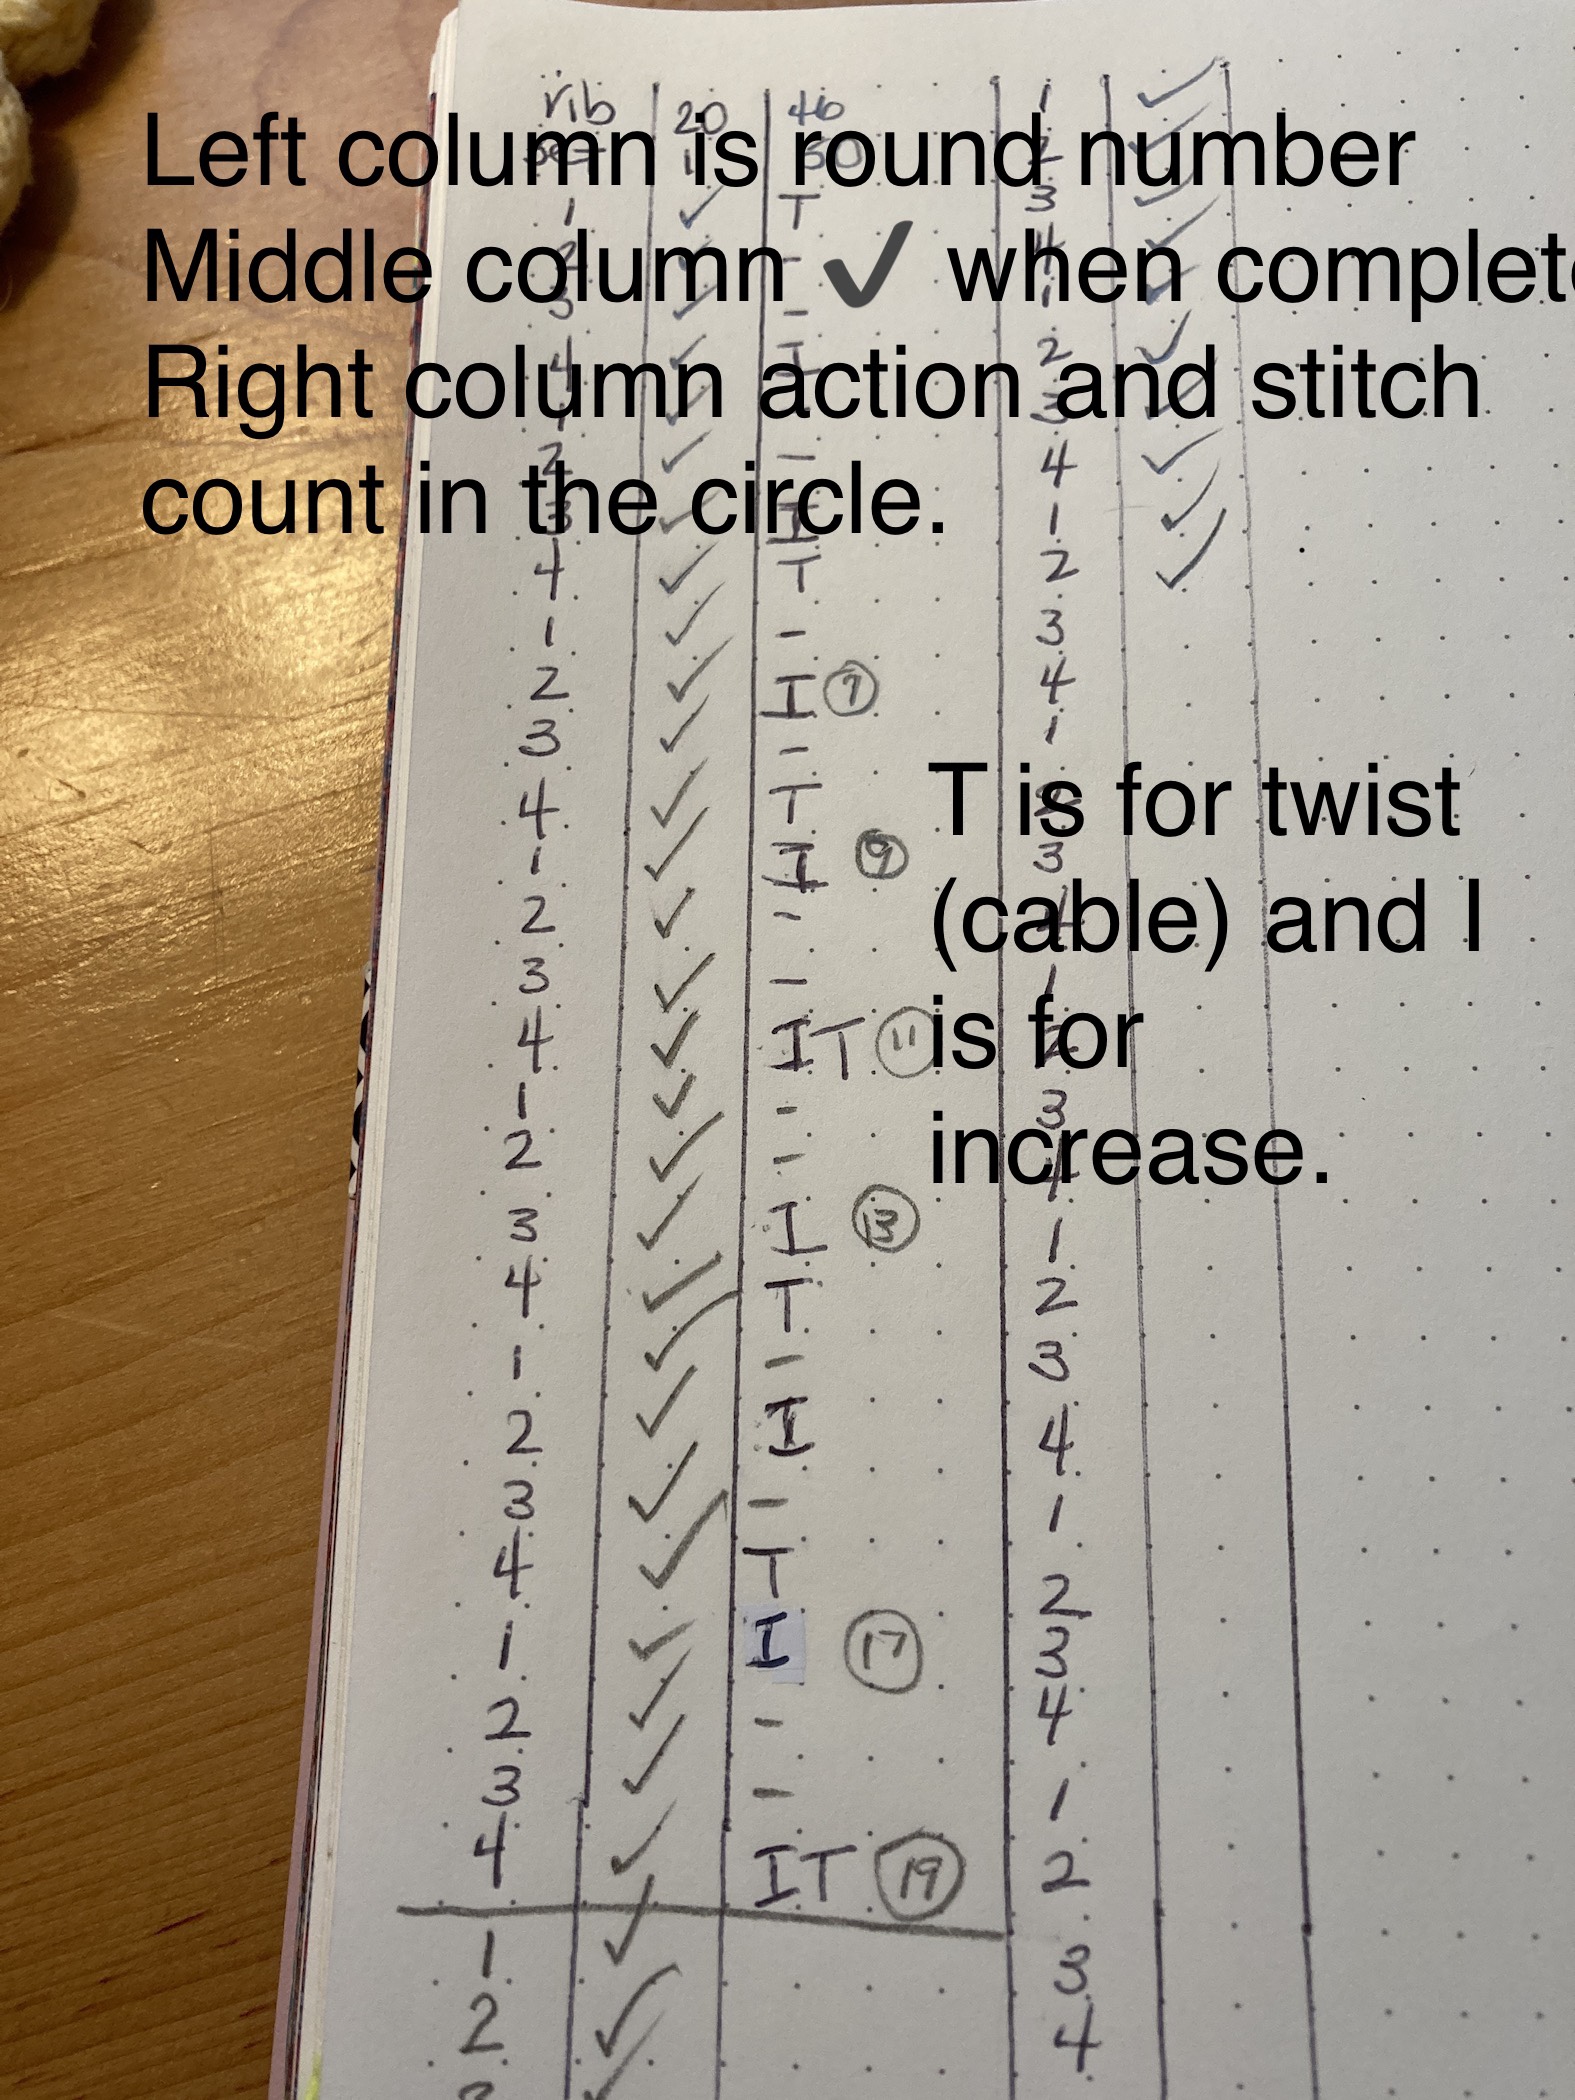
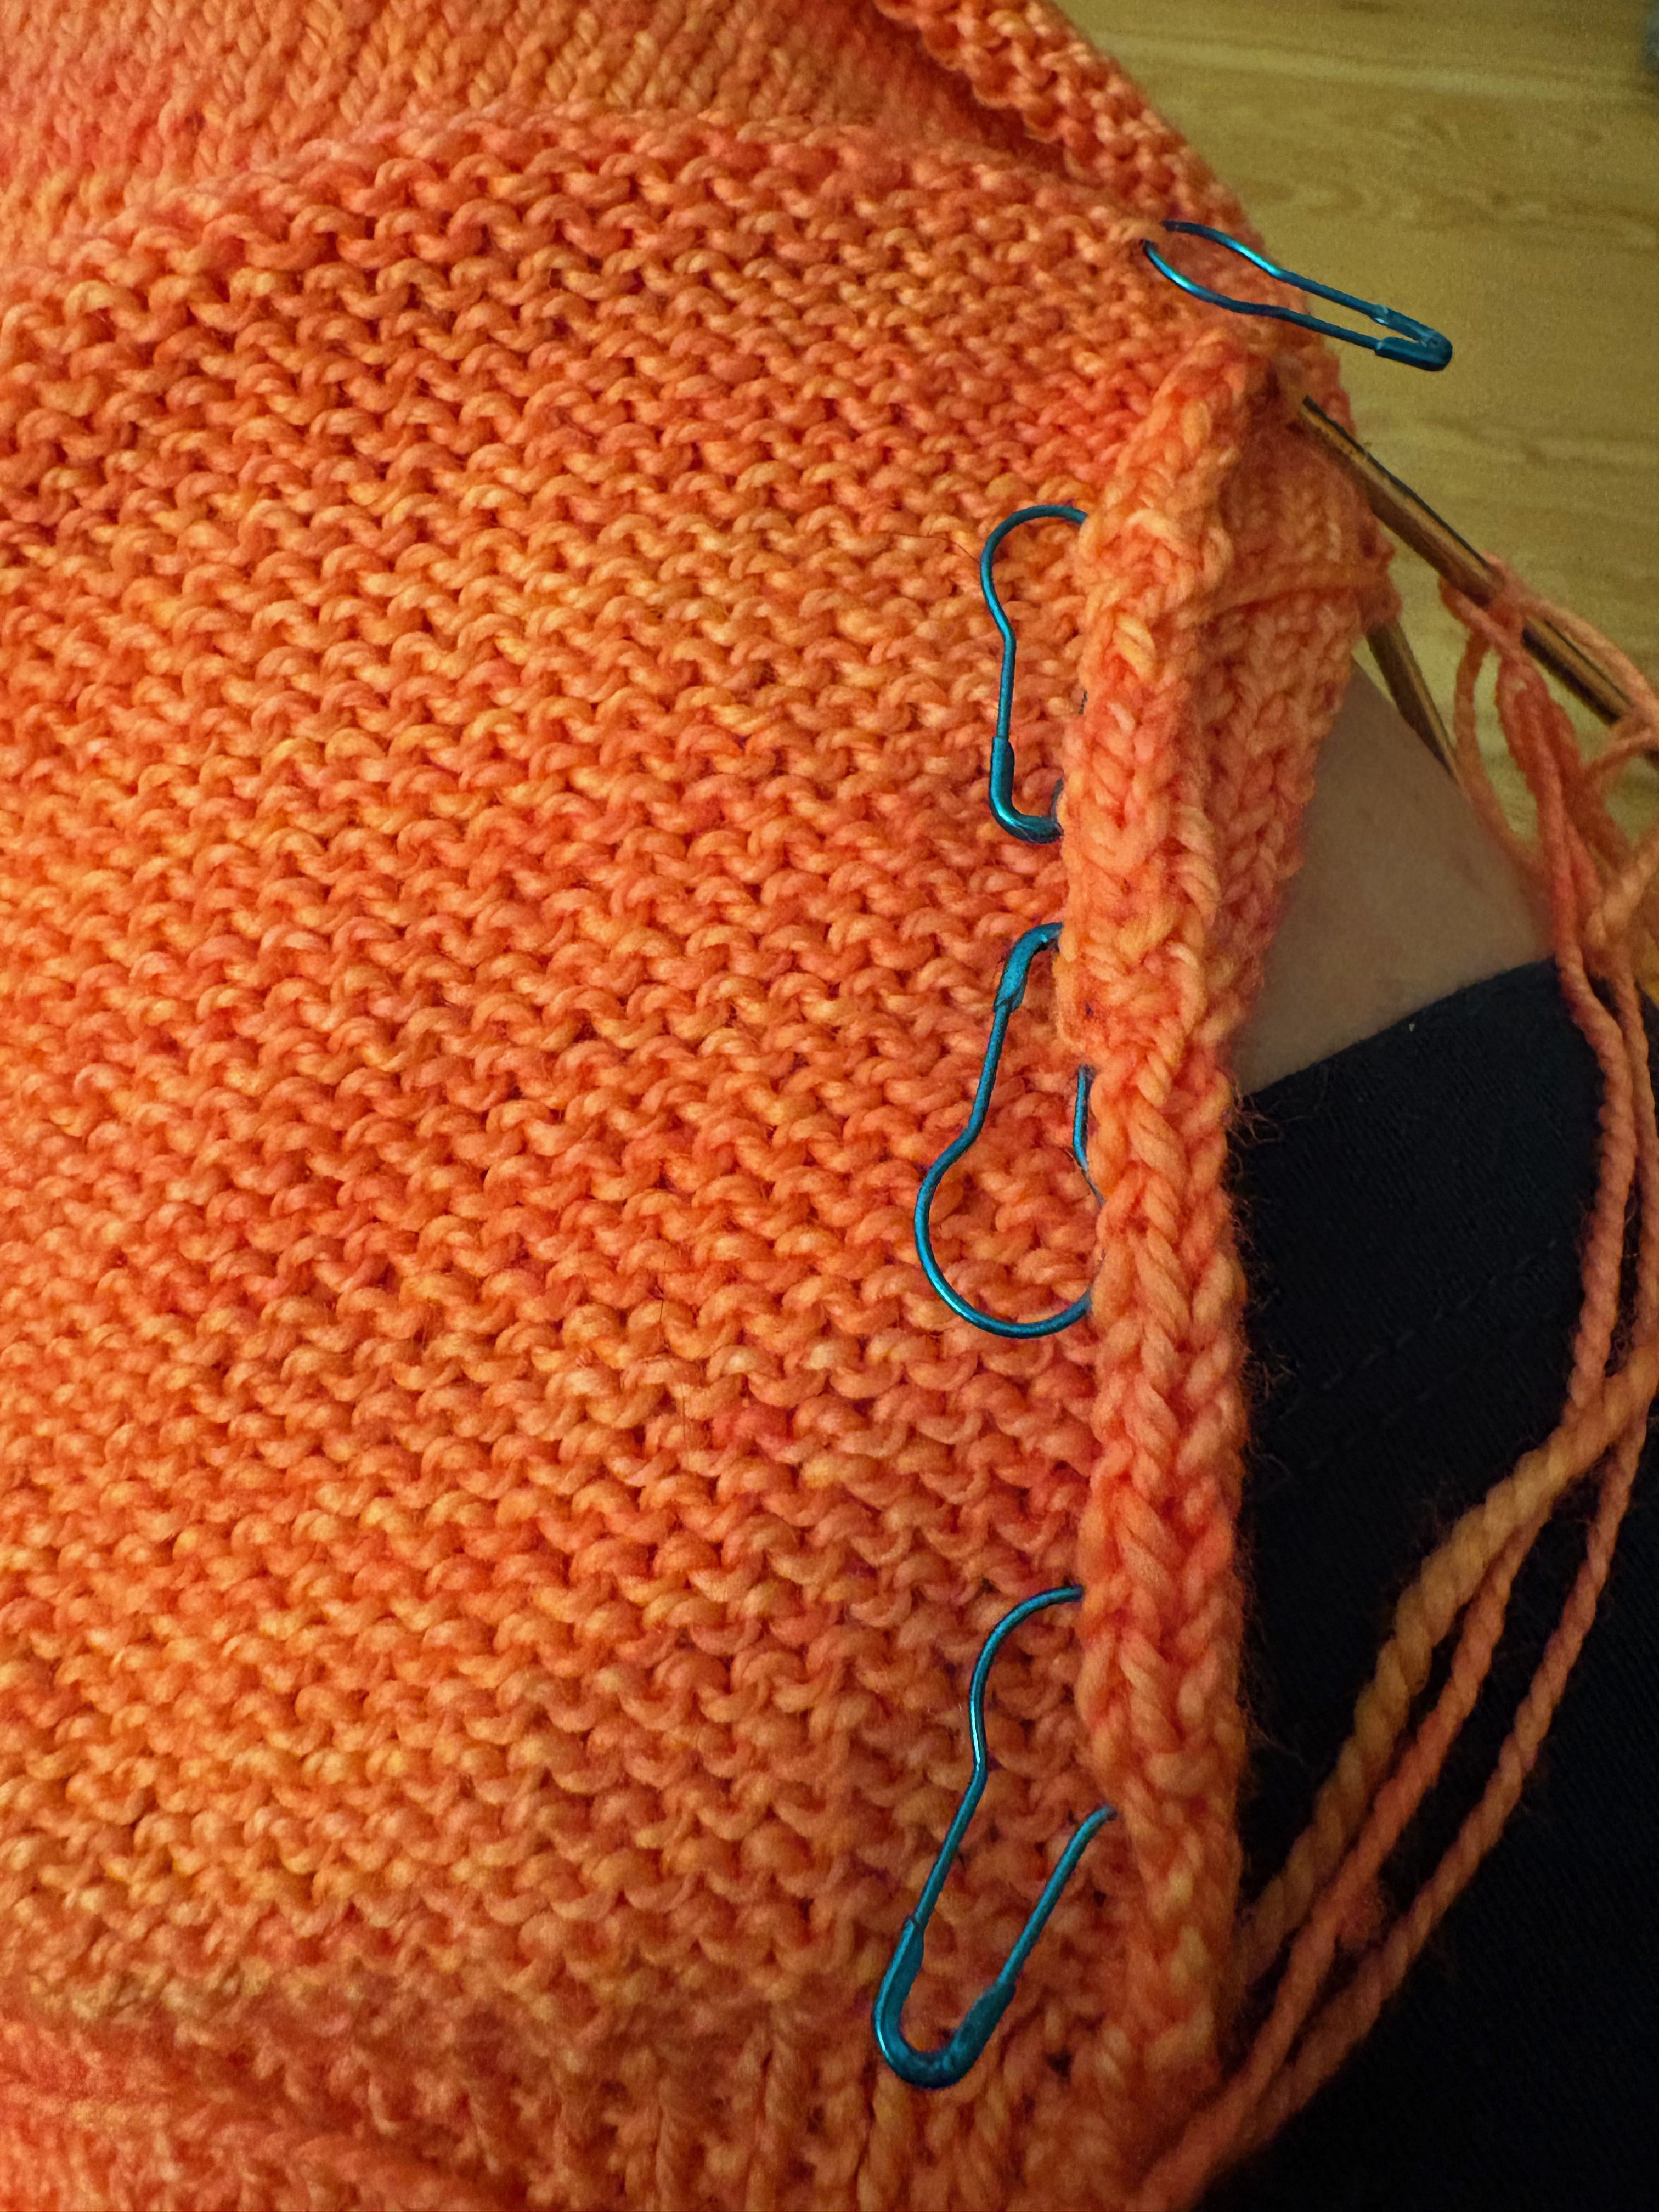
I wanted to leave you with a knitting teacher’s tip. I use locking stitch markers to mark my indreases and decreases. In this case, I’m increasing on the Sorento cardigan for my client. I mark the row that I increased in and then I can count the rows (purl bumps) until I reach the number of rows where I need to increase again. On my Vanilla sweater, I am decreasing one stitch on either side of the BOR. I mark the decrease round so I can count rounds more easily and keep track of the decreases, too. My size is asking for 9 decreases plus a couple more and I can easily count how many I have as I go.
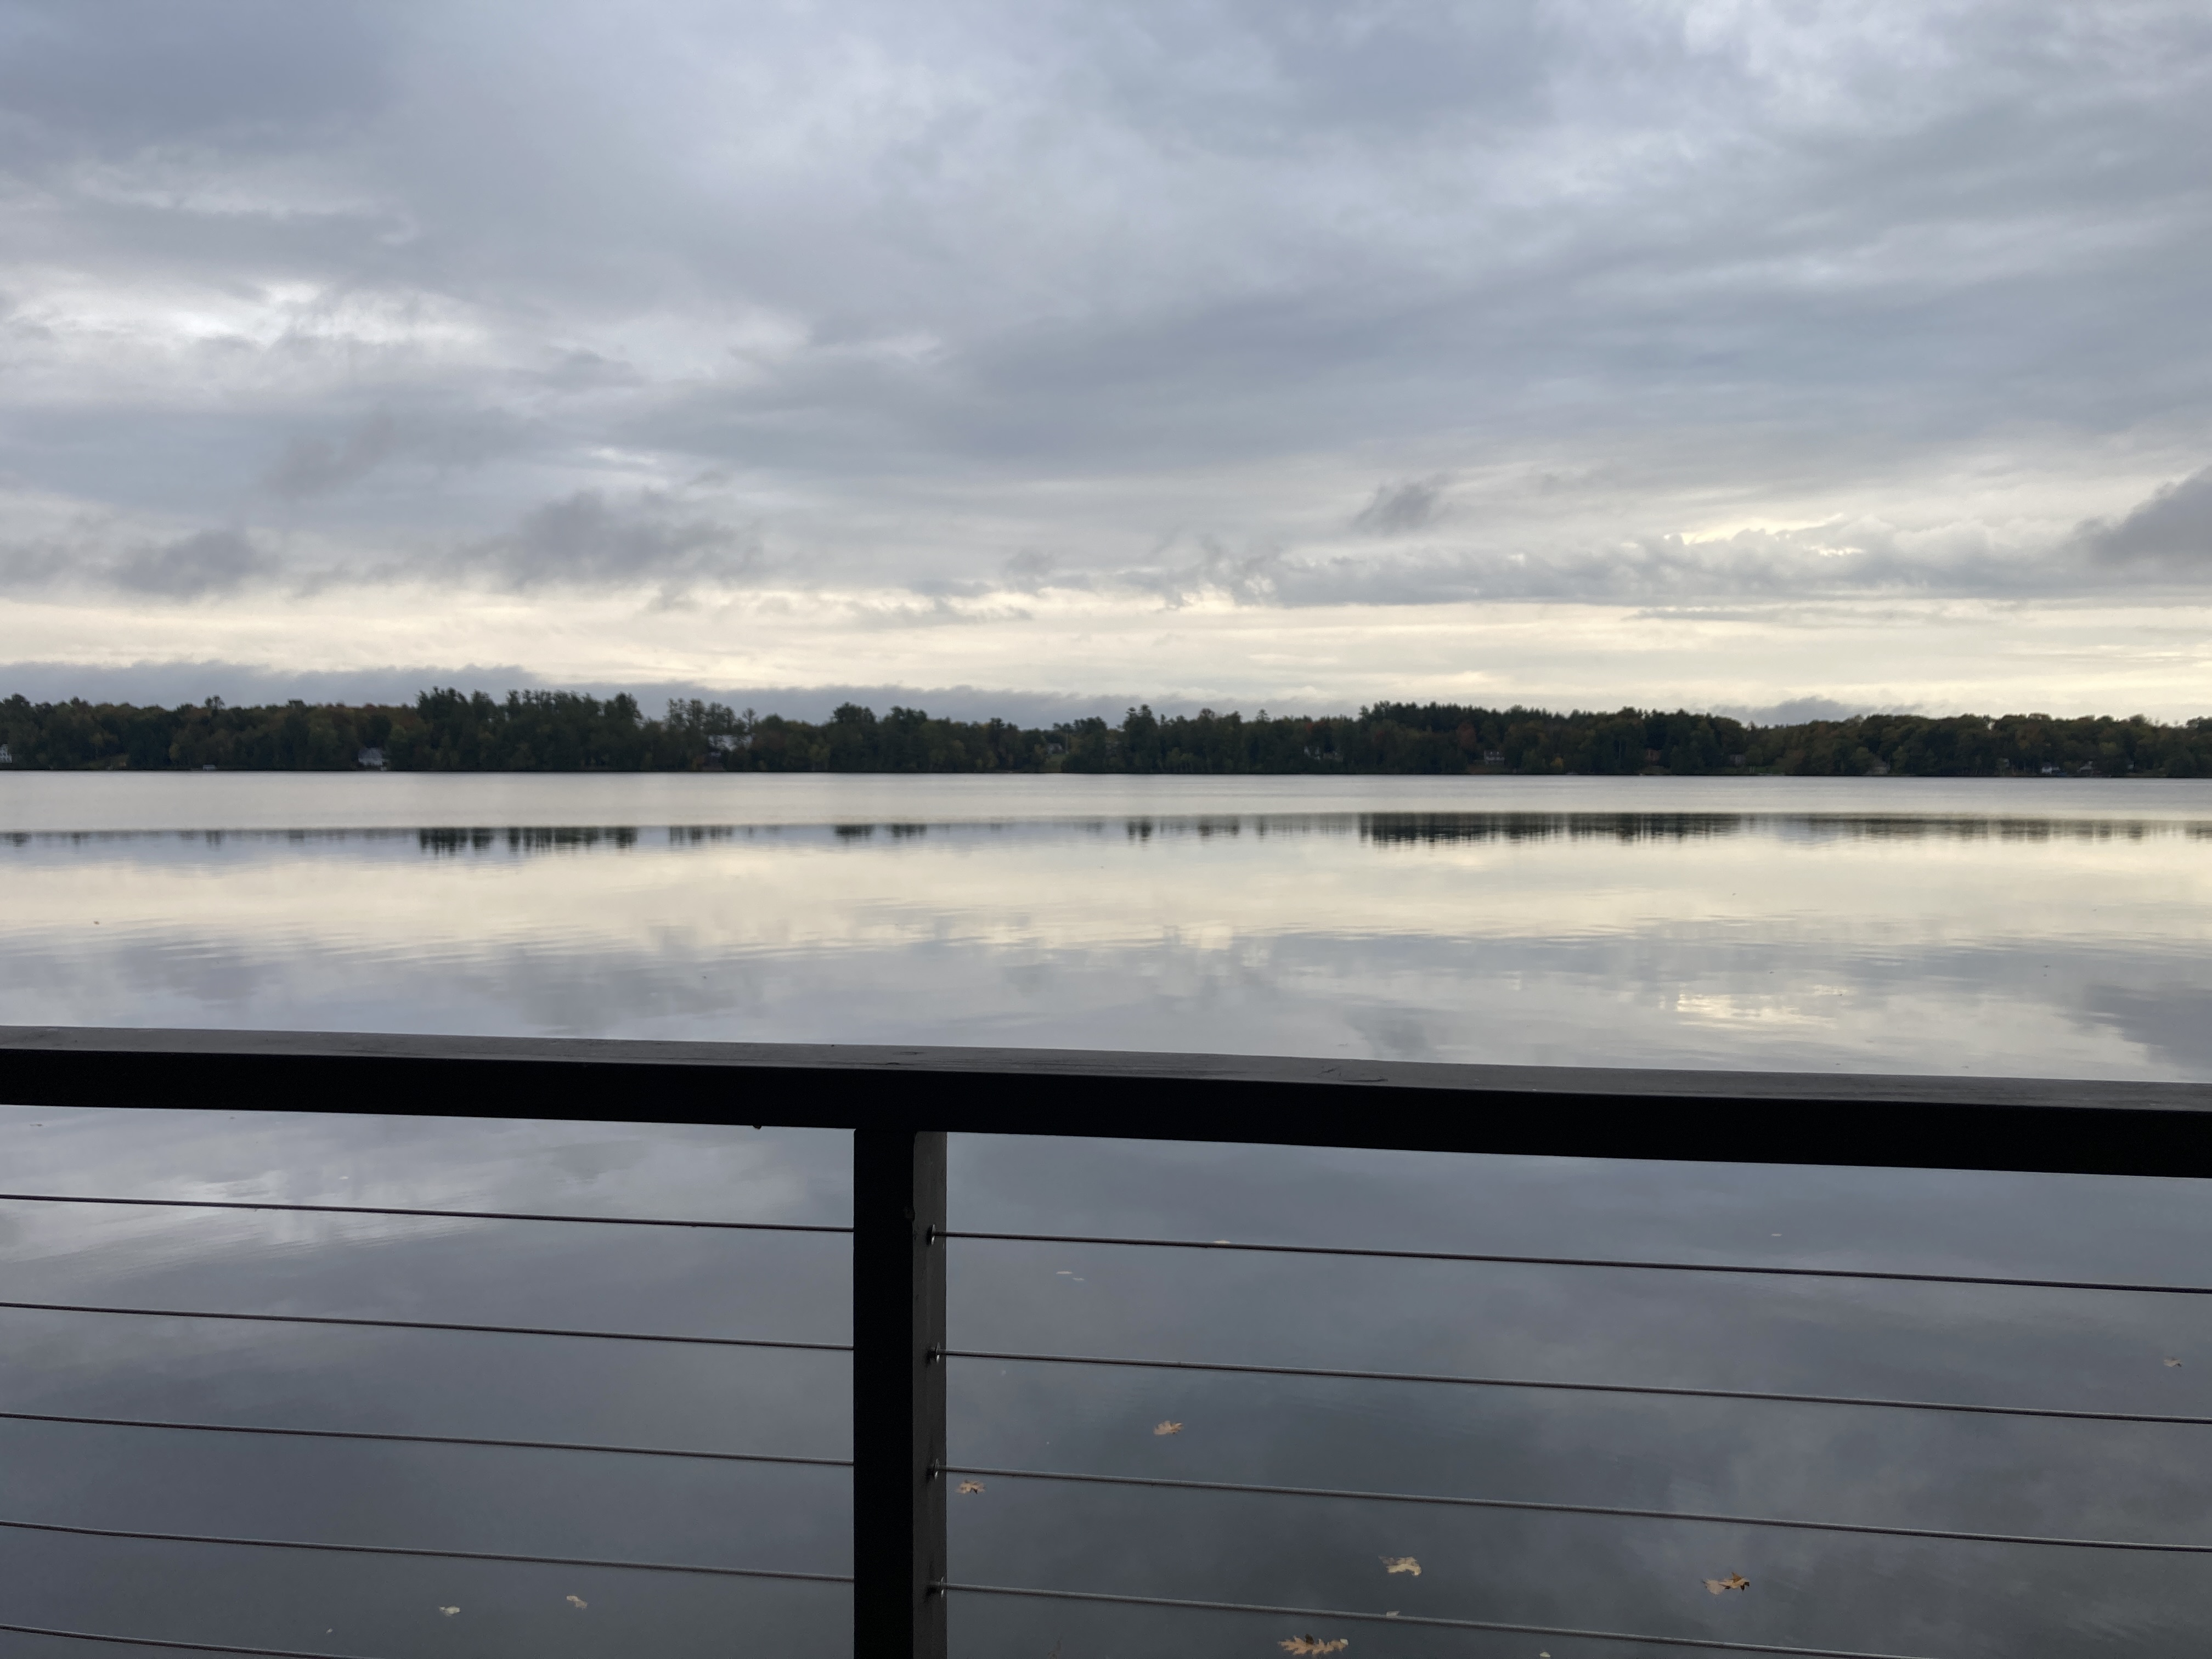
We are in a severe drought here in Central Maine. Our lakes are low and the lake associations are asking people who have boat lifts to check their boats. Our lake is the last in a chain of seven lakes and ponds so they all flow into our lake and our lake is dammed at one end. There isn’t enough water to flow out of the other lakes or into ours. It’s pretty dire and it doesn’t look like it’s going to change any time soon. We need rain! Know any rain dances?
Gone knitting!