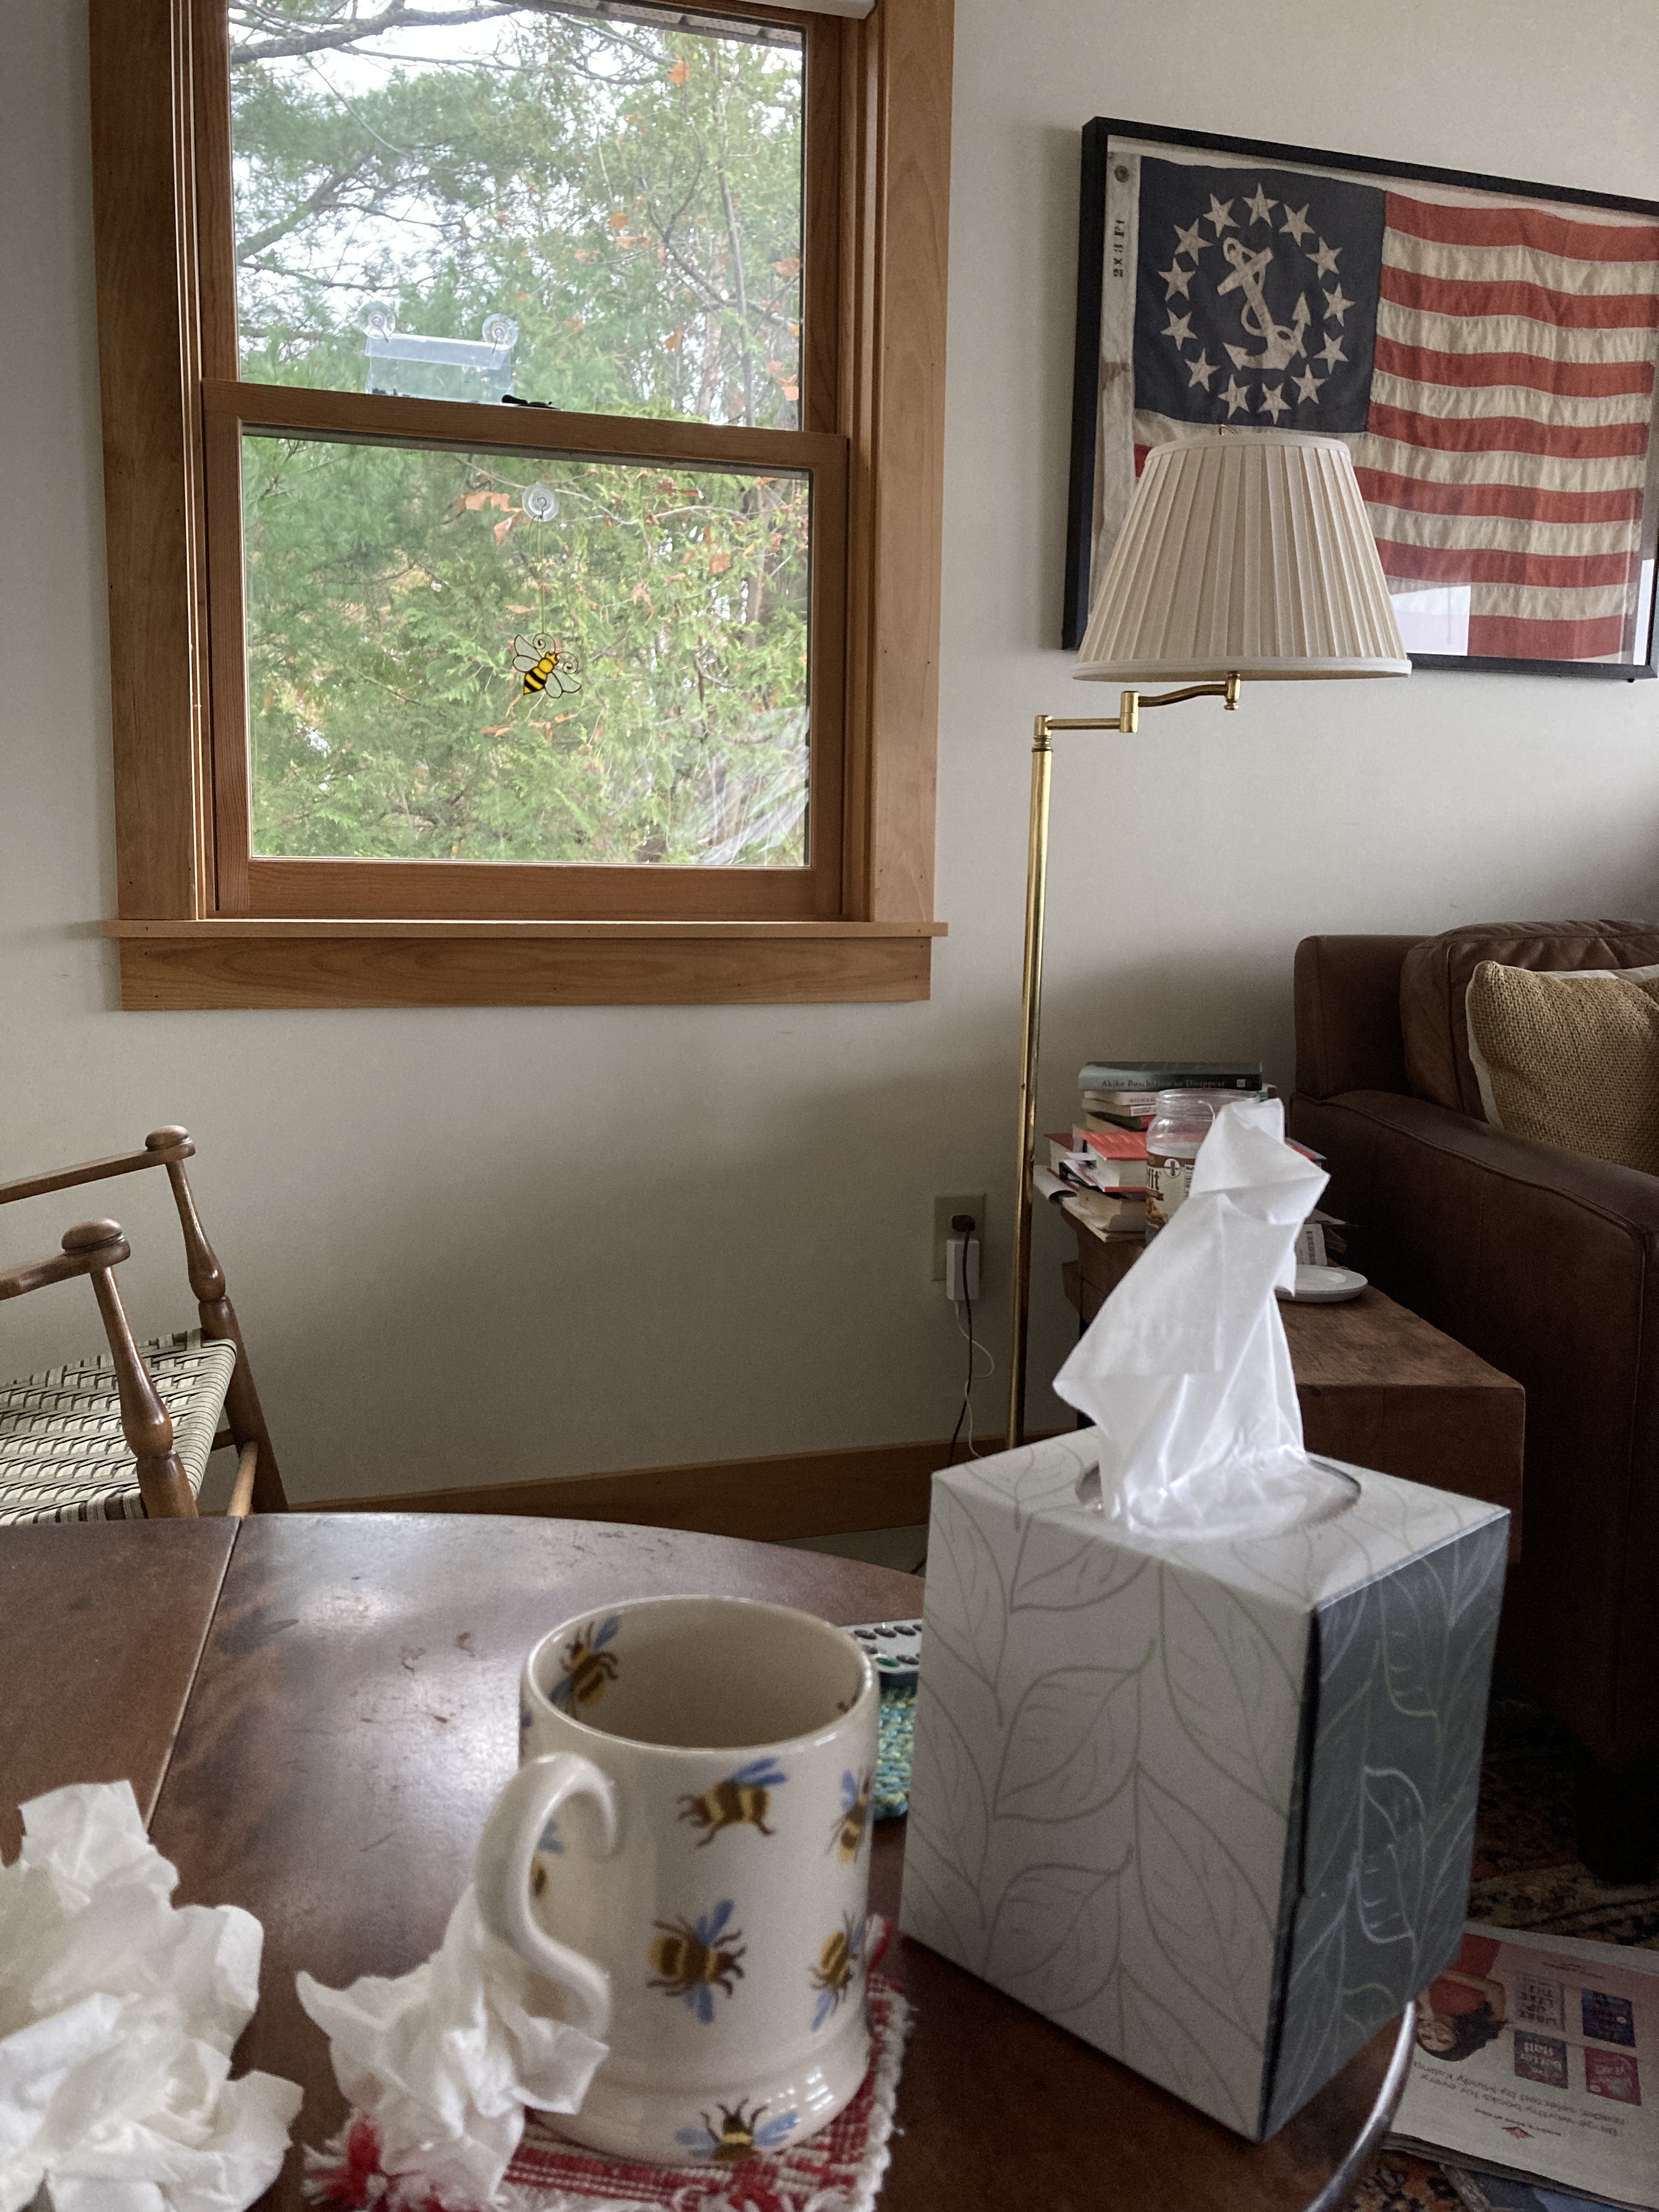
When I worked as a clinic assistant an elementary school in Florida being sick was, at least the first year, de rigueur. Not to say that I have ever been fashionable but those little ones carry a lot of germs and I got them all! So today, rather than collecting signatures to get lake funding on the local Belgrade ballot, I’m home in my studio drinking plenty of fluids and resting.
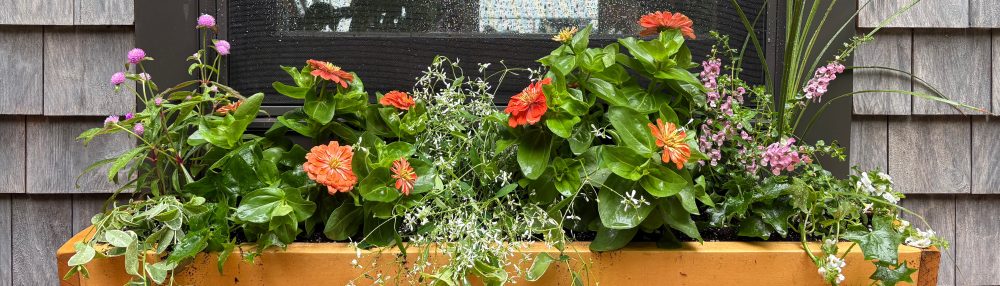
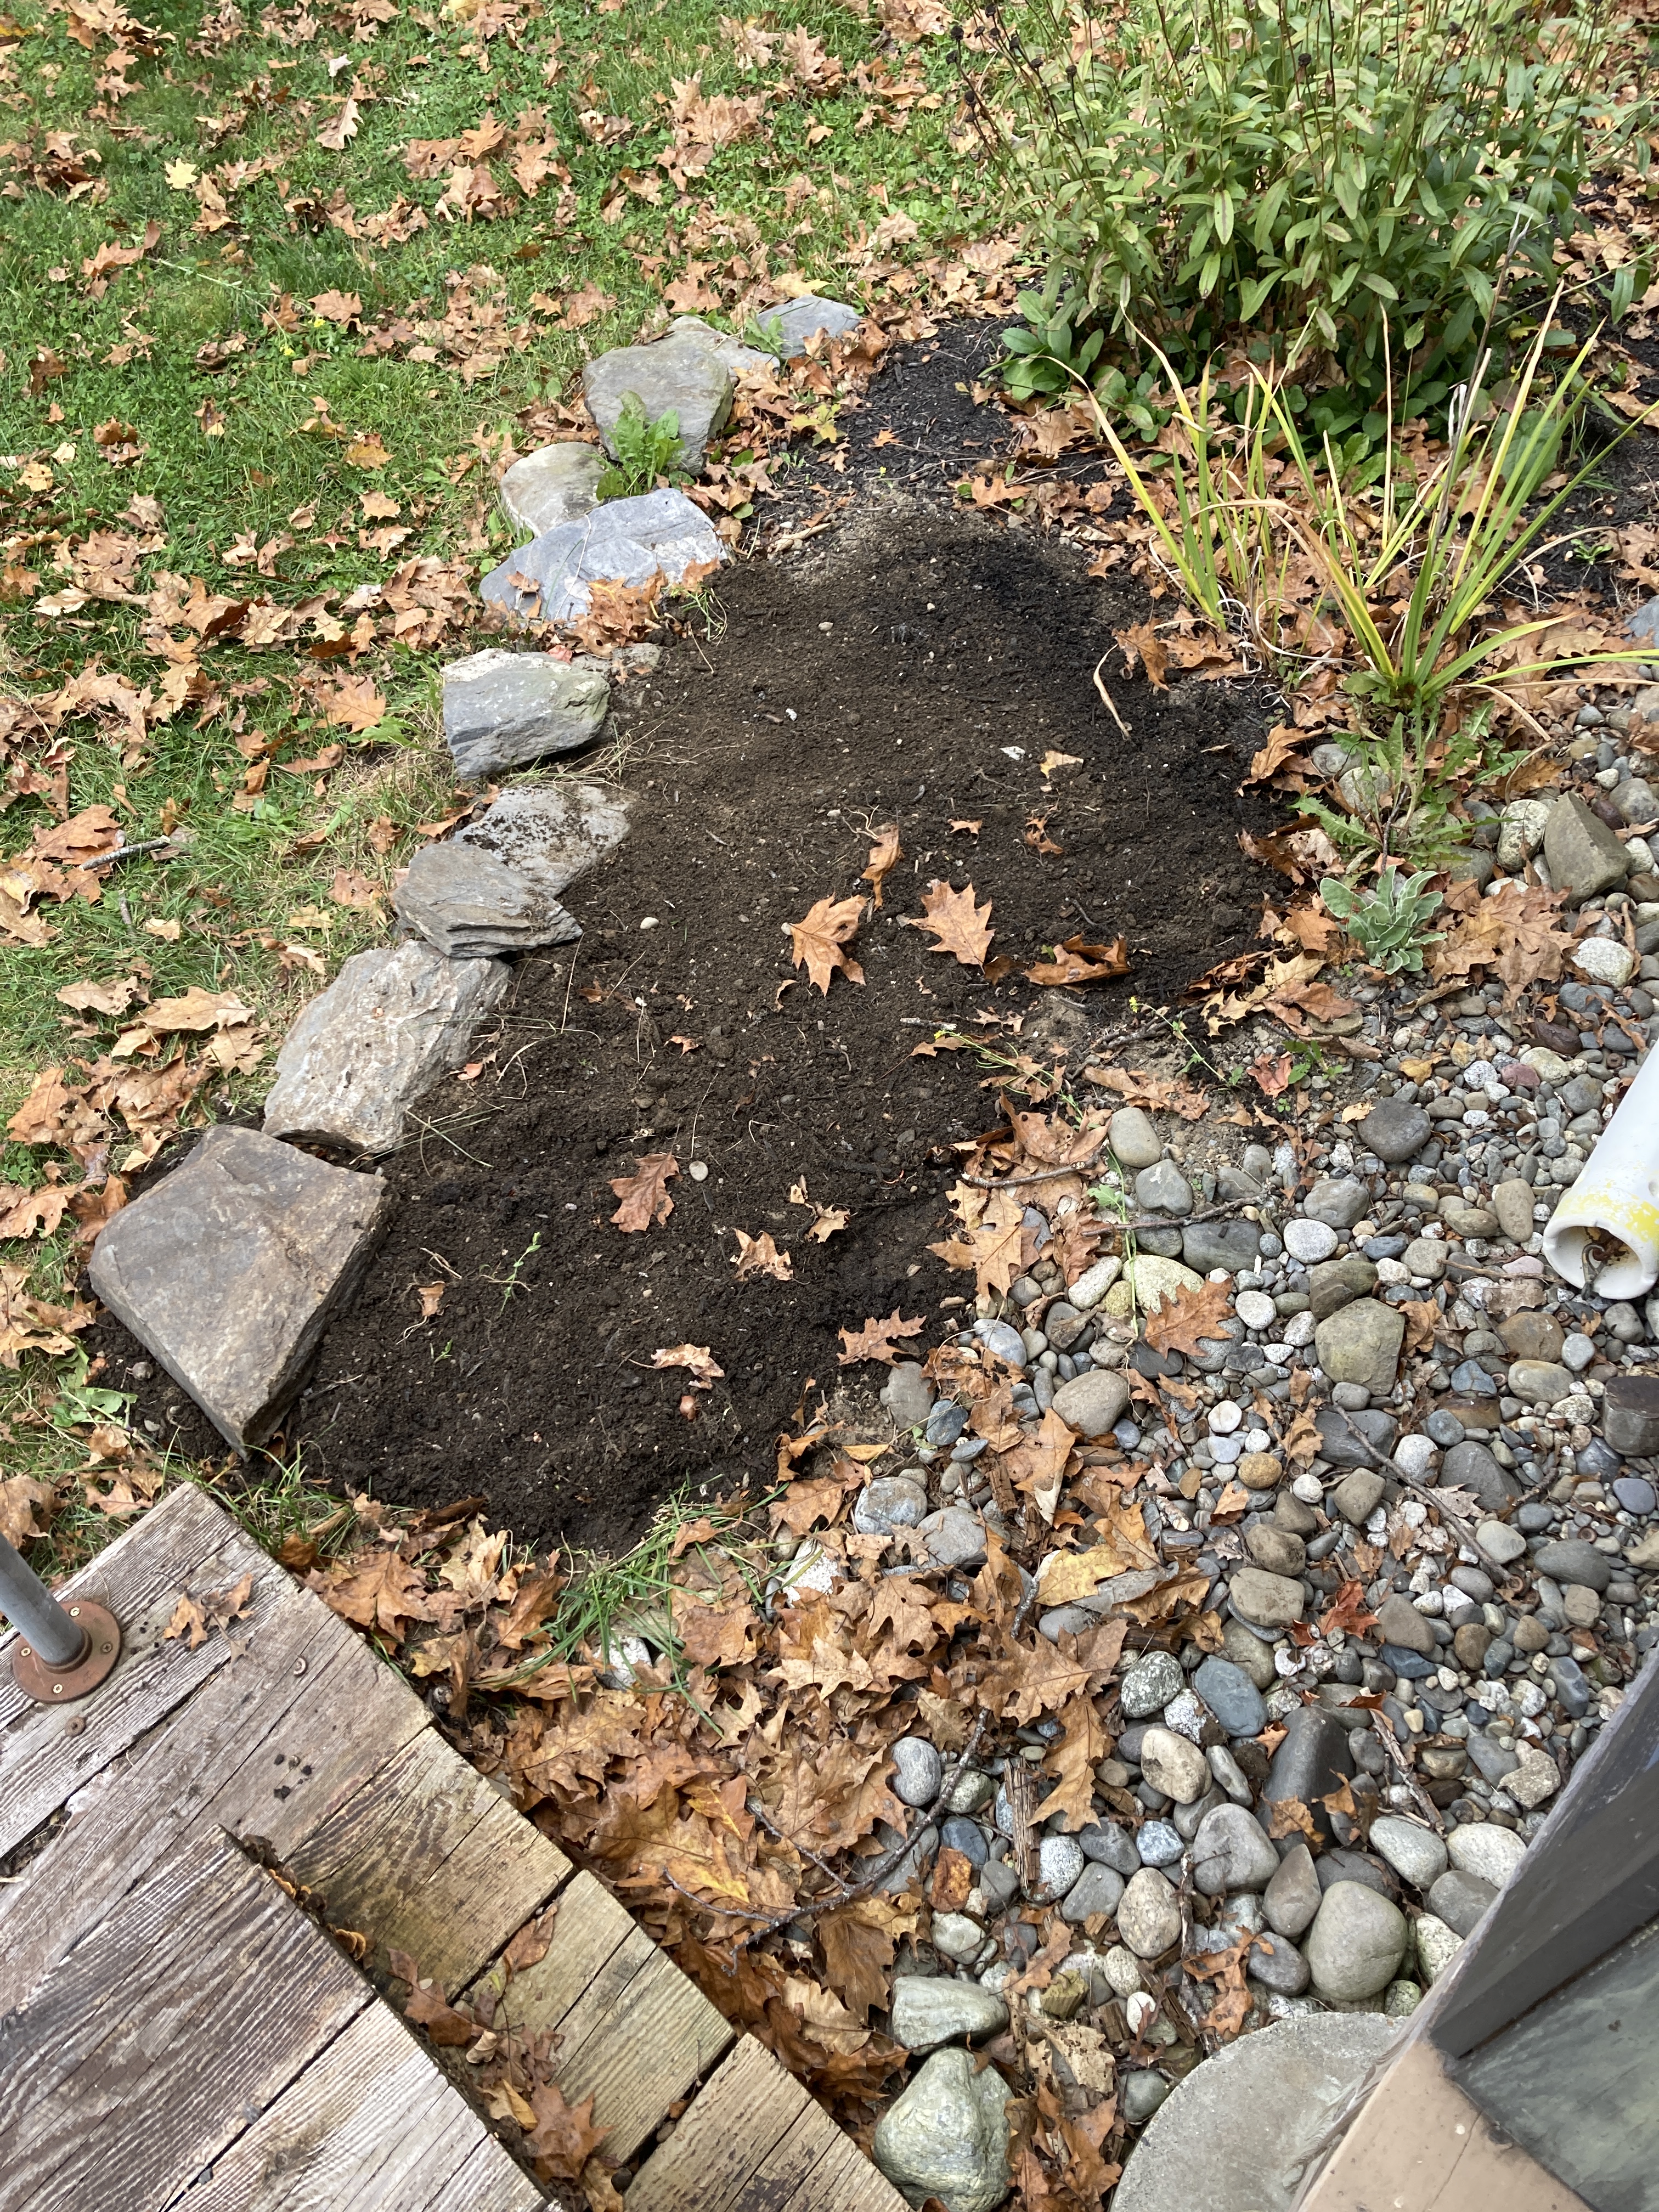
On Saturday we planted our garlic and tulips and daffodils. There was a spot in our perennial garden where we lost a hydrangea bush this year after doing everything we could think to do. When we (the royal we; my dear husband) dug the hole to put in the new bush to replace it, we found a rock. Not just a little rock, a rock big enough that we stopped digging and put the new bush in another location. It’s all good, we wanted to build out our buffer to protect the lake anyway. The semi-dug hole sat just as we’d left it for a month or so until Saturday. It’ll be really pretty in the spring!
On Sunday I read the rest of my book. I was up super early because of the time change and brought my book out of the bedroom when I sneaked away. This is a highly unusual activity for me at any time other than bedtime so I knew something was coming on … I read into the early afternoon and then I started knitting. (The book is The Yankee Widow by Linda Lael Miller. I liked it!)
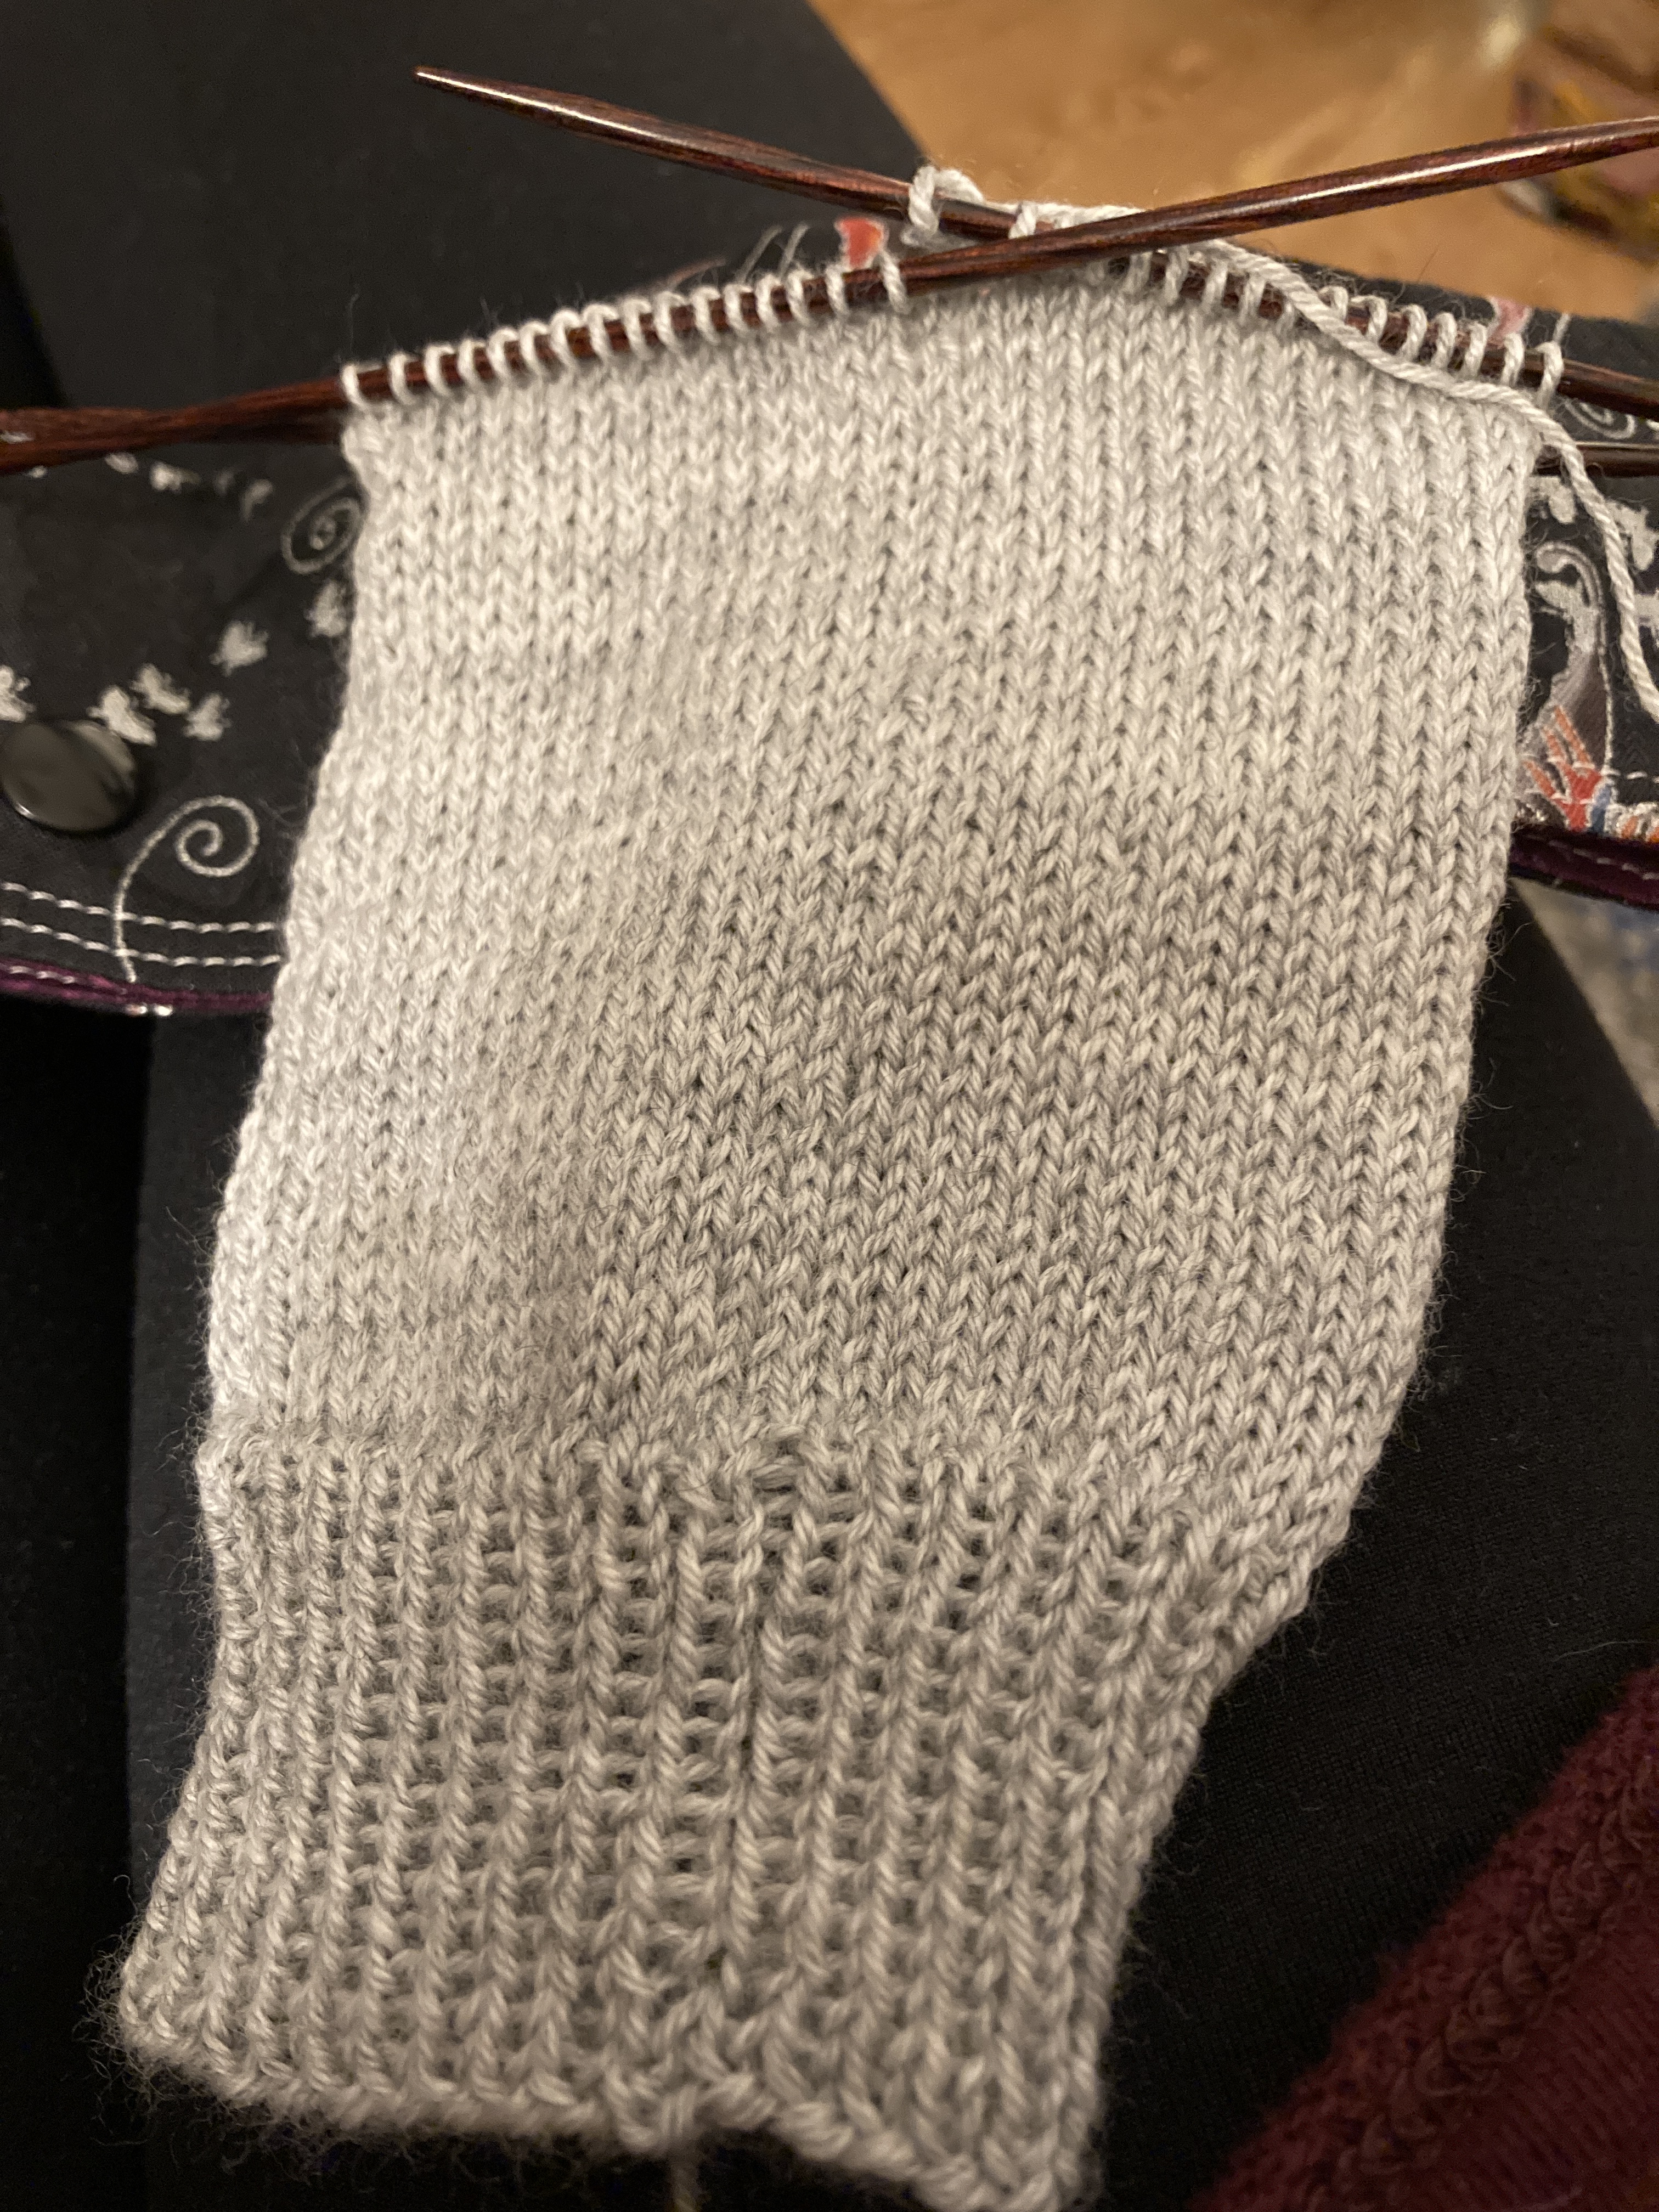
I’ve got two, make that three, projects actively on my needles. I’m working on a pair of vanilla socks using the Yankee Knitter sock pattern #29 in a light gray. I’ve had some Socks Yeah! by Coop Knits yarn all wound into cakes when I frogged another pair of socks that I didn’t like working on ages ago. When I went to NC, this was my back-up project to the pink mittens because you always have to have a back-up project. Just. In. Case. And I am grateful that I did because I got the pair of socks I was working on finished and didn’t like the yarn I had planned for the mittens which left me starting the gray socks – at least until I found a LYS in Pinehurst!
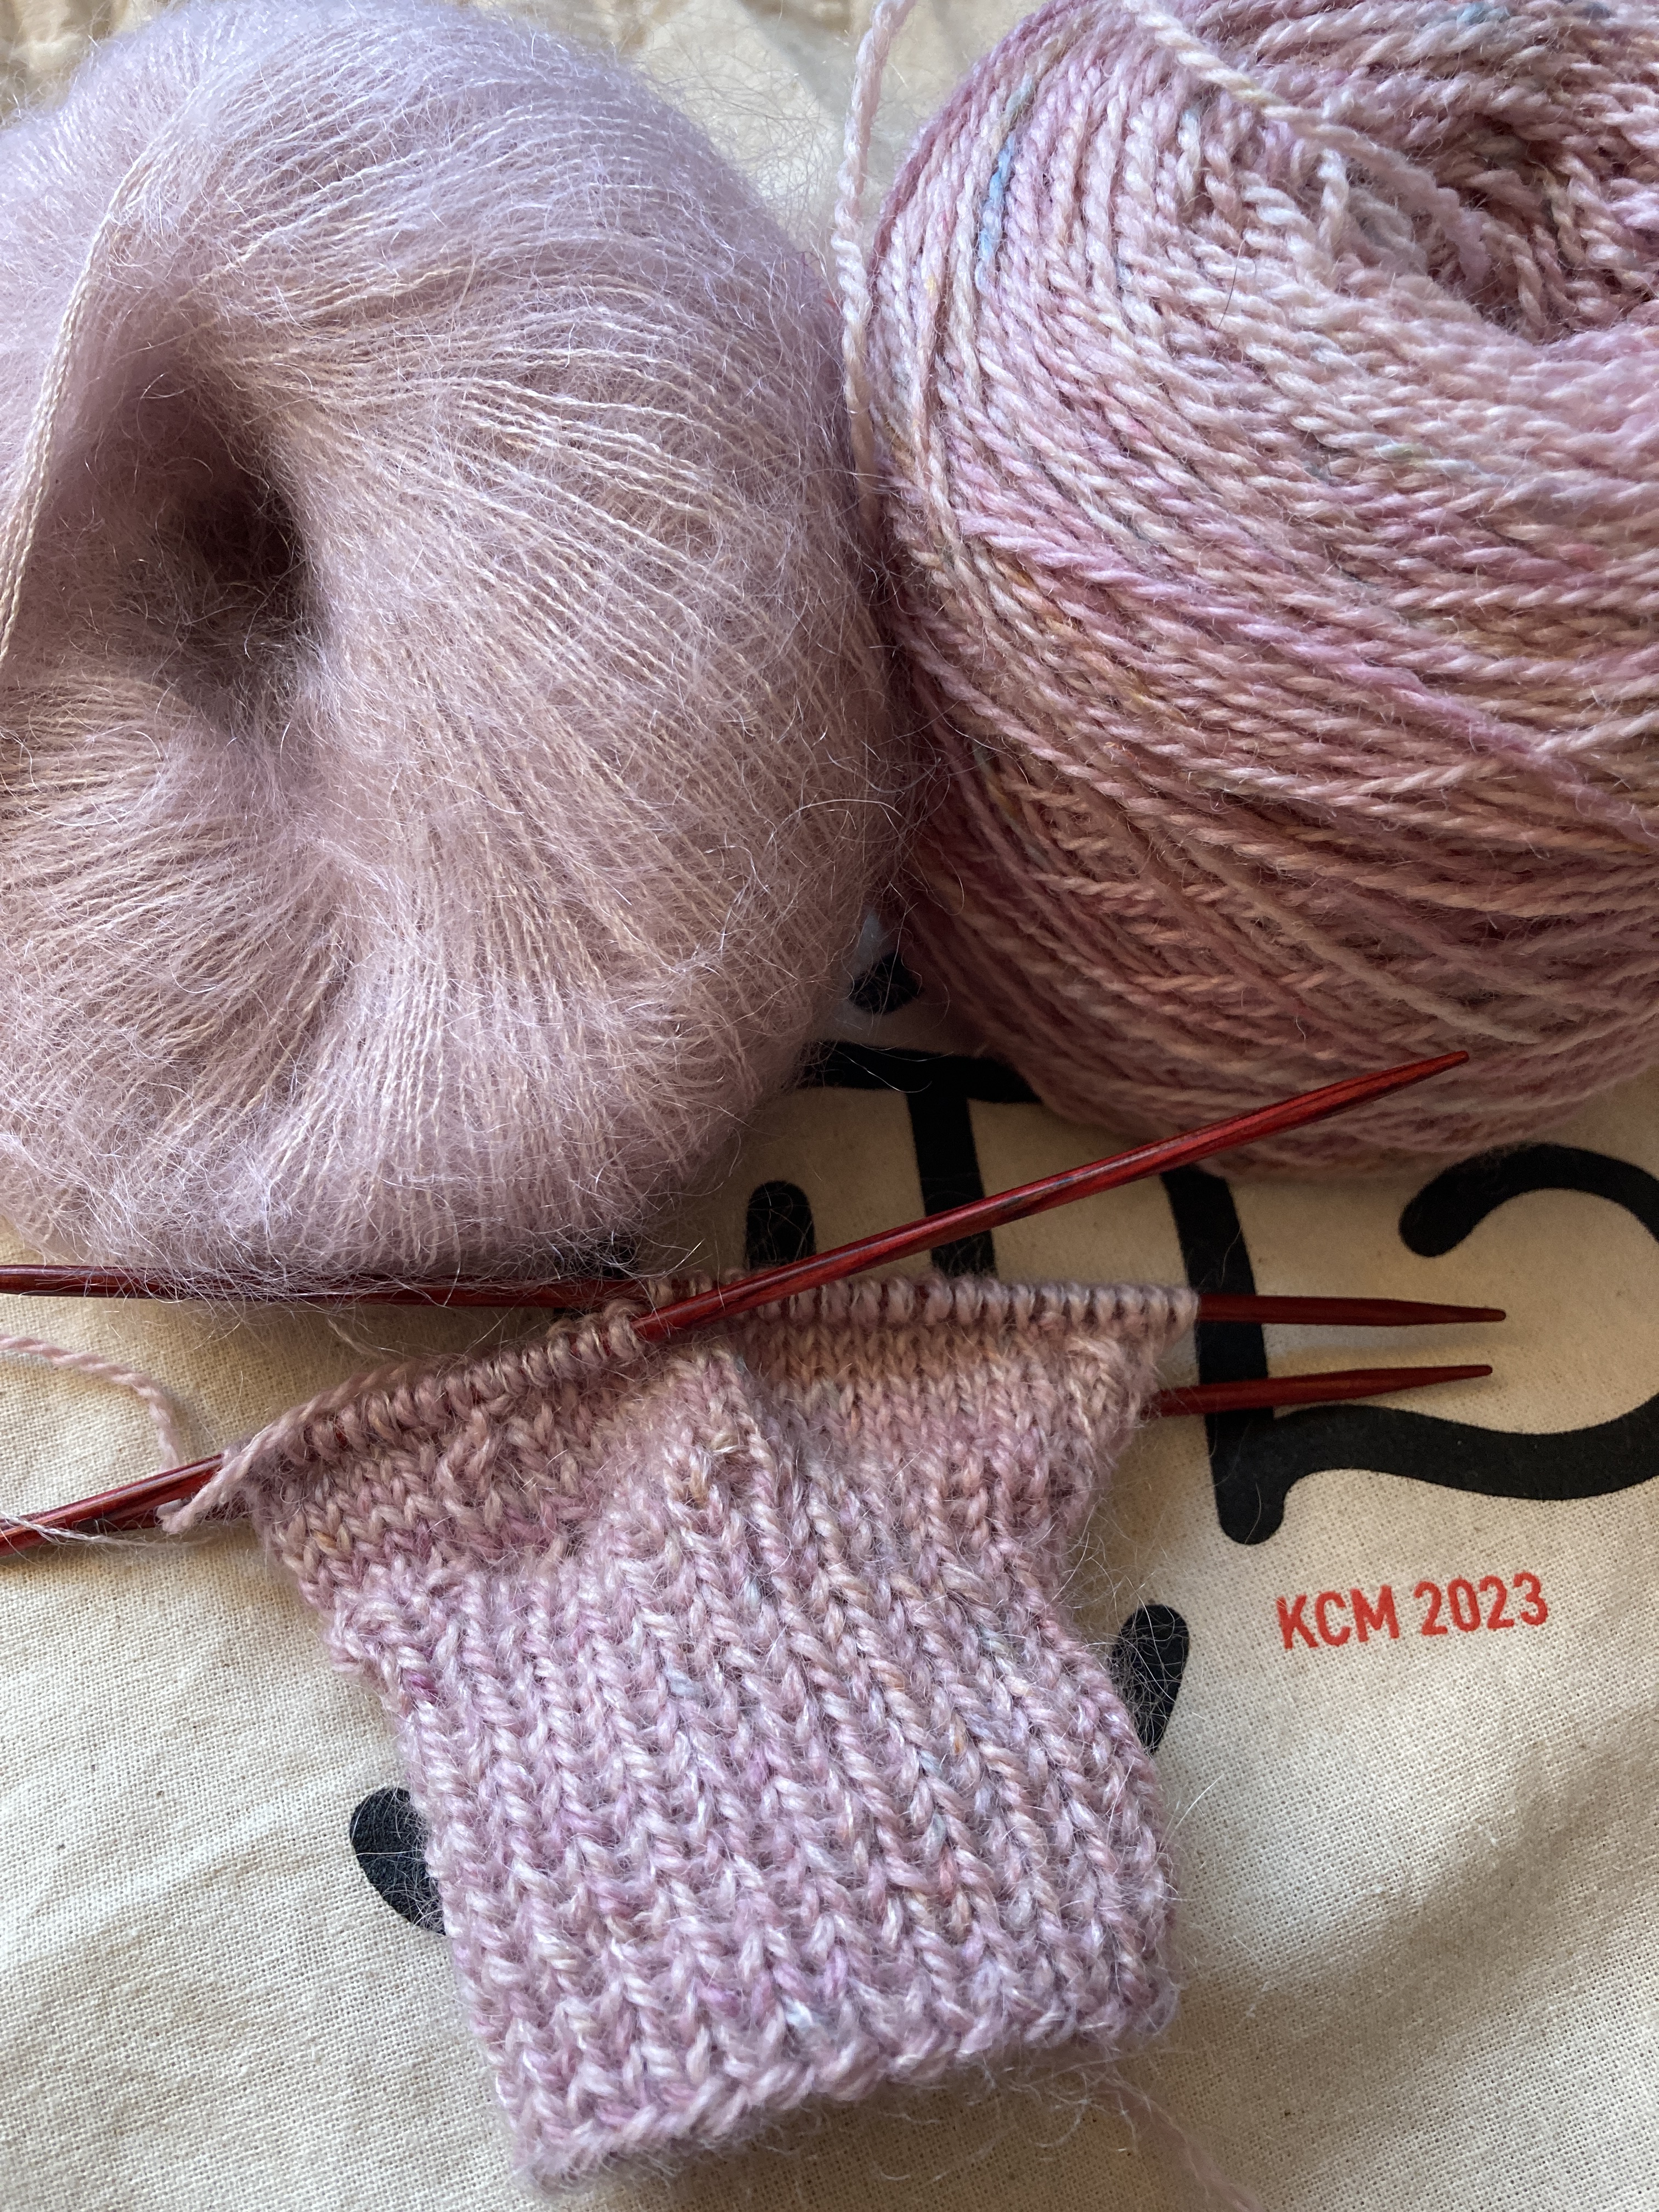

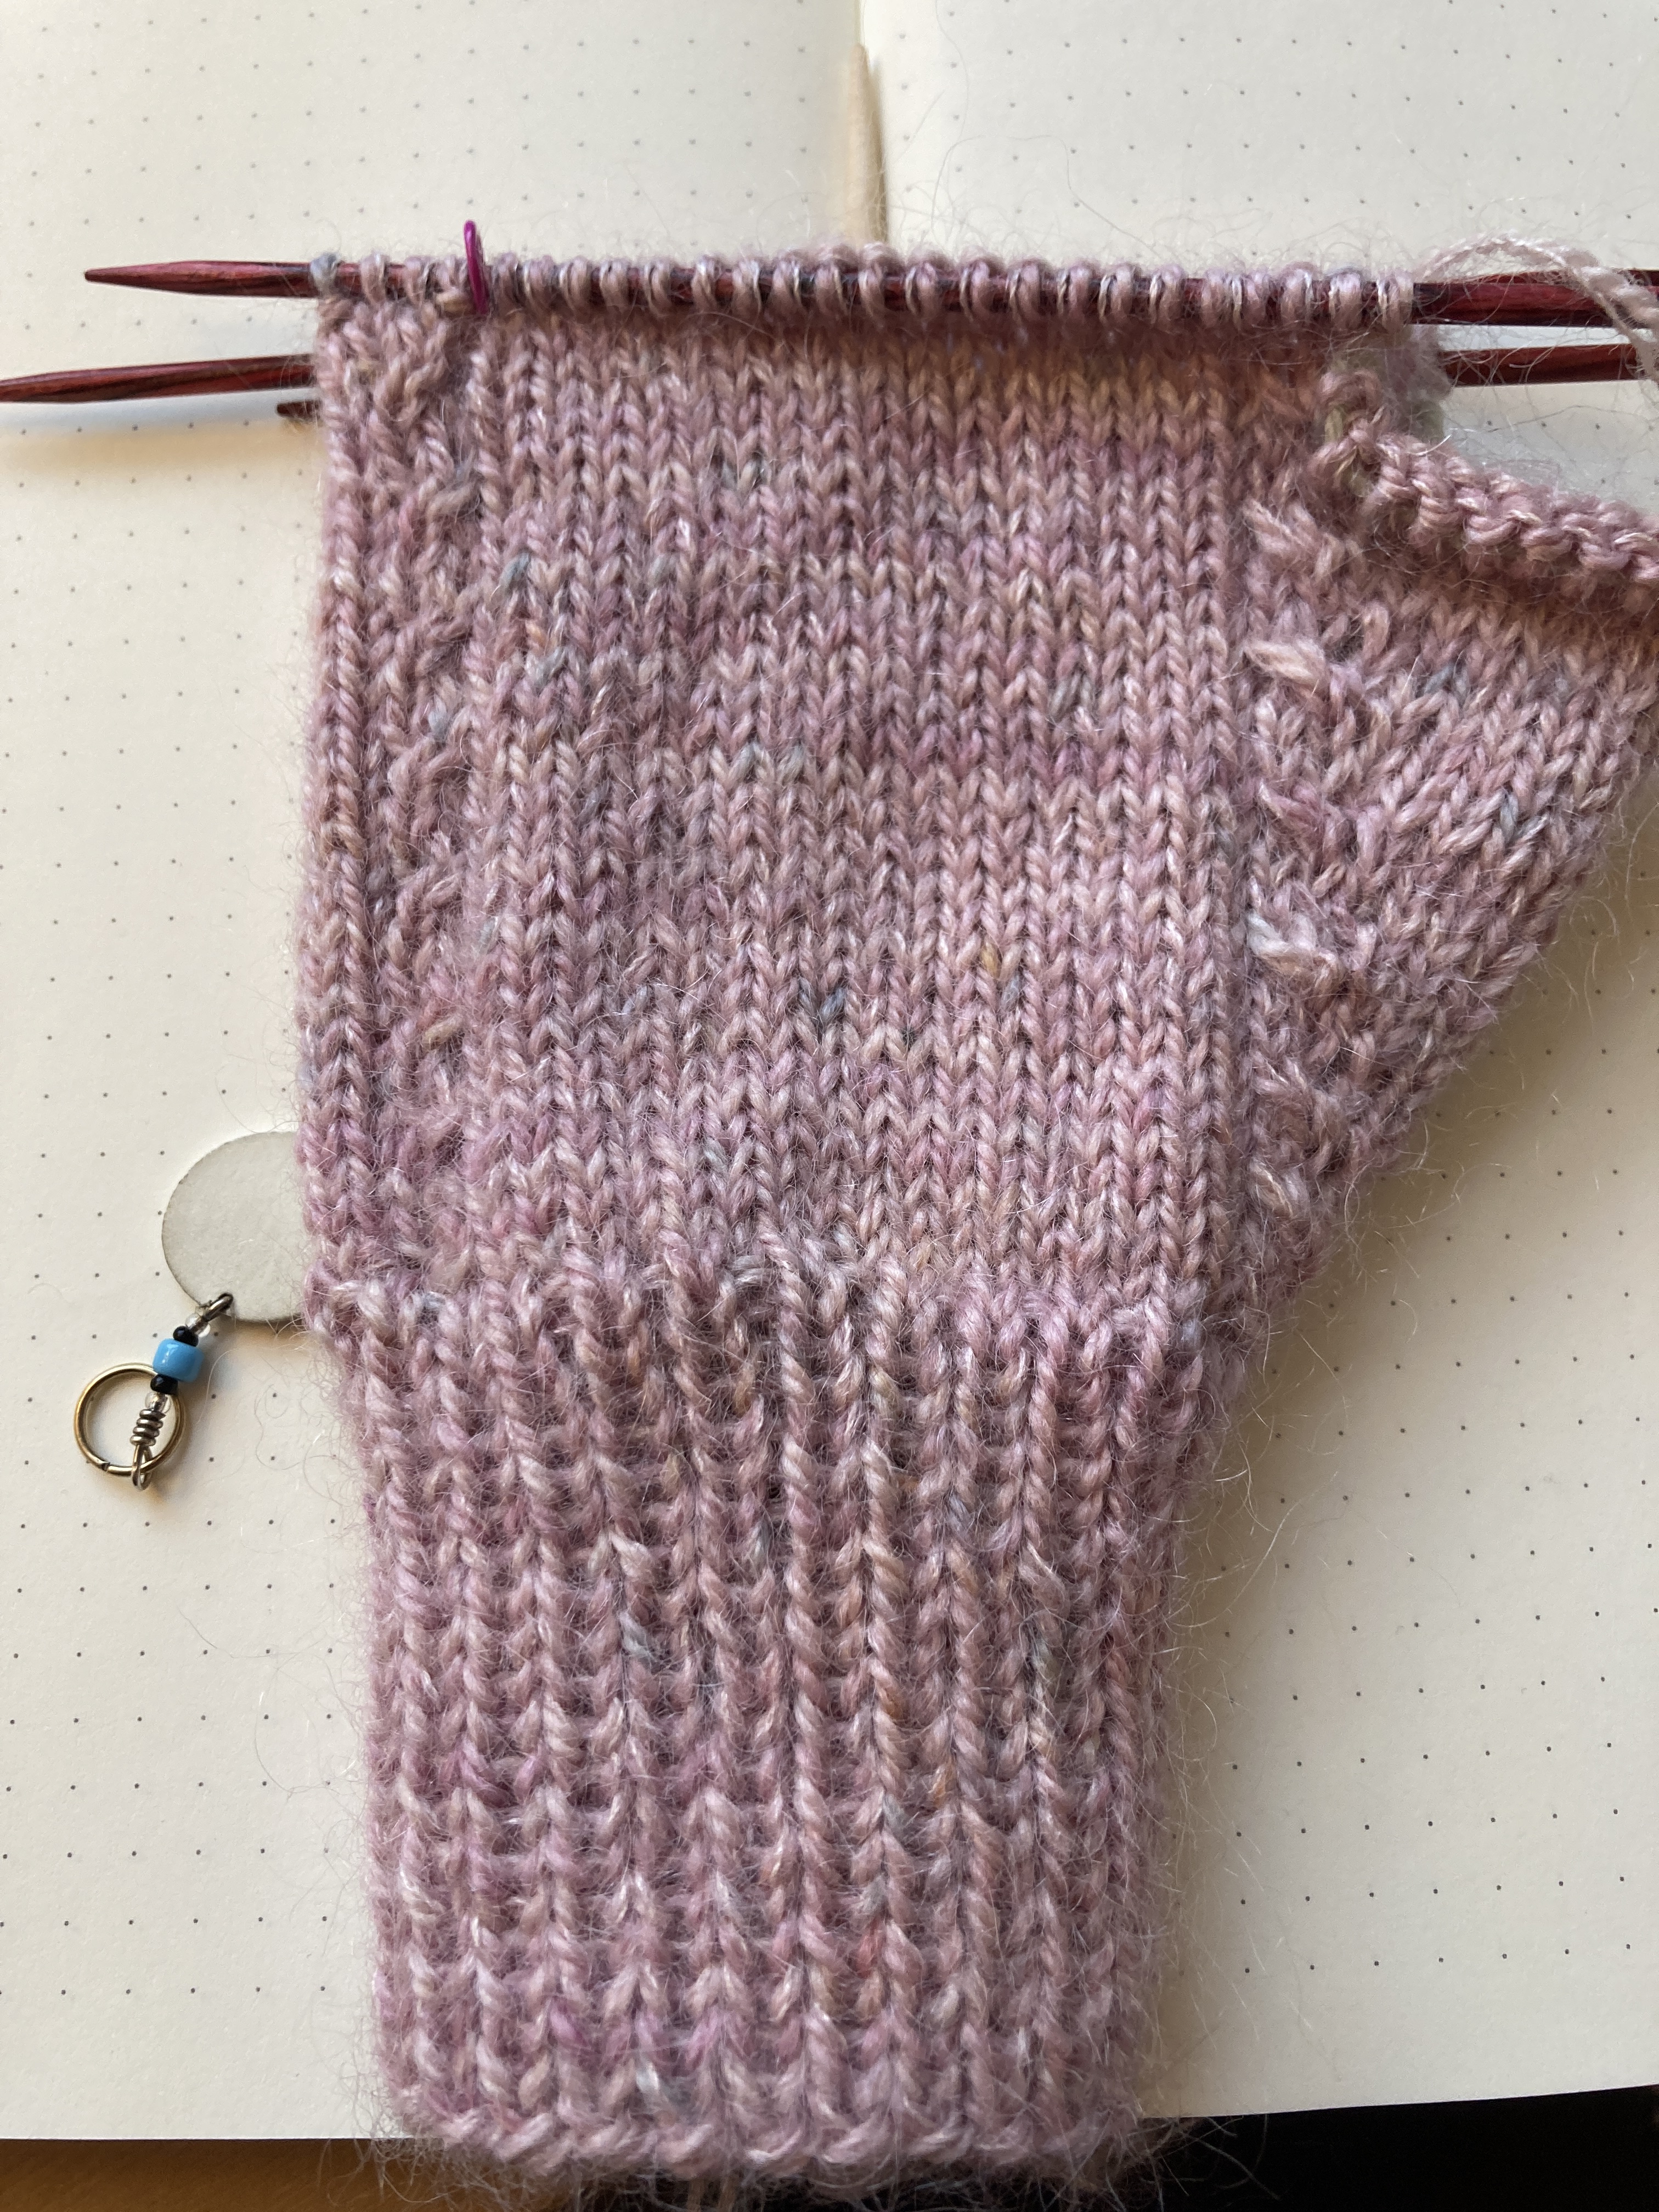

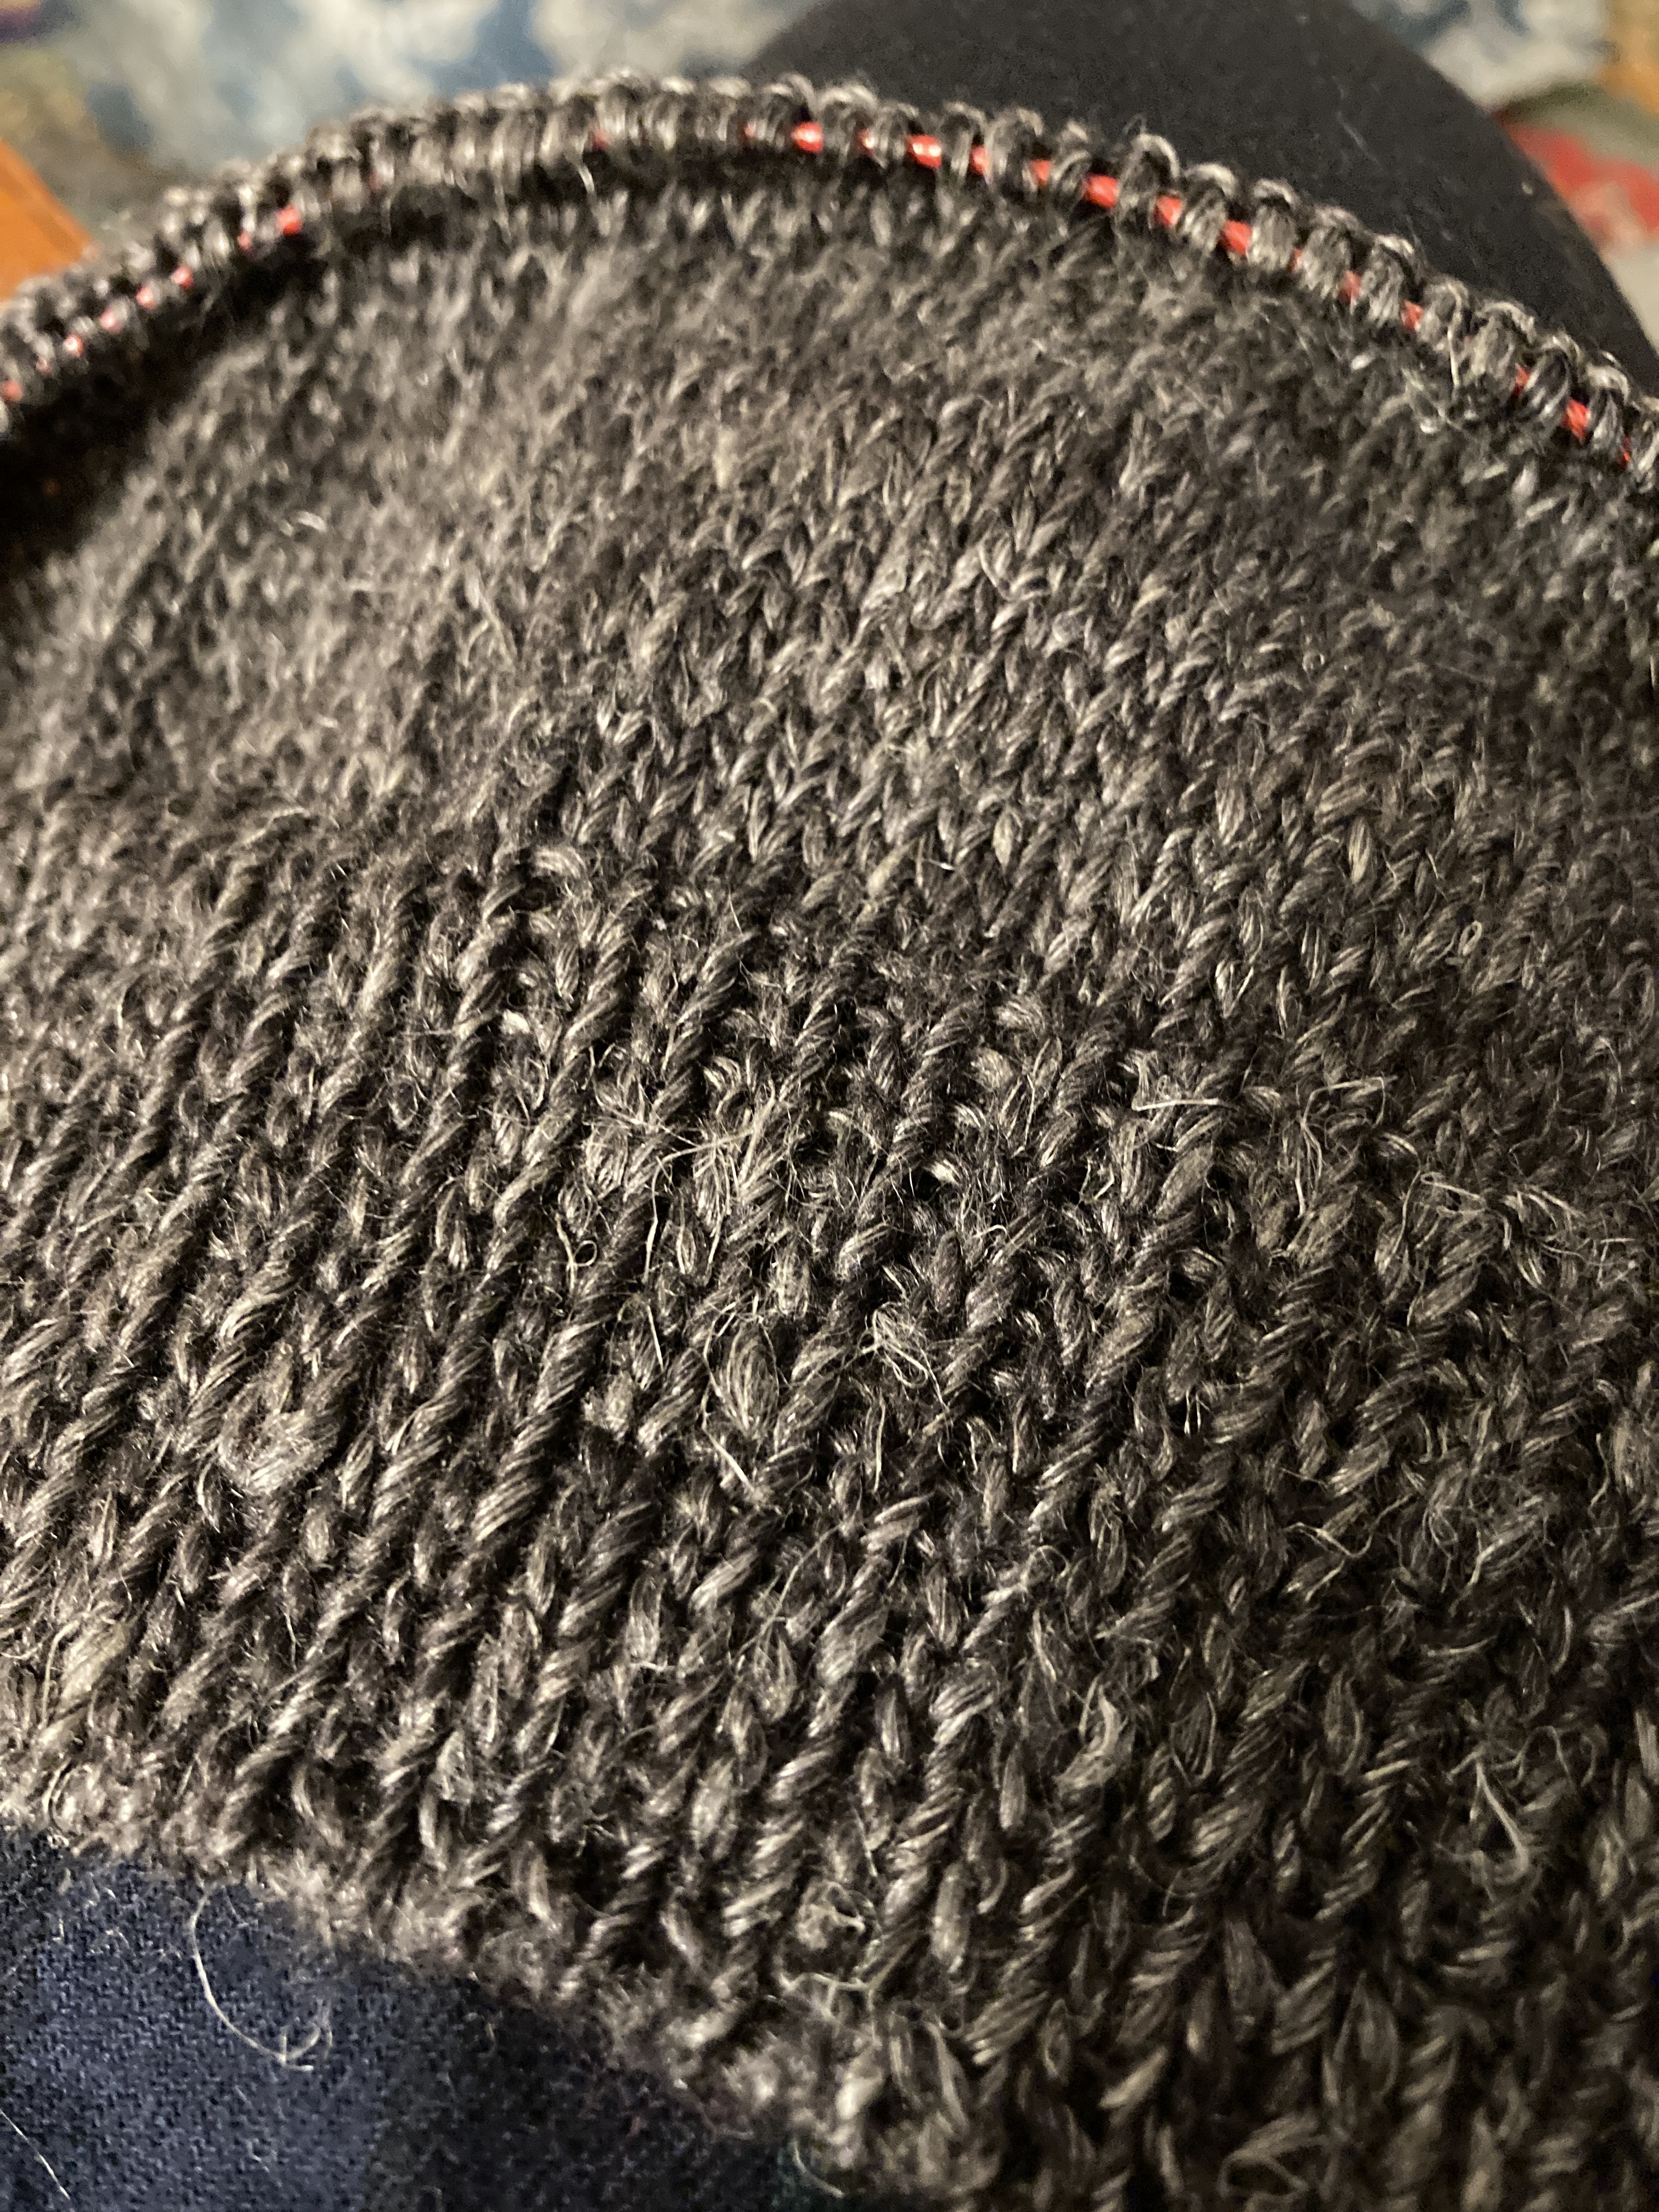
While the color is best in the first several photos, this is where I am this morning with my perfect pink mittens. They’re growing! The pattern is a bit fiddly because the cables are right on the “edge” of the thumb gusset increases but with a little bit of old fashioned charting, I’ve figured it out.
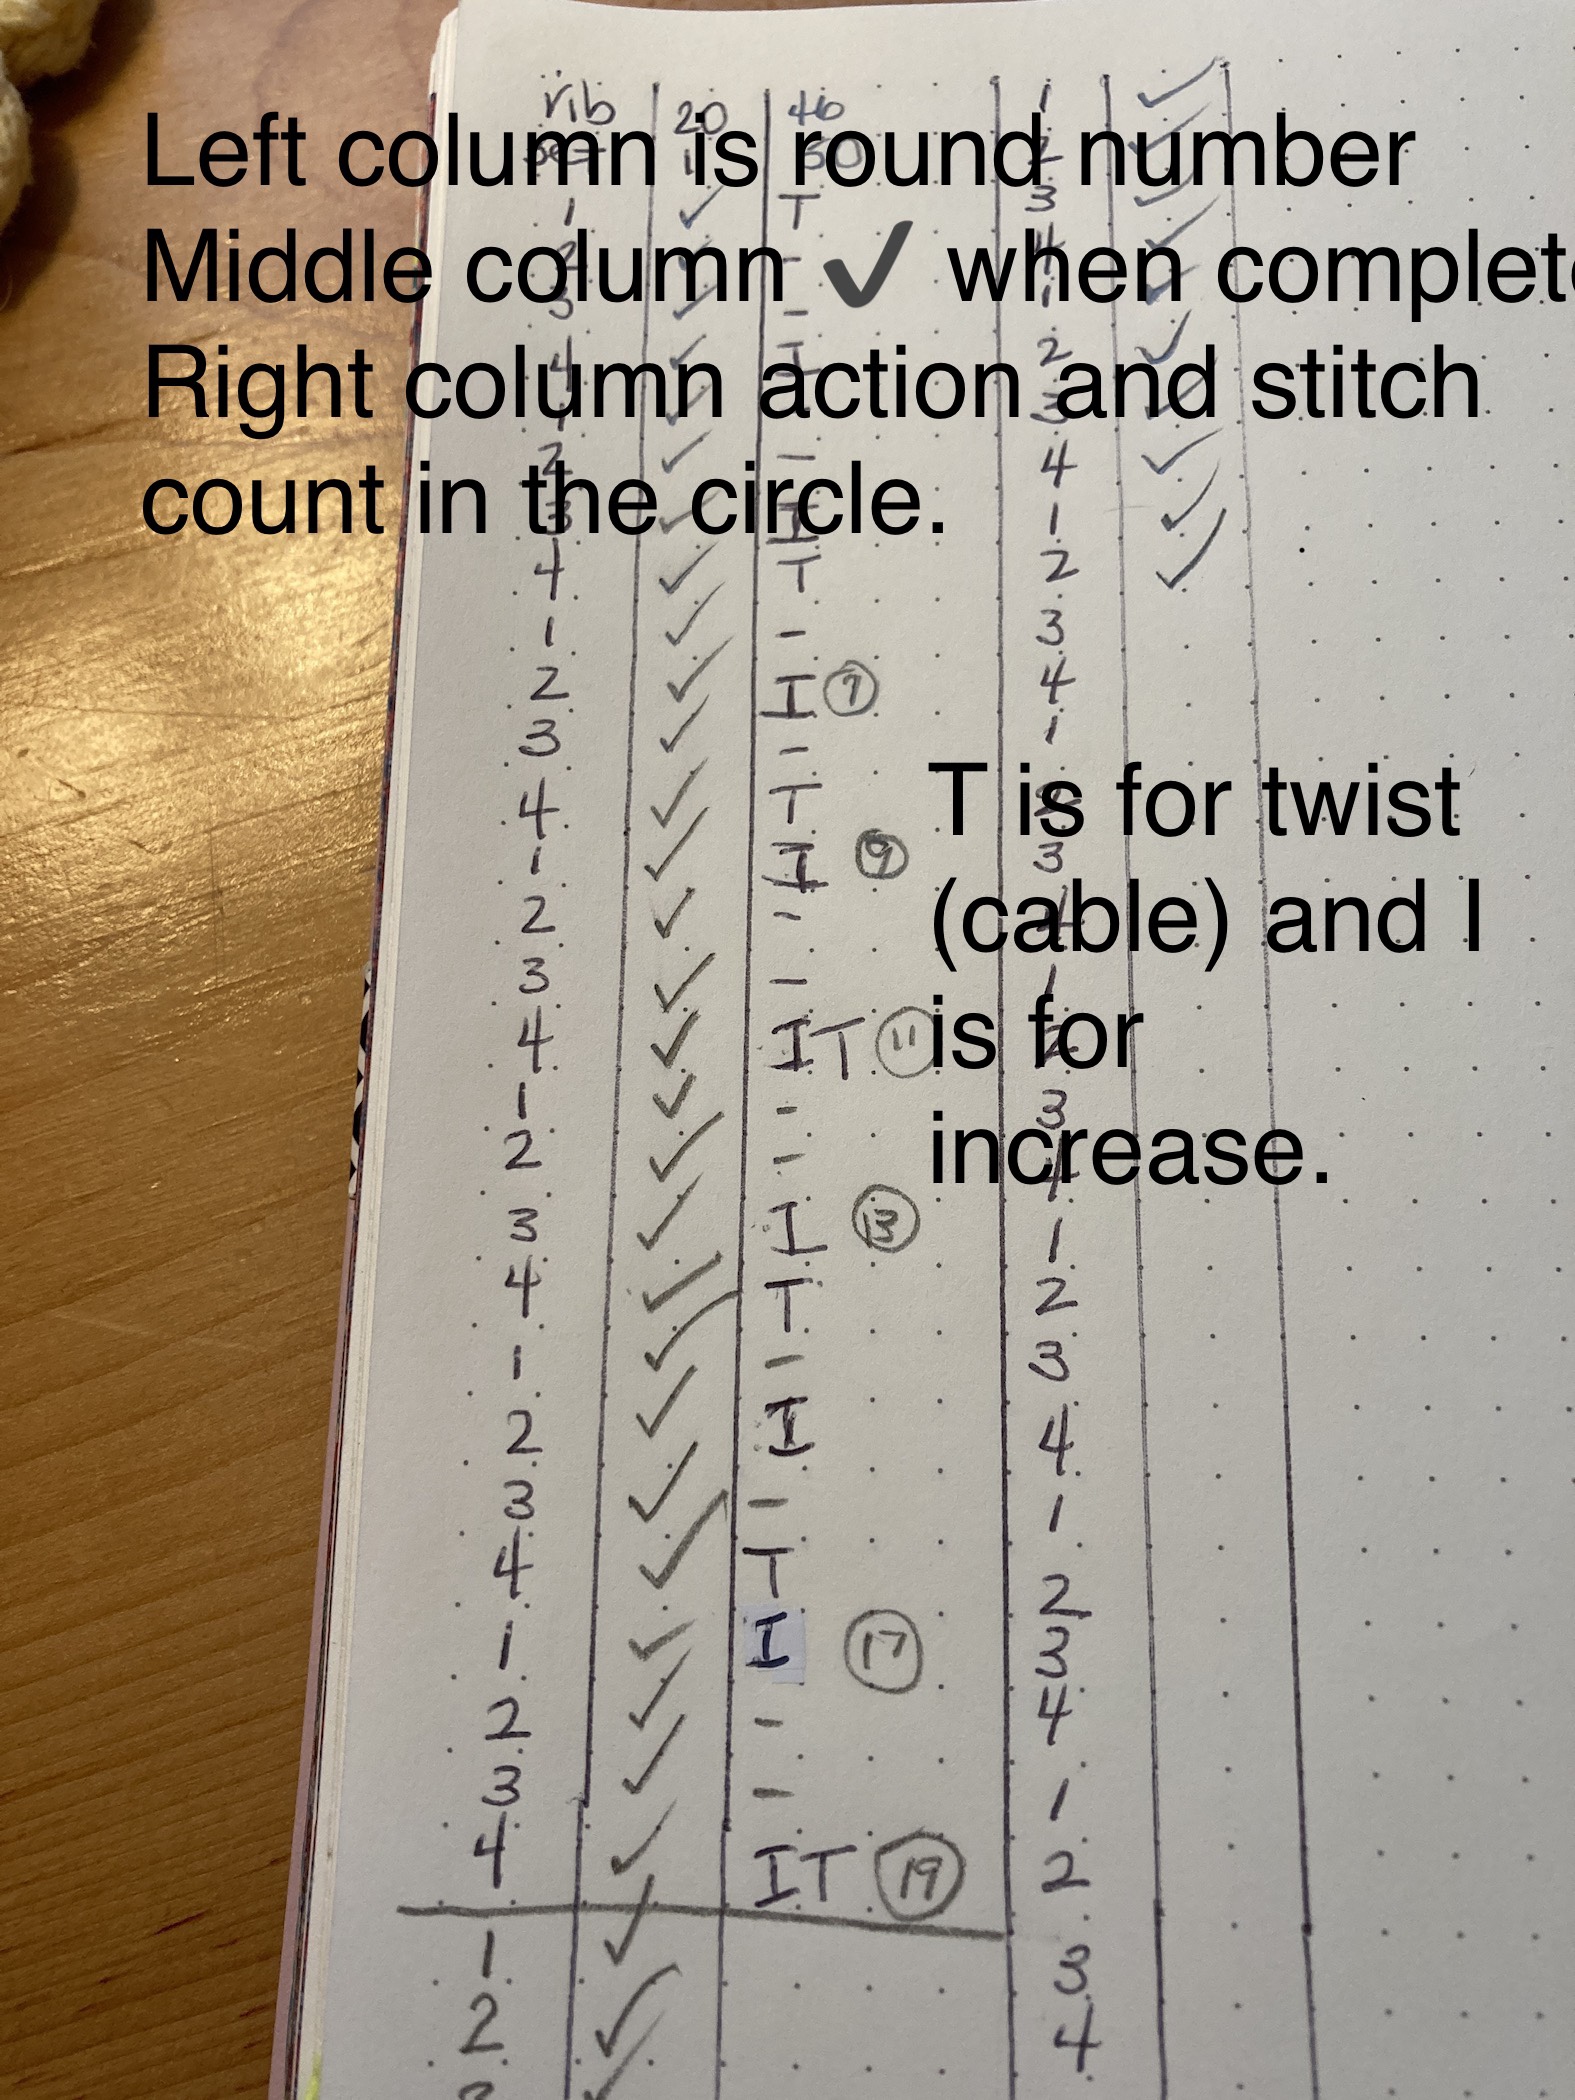
The knitter is asked to follow a 4-round cable pattern and at the same time asked to increase every third round. Ugh! A knitter’s nightmare. I had to be consciously aware of the two directions and my brain doesn’t calculate this stuff without tools. Fortunately, we have tools. I decided this time, to write a chart for myself noting the 4-round cable pattern and the every third round increase. It worked like a charm. Sometimes a paper and pencil are just what you need.
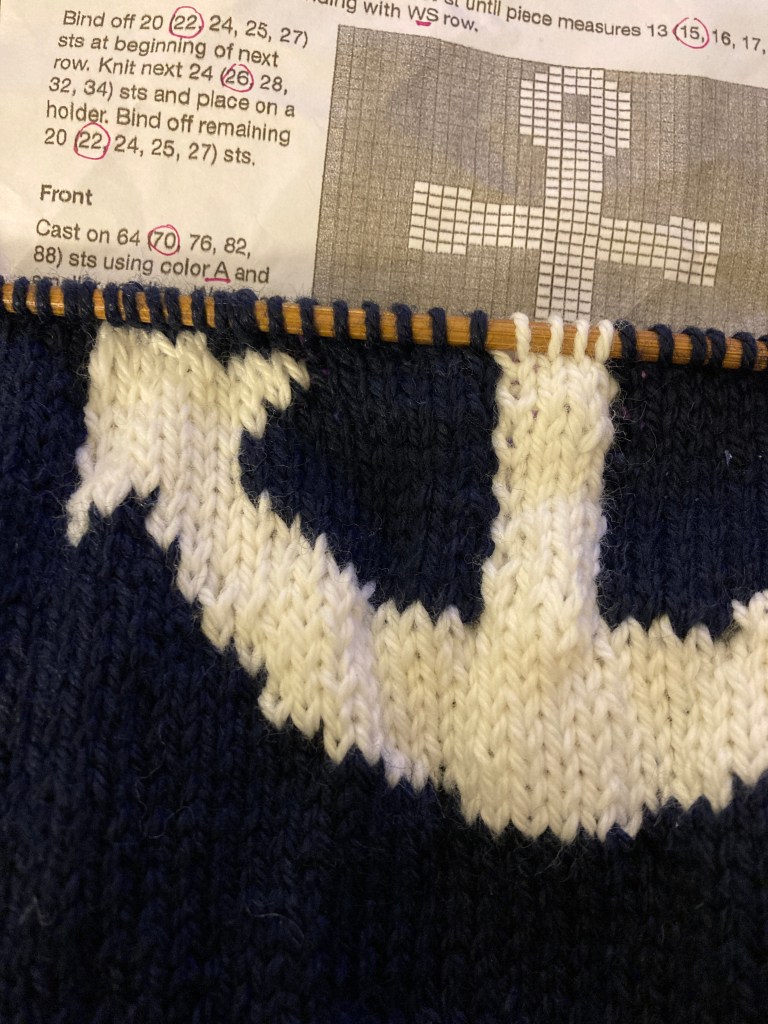
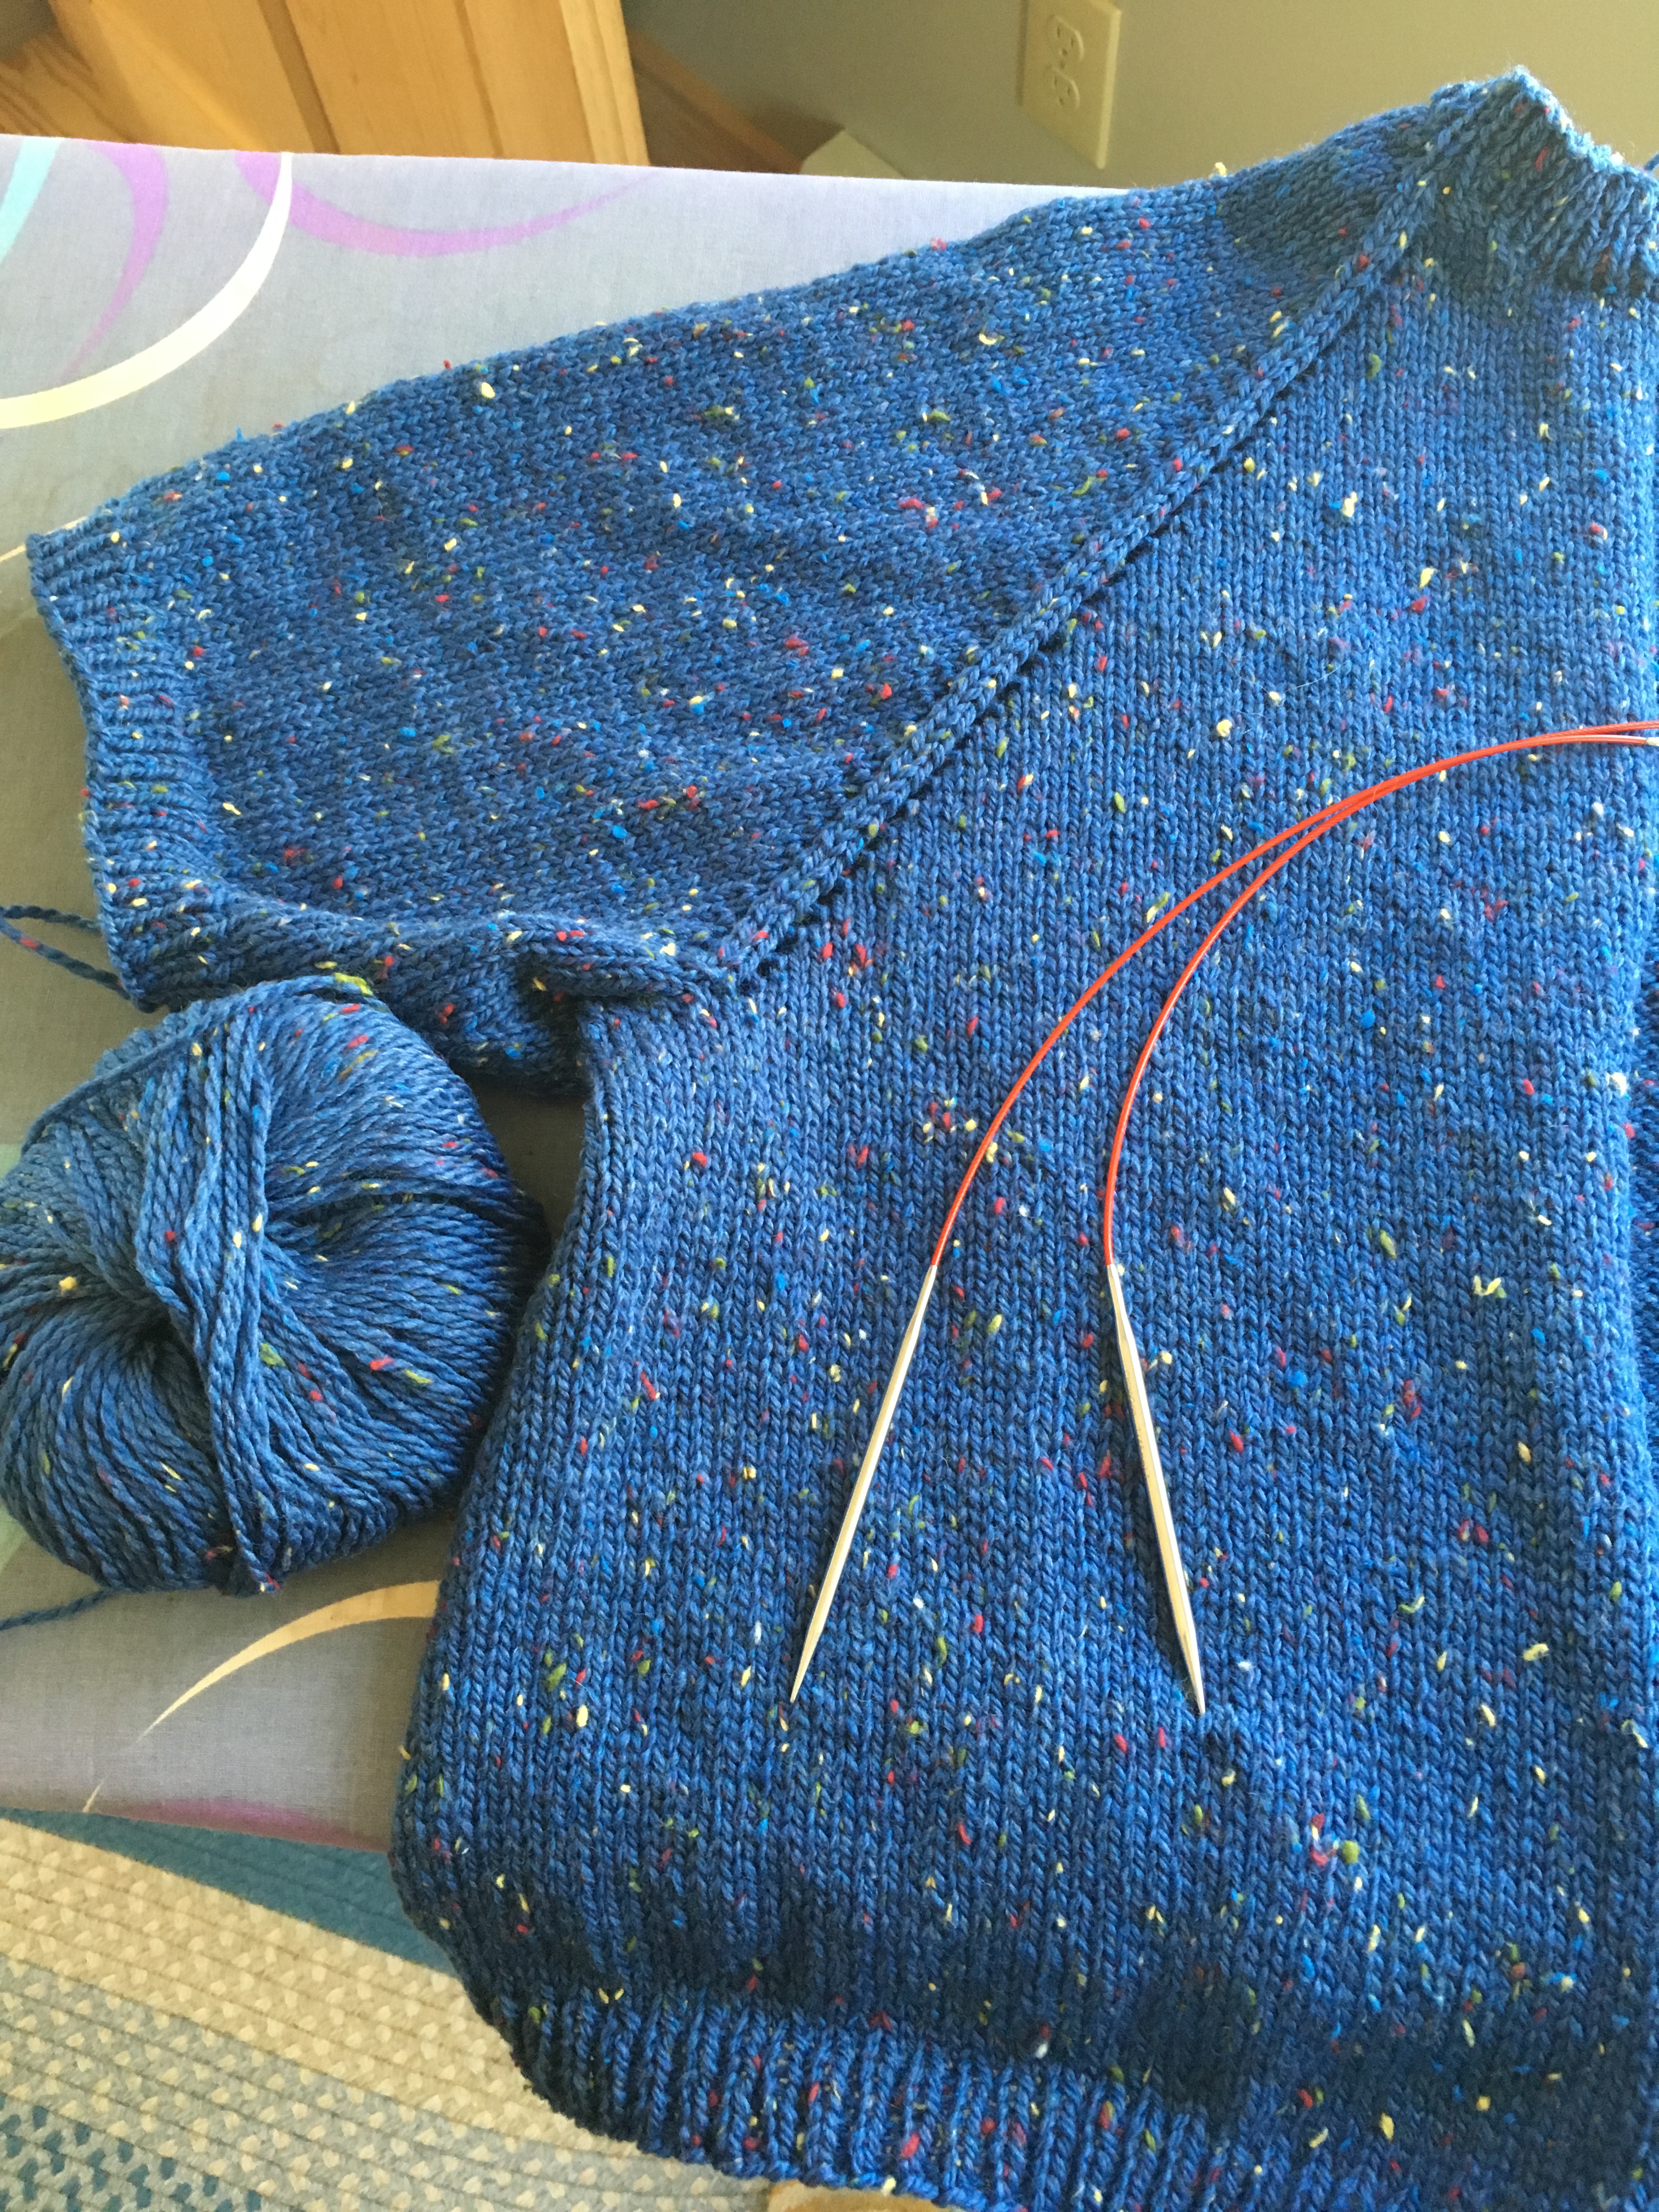
I’ve worked a bit on my Nancy’s Vest, too. I’ve reached the point where I need to start some shaping and have made the first buttonhole. I think it’s too small, however, and will likely frog back two rows and start again. I’m not sure if it’s me or the method that the designer uses that makes the button hole so small. I probably should have tried it in a swatch first … but it’s only a couple of rows. I love the yarn, though, and the drape is lovely. This will be a great vest … one that I thought would be so simple and straight forward but is turning out to teach me a few lessons (yet again!)
I’ve decided to have a shelf cleaning sale on facebook and instagram to see if I can sell some of the creations that I have made and seldom worn (some I’ve never worn). Any that don’t sell will be donated to the soup kitchen or homeless shelter or our local school or PD to give out as they see fit. I can’t keep knitting if I don’t “thin the herd” so to speak. That’ll be coming soon. I hope. I’ve photographed all of the pieces but now I have to measure them and get them written up. It’s more work than I care to do today.
Gone knitting.