Tate Rancher Hat

A long time ago, I started a raffia crochet hat. I started it three times. Each time it was too big and the last time, after completing the pattern, it was still so large that I decided to frog it and never make it again.

Fast forward to a few months ago and I happened to walk into work when our Berroco rep was visiting my boss and ordered a couple of cakes of Berroco Estiva, a cotton tape yarn that I was going to try to make a different hat with. (That hat was The Cleo Crush Fedora, a free pattern on Ravelry.) I’ve been waiting for the perfect time to make the sunhat/Cleo and recently cast on.

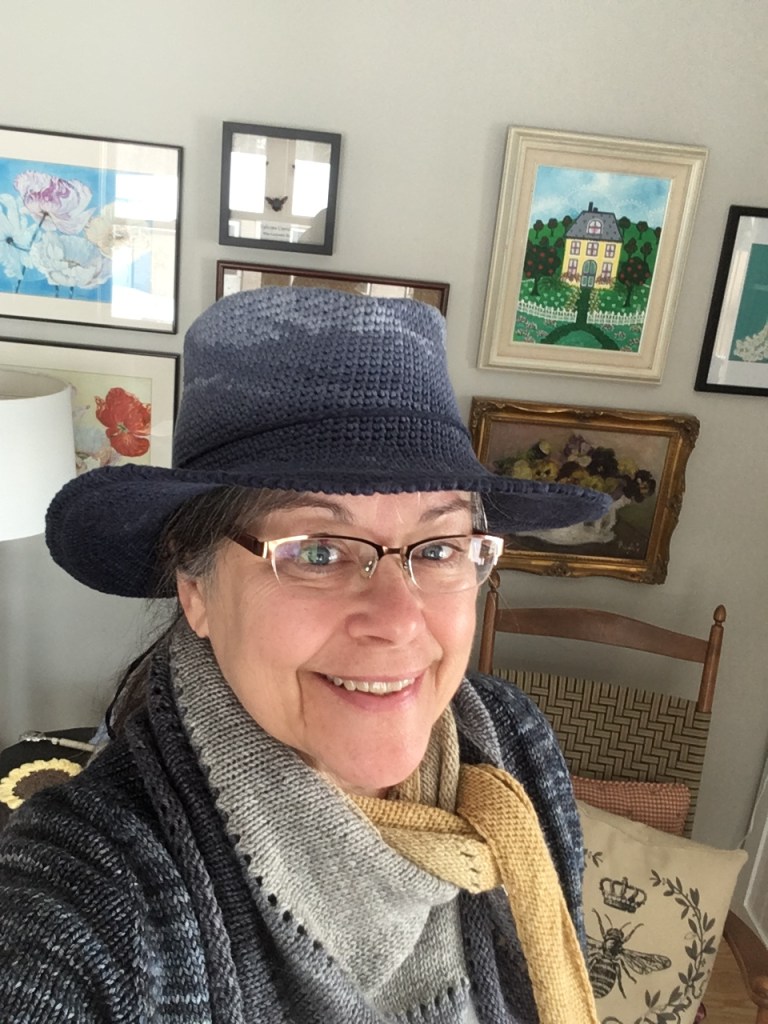
And then I realized that I had been gifted a great sun hat on my birthday by my daughter and her husband and it’s also blue so perhaps a sun hat wasn’t what I wanted to crochet again. Perhaps a fedora with a smaller brim … hence, the Tate Rancher!

Me! The Queen Bee in my Tate Rancher hat

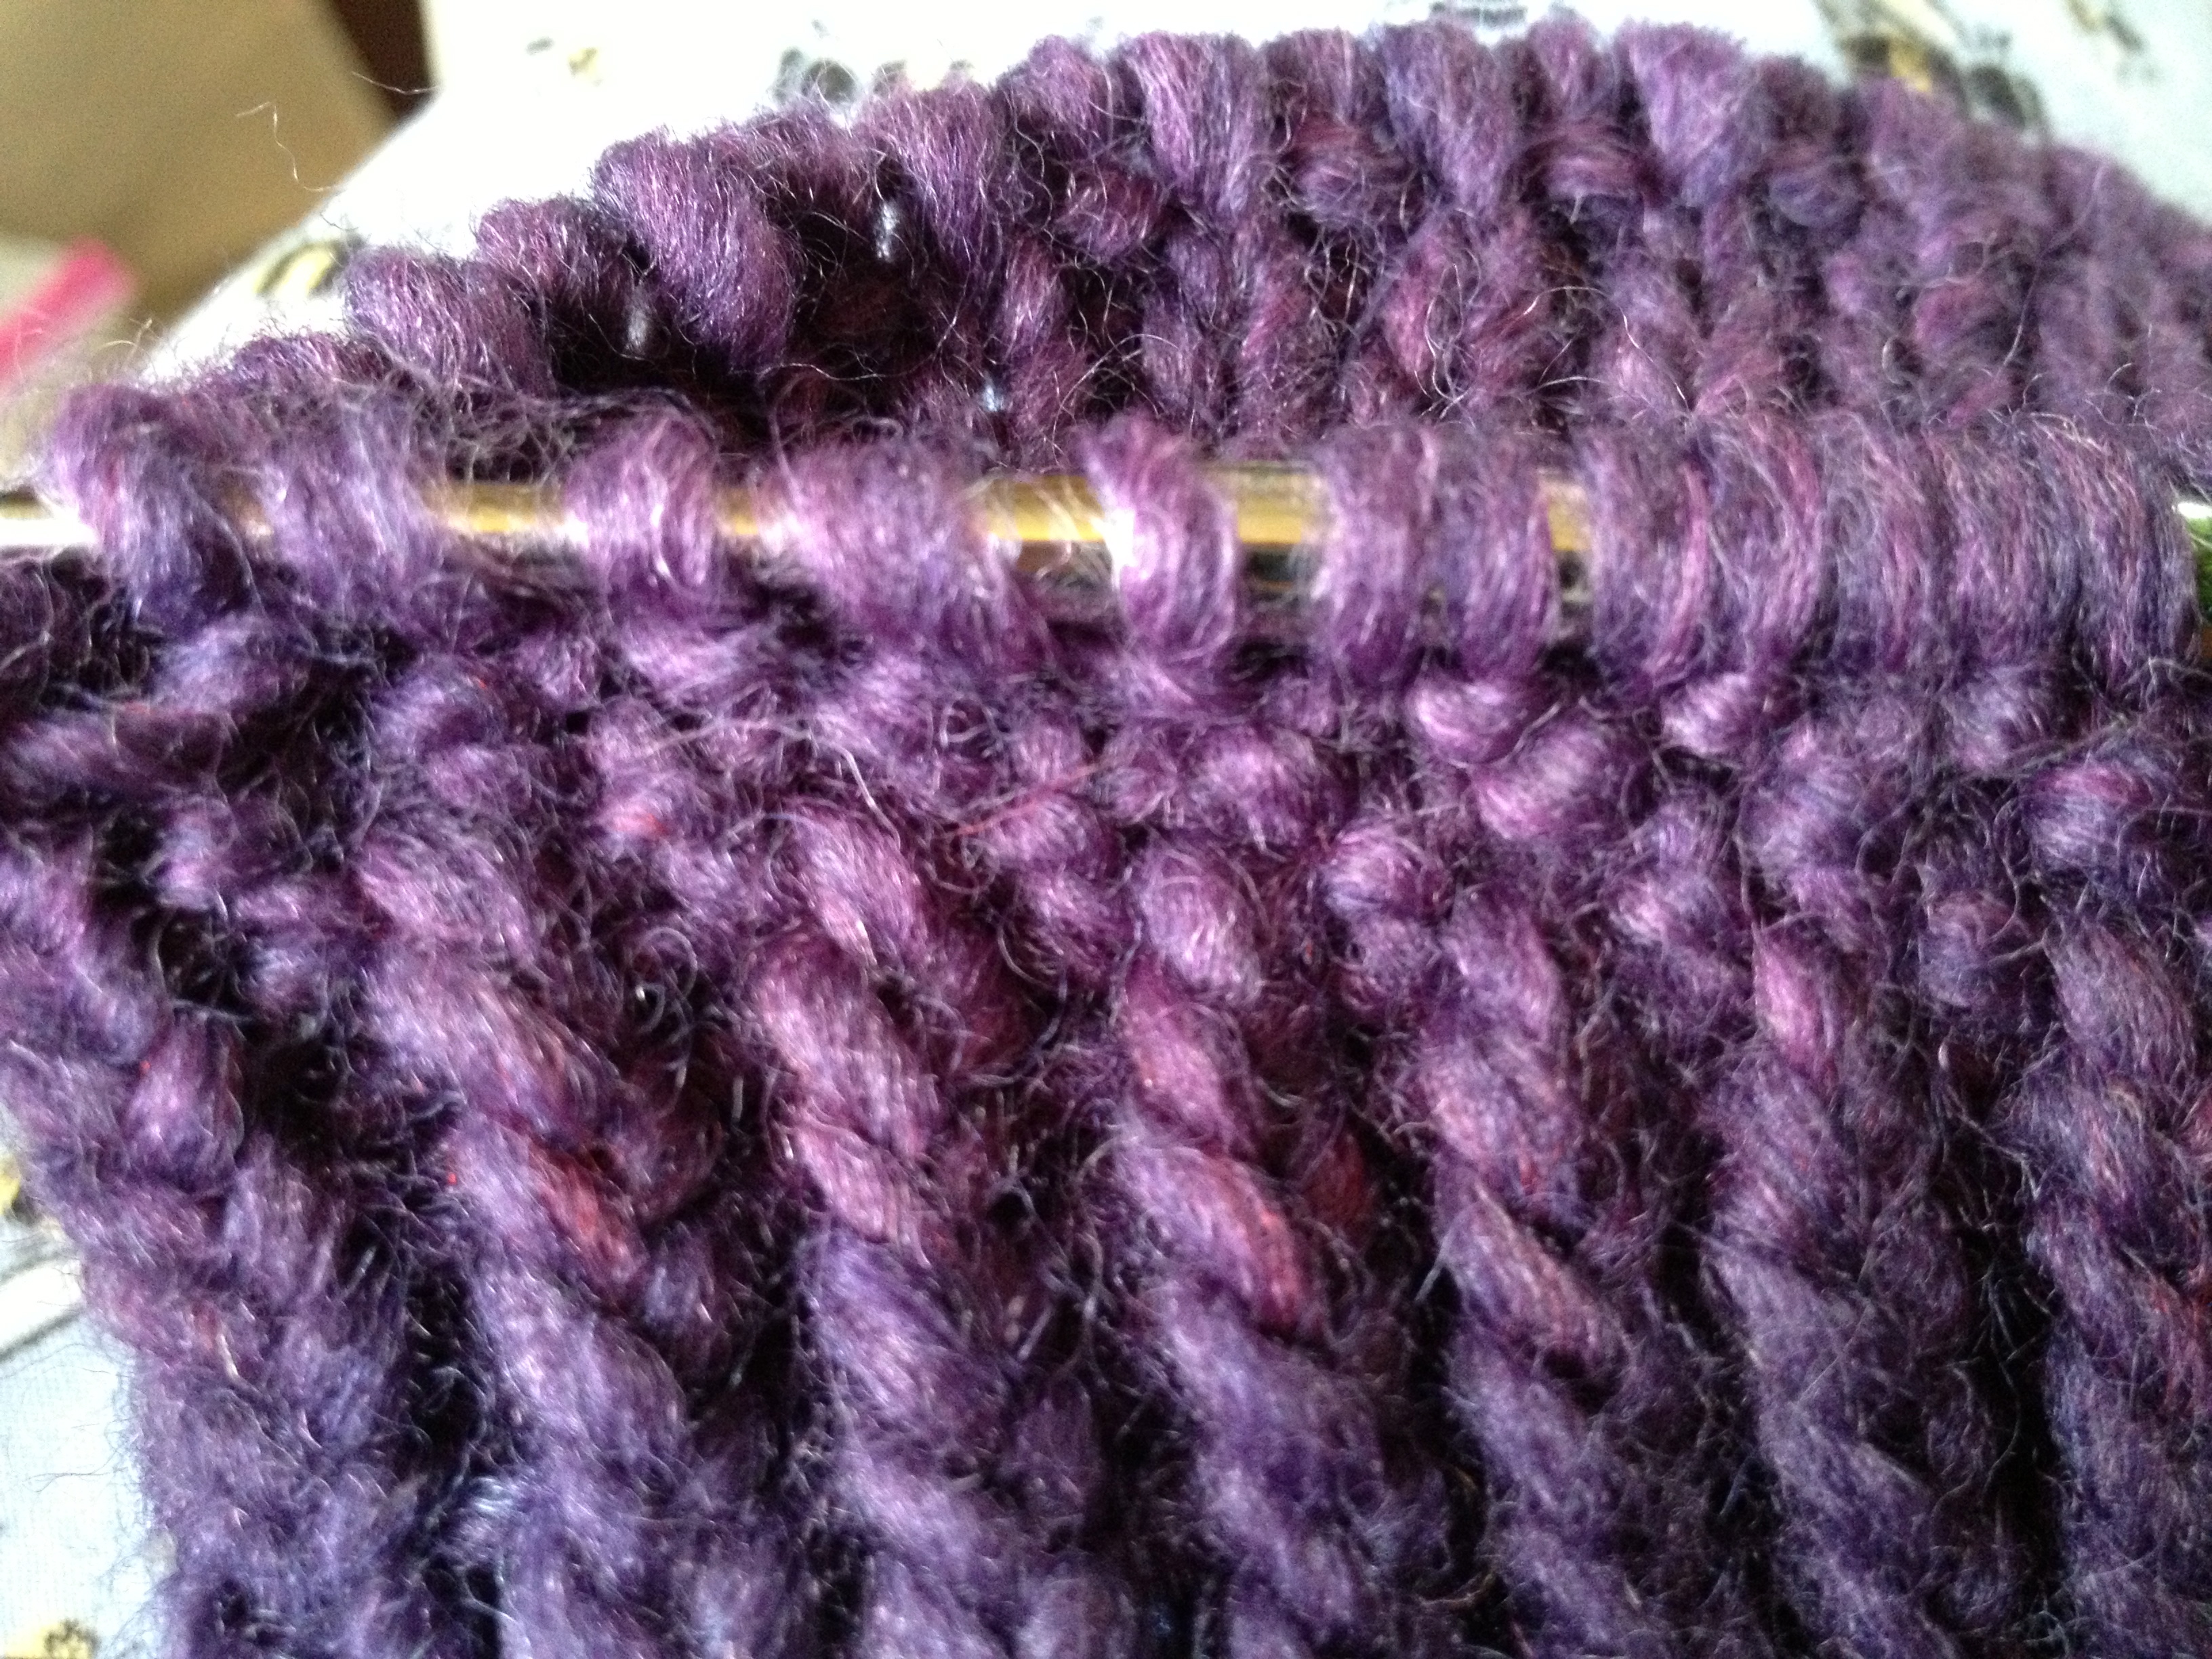
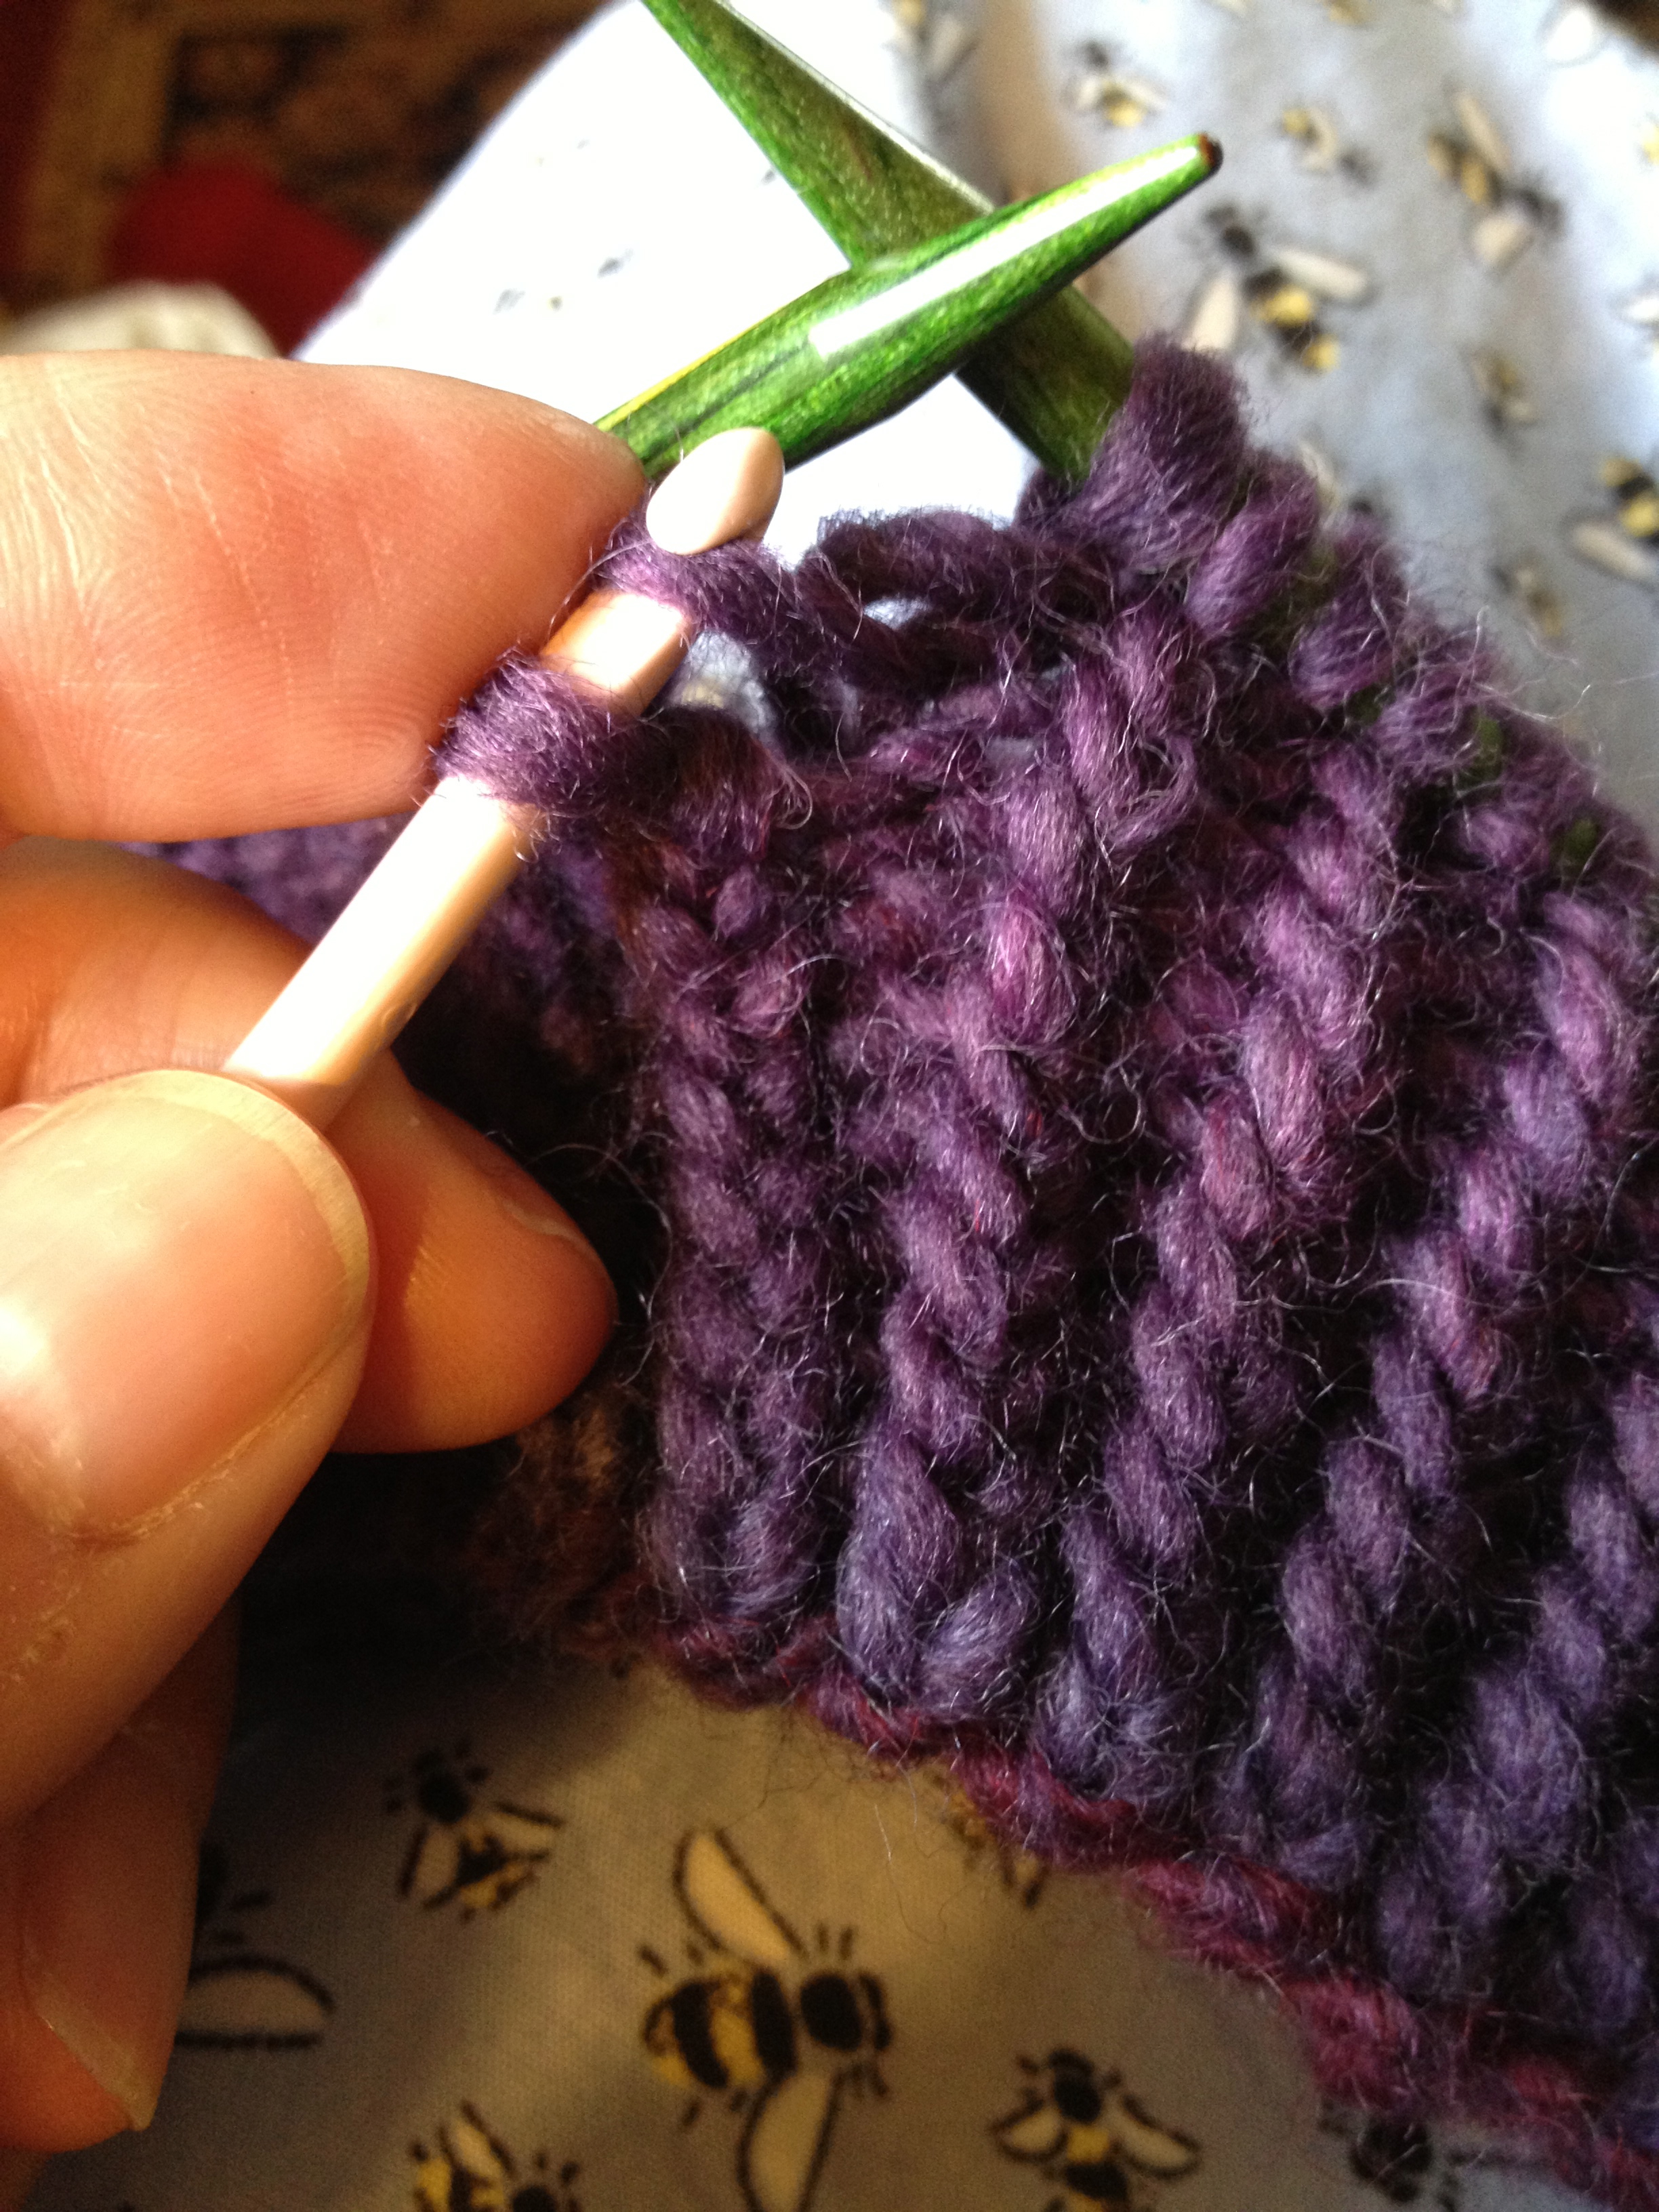
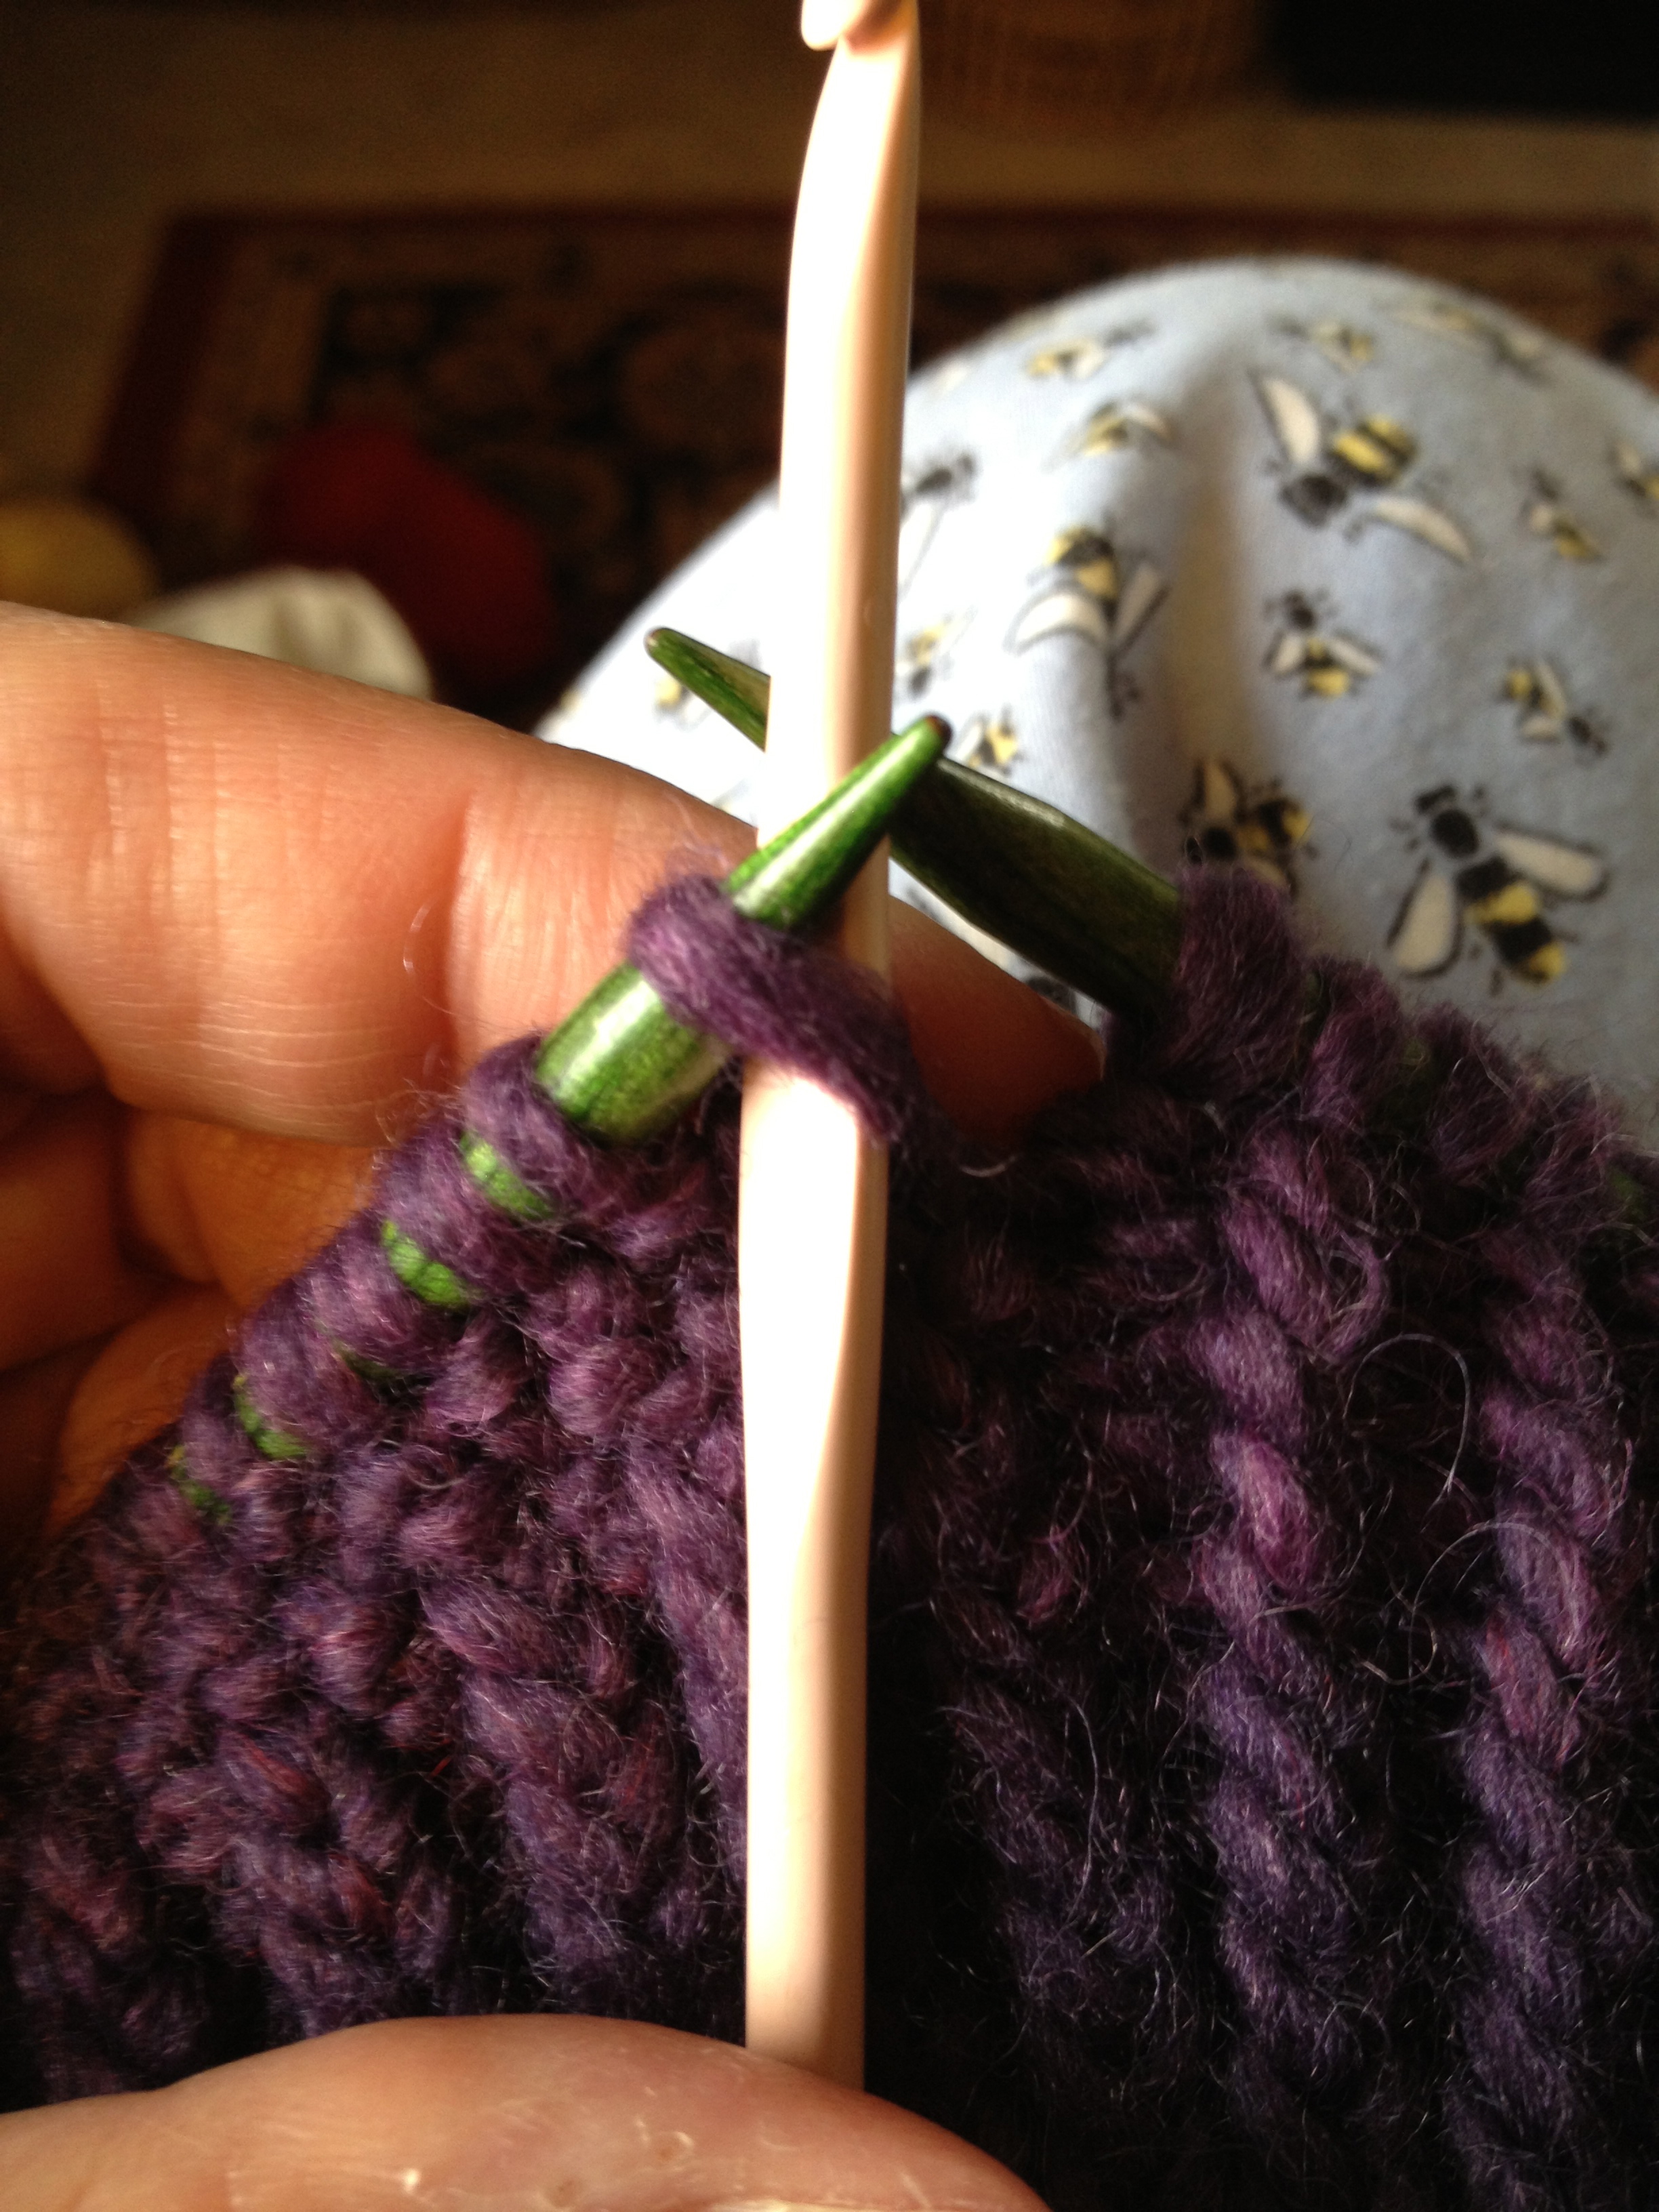
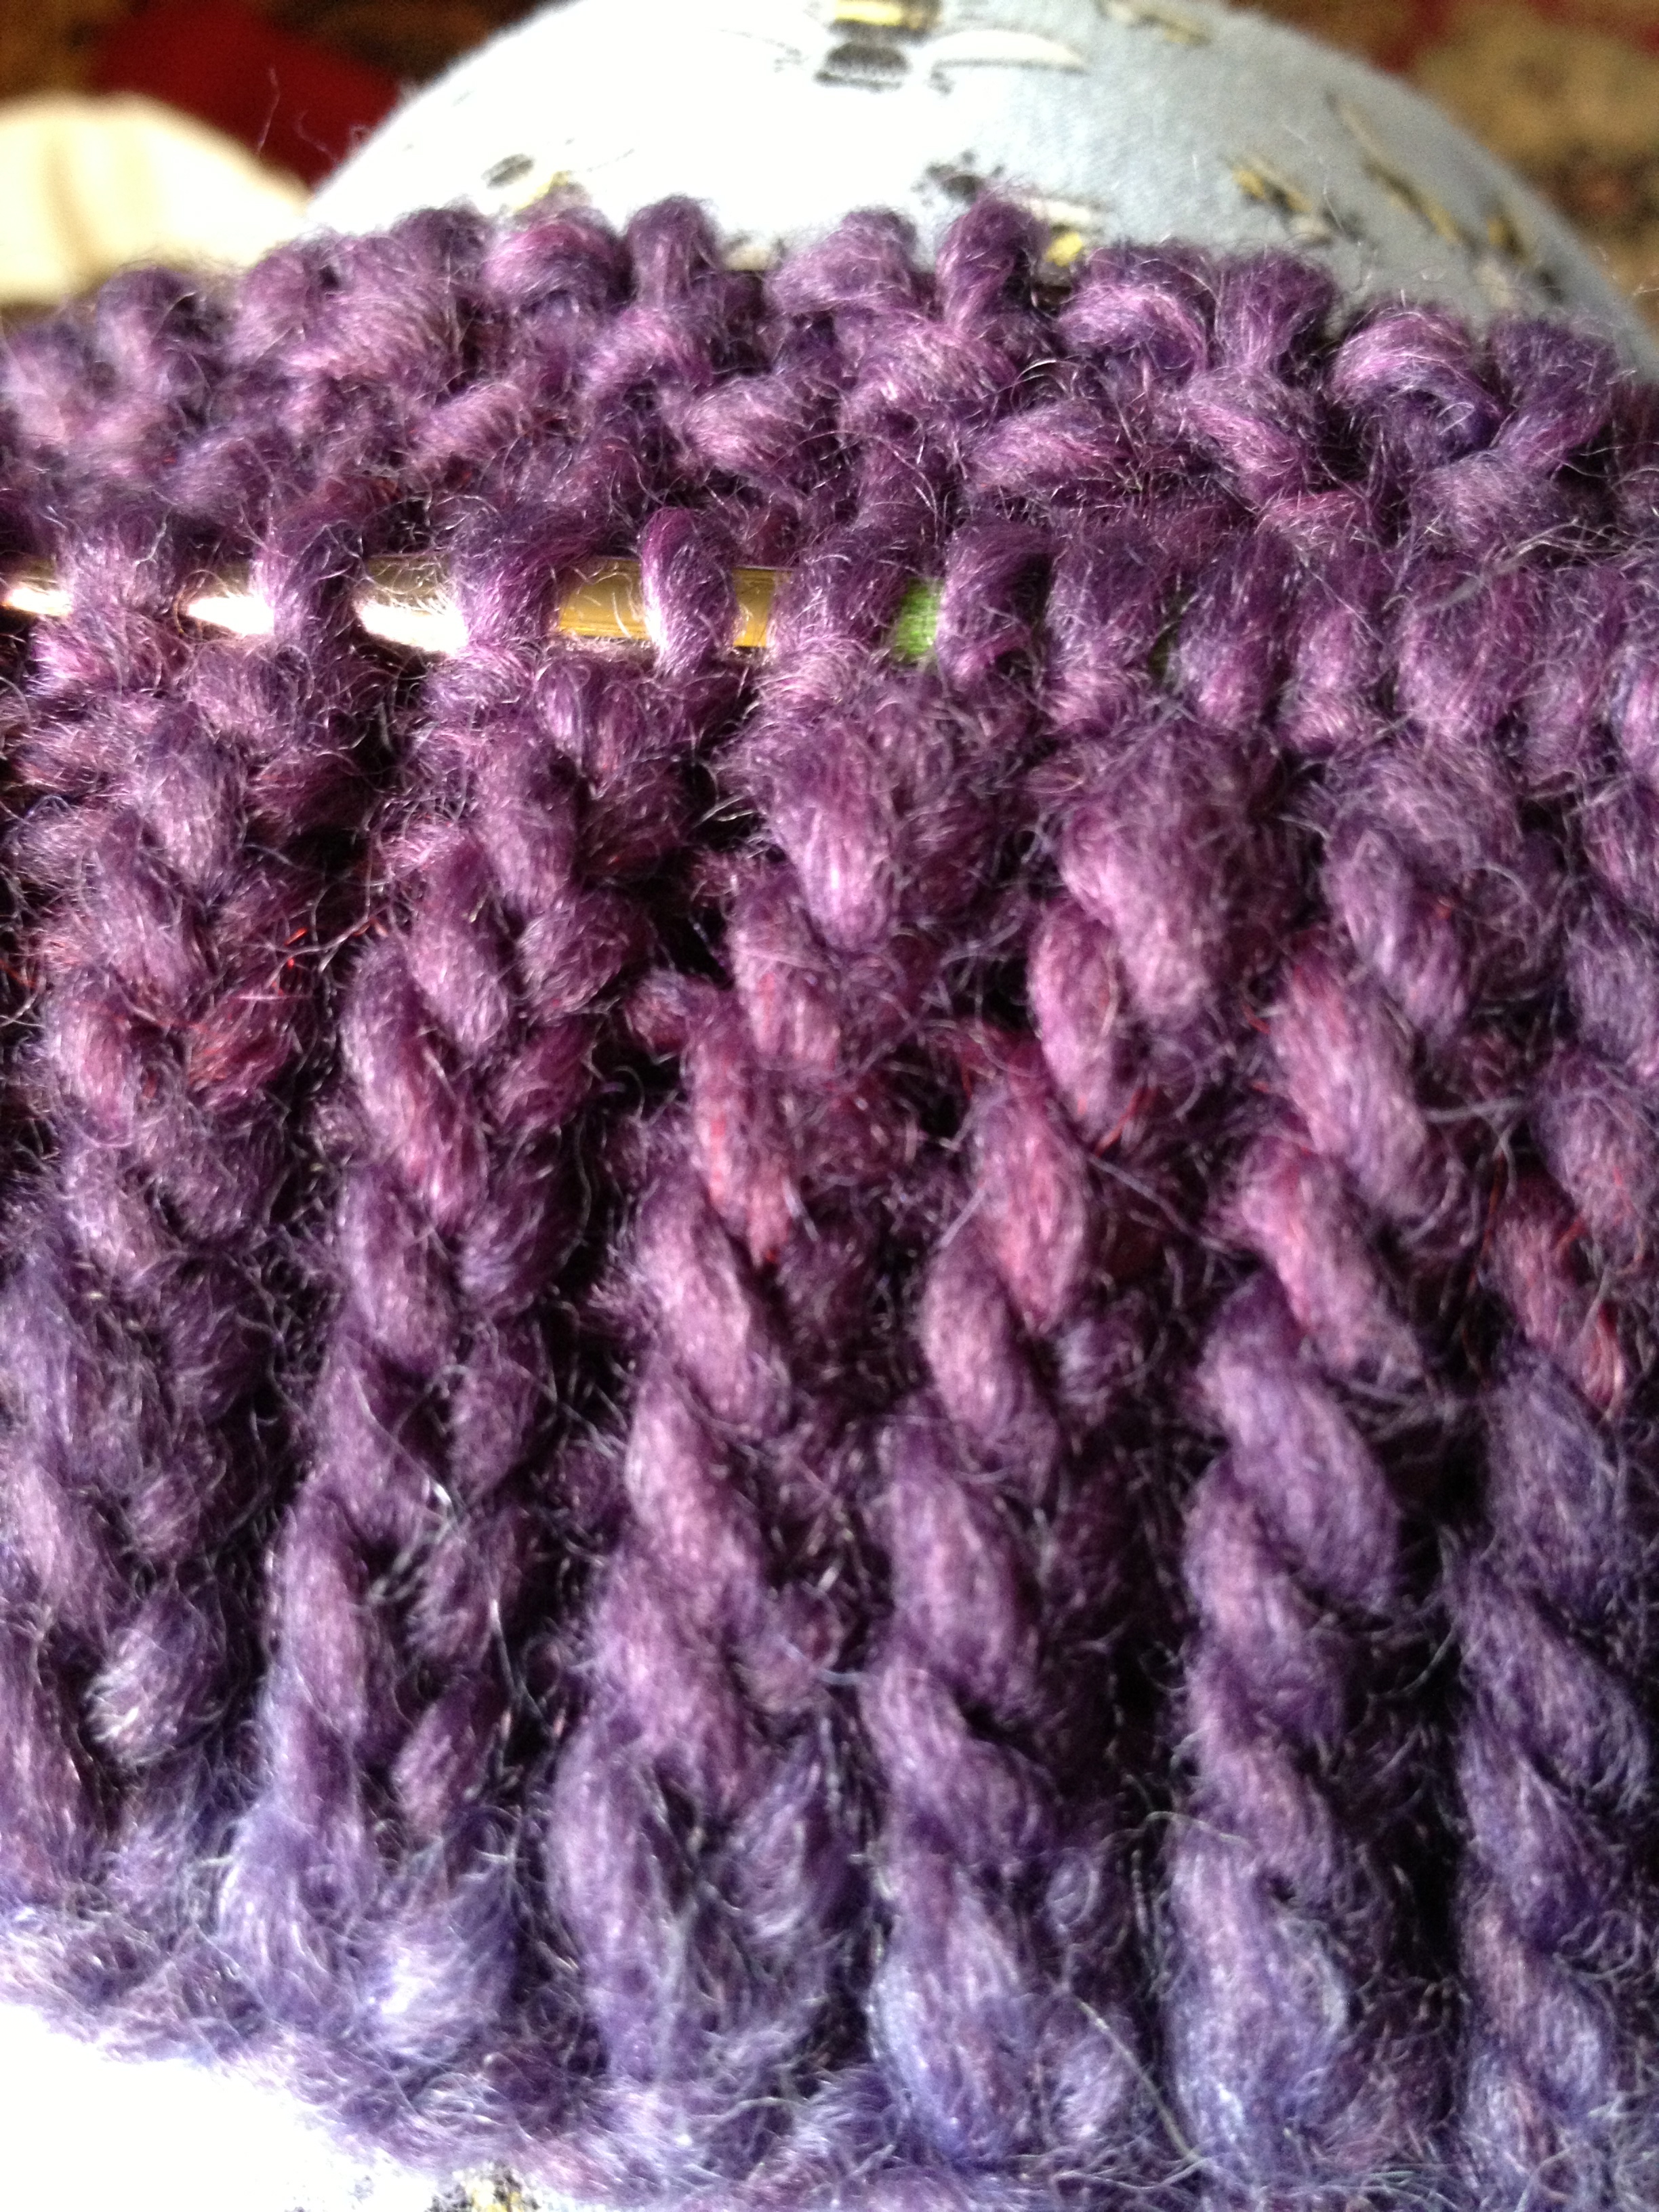
I haven’t been crocheting for very long but this pattern is a simple single crochet and it’s made up in a spiral. The directions are clear and detailed enough to help the novice crocheter (like me!)

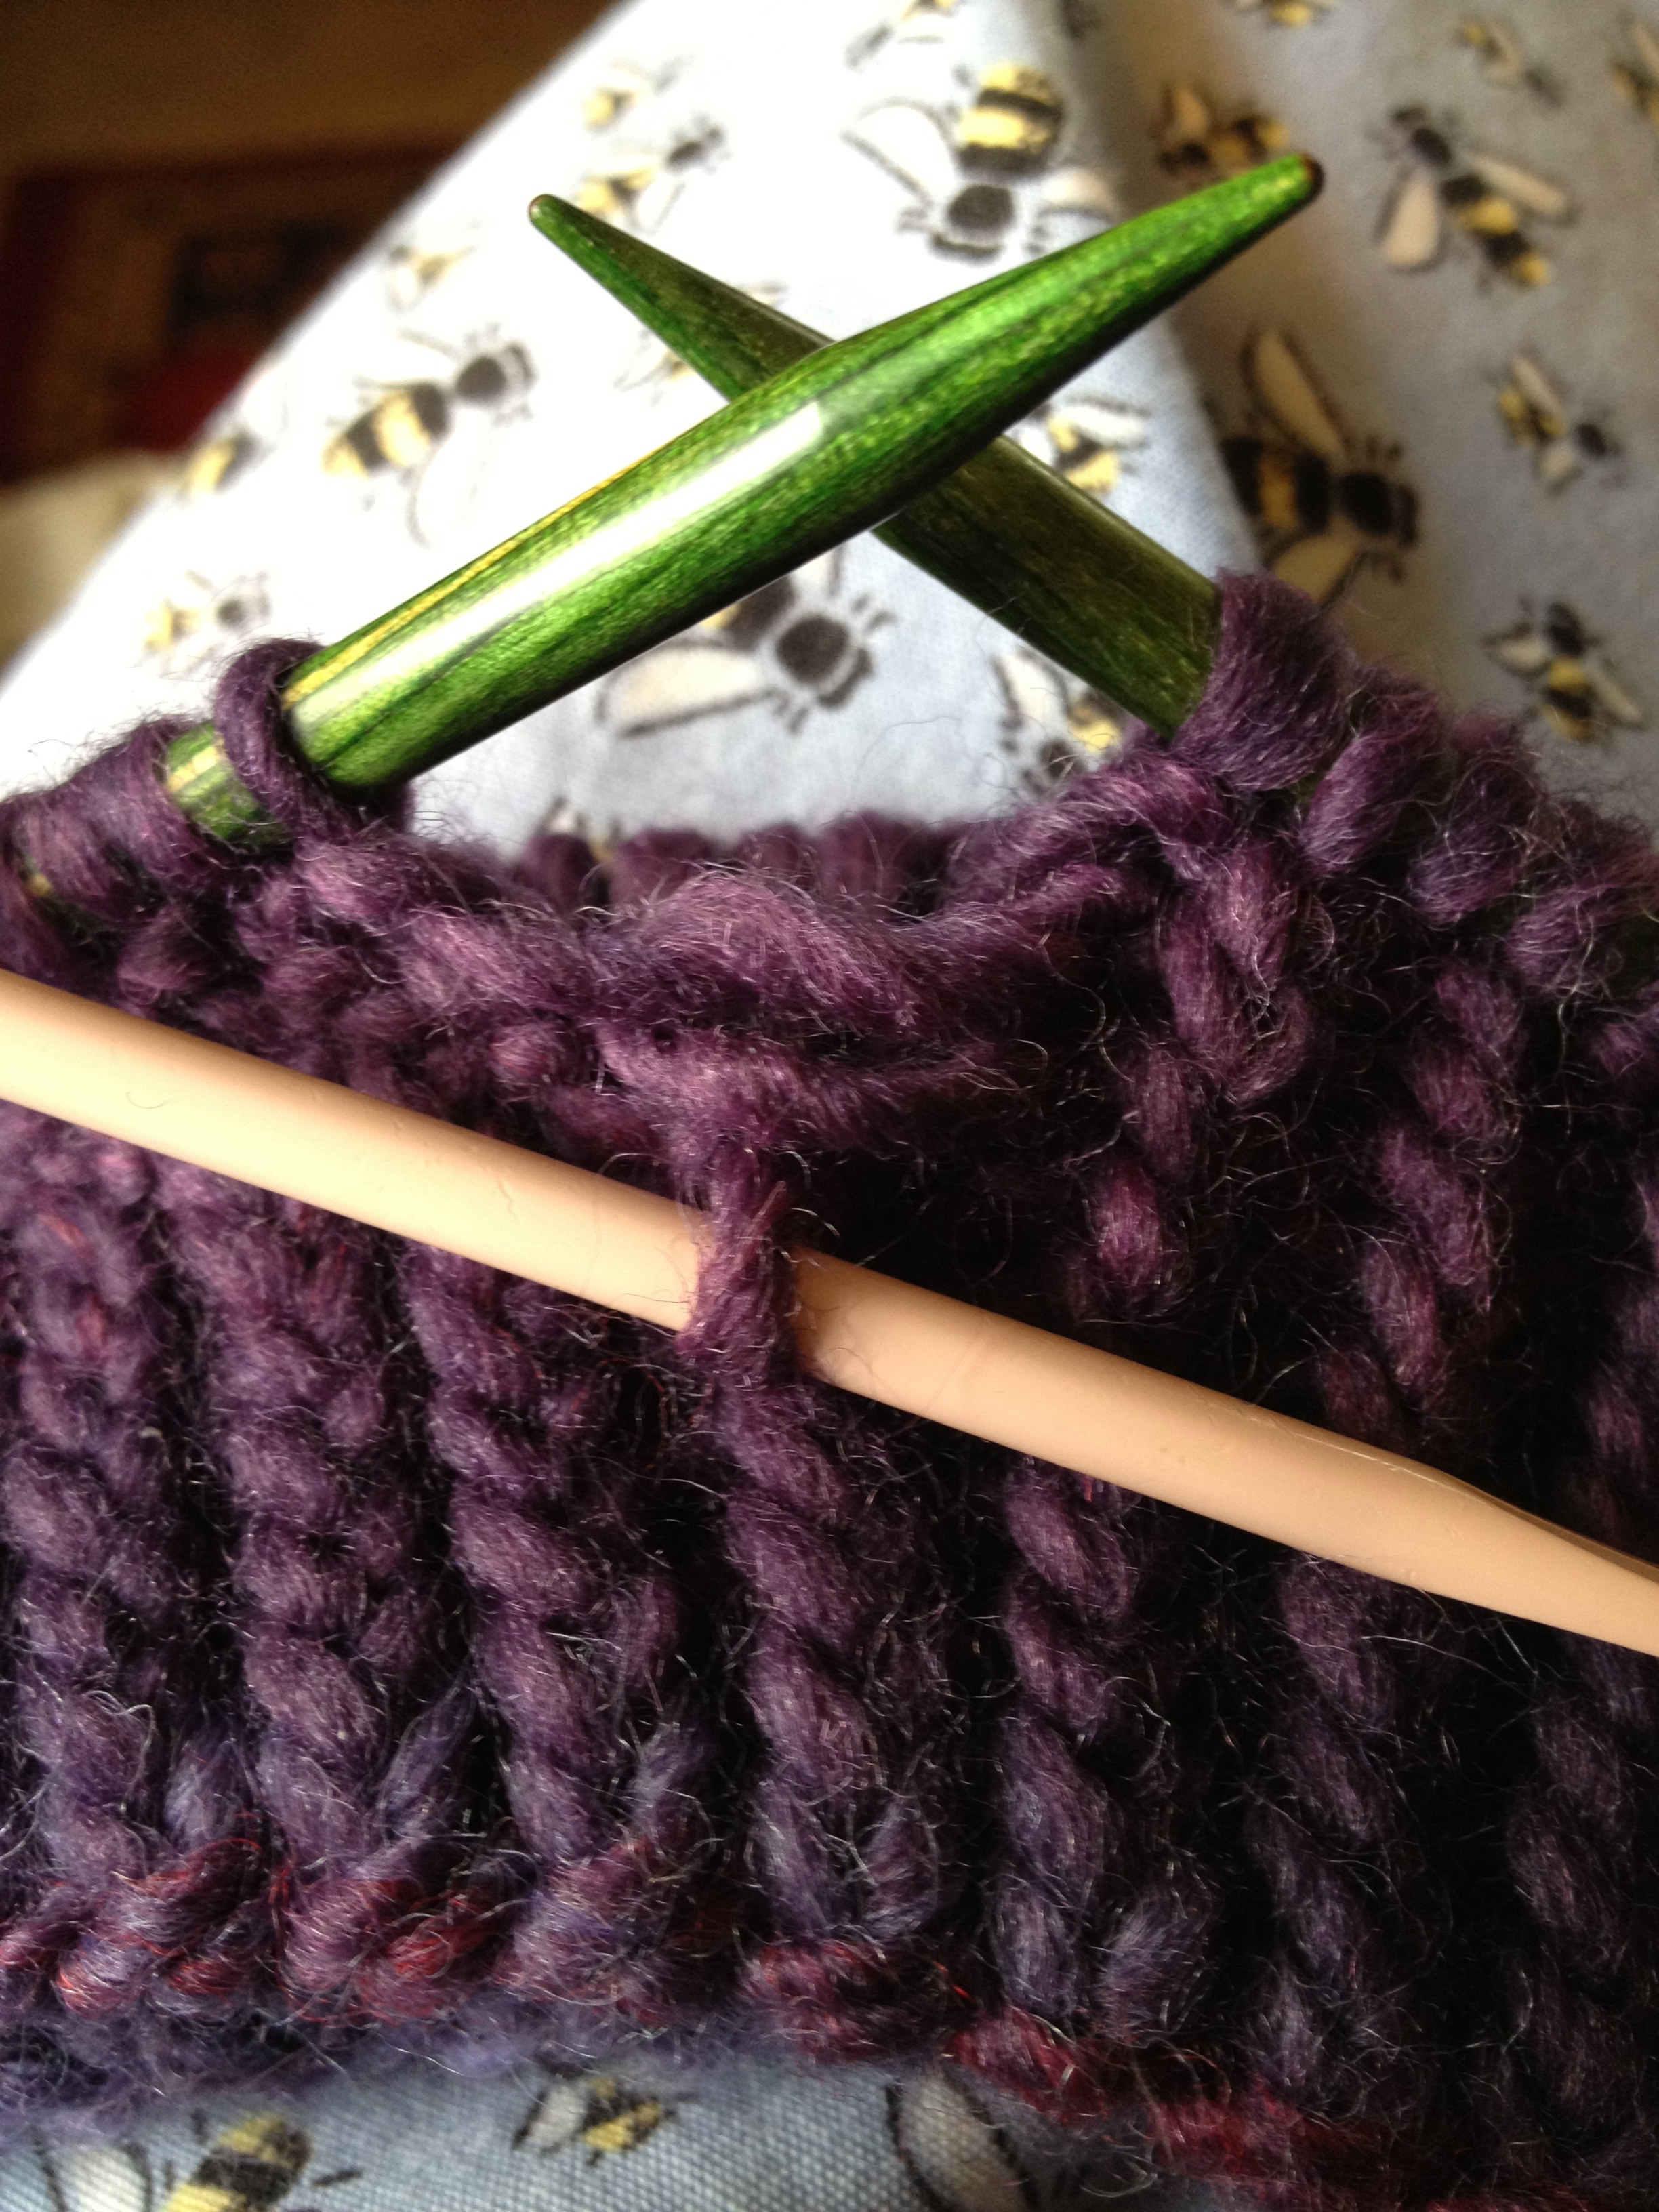
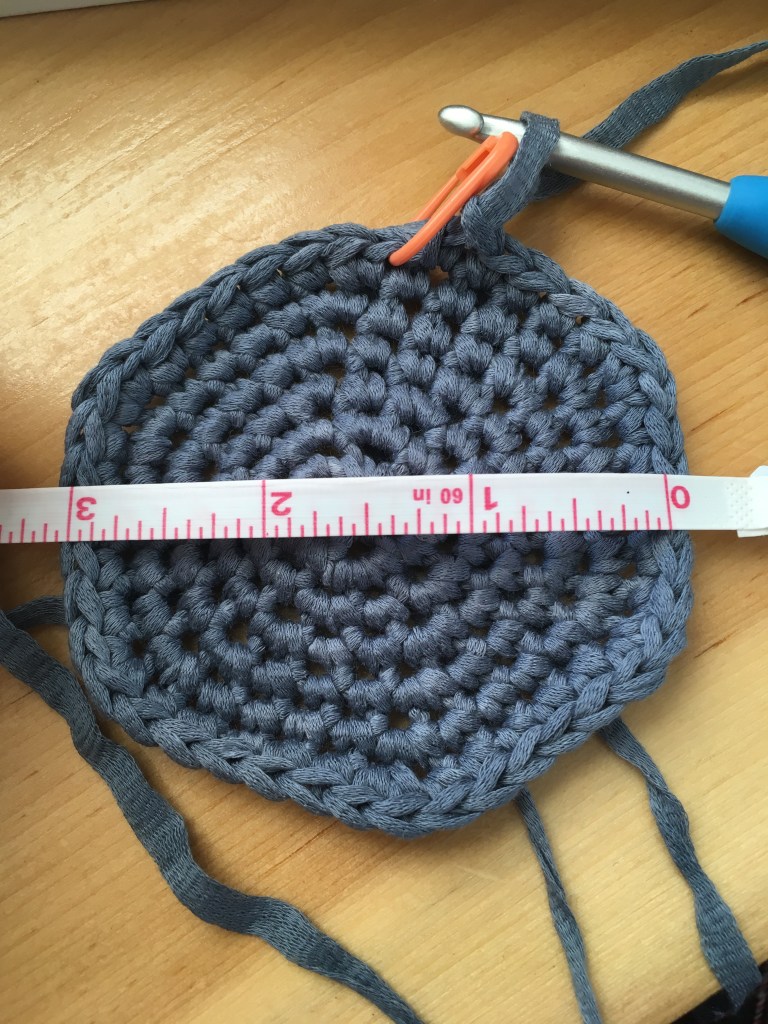
I started my hat with an I I5.5mm) crochet hook because, don’t forget, I started out making the Cleo Wide Brim but I ended up going down to an H (5.0 mm) because at the first measuring spot, I was a bit too loose. Don’t judge. Once I changed to the H, I was right on the measure. It’s a good spot to do a “gauge” swatch because the first part of the hat to the first measuring spot is only a few rounds.

the first measuring point … I was spot on with the H crochet hook and this yarn but even if I needed to adjust, this only took a short while to crochet and I wouldn’t have felt badly frogging and re-starting!

I did choose to use the fancy wire stuff that was suggested in the pattern to stiffen my hat brim. It was easy to crochet around (although the ends are rough and I did wrap them with some washi tape but they still popped out when I was steaming the hat to block it. It was readily available at Home Depot and my husband happened to be going there so I added to his list.

I braided a nice long section of the Estiva to tie around my hat because I don’t have a piece of leather or a skinny belt. I like the one color look, honestly, and I am quite pleased with this hat. I think I’ll be wearing it a lot this spring and summer. I have trouble driving with my sunhat but this hat should be ok in the car, too.

All the details are on my Ravelry project page. I’m lindar on Ravelry. Gone knitting!

I Hate it When This Happens!

I was happily knitting along on my Twisted Rib Hat when all of a sudden I noticed this …

I Hate it When This Happens!

I Hate it When This Happens!

Can you see how I’ve goofed up the pattern?

Simple as it is, I have knitted when I should have purled and purled when I should have knitted. And it’s actually not the top most row that I’ve just finished either! So, in this case, what does one do?

I thought briefly about pulling out my needles and ripping back a couple of rows. But with the twisted rib, and only about ten or maybe a few more stitches in the mix, I figured it may just be easier to fix it stitch by stitch. So, I un-knitted back to the stitch where I first got off course and dropped the first stitch.

The stitch on the pink crochet hook is the dropped stitch.

The stitch on the pink crochet hook is the dropped stitch.

Now, I have to fix it. Remembering that it’s a twisted rib, each stitch has to be twisted before pulling through the next yarn “bar” with the crochet hook.


Twist the knitted stitch(es) one half twist to the back or to the right before inserting the crochet hook

Twist the knitted stitch(es) one half twist to the back or to the right before inserting the crochet hook

And then you insert the crochet hook and pull the dropped stitch above it through from the back to the front (this is what you do when you’re picking up a dropped stitch, too.)

Pull the next stitch through from the back to the front. (You've inserted the crochet hook in from the front, too)

Pull the next stitch through from the back to the front. (You’ve inserted the crochet hook in from the front, too)

Now you take the new stitch just pulled through off the crochet hook and give it a twist just like the last time. Insert your crochet hook from the front of the stitch and pull through the next dropped stitch. You’re working from the bottom to the top, picking up a stitch for each row that you’ve dropped.

Put the new/fixed stitch back on the left-hand needleThen put the stitch on your left-hand needle (when there are no more to be picked up) and knit it – in this case, you’ll be knitting into the back of the stitch to give it that twist!

Since this is a 1 x 1 rib, the next stitch to be dropped and picked up is a purl stitch. You drop the stitch – you may have to give it a tug to get it to drop down below your mistake – and then I work the purl stitches from the wrong side of the garment. I turn the garment to the wrong side and insert the crochet hook from front to back just like I did on the knit stitch on the right side of the garment and pull through each dropped row of stitches (no twist on this one!). When you’ve picked up all the dropped rows, turn the garment to the right side and place the new stitch on the left-hand needle and purl it.

Next! Repeat this process for each of the “mistakes” …

All Fixed!

All Fixed!

There you have it! I had to fix about ten stitches – I probably looked away for a few seconds … it may be my little dogs’ fault! They can be so distracting! 🙂

Gone knitting!


Repairing Knitting

I’ve designed a baby blanket.

Long story short, I loved the blue color and the price of the yarn that I saw a while ago at JoAnn. I bought it and decided that rather than follow an existing pattern, I’d design one and add it to my Queen Bee Knits originals.

I’m on a seed stitch kick! I love seed stitch. I love the texture and I love the way the stitch feels when I am knitting. So, my blanket needed to have a seed stitch border. I also like “simple” for babies and didn’t want too many “holes” or lace in the blanket because baby fingers and toes get stuck in them. So, for the body of the blanket, I chose to do a simple stockinette stitch with a tiny lace row between the two.

I got the entire blanket finished and held it up … and there it was. A stitch right smack dab in the middle of the blanket had split and only part of the yarn formed the stitch and it looked like there was a gaping hole in the center of the blanket. UGH! (I think I may have said something I’d rather not type here!) So, because of the seed stitch and the lace, it wasn’t possible to drop one stitch and “zip” down to the mess. So, I “frogged” the seed stitch top border and the lace row and then zipped down to the mess and, with my trusty pink plastic crochet hook, stitched my way back up to the top. One row of lace and a few rows more of seed stitch border and it’ll be done again. This time without a hole in the middle.

I love that when I see a problem with knitting today that I can laugh at my mistakes and then solve the problem without a lot of drama. I love that there is relatively little drama in my life today – and when there is drama, it’s usually something that’s out of my control.

I’ll be publishing the pattern as a free pattern very soon. Just have to write it down!

Gone knitting (and finishing the blanket!) Photos coming soon!