FO – Sunday Morning Shawl by Espace Tricot

I have been knitting and knitting and I finally have some FOs to show for it. Finally!

When we went on vacation, I decided to give myself the gift of a new “vacation” knitting project. Three hours to Rhode Island, a week at the beach and three hours home to Maine. I can’t say that I got a ton of knitting done but I did knit some while we were away.

Sunday Morning Shawl by Espace Tricot

I have now finished my Sunday Morning Shawl by Espace Tricot. I used The Fibre Company’s Lore, 100% wool yarn, in a gorgeous mustardy yellow. The shawl design is simple and classic with a bit of twisted rib and stockinette and a wonderful row of bobbles. I loved knitting this shawl and I love wearing it now that it’s finished and blocked. I can’t tell you, though, that it was finished without drama.

I got to the twisted rib edging and was almost half-way through when I noticed the “line.”

The line – finger pointing for emphasis

I really thought that since it was for me that I could “deal” with the little problem so I continued knitting … and realized I couldn’t… deal with it.

Have you ever had a problem with a knitting project and thought you could ignore it and knit on? And the you realized that you couldn’t ignore it and needed to fix the problem? Well, that’s what I did – dropped down every other row where it was twisted when it shouldn’t have been and then pulled the stitches back up so I could knit on.

Almost fixed
Fixed! Finger to help you see there is no line! 🙂

I dropped about one hundred stitches down ten rows or so and pulled them up. As I fixed each stitch ans the line disappeared, I felt so much better about my work. The design is amazing, the yarn and color are perfect and I love this vacation shawl! I wore it to work for the first time today.

Gone knititng!

campfire

I’m the queen (bee) of the world! 🙂
Campfire Shawl by Versaciknits

This week saw the release of Lori Versaci’s VersaciKnits newest shawl pattern, Campfire.

I was fortunate to have been asked to test knit this beautiful pattern and with that was a request to knit it in Cashmere People Yarns, Cashgora Sport.

When I called Portfiber in Portland, Maine to order my yarn, I spoke with owner, Casey Rider, a friend and “camp counselor” at one of my favorite places on earth, Medomak Fiber Retreat. Casey is one of the most wonderful people I’ve ever known. I wanted my shawl to evoke the feeling you get when you wear a comfortable pair of worn-in blue jeans. I’d looked at the colors of Cashgora Sport on Portfiber’s website so I had some idea of what colors I liked but I also knew that the colors on the computer aren’t always like those in your hands. I counted on Casey to take my initial ideas and transform them into reality – and she did a magnificent job. I love the colors individually and together. While this shawl was a financial investment, it’s worth every single penny spent. I thoroughly enjoyed knitting every stitch (even the ones I had to frog and re-stitch because I can’t count!) and I love wearing it.

The pattern is clear and not at all difficult for even an adventurous beginner. Increases are always in the same space, There is some stockinette stitching which makes the pattern stitch areas worth knitting. The contrast between the patterns and stockinette are so satisfying. And the finished product is stunning … even if I do say so myself!

Campfire is made with three skeins of Cashgora Sport. I used Scree (natural), Toile (light blue) and Denim (darker blue). But you should check out the colors … they’re amazing! And the purchase of these yarns support the women in Tajikistan and Afghanistan who spin and dye it. Giving these women work means that they can support themselves and their families. Doing good.

For the month of May, you can also help Lori and Casey do some more good … Lori is donating 100% of pattern sales to Vinylhaven Community Outreach, a non-profit supporting the needs of people on this Maine island that depends on the lobster industry that has taken a big hit during this Covid-19 pandemic. Portfiber (Casey) is donating 20% of Cashmere People yarn sales during the month of May to Full Plates Full Potential, a Maine non-profit that provides breakfast and lunch to Maine children even during this pandemic.

Let’s do some good~ Gone knitting!

Thursday Update

Yesterday

Yesterday was a beautiful sunny day and today is not. It’s overcast and gray and the wind is blowing off the lake which makes it cold. I’ve spent the better part of the day in my studio working on several projects.

First job was to call and email and text my class to announce, officially, that all of our classes have been cancelled until at least the end of the month. That’s twelve days at the least. And I’m thinking it’s going to be months instead of weeks. I sure hope I’m wrong! I have the most wonderful group of students. I know I’ve written about them before, but I mean it sincerely. I am really going to miss our Friday gathering.

I am working on a couple of projects … I was supposed to be finishing UFOs but I have cast on a couple of new “corona virus” projects. One is t a MKAL (mystery knit along) that we’re doing at Yardgoods Center. Clues are posted every morning at 8 to our facebook page.

Clue 1: Worsted weight bits and bobs of yarn. US 10 needles. Cast on 225 stitches

Clue 2: Knit 4 rows of garter stitch

Mine is cast on and knitted. That was my second order of business today.

Part 2 in process

Next I finished the second day of Arne and Carlos’s Quarantine KAL. While we don’t really know what we’re knitting, the small squares in Fair Isle is comforting and really makes my mind focus on the yarn and stitches that my hands are making. It’s a wonderful way to get lost in the process and it’s so comforting. I started off being behind and I’m still behind – as part 4 is being released today and I just finished part 2. Oh well. It’s all good, right?

I”m moving ahead with my test knit for Lori Versaci of Versaciknits. I am really loving the Cashmere People yarns that I am working for. Casey at Portfiber picked the perfect colors to make it feel like a comfy pair of jeans which was exactly what I was thinking for the feeling of this piece. This afternoon I will finish the second stockinette section and start on the next part. It’s not a difficult knit but it does mean that I have to be awake enough to count. I hope to make some good progress this afternoon and I will show you pictures when I get permission to do so. I love Lori’s designs. They’re classic, tailored and they’re brilliantly put together. I’m wearing the sweater that I test knit for her today … I’m going all in with comfy these days!

So, there you go. What we’re up to today. Day four, really, but also day six … it depends on when you started counting. I’ve mostly been in the house since Friday evening, 3/20/2020. While it’s still not “normal” it is feeling a bit less bizarre. We are settling in.

Gone knitting!

You can follow my knitting projects on Ravelry, “lindar”; on Facebook, QueenBeeKnits by Linda Warner and Instagram @QueenBeeKnits.

A Hare Pair (Rabbit Hat by Jane Terrza)

IMG_4456I have had this ball of white-ish yarn (Oasis Farm Fiber Mill “Bunny Yarn”) in my stash for years. It’s tried to be a scarf a couple of times and, subsequently, frogged. I had set it aside because I didn’t know what it wanted to be. Until I saw the Rabbit Hat by Jane Terrza on Facebook one morning a couple of weeks ago.

I have two adorable nieces in northern California and I just HAD to make the Rabbit Hats for them for Easter!

I used the following yarns from my stash for the hats: Oasis Farm Fiber Mill Classic Bunny in white. I had two skeins that I wound into one huge cake. I used about half of the two skein cake for both hats. (Don’t you love knitting for children and babies?) I needed something pink for the inside of the ears in a similar weight. I had a skein of Lorna’s Laces Sportweight wool in a very pale pink (pale pink colorway, I think) that I won in a contest for a soapbox package. It was perfect!

First Hat

First Hat

The first hat was the larger of the two and I made it as the pattern was written with a kitchener stitch graft at the top of the hat and reverse stockinette on the inside of the ears (the pink part).

Reverse stockinette inside the ears

Reverse stockinette inside the ears

The pattern was easy to follow and the hat is adorable. The hat is knit in the round and the ears are knit in two pieces each from stitches placed on stitch holders. Once knitted, the ears are seamed. Easy enough.

What I found “awkward” was that all of the decreases for the ears were all done as K2tog. It seemed to me that the top of the hat could be more easily seamed with a 3 needle bind off rather than kitchener stitch and be nearly as pretty (and take a lot less time to seam). I guess it will be up to you to decide what you want to do but I wanted to share with you what I did with the second little hat for the baby sister!

Hat 2

Hat 2

I knit the hat just as the pattern was written. (I happen to love a little rolled brim on a hat!)

The changes that I made came in the top seam and the ears.

For the top of the hat, I did a 3 needle bind off. Next time I would turn the hat inside out first but I am not unhappy with the little seam on the top of the hat. I took a bit of time to adjust the stitches onto holders … I had to knit the first six stitches to get the yarn into the right place to bind off the top of the hat but otherwise, it was a cinch!

I knit the ears with a K2tog (knit two together) decrease for a right-leaning decrease on the left sides of the ear pieces and a SSK (slip slip knit) decrease for a left-leaning decrease on the right sides of the ear pieces rather than always using a K2tog decrease as written in the pattern. I think this looks a little bit prettier.  I also was thinking about treating the ear as one piece circularly and carrying the contrasting yarn across. I decided to seam them instead to save the yarn. (Hey! I am a Yankee at heart!)

Stockinette inside the ears … by mistake but it still looks cute.

Stockinette inside the ears … by mistake but it still looks cute.

Because it was the second hat, I wasn’t paying attention to the pattern directions and totally forgot about the reverse stockinette on the inside of the ears. As a result, they are stockinette stitch. And it’s fine. Bonus! I find the seaming easier this way.

Since I was using natural fibers, I steam blocked both hats and made sure the pink insides of the ears were “hugged” by the creamy white backs of the ears all around. I think they are adorable and can’t wait to see my little nieces wearing them!

A Pair of Hare Hats … blocked and heading to California!

A Pair of Hare Hats … blocked and heading to California!

Which one do you like best? The pattern can be found on Ravelry and is a minimal charge … buy the pattern and support the designer!

Gone knitting!

Just So Bag by Andrea Babb

Lace Panel in ProcessLast summer I bought the yarn and pattern to make a Just So Bag. The bag was published in Interweave Knits, Winter 2012. (Back copies can be purchased on Ravelry.)

My knitting “teacher” in Maine had one in a light gray and it was very, very pretty. I wanted to make one for me. They didn’t have the yarn called for in the pattern in a dark gray (Rowan Pure Wool Aran) so we substituted Lambs Pride Worsted. Mine is in the Charcoal Heather color way. Theoretically, a good call. Practically, however, the mohair content … at least in my skeins … was very “fuzzy” and the beautiful stitches in the lace panels are somewhat lost.

If I were to make this pattern again, and I think I probably will, I would be very certain to use a yarn that was NOT fuzzy and in a lighter color. Both will show off the lovely lace in the end panels. And if you’re going to do all the work, you want to choose yarn that accentuates your stitches.

The pattern itself is very straight forward and, done with yarn held doubled, it’s a quick knit. My friend said it was difficult on her hands. It’s a very dense fabric that is constructed on relatively small needles. I had no trouble but someone who has arthritis may find this difficult to knit. One knitter on Ravelry was wise enough to do the body in one piece. Starting with a crochet cast on, she knitted the “front”, picked up the live stitches, knitted a row of reverse stockinette, the base of the bag, another row of reverse stockinette and finally the “back”. Smart thinking! I still don’t love seaming … do you? I’ll try this next time.

The lace panels on each end are gorgeous. They’re (thankfully) knit with a single yarn and much easier on your hands. I struggled with the chart, as did several of the others who have knitted the bag. If you’re not comfortable with carts, take the time to write out the entire chart. Save yourself! I chose not to. I battled the chart … it was a valiant effort and I won in the end.

The first time, I was working with dark gray yarn and dark gray needles. Not a good start. But like any good knitter, after several false starts (and frogging yarn with a lot of mohair “fuzz”), I tossed all the parts in the “naughty” closet and left it for almost a year while I worked on other projects. I wanted to finish it this summer and at the start I found it challenging but as soon as I changed my needles, I got it. I had to be mindful and watch the right side and wrong side of the panel. (I worked at home, alone, in a bubble and did a lot of talking to myself.) Once I got the rhythm of the lace chart, I was fine … except when I got to socializing and I consistently forgot the last yarn over. Oops!

I’ll post a picture of my bag when it’s completed. I still have to purchase supplies and manufacture my handles (or ask my better half to do so) but I’m eager to use the bag and I may even have my friend help me figure out how to sew pockets into it. Her bag, knitted with the same yarn, turned out beautifully and it’s not as fuzzy as mine. Go figure! I think the double-stranded sides will be stiff enough to give it some structure. One Raveler said she added a hard plastic bottom on her bag. That’s also a good idea. Once filled, the bottom sags a lot.

Gone knitting.

Writing Your own Pattern – A Scarf

This Princess Scarf article (that I cannot read) has a photograph of a lovely scarf on the Princess of Norway’s neck. It’s a variegated pink yarn that is quite lovely with the background being her black and white outfit. (I tried, I really did, to get the photo inserted here. No luck! That’s why you have to click and go to see the scarf. It’s worth it, I promise, it’s very pretty!)

So, the big question here is, how do you knit a scarf like this?

IMG_0310The first challenge, obviously, is to find a similar yarn. I’d suggest printing the picture and heading out to your local yarn shop. It doesn’t matter what “weight” of yarn you choose because I’m going to tell you how to write your own pattern. But what you do need to know is how to find yarn that will mimic the scarf so that you won’t have a scarf that looks NOTHING like the Princess’!

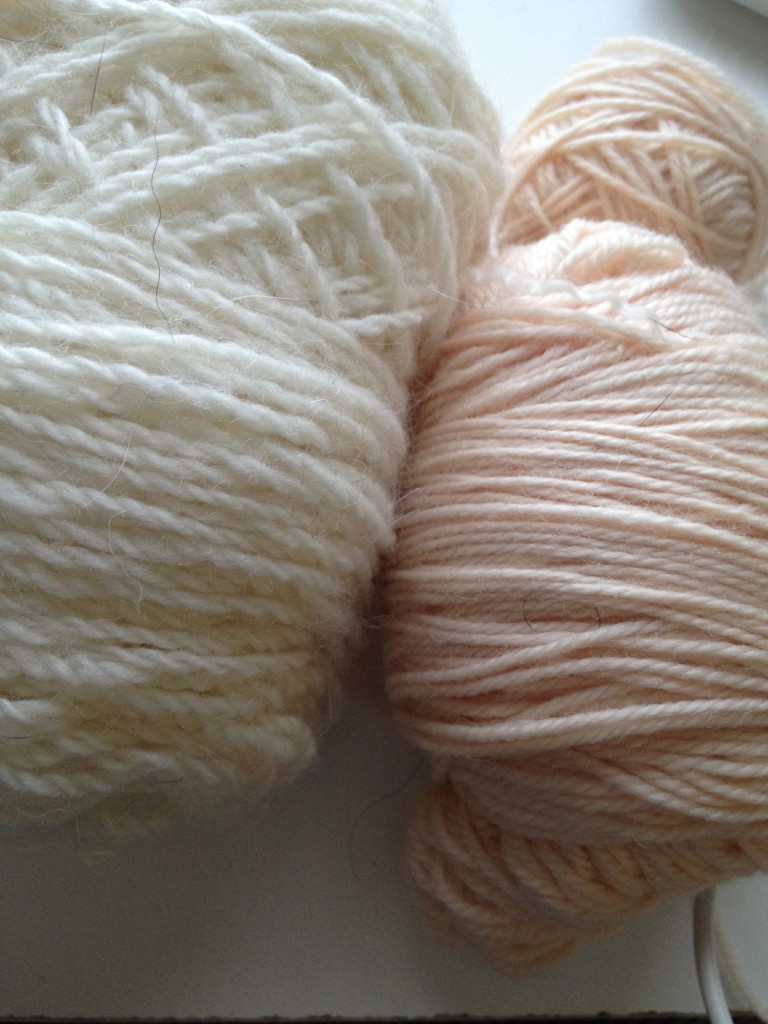
The “Princess” scarf has a short color change. The pink and pink or pink and cream colors are fairly consistent across the knitted cloth in short lengths and nearly looks like it is “tweedy” or “mottled”. So you’re going to look for yarn that has short color changes. This yarn looks like it’s a lighter weight than a “chunky” or “bulky” yarn and is likely worsted or sport or even sock weight. It’s also a smooth yarn rather than a “thick and thin” or “slubby” or “fun fur” or even of a fiber that has a “haze” like angora or mohair. If you like another color, this is the time to choose color wisely – make sure you love it!

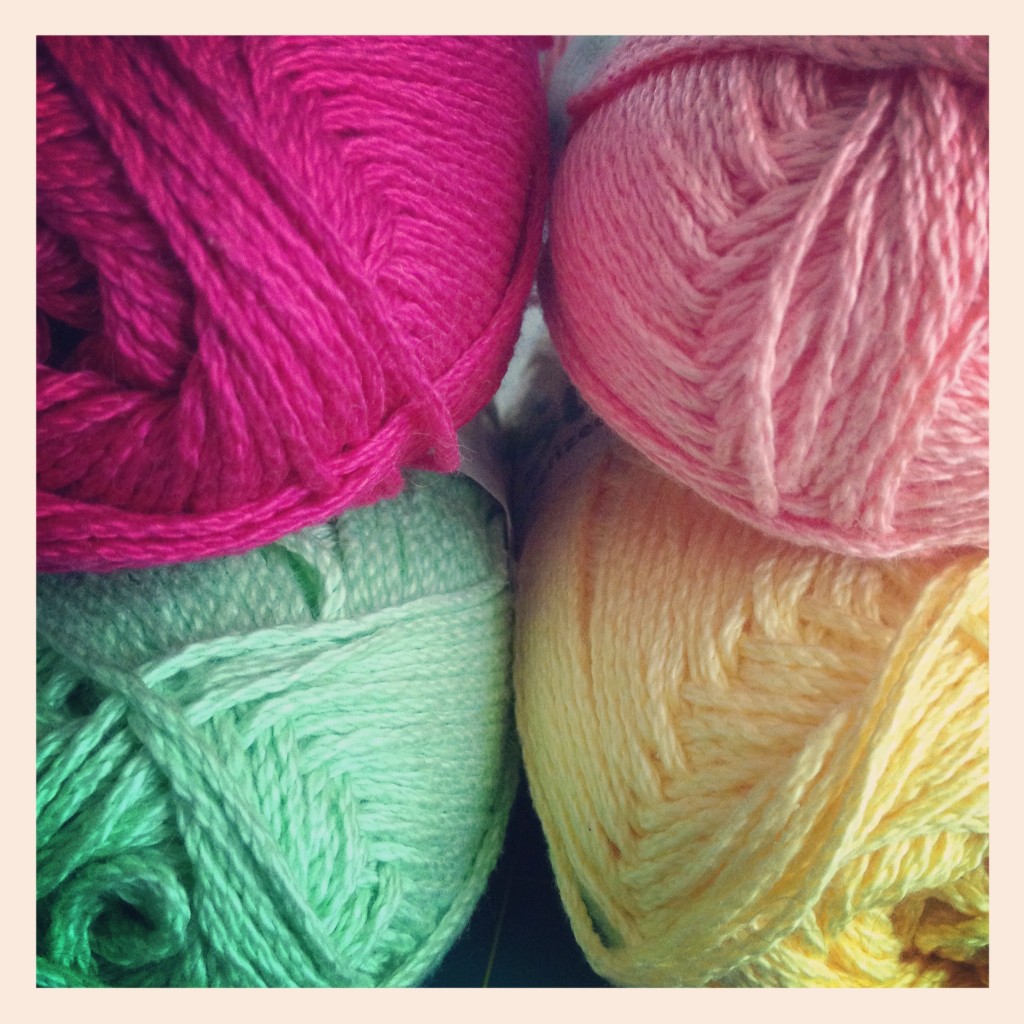
I went online to Jimmy Bean’s Wool and found a couple of different yarns that might work: Madelinetosh Prairie Short Skeins Yarn in Fragrant or Universal Yarns Bamboo Pop Yarn in Pink Joy. The first is a fingering weight and the second is a DK weight. Neither color is exactly like the Princess’, but both would work. Obviously, one will be lighter than the other. Take into consideration how cold it gets where you live! (I live in Florida and it’s not very cold here. Ever!)

needles
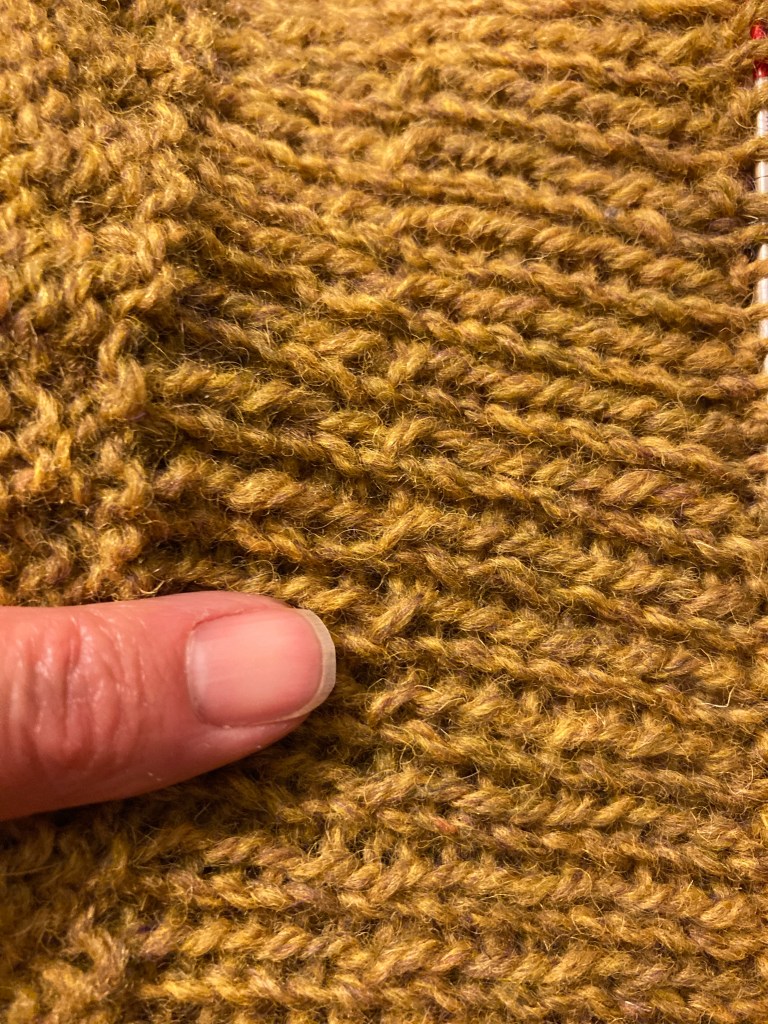
Once you’ve found your beautiful yarn, you need to match it with an appropriate sized needles. The Princess’ scarf is not lacy or open, the stitches are close together. The yarn band or tag will tell you the needle size recommended for your yarn. Sometimes there is a choice (it may say on a size 1-3 or 3-5). Next you need to mix up your yarn and needles by making a swatch. You can read my post about swatching here! And there is a great article on Knitty here. Now you’ll be able to see how your yarn is knitting up and see how many stitches you need to cast on!

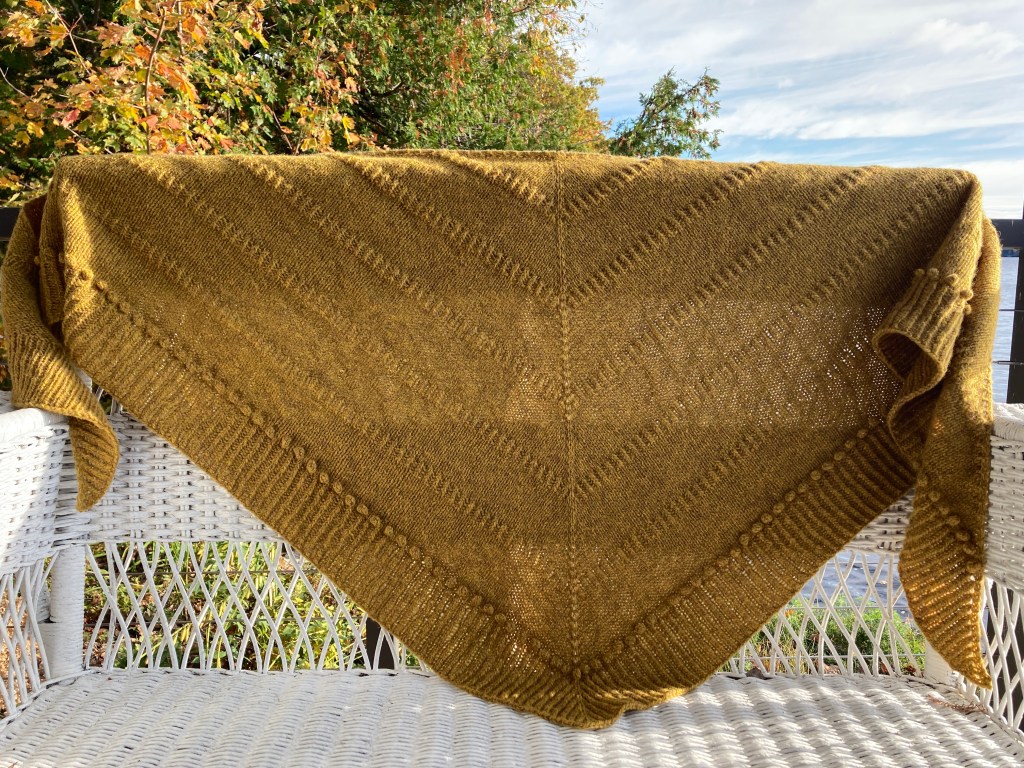
Now, it’s time to decide how wide you want your scarf to be. I’m guessing that the Princess’ scarf is about eight inches wide. But you can make yours as wide or narrow as you like (and you can even start, frog and start again if you don’t like it. I give you permission!)

The Universal Pop yarn says to use needles size 5-7 and I’ll get 5-6 stitches per inch. Measuring my gauge, let’s say I get 5 stitches per inch on my US 5 needles. And I want my scarf to be 8 inches wide. I need to cast on 40 stitches. (5×8=40).

For this scarf, I’m going to use a stockinette stitch (knit on the right side, purl on the wrong side) and I’m going to continue in this pattern throughout. It looks like the original scarf is pretty long – and I’m going to knit my scarf until it’s about the same length (or the length I like) and then cast off on the right side.

Ta Da! You have just designed your very own scarf!

A couple of tips …

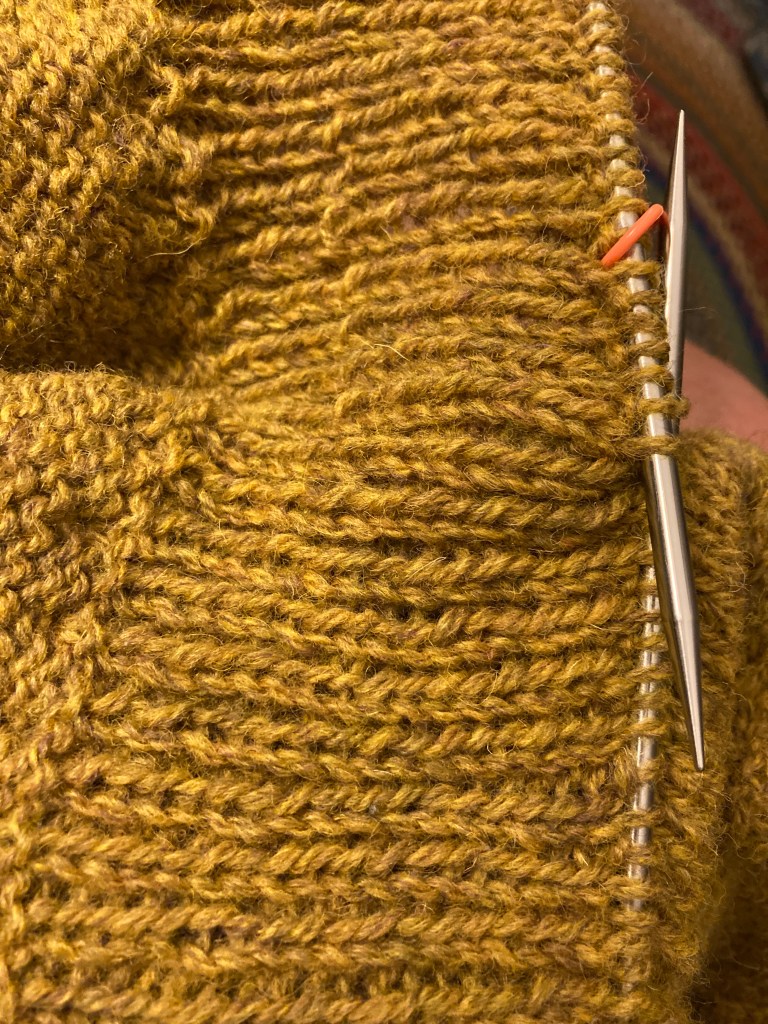
1. Your edge will be much prettier if you slip the first stitch in every row. Slip it purlwise or knitwise but be consistent!

2. Block your scarf! (See my post about blocking here!) It will hold its shape and the sides of stockinette stitch fabric are famous for rolling. Blocking will help it to unroll … but if you look at the Princess’ scarf, you’ll see it does roll a little bit! 🙂

Gone knitting!


Repairing Knitting

I’ve designed a baby blanket.

Long story short, I loved the blue color and the price of the yarn that I saw a while ago at JoAnn. I bought it and decided that rather than follow an existing pattern, I’d design one and add it to my Queen Bee Knits originals.

I’m on a seed stitch kick! I love seed stitch. I love the texture and I love the way the stitch feels when I am knitting. So, my blanket needed to have a seed stitch border. I also like “simple” for babies and didn’t want too many “holes” or lace in the blanket because baby fingers and toes get stuck in them. So, for the body of the blanket, I chose to do a simple stockinette stitch with a tiny lace row between the two.

I got the entire blanket finished and held it up … and there it was. A stitch right smack dab in the middle of the blanket had split and only part of the yarn formed the stitch and it looked like there was a gaping hole in the center of the blanket. UGH! (I think I may have said something I’d rather not type here!) So, because of the seed stitch and the lace, it wasn’t possible to drop one stitch and “zip” down to the mess. So, I “frogged” the seed stitch top border and the lace row and then zipped down to the mess and, with my trusty pink plastic crochet hook, stitched my way back up to the top. One row of lace and a few rows more of seed stitch border and it’ll be done again. This time without a hole in the middle.

I love that when I see a problem with knitting today that I can laugh at my mistakes and then solve the problem without a lot of drama. I love that there is relatively little drama in my life today – and when there is drama, it’s usually something that’s out of my control.

I’ll be publishing the pattern as a free pattern very soon. Just have to write it down!

Gone knitting (and finishing the blanket!) Photos coming soon!