This morning before the sun came up after a perfect sleeping night interrupted by my snoring partner. I’m grateful that we have a guest room or I’d have been relegated to sleeping on the couch! Fall is a welcome change for me and I’m loving the cooler weather and have pulled out my flannel shirts so they can de-wrinkle without ironing. Ha Ha. I’m putting away my linens and tees because it’s sweater weather!
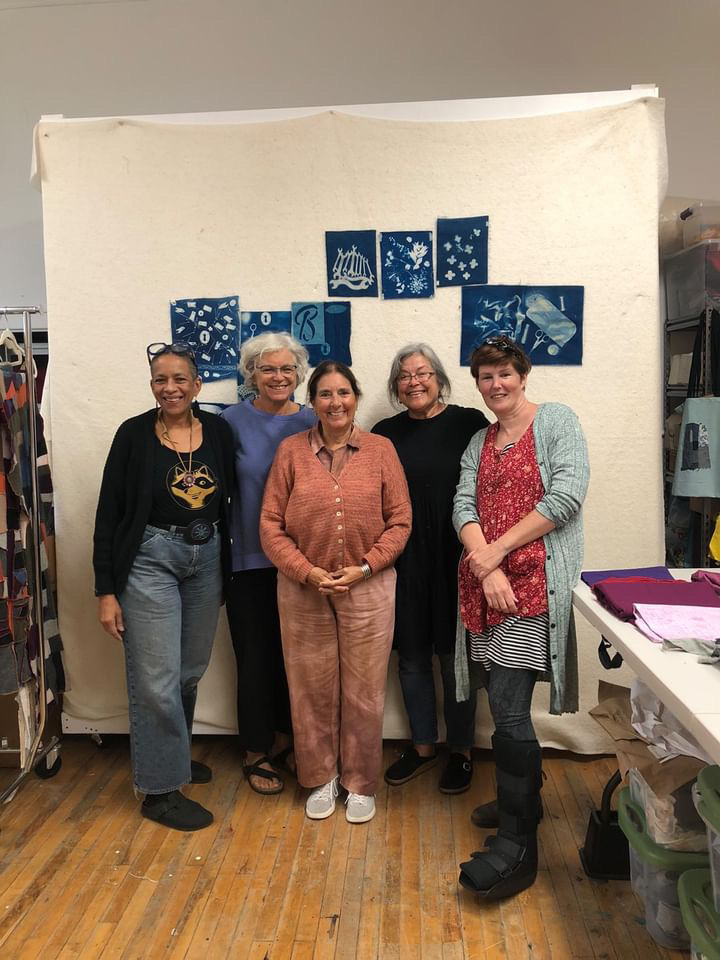
On Sunday I drove over to Rockland for a workshop with Katherine Ferrier at her Lincoln Street Center Studio at the suggestion of my friend Lori. The workshop was entitled Embracing the Mystery: Quilt Making and Cyanotype Prints. Cyanotypes are a photographic printing process that uses exposure to light to create its distinctive deep dark blue color.


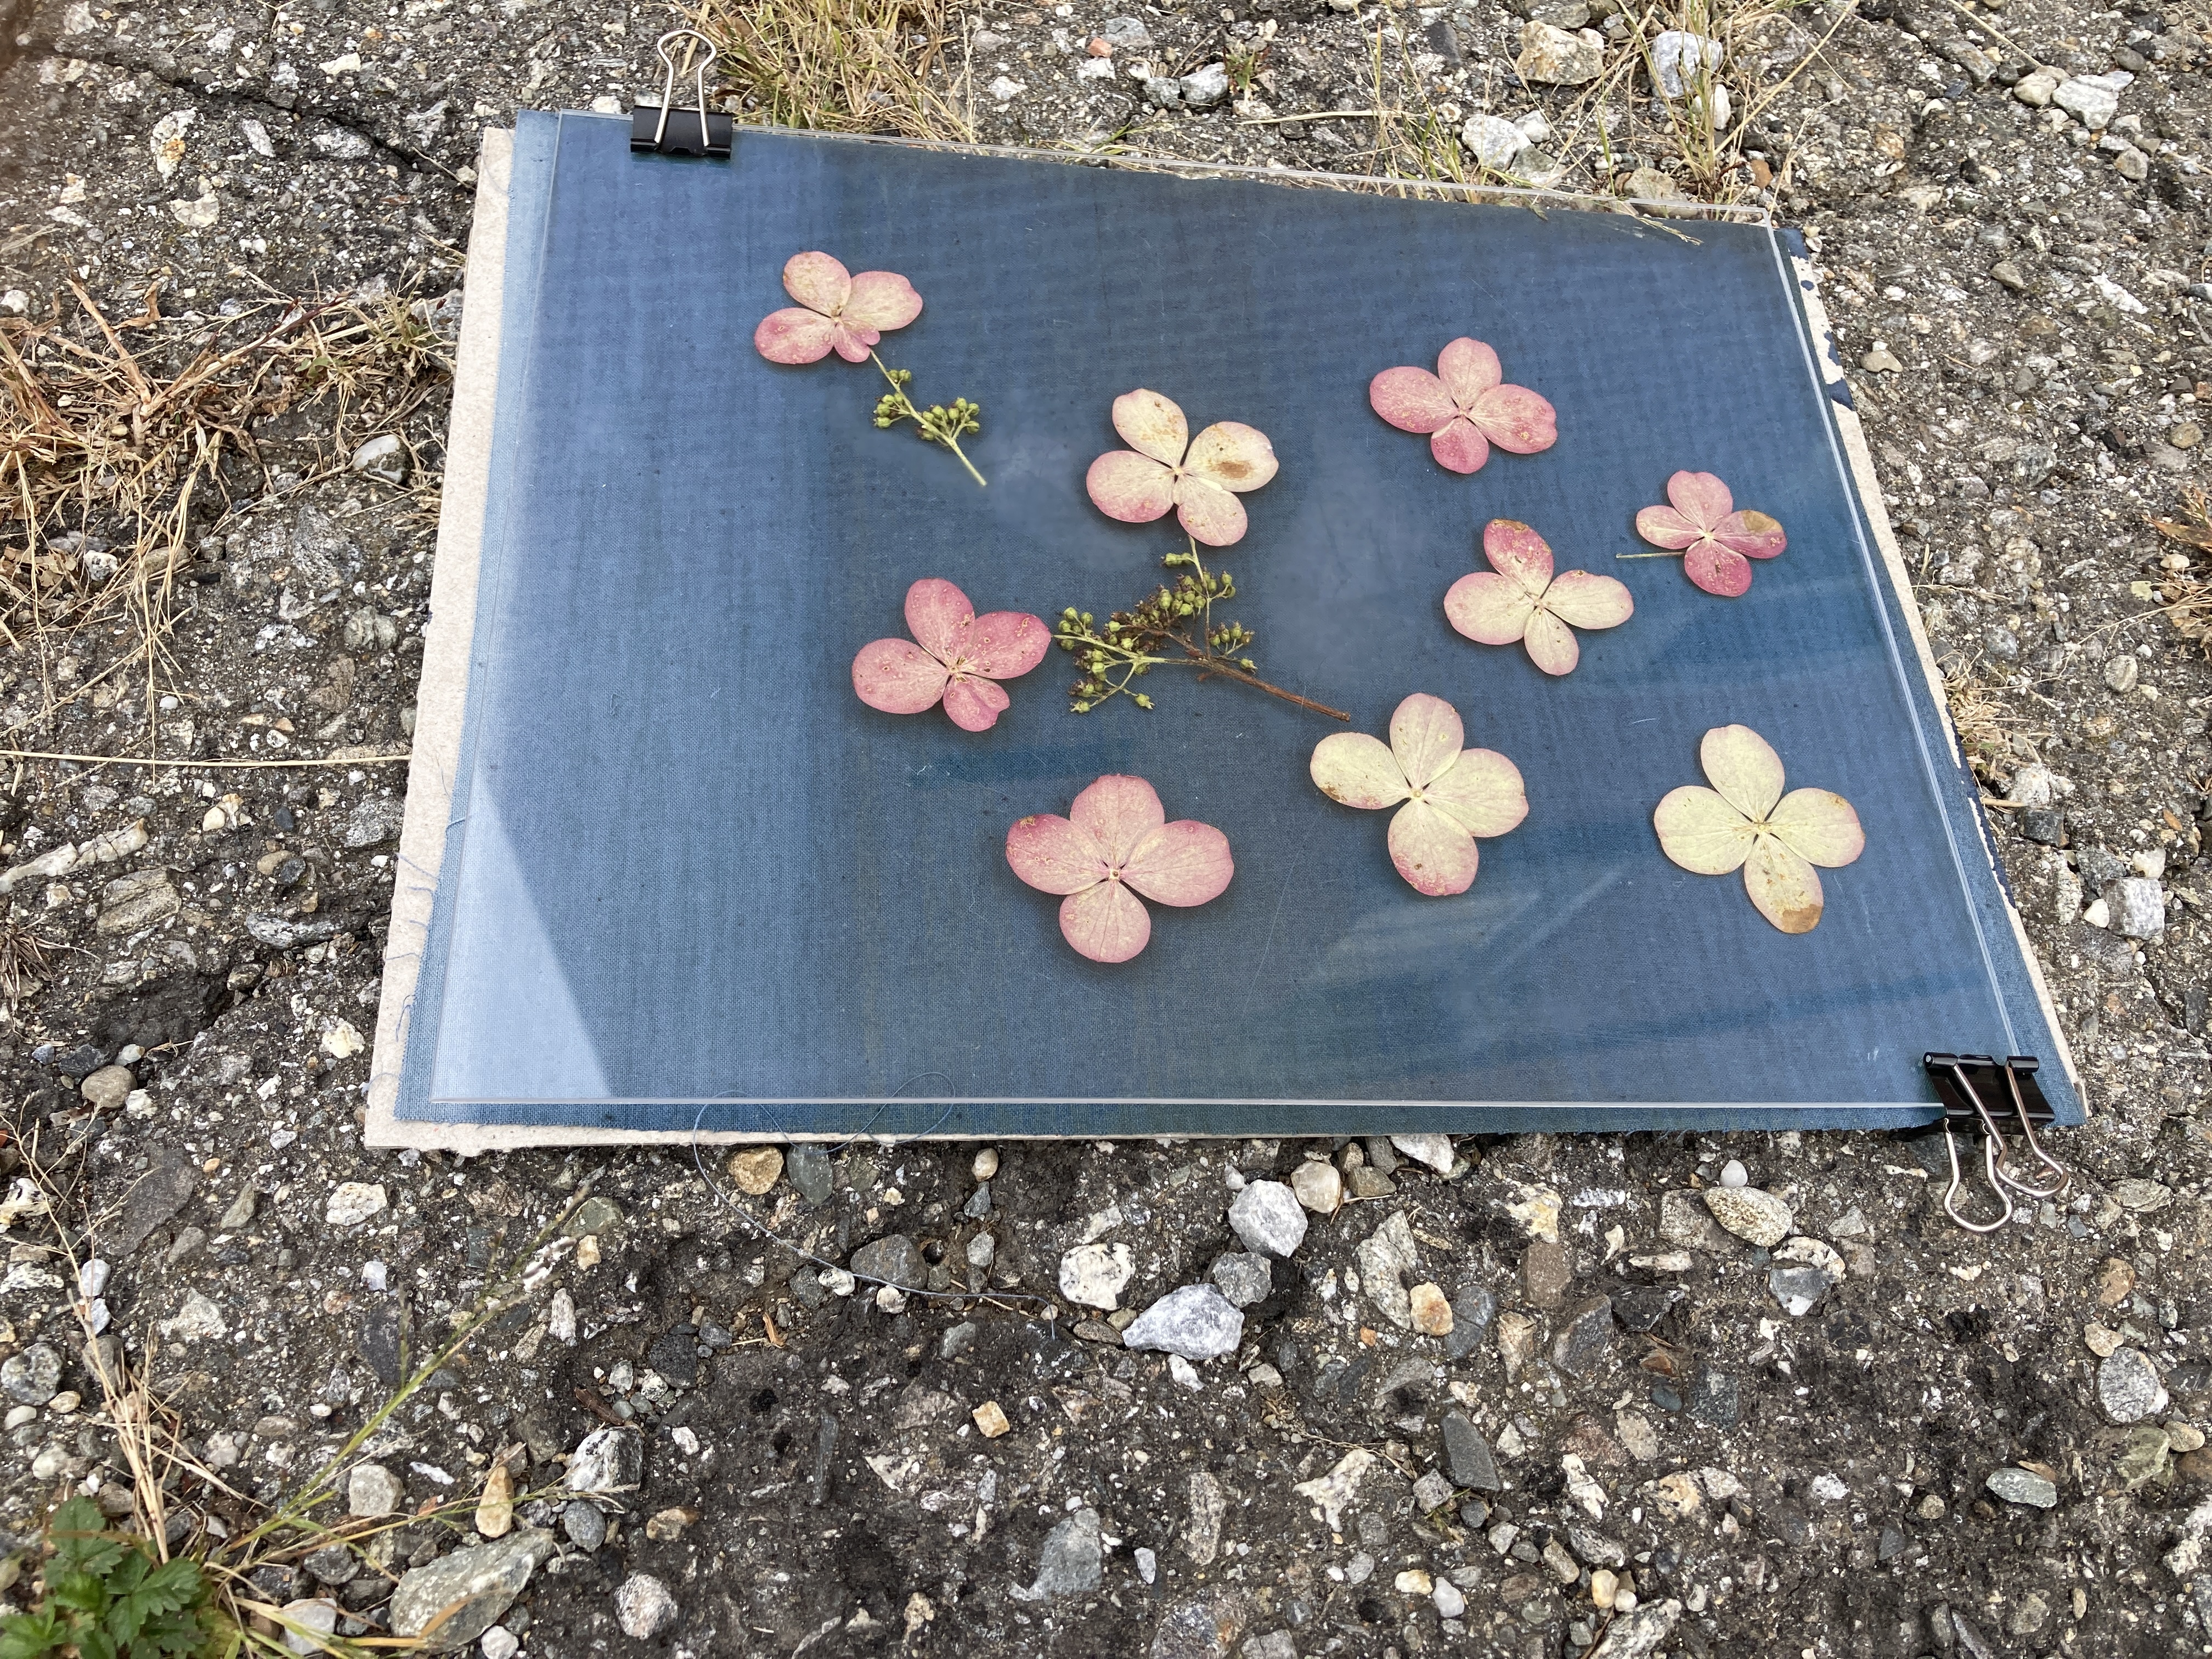


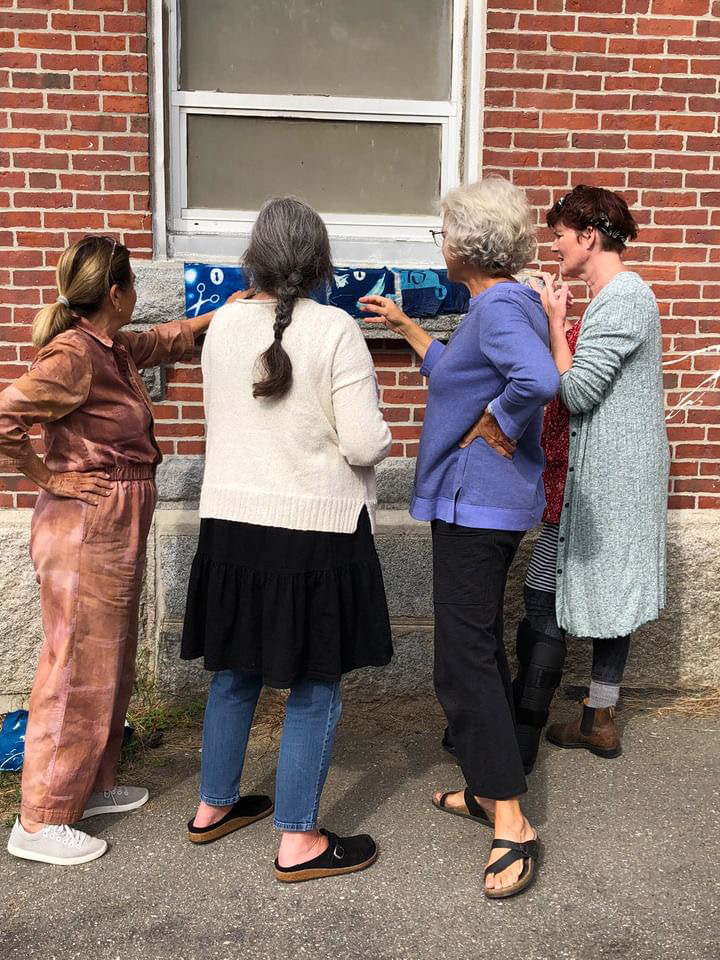
Our task was to design the prints, some just because and some with a prompt, perhaps telling a story and being willing to embrace whatever happened. It was a cloudy but bright day and that alone could make our results different than on a bright sunny day. We enjoyed the print making and getting to know each other so much. This was a remarkable group of creative maker women. I was inspired by their talents and I’ve already purchased some cyanotype fabric. If it arrives quickly, I plan to take it to a friend’s lavender farm this weekend to make some lavender prints!
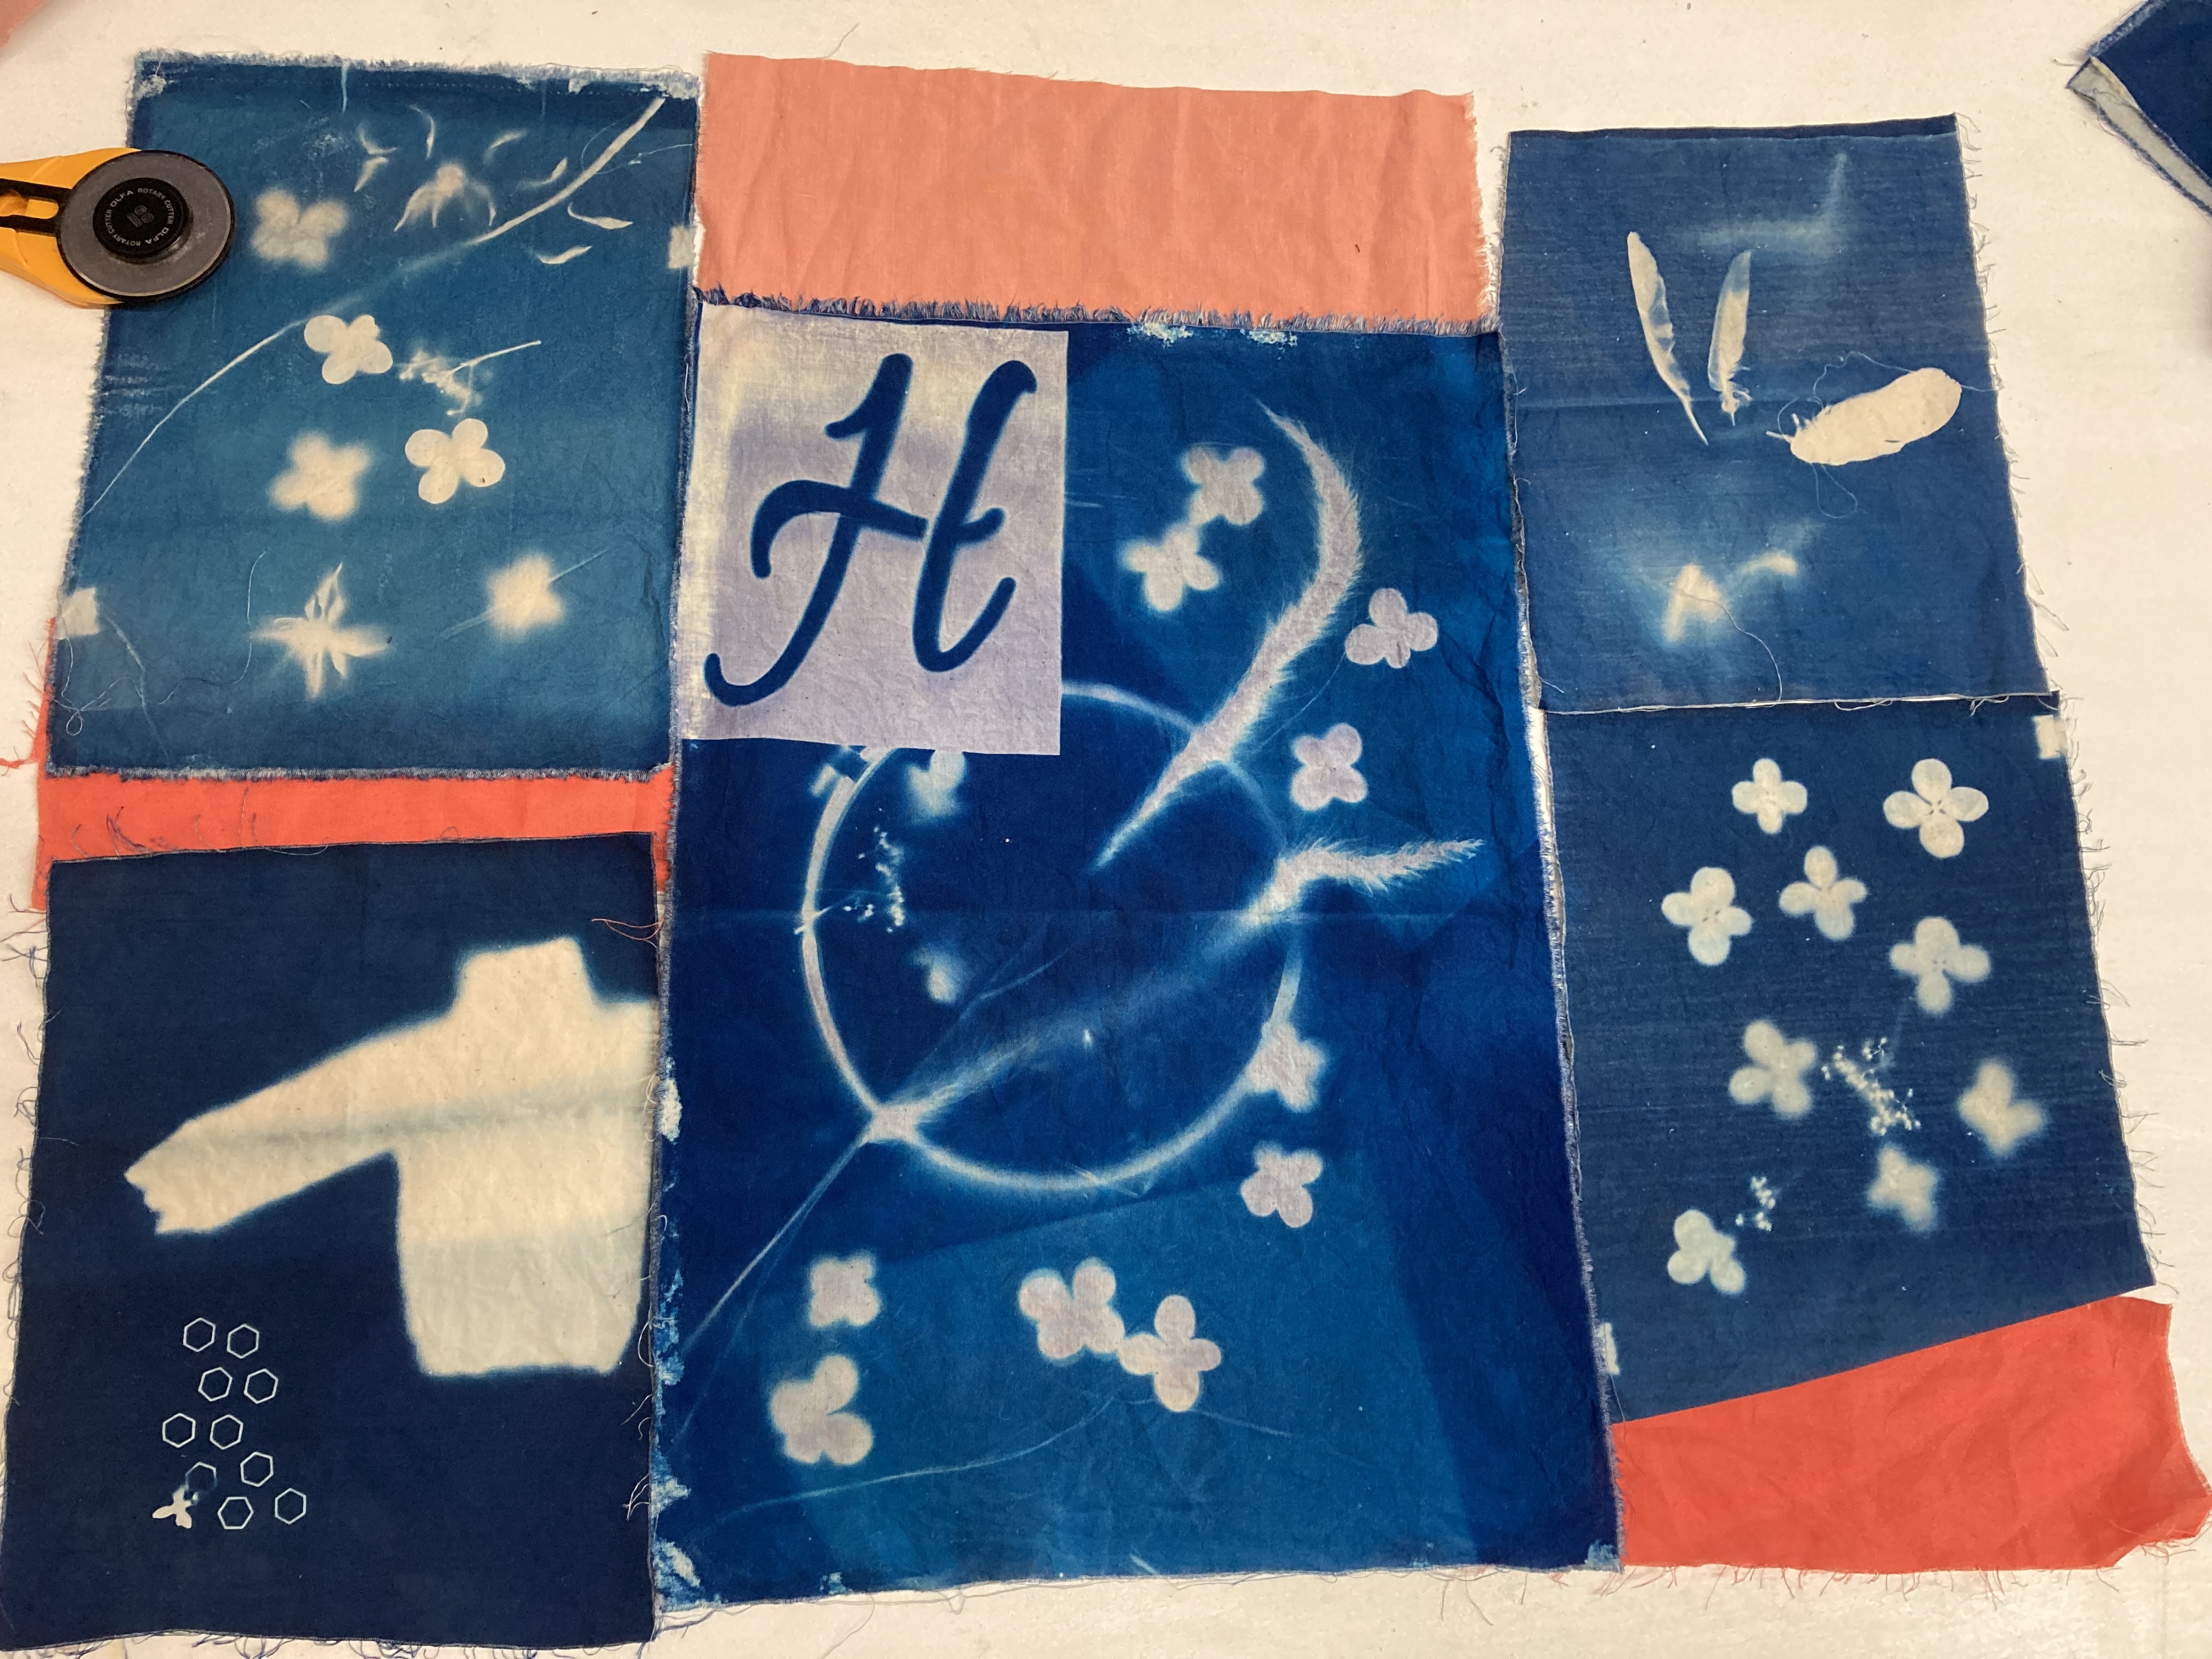
In the afternoon, we designed out quilts with our prints and some lovely scrap fabrics available from Katherine’s studio. I had originally thought I’d like to use just the cyanotype prints but with a little bit of guidance from Katherine and the beautiful orangey linen scraps, the final plan for my quilt top was made. And I love it!

It’s a long ride home so I took my photos of the quilt top and my fabric, batting, and backing fabric home with me with the promise that I would finish it and with three new friends. For the last couple of days I put the quilt together. I finished sewing together my quilt top on Monday. I made a few rookie mistakes because I’m new to patchwork sewing where not all of the pieces are square or the same size. Nor are they a planned pattern. I guess this is my first original patchwork design.
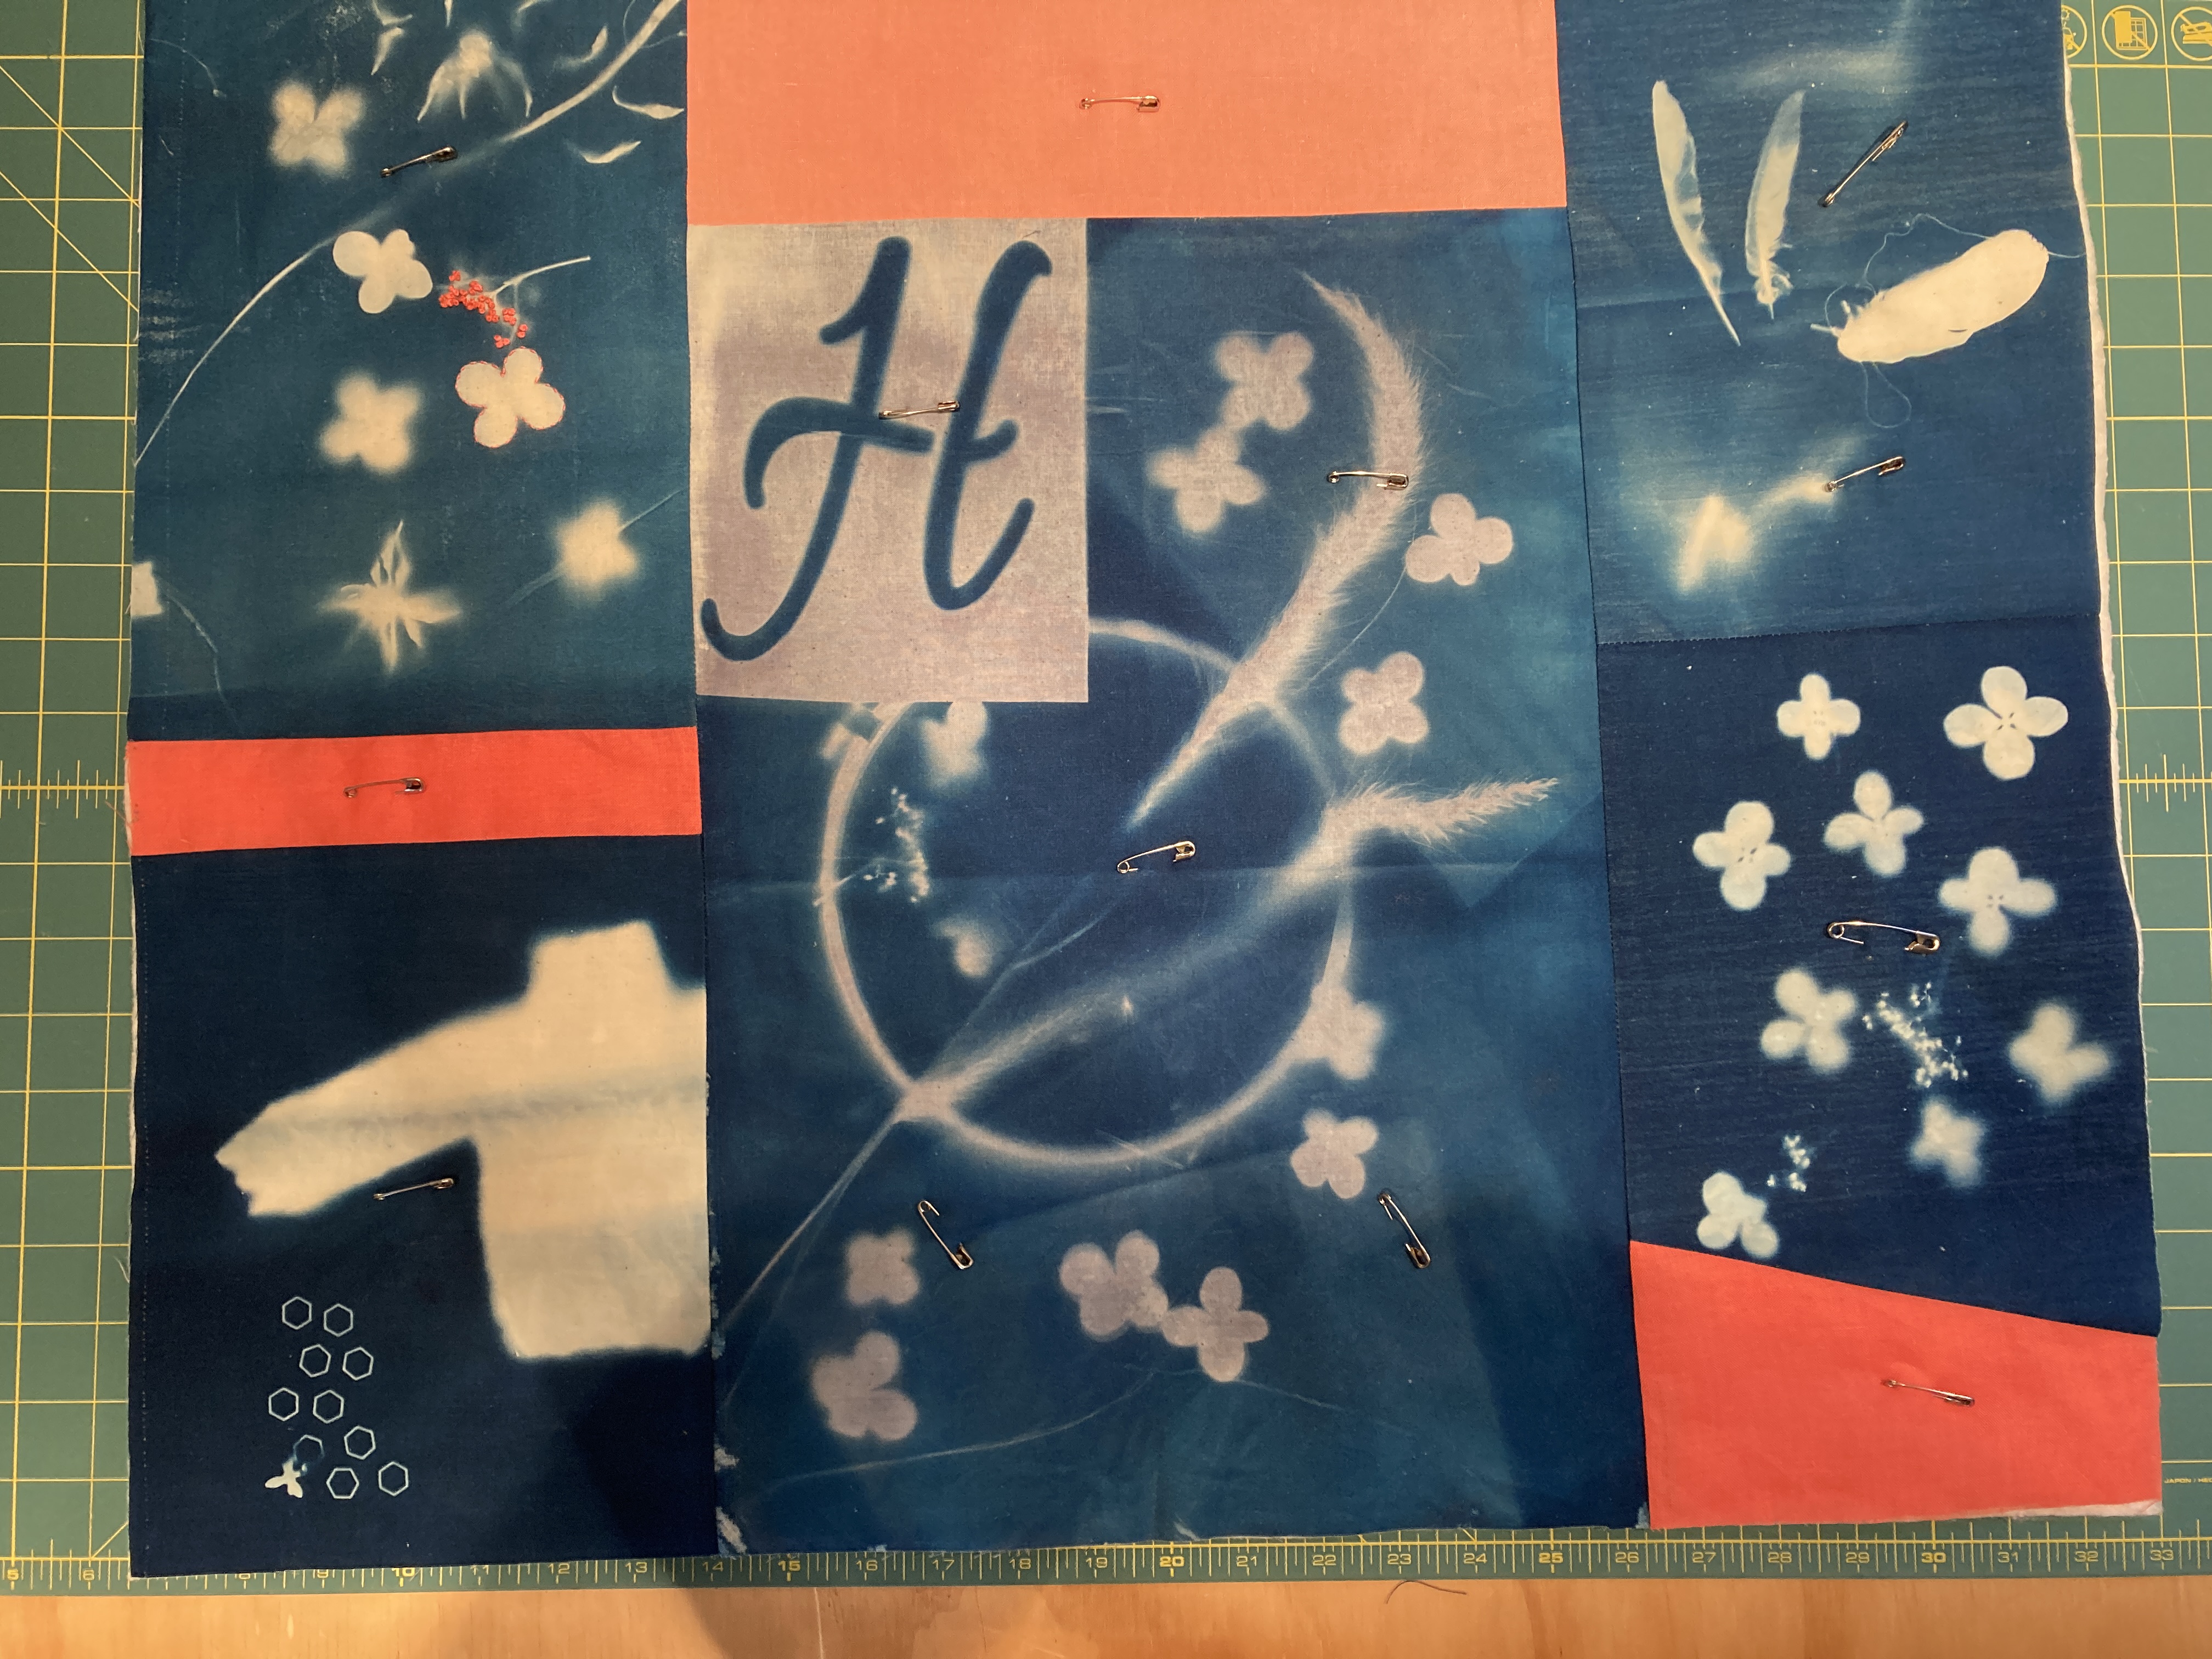
I am so happy with it. I added a little embroidery detail on the top left corner piece; an outlined blossom and a cluster of french knots in colors similar to the pops of linen. Orange/peach/salmon seem to be a new theme for me.
The center piece, the largest piece we printed was a prompt to make a wish. My wish was about my home, my husband and my family. Inside the circle is a joined pair of blossoms representing my husband and me and outside are pairs of blossoms that represent our five children and their significant others. I will be stitching a little pink blossom to represent our granddaughter. The grasses crossing it all represent flexibility, softness, growth and strength and above it all the “h” is the wish for health, happiness and home. Home to me is not only a place that you live, it’s a sense of belonging, peace, comfort and safety. This piece has a lot of meaning in it for me. I really do love it.
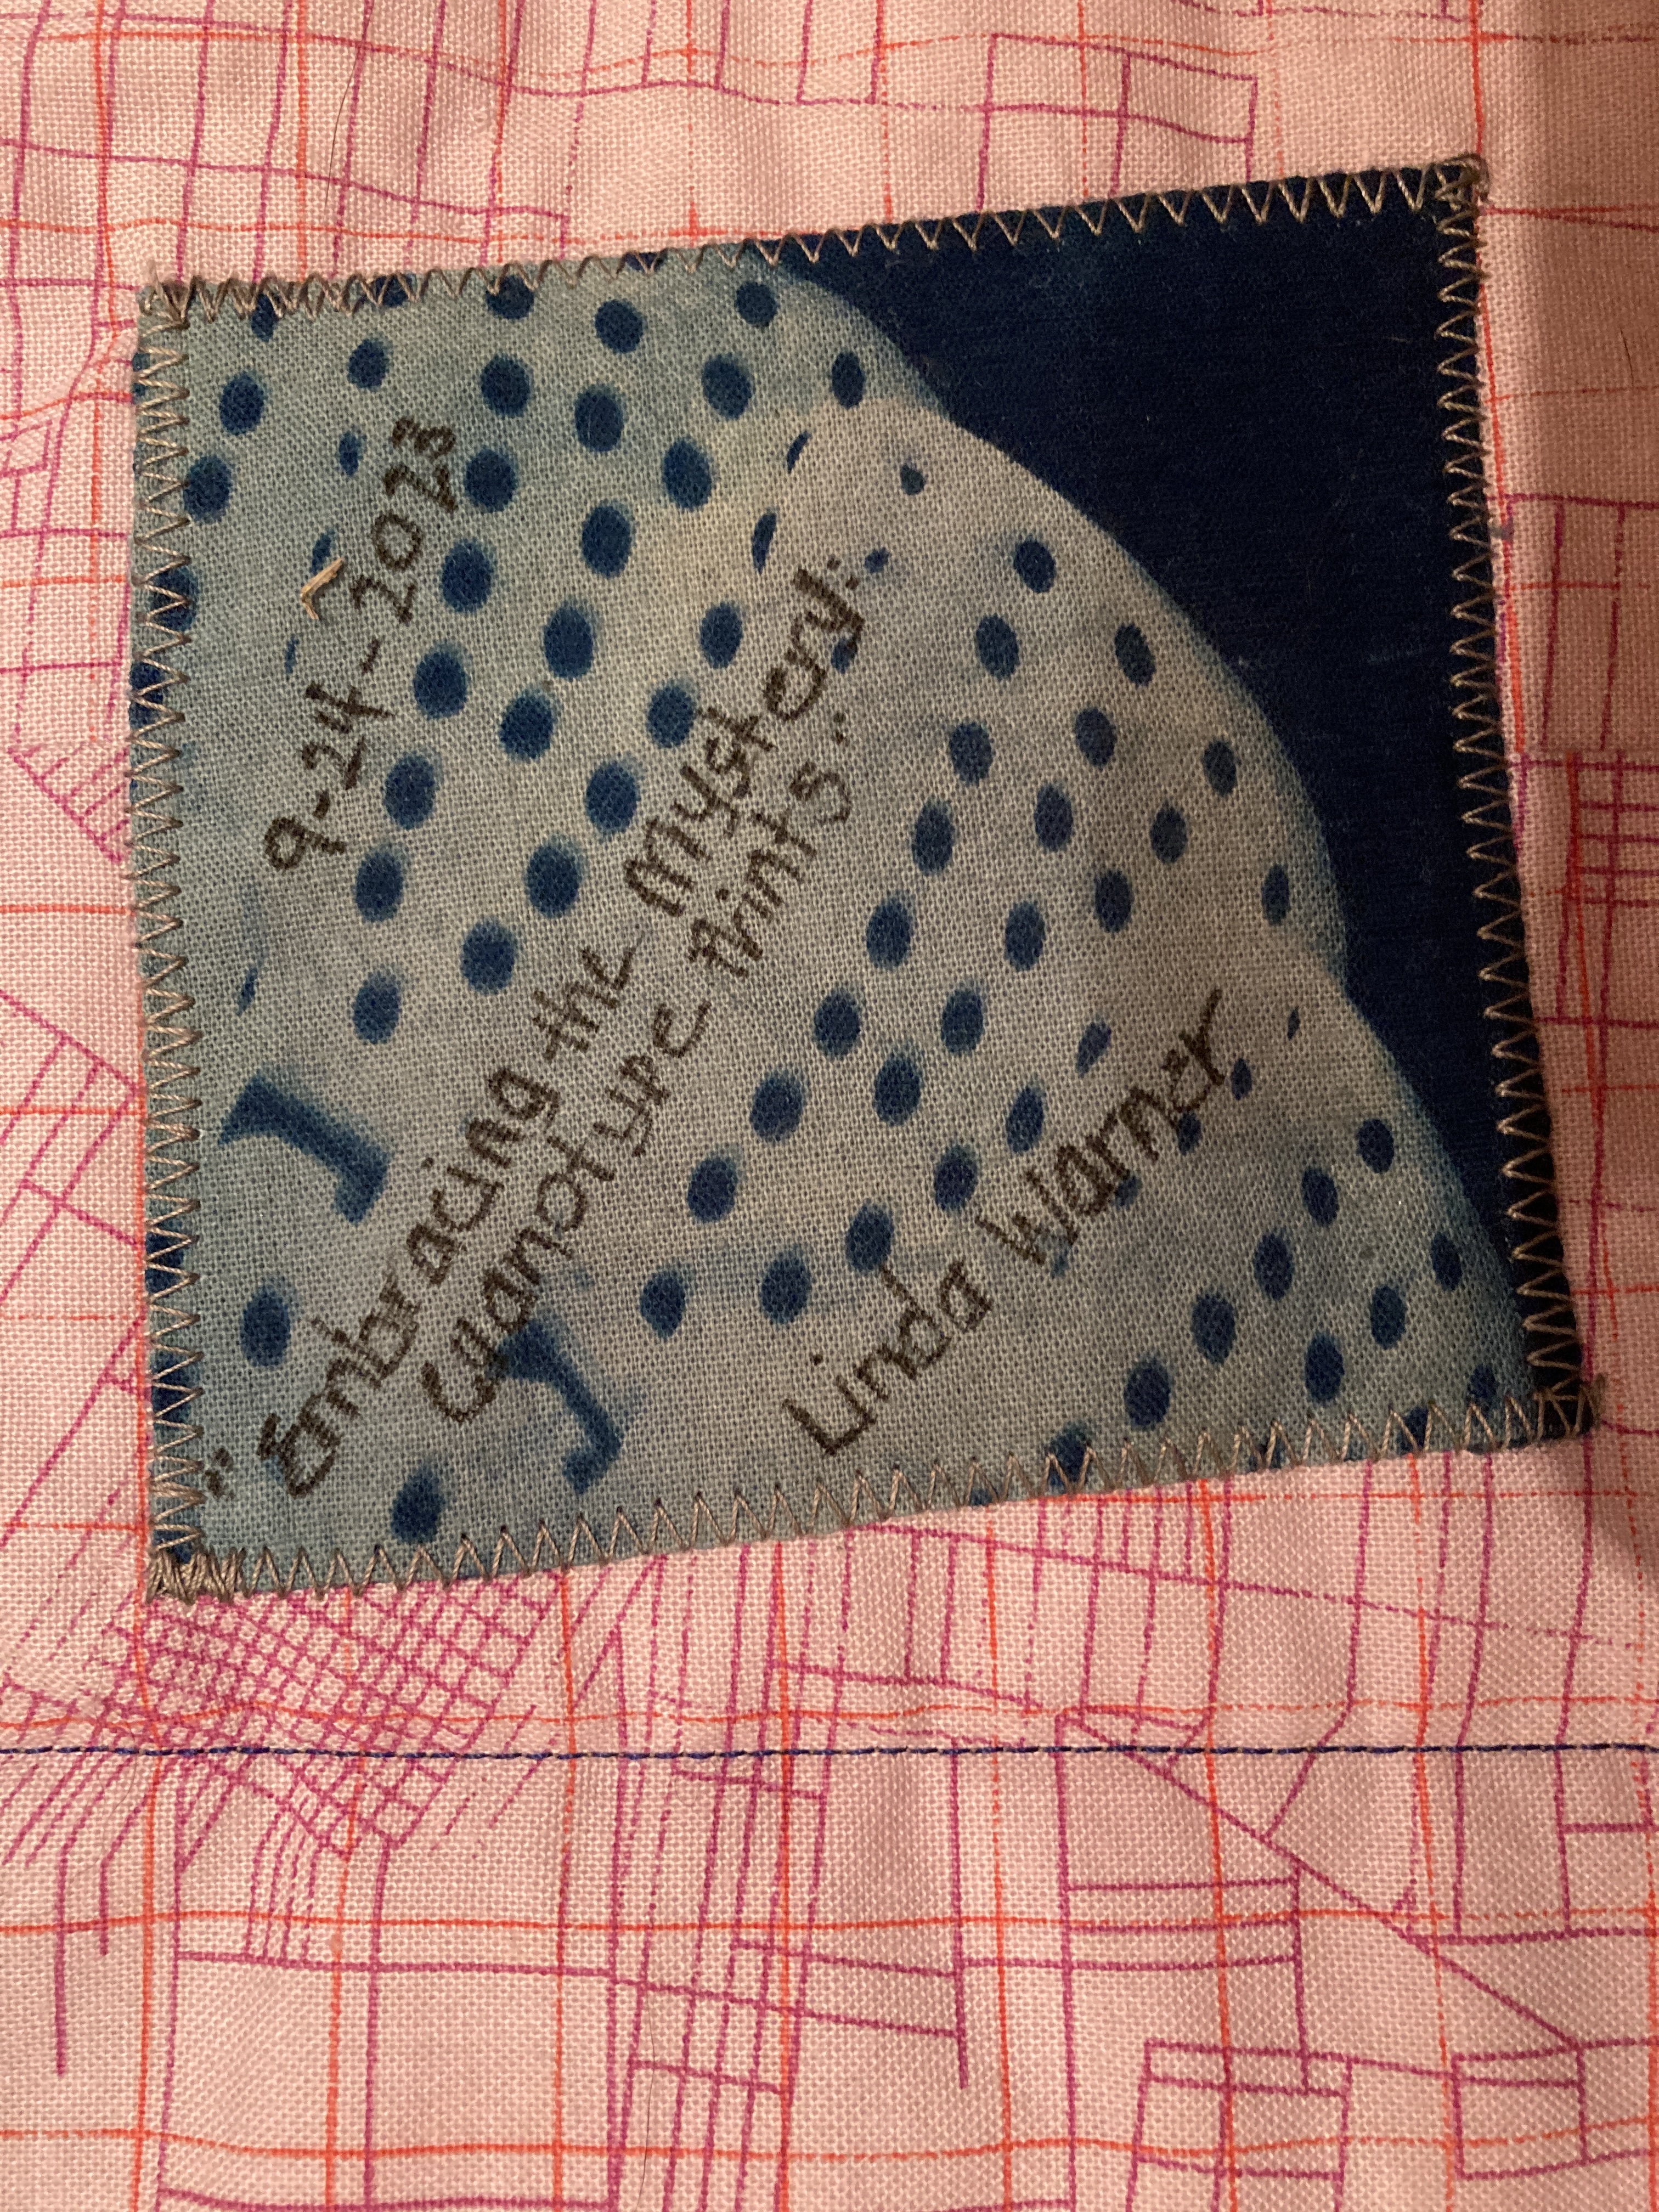
I then pieced the backing fabric. I wanted to incorporate the last print that I made, my self portrait, in the quilt somehow so that I didn’t bring home another piece of fabric without a plan. I also used my little square that Katherine gifted to each of us as my quilt label on the back. I pondered whether I wanted to stitch in the ditch for the quilting or tie the quilt, decided on the former and then decided to put a proper binding on it. I cut 2.5 inch strips for the binding, sewed them together and stitched them onto the quilt. I also stitched in the ditch around the outside of the quilt to attach the second part of the binding.
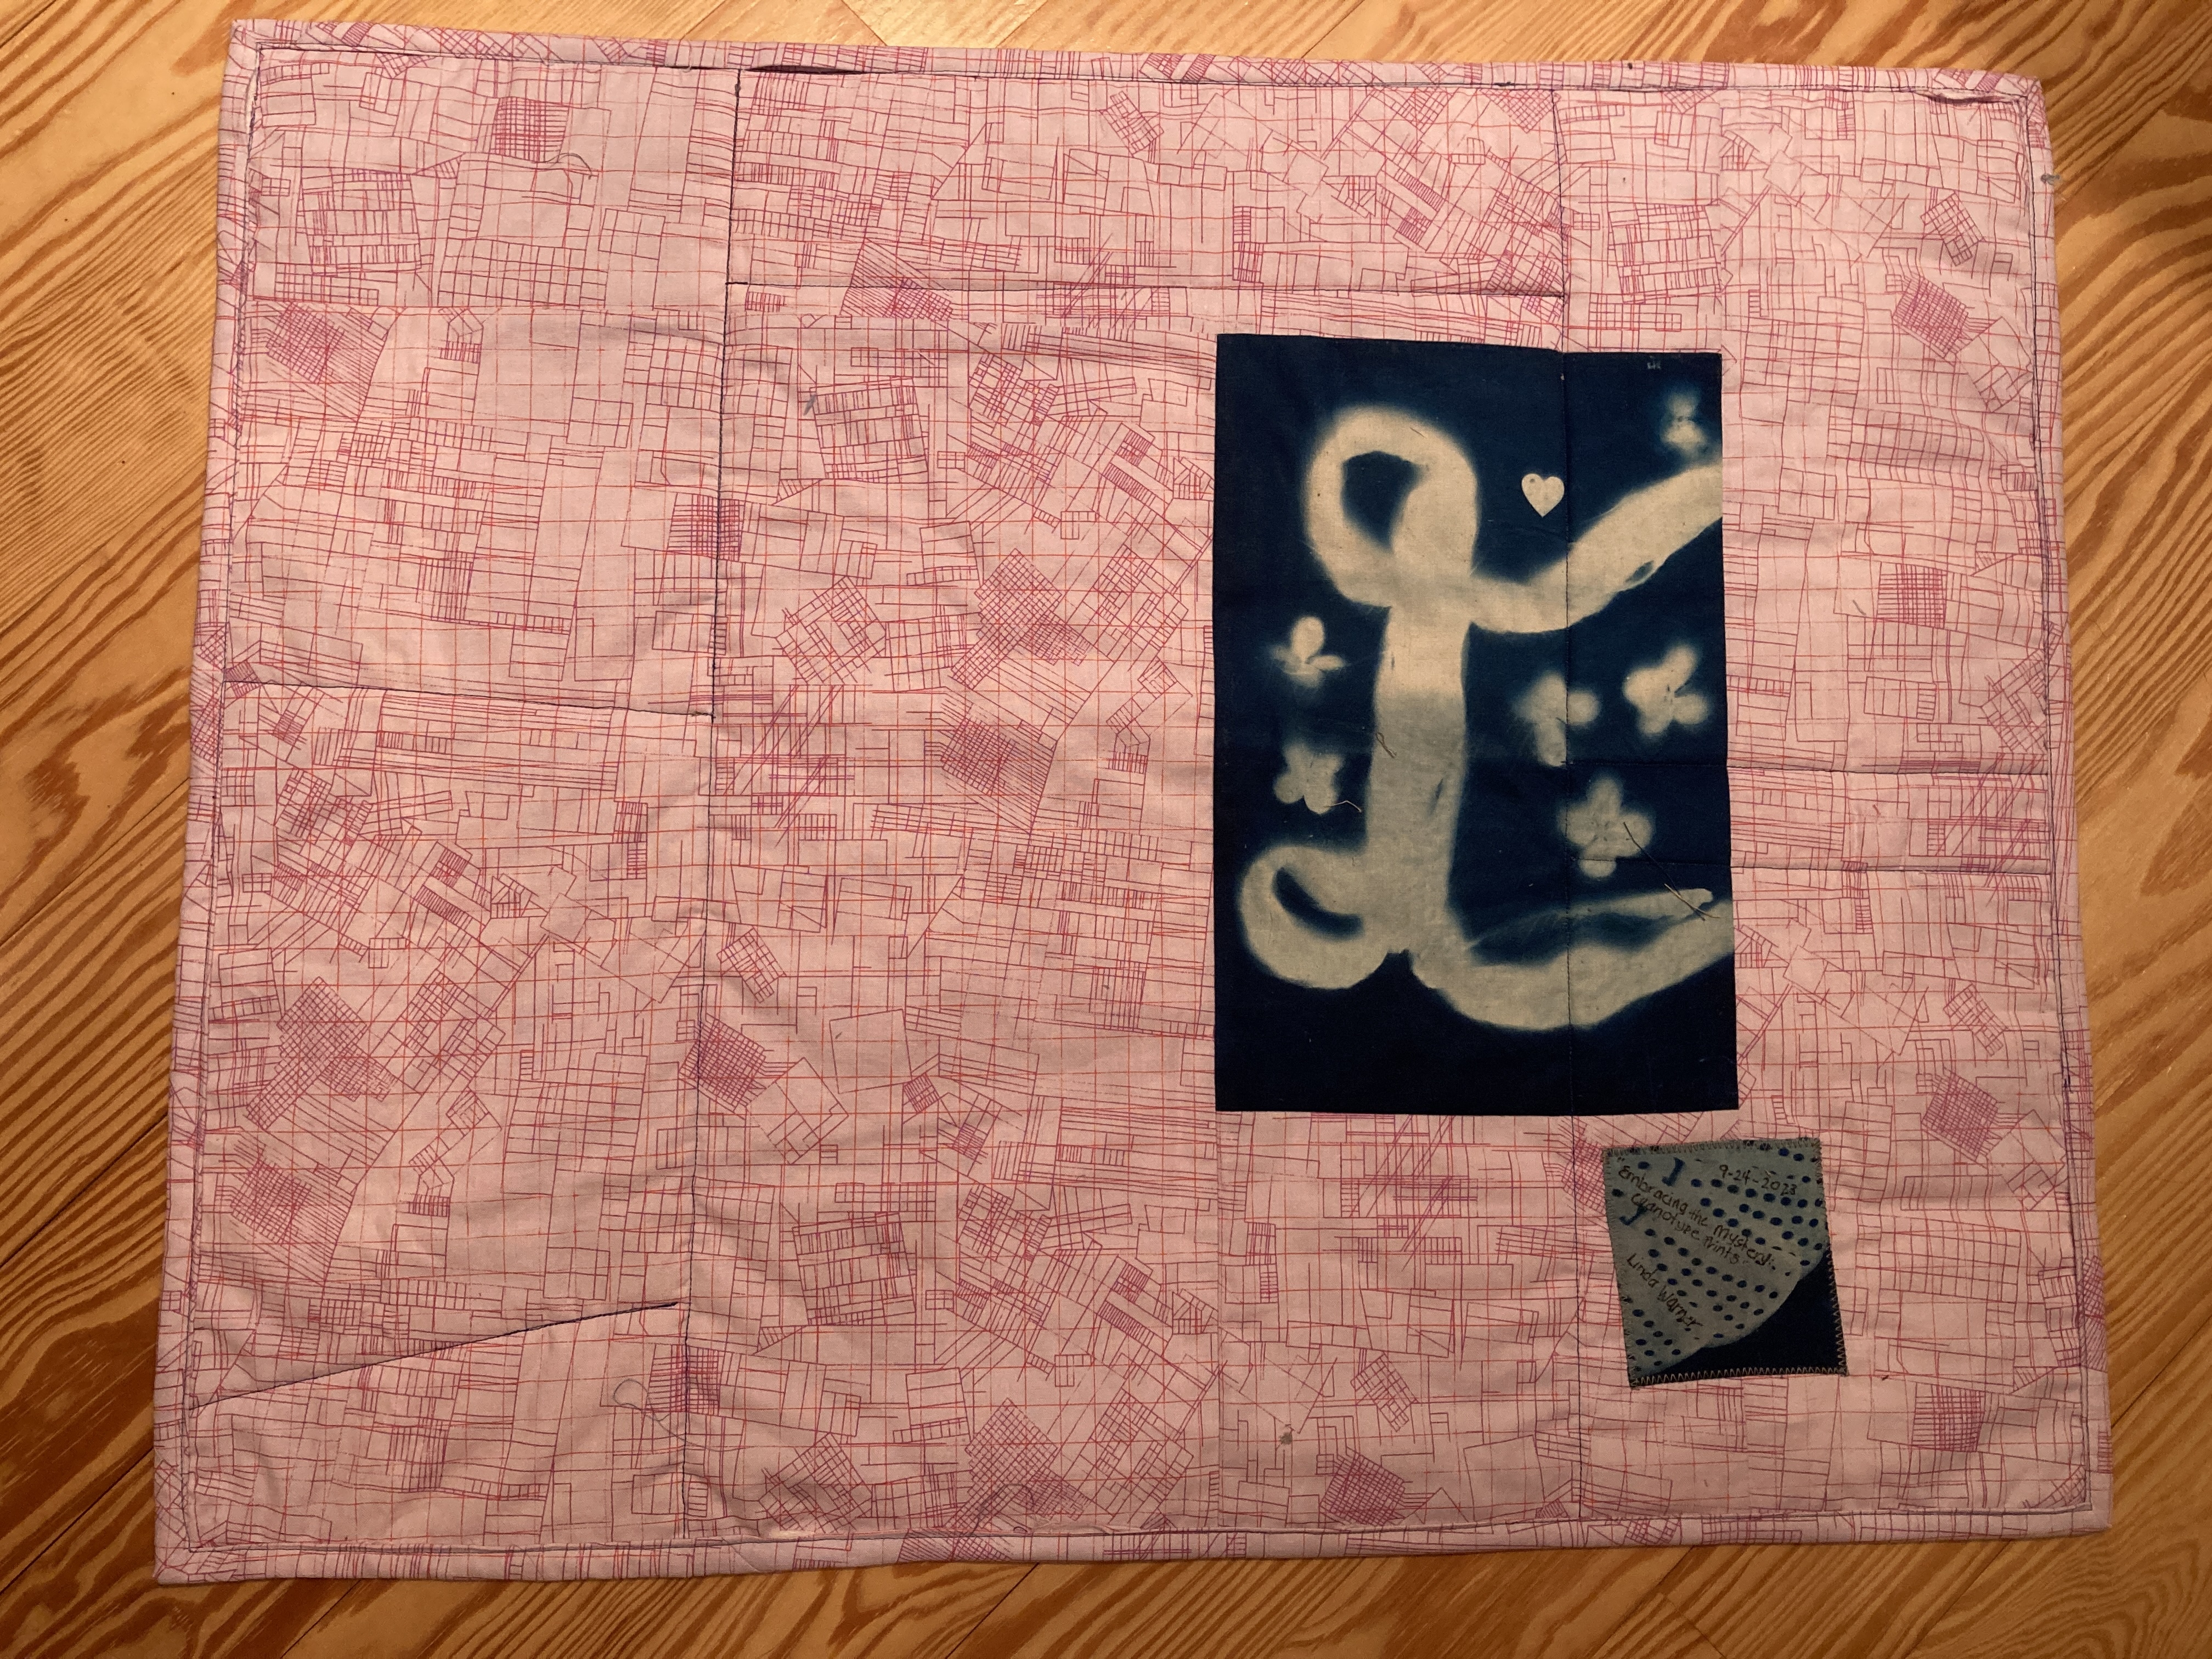
It’s not perfect. There are a couple of places on the back where I didn’t catch the binding and where the backing wiggled out of the binding but I am pretty sure I’m comfortable leaving it this way because the whole exercise was embracing the mystery, right? I’m consciously embracing the imperfections as part of the process of learning and meeting myself where I am.

Here is the finished quilt on my studio floor. I only need to hang it up somewhere in our house. I’m so grateful to have a house that is a true home with a partner who encourages my creativity even though dinner isn’t always ready. I have found my home here with him.
I’m grateful to my friend Lori who inspired me to take the opportunity and this workshop. I’m also grateful to my new friends who inspired me along the way. I am grateful to Katherine for making the opportunity available for us all together, learn, explore and embrace the mystery!
What a wonderful day it was!
Gone knitting.