And they’re D. O. N. E.!

Three projects hit the finished projects file today. It feels good.

My daughter in Chicago asked me to make her a cowl in a dark gray, chunky yarn. I found her a lovely gray bulky merino and alpaca blend (Knit Picks Cadena) in the Kestrel colorway. The pattern wants three skeins of yarn and knits up really quickly. Of course, it’s bulky yarn! I think she’s going to love it. And it didn’t break the bank. The pattern, free on Ravelry, is the GAP-tastic Cowl. Knitting it is super simple and no seams. You cast on a bazillion stitches but it’s a short knit! It can be worn singly or wrapped double. A fun cowl – and one that I was honored to knit at her request. (She’d seen a bulky cowl in a store and thought that since it’s my business, knitting, she’d ask me to make her one!)
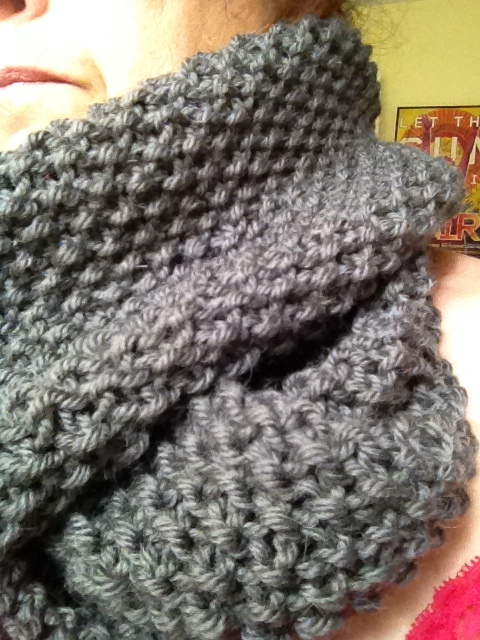
Gaptastic Cowl in Knit Picks Cadena, Kestrel

Gaptastic Cowl in Knit Picks Cadena, Kestrel

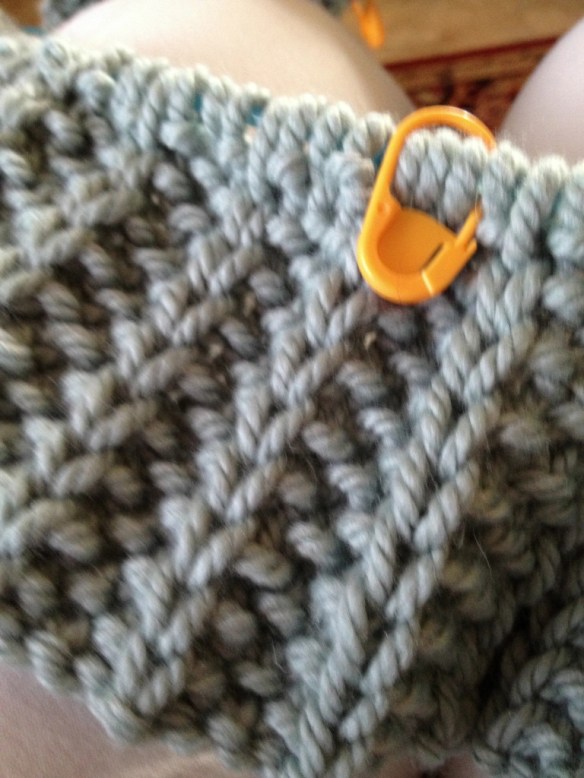
The seed stitch fabric is just lovely … and it feels nice and soft with the addition of the alpaca fiber.

IMG_2446

Next, I finished her headband.

The pattern that I used was a cabled headband, “Green Forest”. I love the seed stitch (matches the GAP-tastic cowl) and the cables. I normally would make a cabled pattern with plain yarn as the alpaca sort of softens or makes the pattern less visible but I wanted to use this yarn! So, I did. And I’m pleased at the success. I think she’s going to love wearing the headband in Chicago this fall and winter! OK, maybe fall. I added a second button hole so that she can tighten up the headband if the alpaca yarn stretches a little bit. And I made her headband 32 repeats of the 4-row pattern. I think I will have to make another one for my sister-in-law in Massachusetts.
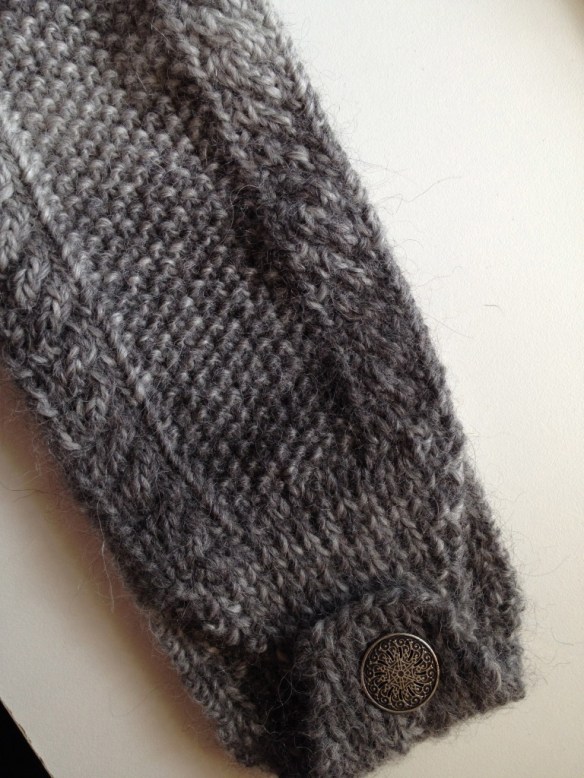
Green Forest cabled hea

Green Forest cabled headband

Last, but not least, is the sample dish cloth that I made to teach a new bunch of knitters at work. Or at least my boss! She wants to learn to knit because she wants to knit dishcloths! I think it will be a riot and a half teaching my wonderful boss. And an added bonus will be if any of the other staff choose to join us! It has also given me a great idea for Christmas gifts for my co-workers! But, suffice it to say, it’s a secret for now!
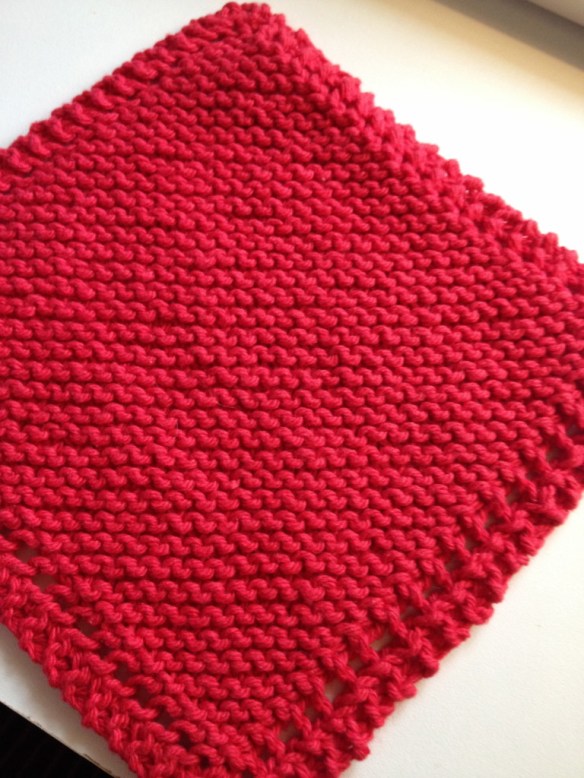
Basic (easy) Dish Cloth

Basic (easy) Dish Cloth

I know I haven’t been blogging much since I started working and I haven’t really been knitting that much either. Life has taken on a different turn for now and I am quite satisfied by the way it’s going. I love my job and the people that I am working with. It’s already November! A couple of weeks and we have a long weekend for Thanksgiving and then before we know it, we’ll have several weeks off for Christmas! Before we know it, I’ll be heading back to Maine for the summer.

I’d rather be knitting … in Maine any day! Can’t wait to be on my summer porch!

Gone knitting!
Non-Felted Slippers by Yuko Nakamura

I got to Maine this summer by air. Typically we drive together but since I had to work, I had to fly. SO … I could only bring a suitcase and a carry-on bag and I needed to bring my yarn which meant that I didn’t have any slippers to wear when I got here.

What the yarn was going to be ...

What the yarn was going to be …

Luckily, I had the cowl (partly knitted picture above) that I had finished and found a (glaring) mistake as I was blocking it. The yarn was bulky and just what I needed for this pattern. And since I’ll never WEAR a bulky cowl in Florida, and I WILL wear slippers in Maine, what better use to put the yarn to?

Starting Non-Felted Slippers by Yuko Nakamura

Starting Non-Felted Slippers by Yuko Nakamura

This pattern, Non-Felted Slippers by Yuko Nakamura, caught my eye somewhere (perhaps on Ravelry). I thought the slippers looked comfy and I liked the idea that they didn’t need to be felted. When I found out it was with bulky yarn, so much the better because they’ll also be a quick knit!

My gauge was 8 sts = 2 inches and what the pattern said was 13 sts = 10cm. So, I had a few more stitches than the pattern called for. But I thought that would be OK since I have bigger than “medium” size feet. Unfortunately, I was “off” again … I would not make a good banker … and the first pair of slippers would stretch to fit me but they were stretched too far. So that pair will go to my little mentee who has a birthday coming up quickly. And on the second pair, I decided to add a few more stitches (a little more than an inch worth) to make the second pair fit me a bit better.

Sole: I cast on 56 stitches (using a US 9 16″ circular needle as called for in the pattern.) I knit the first row and the the second row I split up as follows: K35, P11, K35. I followed the directions and simply added a couple of stitches to each of the designer’s number. At the end of for 12, I had 81 stitches. Since I was using a single color of yarn, I didn’t cut my yarn and kept on knitting.

Instep: Starting on my 81 stitches, I knit the first row and then start my toe decreases. So, row 2 will be: P35, PM, P11, PM, P35. The decreasing begins with row 3 (you’ll be decreasing 8 stitches every other row and purling all of the even rows). Row 3: K28, SSK twice, K3tog, K11, sl1, K2tog, psso, K2tog twice, K28. Again, I followed the designer’s steps with a couple of stitches added in each section and when I got to row 28: P27, P2tog, P15, I was ready to be on Easy Street (and I was!) with the two rows of knitting all stitches and a bind off knit wise.

IMG_1619IMG_1621I seamed these babies up and they are ready to wear (for the first time) tomorrow morning. I can hardly wait.

Now, back to my brother’s birthday socks – his birthday was only five or six weeks ago! 😉

Gone knitting.

Wonderful Wallaby – Pattern Review

Image 4I taught the Wonderful Wallaby pattern by Carol A. Anderson as part of the classes that I offered at the Yarn Nook in Lafayette, LA earlier this month. This pattern is so great that I want to make one for myself (and so did the owners of the Yarn Nook … another uniform piece?)

The pattern reads a bit like a story and has cute illustrations. I had a bit of difficulty finding the place in the pattern booklet where they told me what I needed to get gauge and others did, too. But it is there. You may have to “hunt” a little. Once you’ve gotten your gauge swatch knitted and are set to begin, the pattern is clearly written and well written. I have had no difficulty following most of it. I did do and re-do the part where you pick up stitches at the bottom of the “pouch”/pocket. If I had actually READ the pattern, however, it would have been done properly the first time!

I decided to add a bit of a different yarn to my sweater (I knitted the smallest size, a 2T) and make the pocket/”pouch” a different color and I also started the sleeve ribbing in the coordinating yarn. Once done with the body of the sweater, I also decided to use the coordinating yarn for the collar ribbing and on the 5 stitches that border the hood. I wish I had added the coordinating yarn at the first row of the neck stitches in the yoke. (For the children’s sweater, this direction is on page nine at the bottom.) I’d have begun the coordinating color yarn at the place where you purl the ten center stitches between the markers on the front of the sweater.

Students who took this class made good progress and each sweater was very unique. One student was making a green sweater with a pink pouch. Another was making a baby blue sweater with blue and pink stripes on the pouch. They were all cute! One poster on my Facebook pages said that this was her favorite children’s sweater pattern ever. I might be willing to agree with her after knitting this pattern.

The yarns that I used were Berroco Comfort Solid in a beige color (3 skeins for my size) and Classic Elite’s Liberty Wool in a beige/lavender/grey/green colorway. I love knitting with both yarns on this sweater. The Berroco yarn is not too heavy and is washable. It’s worsted weight and not too “splitty” (my pet peeve for yarn!) I think for a child’s sweater, it has to be washable … what mom wants to wash their child’s sweaters by hand? As with all knitted items, I’d suggest drying it flat. Liberty Wool is a soft wool yarn and I love the colorways. I wanted to take home a couple of balls of each just to play with. This yarn is a looser wrap and can split so be careful knitting with it but you’ll love the way it feels. And the way it looks, too!

I am totally pleased with my Wonderful Wallaby and will be sending it on to a very special little girl in our family … she’s going to have a bunch of hand-knit sweaters from her auntie when she is a little bit bigger! Her collection keeps growing … because I keep finding sweet little patterns to knit for her! I have another project all lined up for when I finish one or two!

You can purchase the pattern at your LYS (local yarn shop) or online at Amazon.com or Cottage Creations. You can also call Cottage Creations at 641-324-1280. The pattern is around $7.00 … a great deal considering you get from size (child) 2-T through an adult XXL or “super size”! Trust me, you’re going to want to knit one of these for every member of your family! And don’t forget to check out the different styles and colors that have already been knitted on Ravelry!

Gone Knitting!