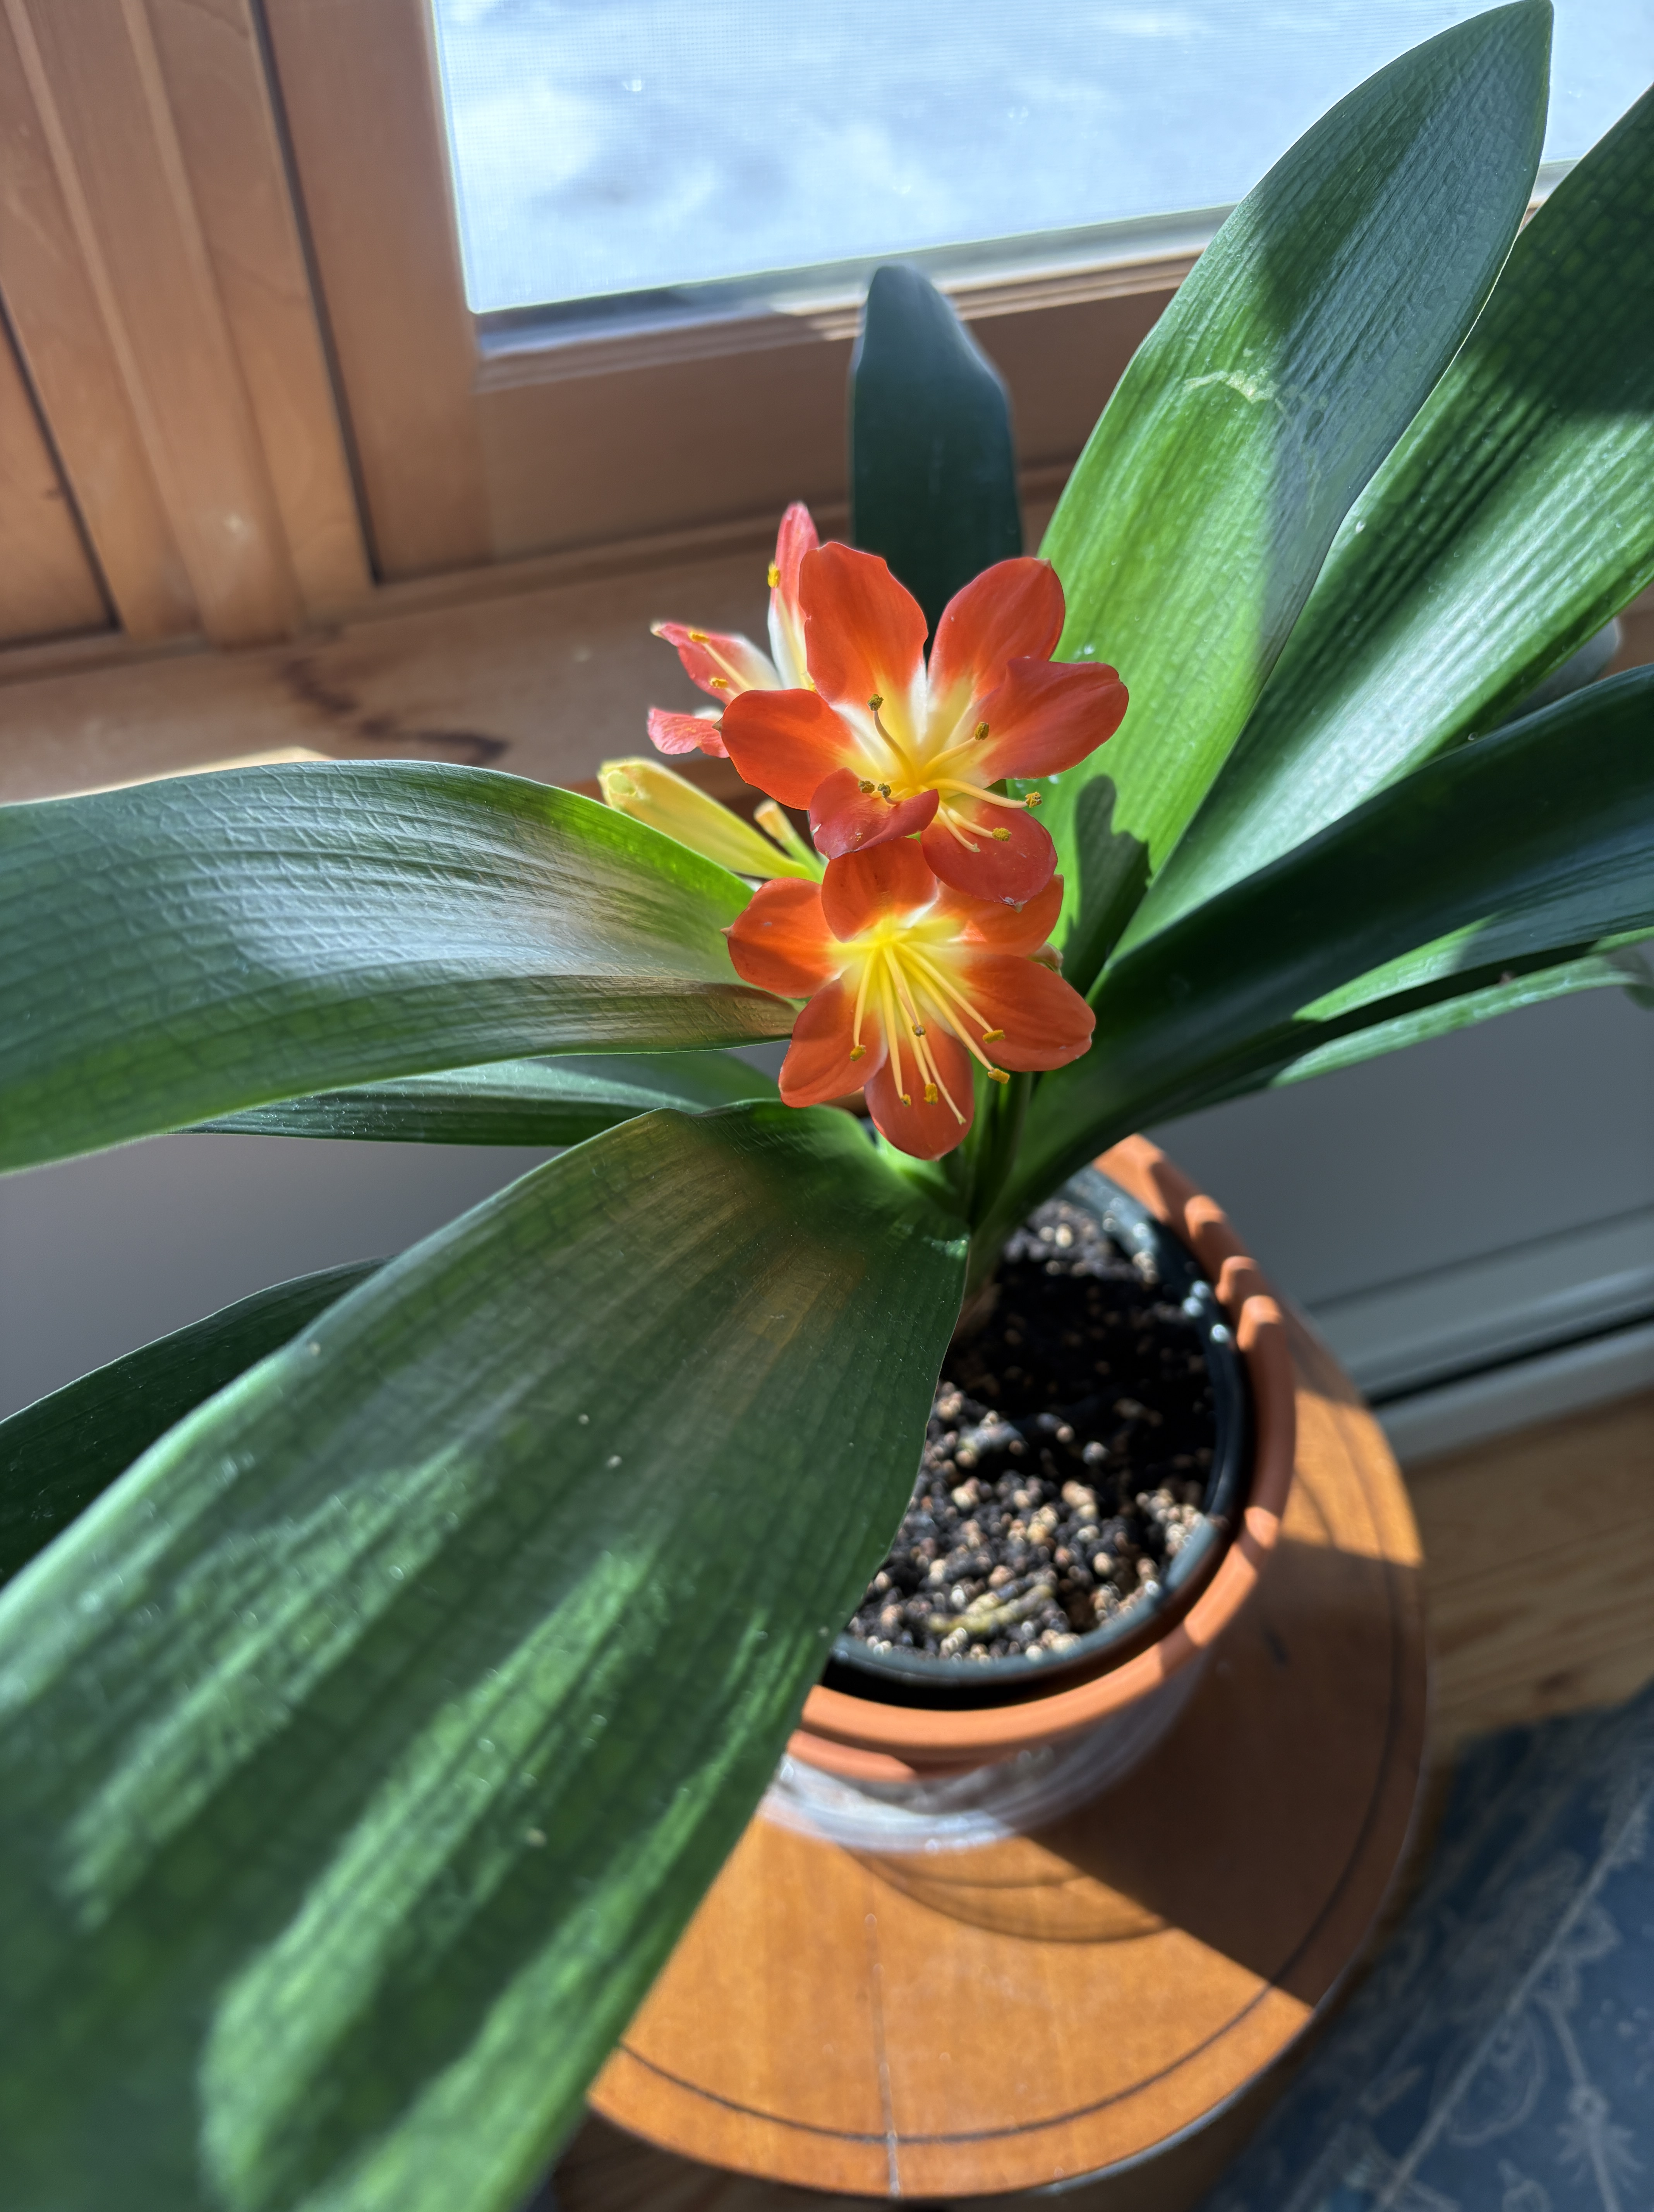
My mother had a Clivia plant when she was alive. When I saw one at the garden center, I had to buy it. I’ve kept it in my atelier, apart from my other plants, because it was covered in that white sticky buggy germy stuff and I didn’t want it to spread. I’ve bathed it a couple of times after spraying it down with water mixed with a little bit of castille soap and that seems to have helped. All of this love and care has finally paid off with a beautiful orange bloom! I’m thrilled.
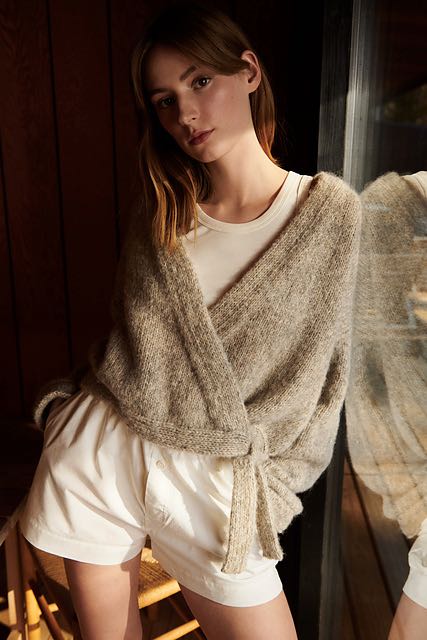
I’m starting a new project soon and I thought I’d take you on a ride with me through the process. My daughter wants a wrap sweater and she’s chosen the Levitate Wrap by My Favorite Things (Louise). It’s a boxy cardigan with wrap styling. The Ravelry description calls for a DK + lace (worsted) weight yarns held double. Libet wants a charcoal grey or deep burgundy. I sent her an initial choice and she picked the Patagonia Organic Merino yarn with which I’ll hold a lace weight silk/mohair. I started the process, while waiting for more mohair lace to come into the shop, by doing a gauge swatch.
Did you know that most designers add an additional 10% to their yarn requirements for swatching? Thank you Bristol Ivy for that informational nugget. (I think it was Bristol … it may have been Lori Versaci or Stephanie Pearl-McPhee. But I digress … this time, because I don’t have my daughter to measure, I want it to be the exact measurement so it fits her. I didn’t want to take any risks. (More on that later in this post.)
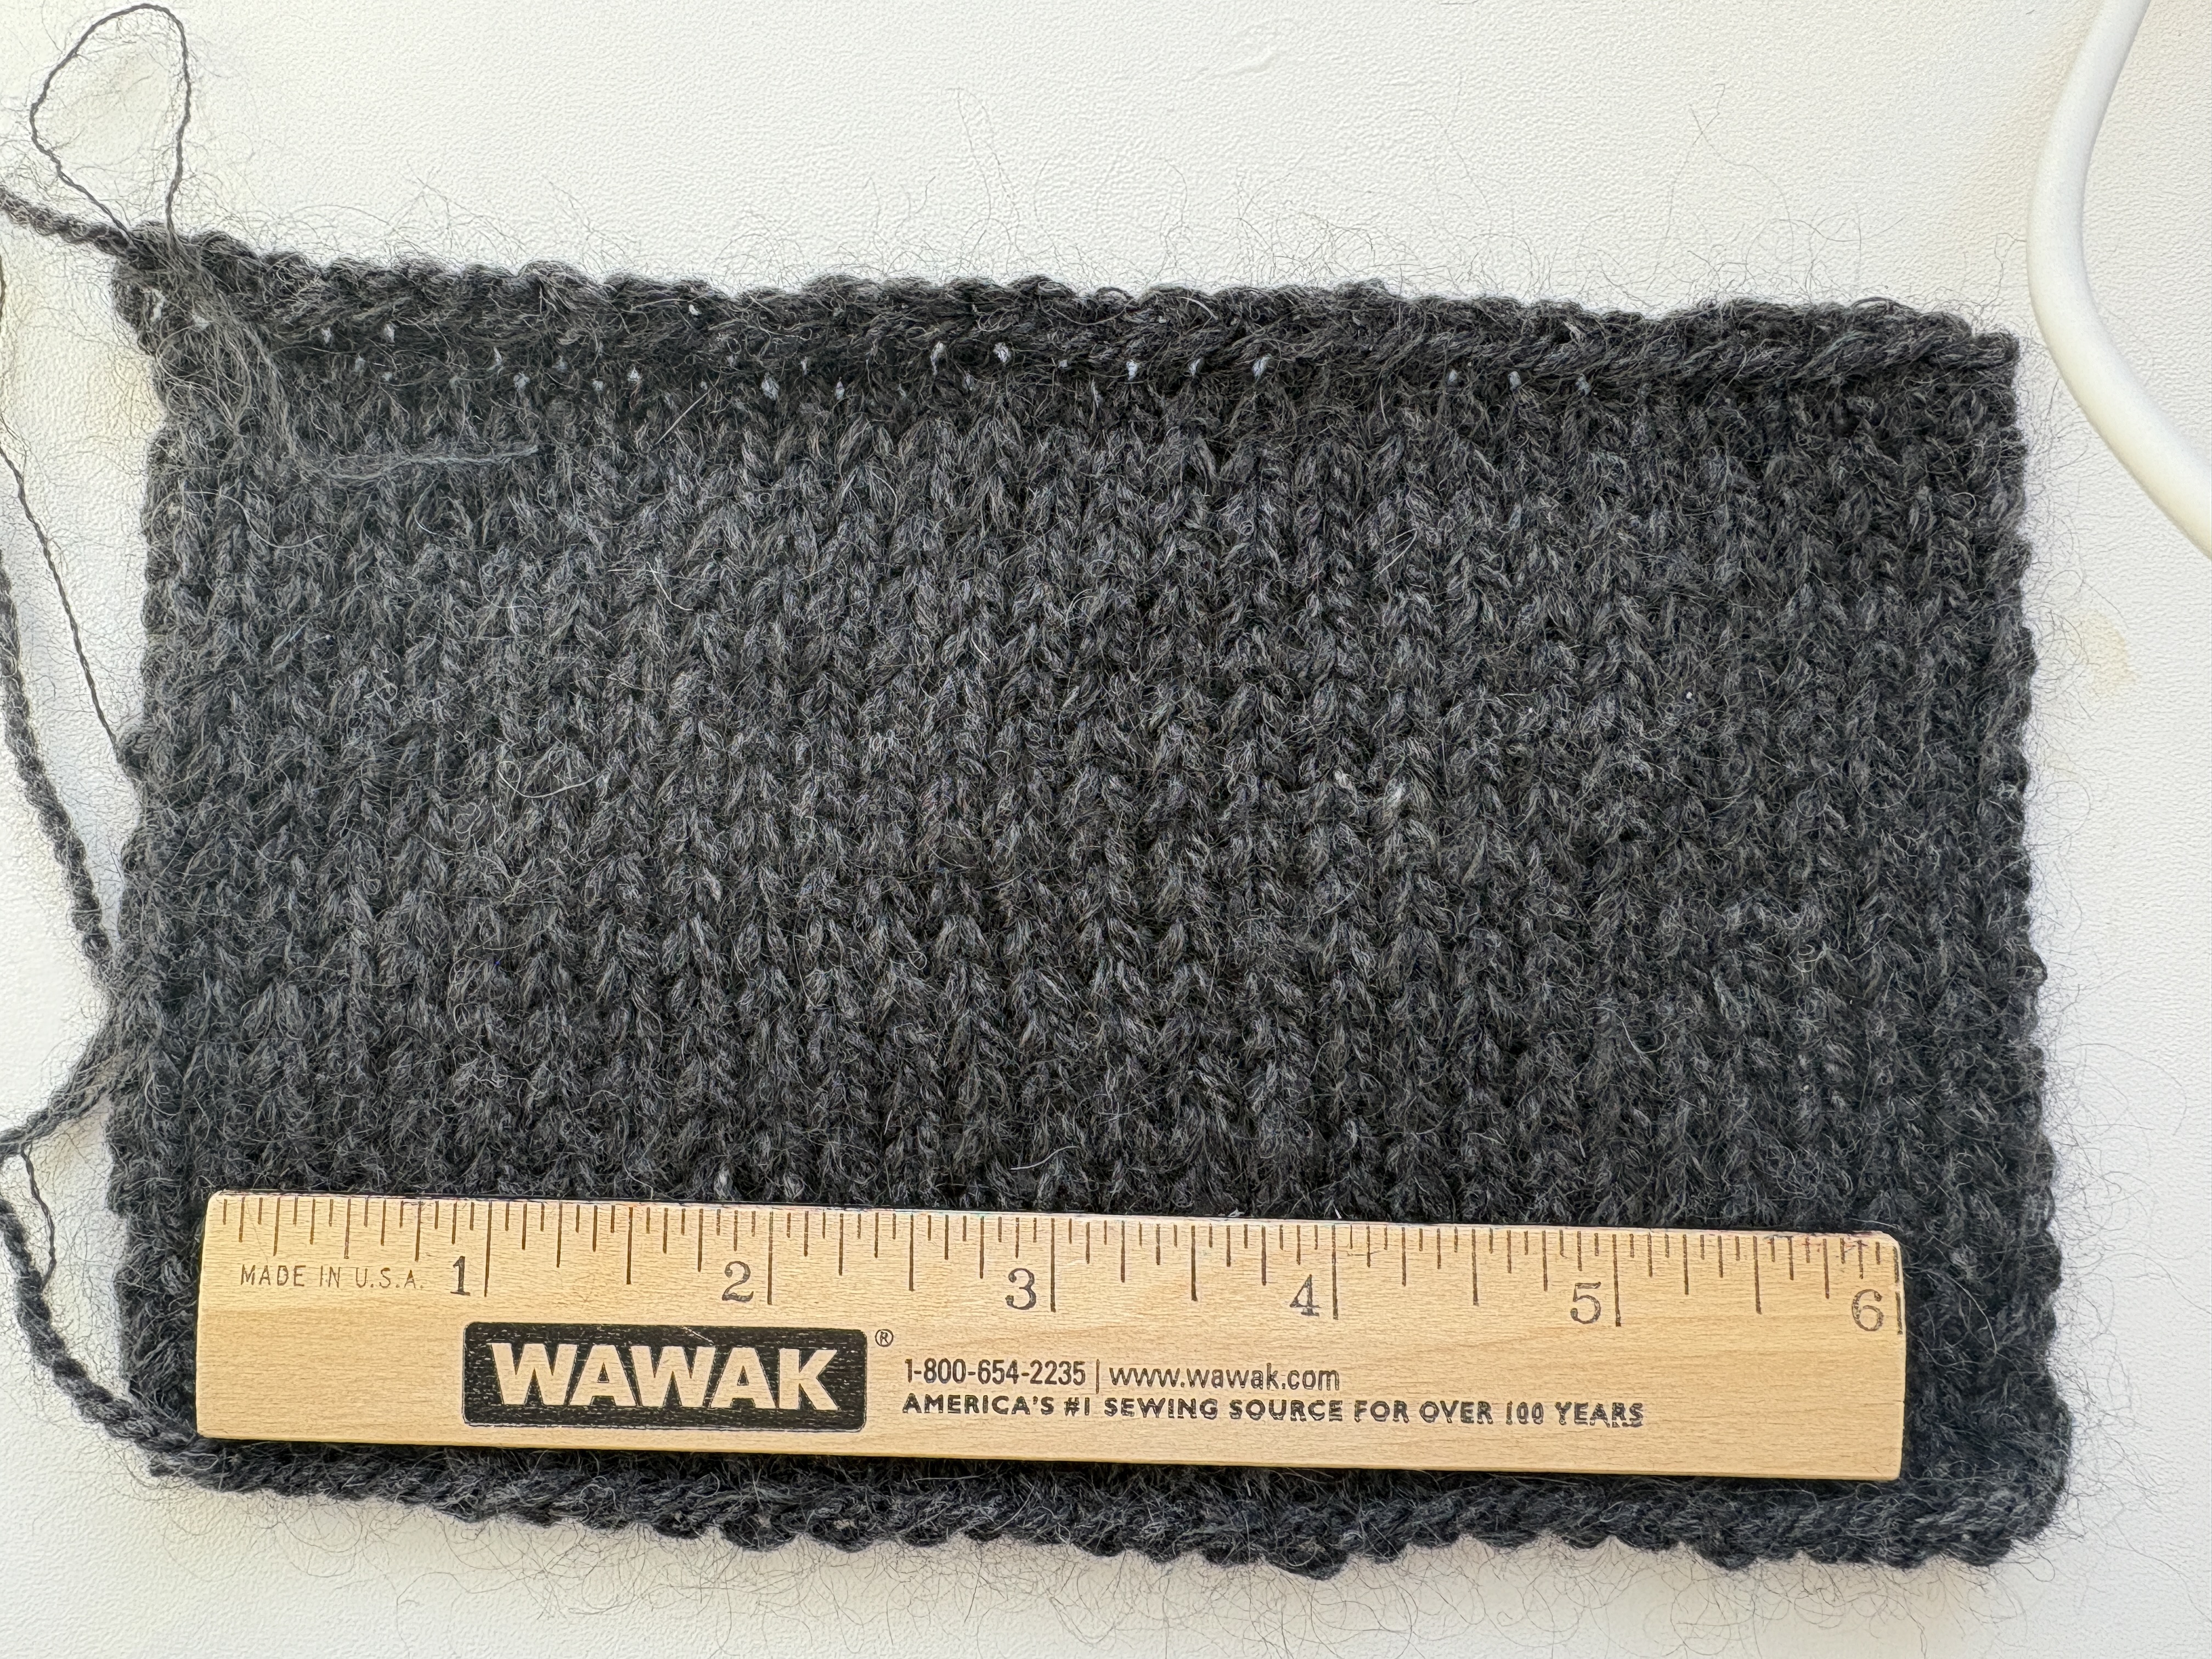
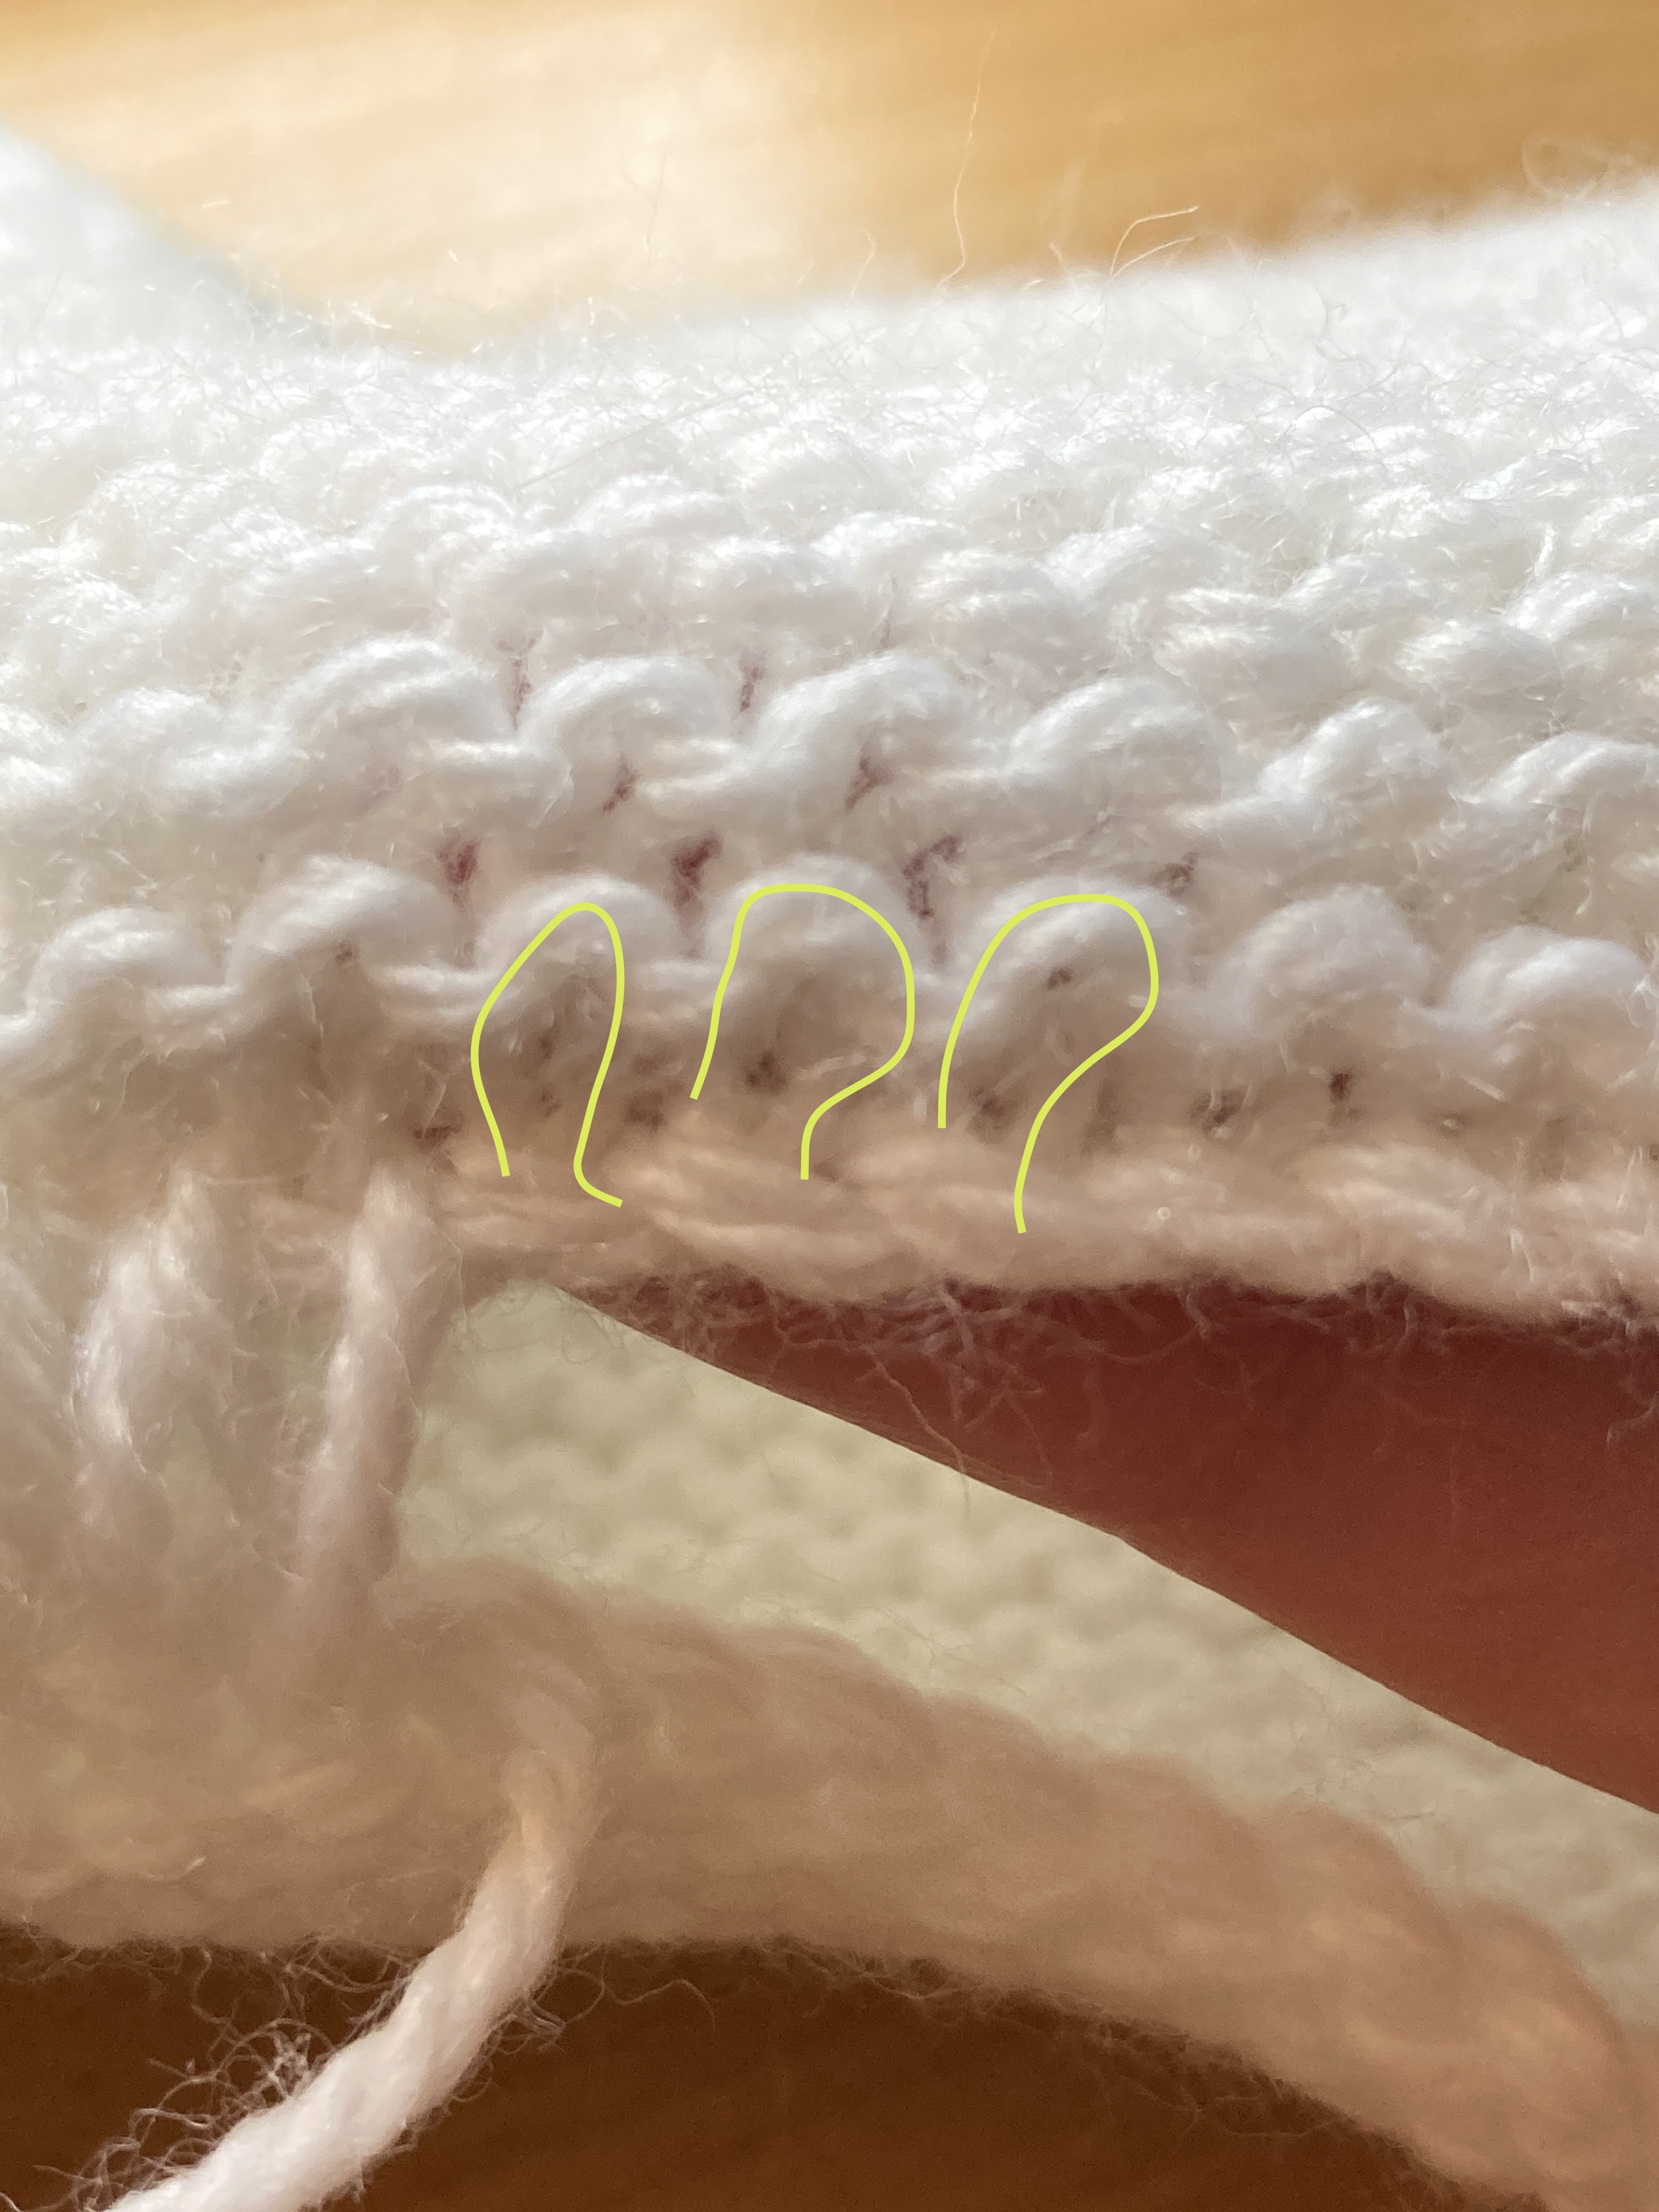
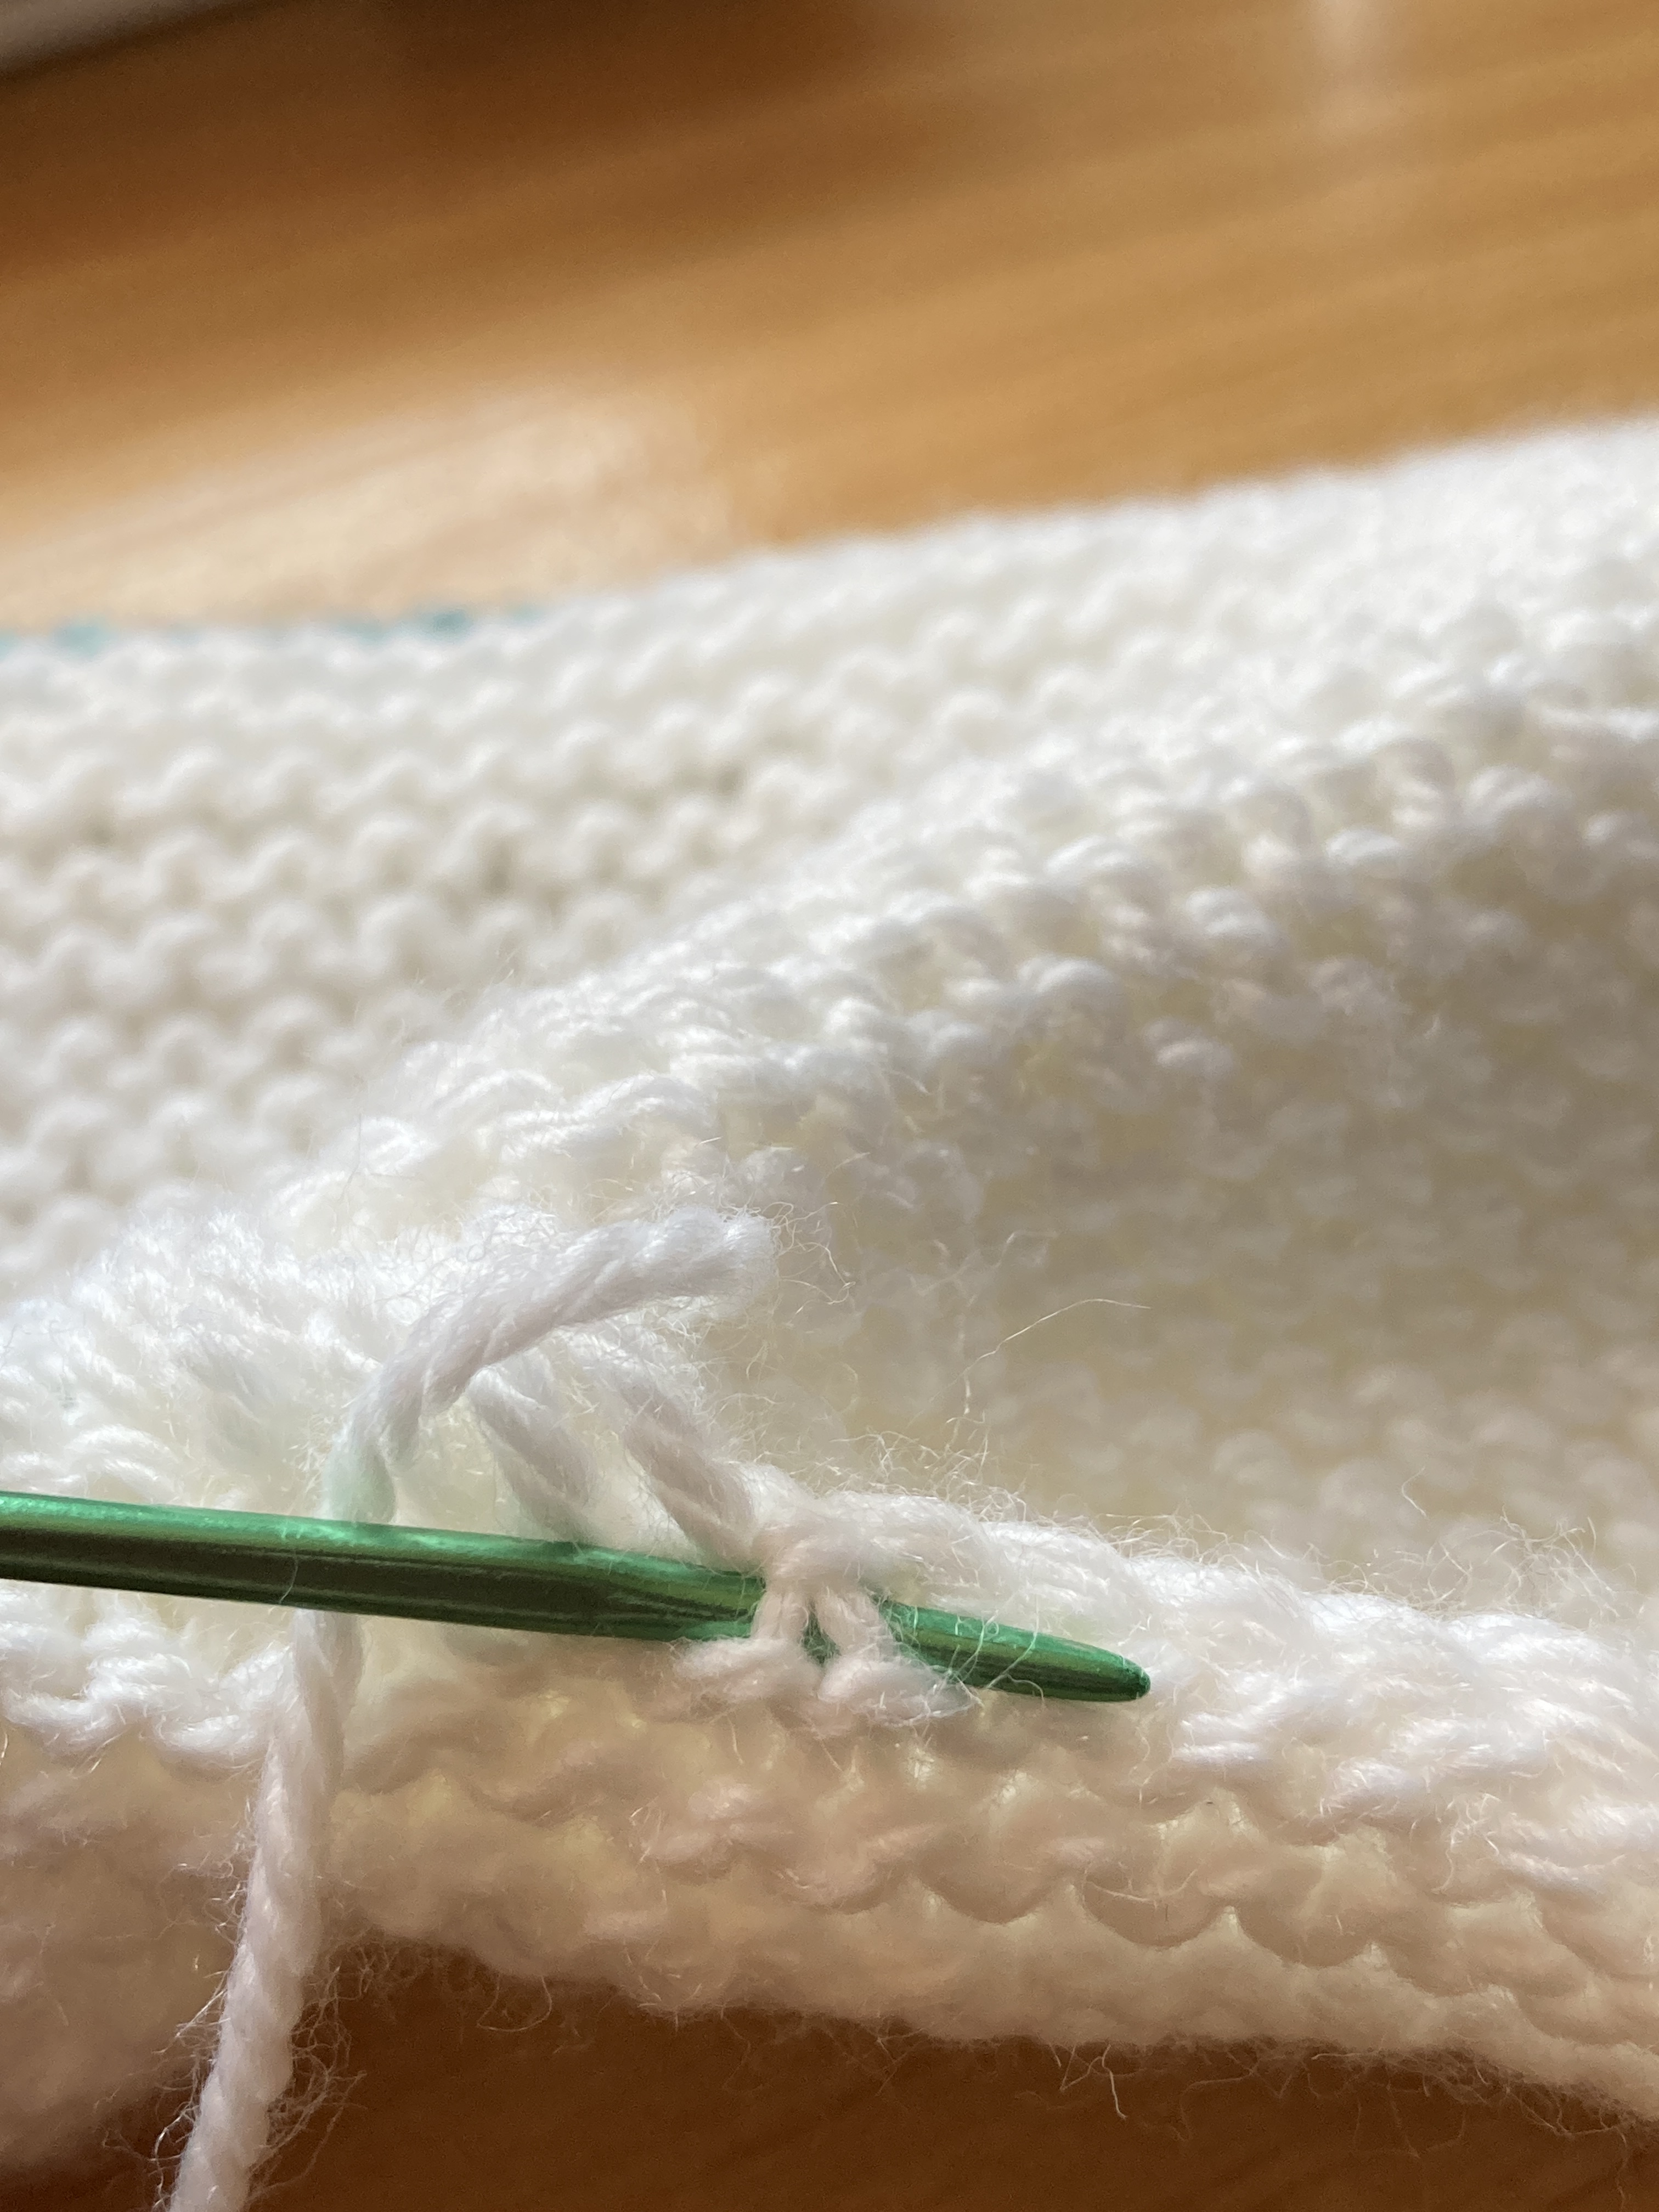
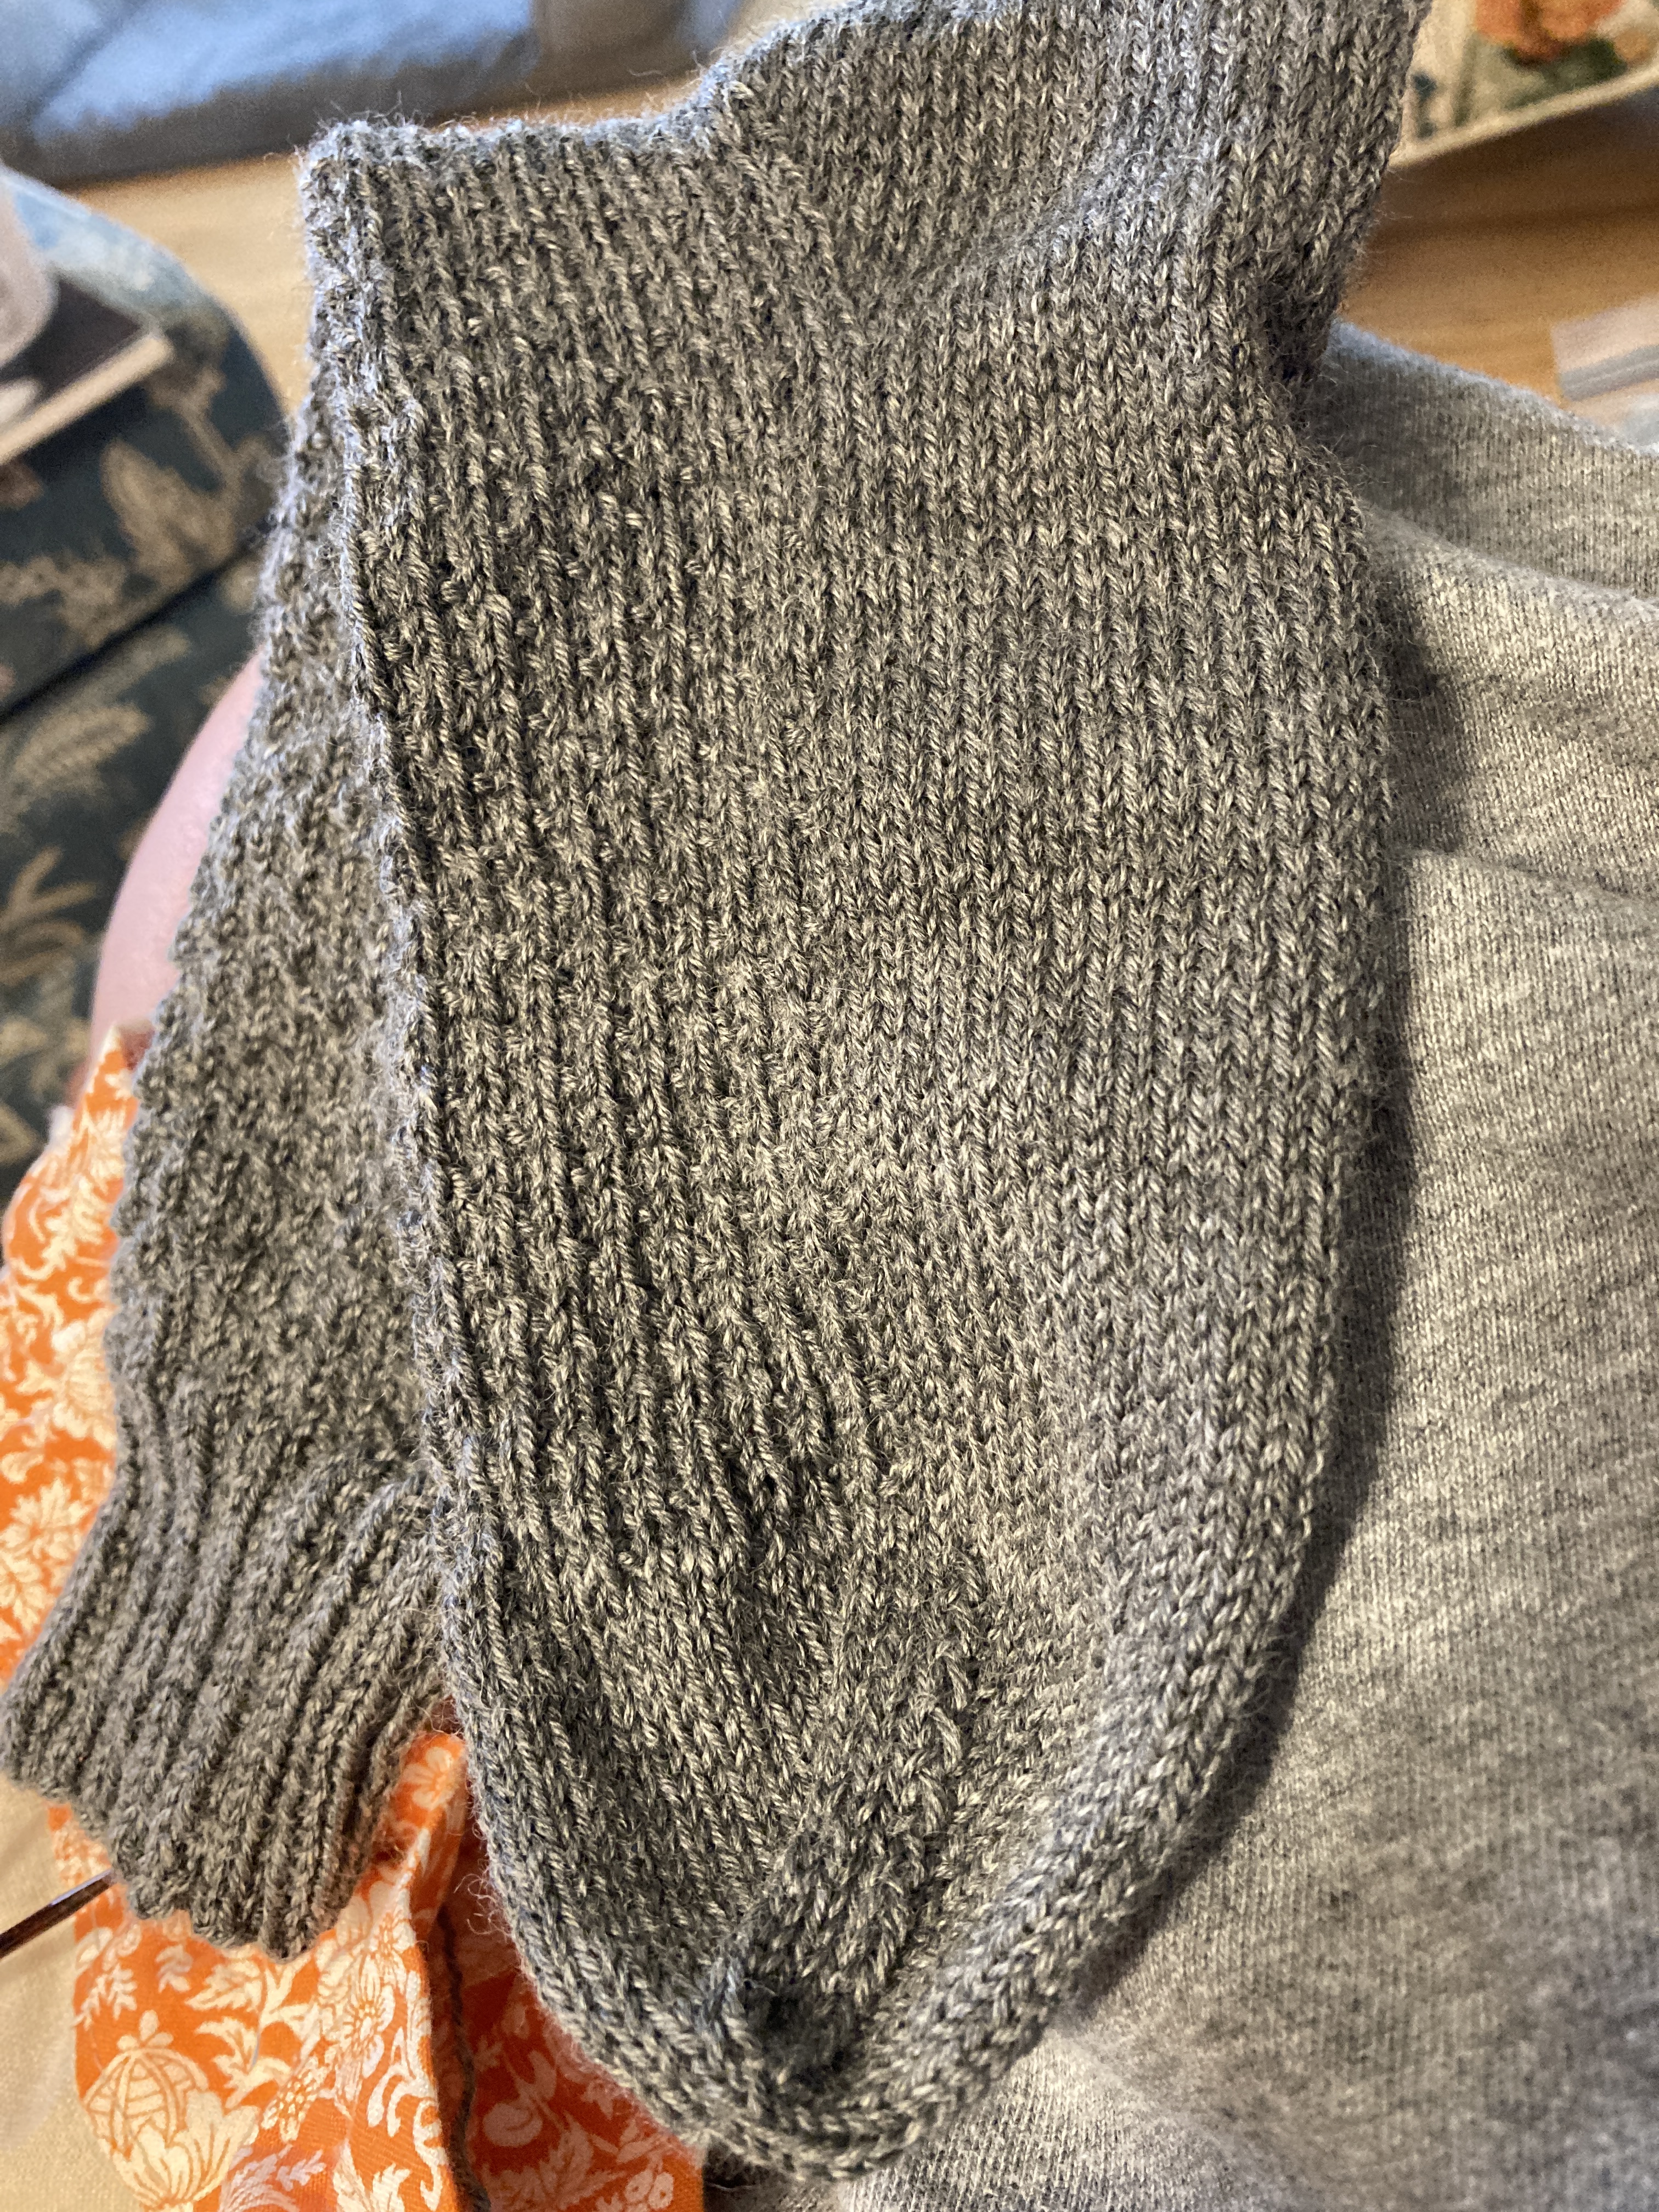
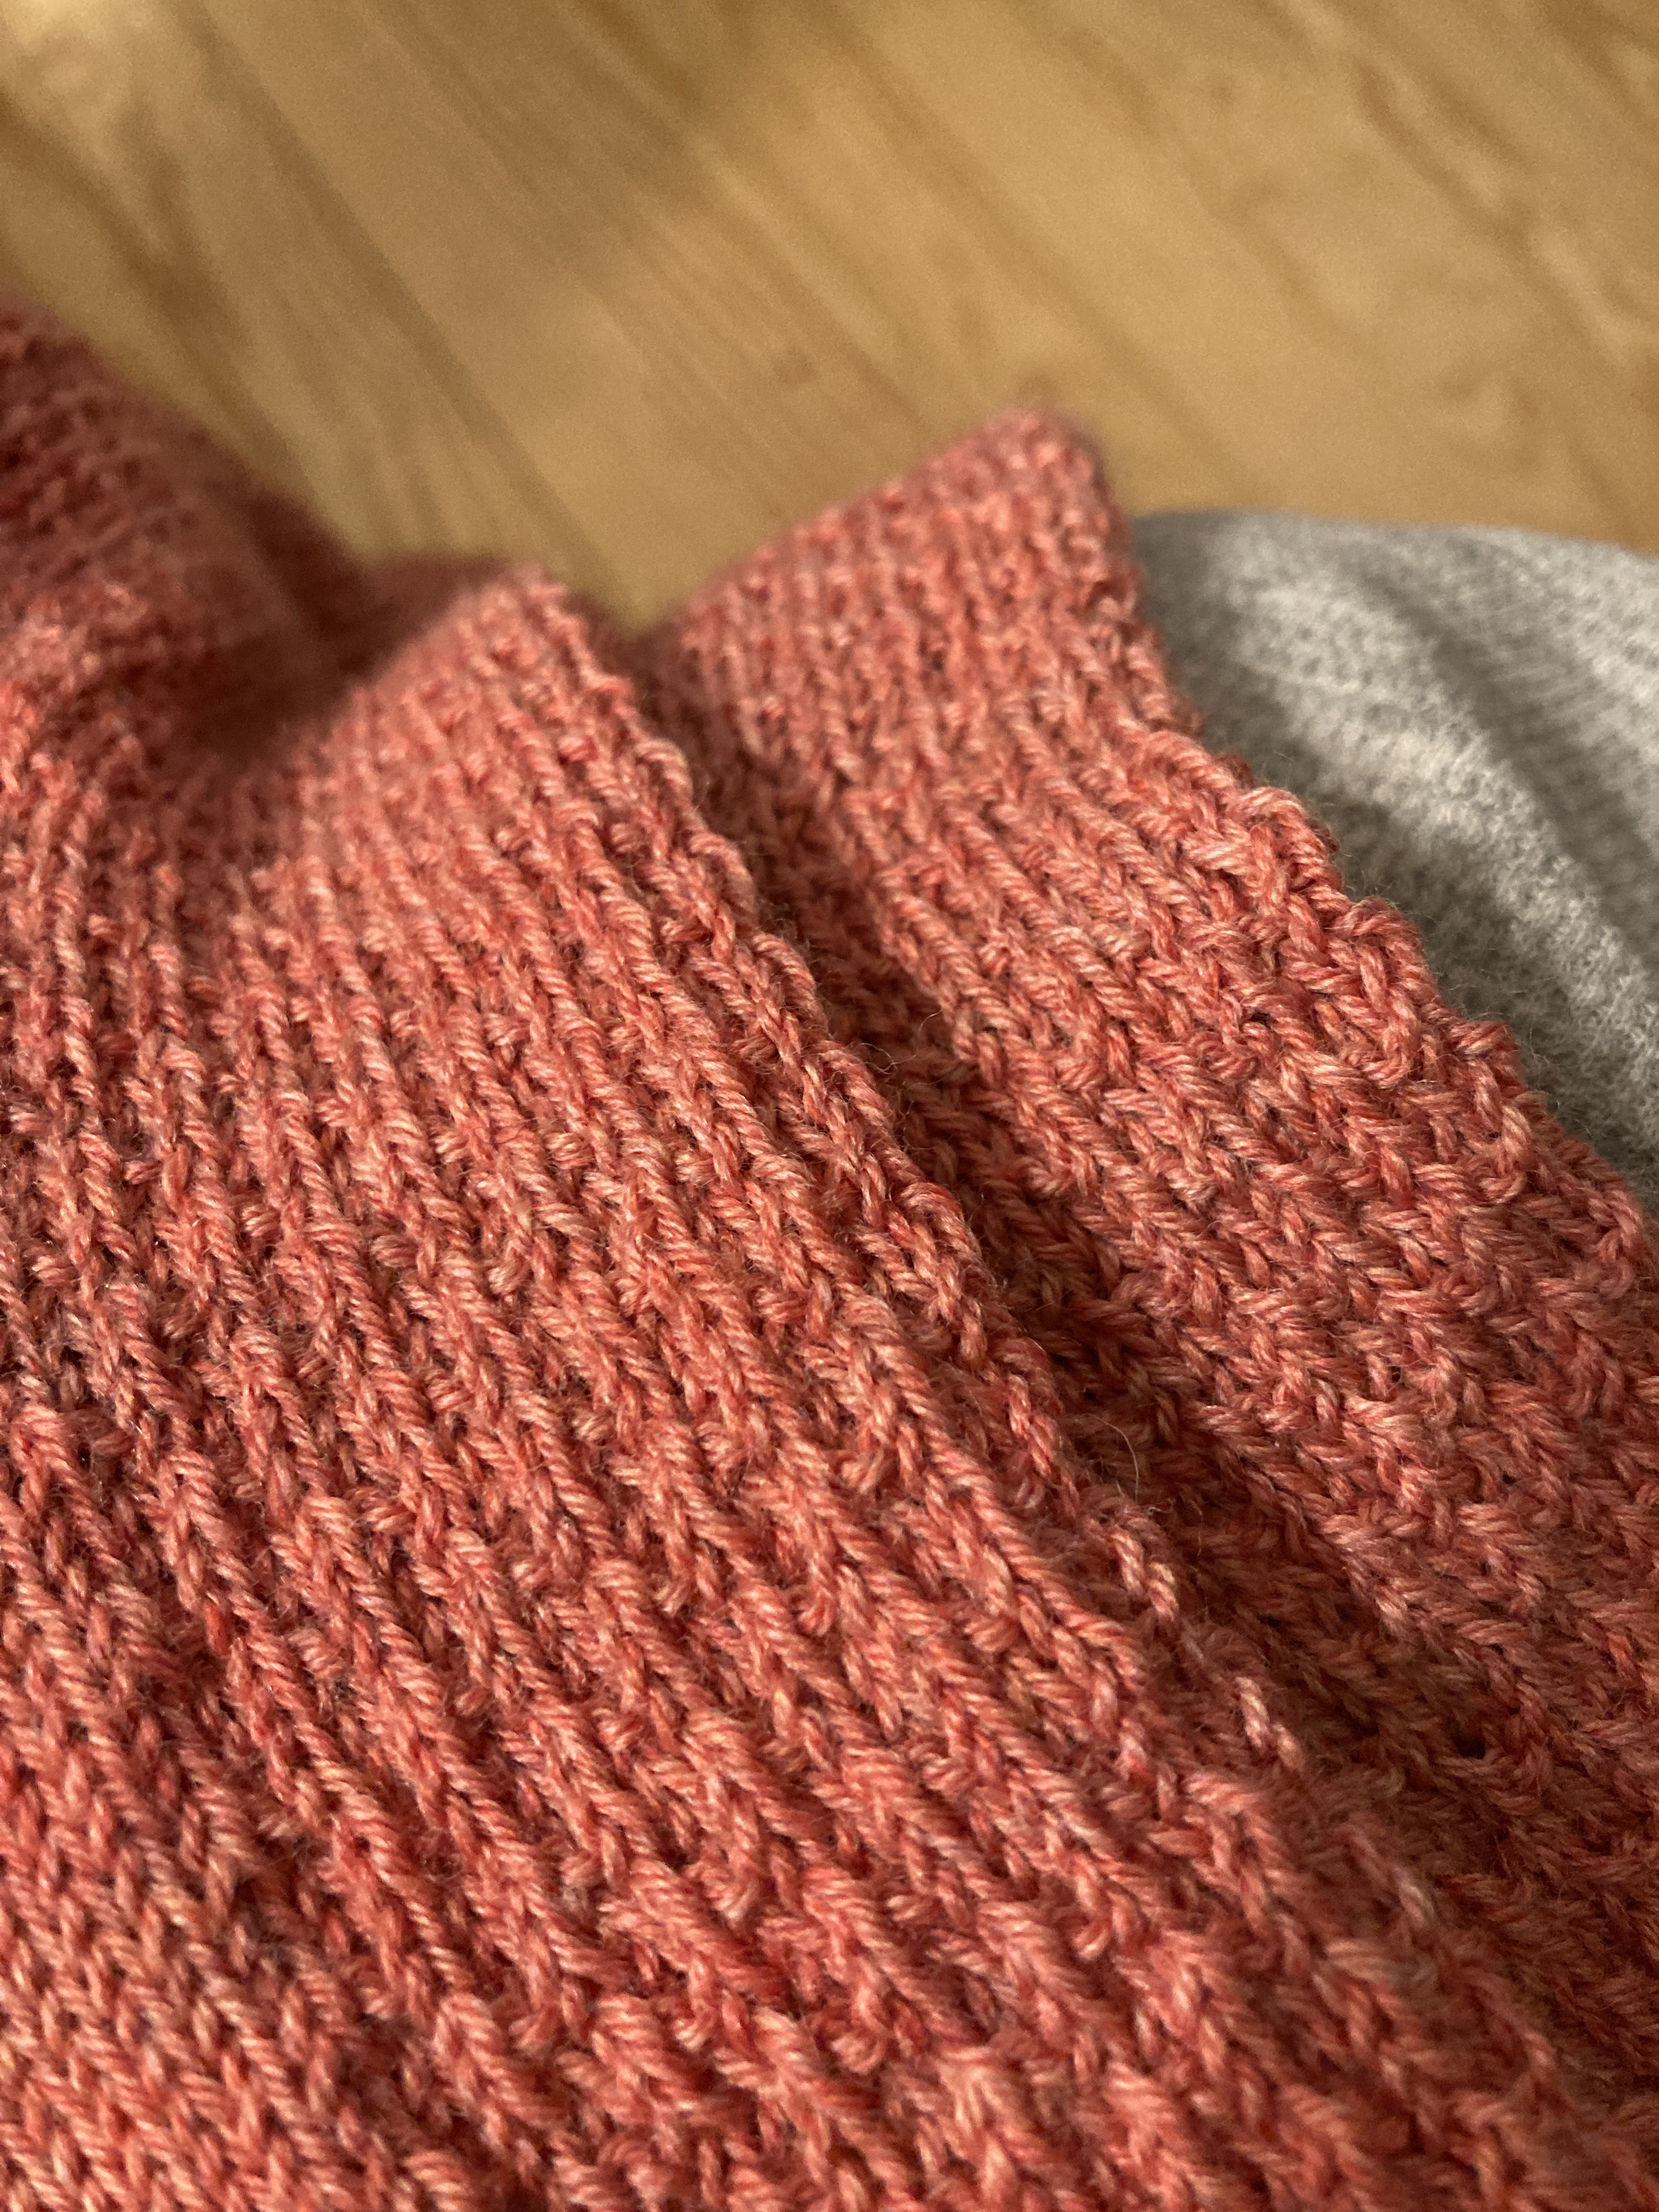
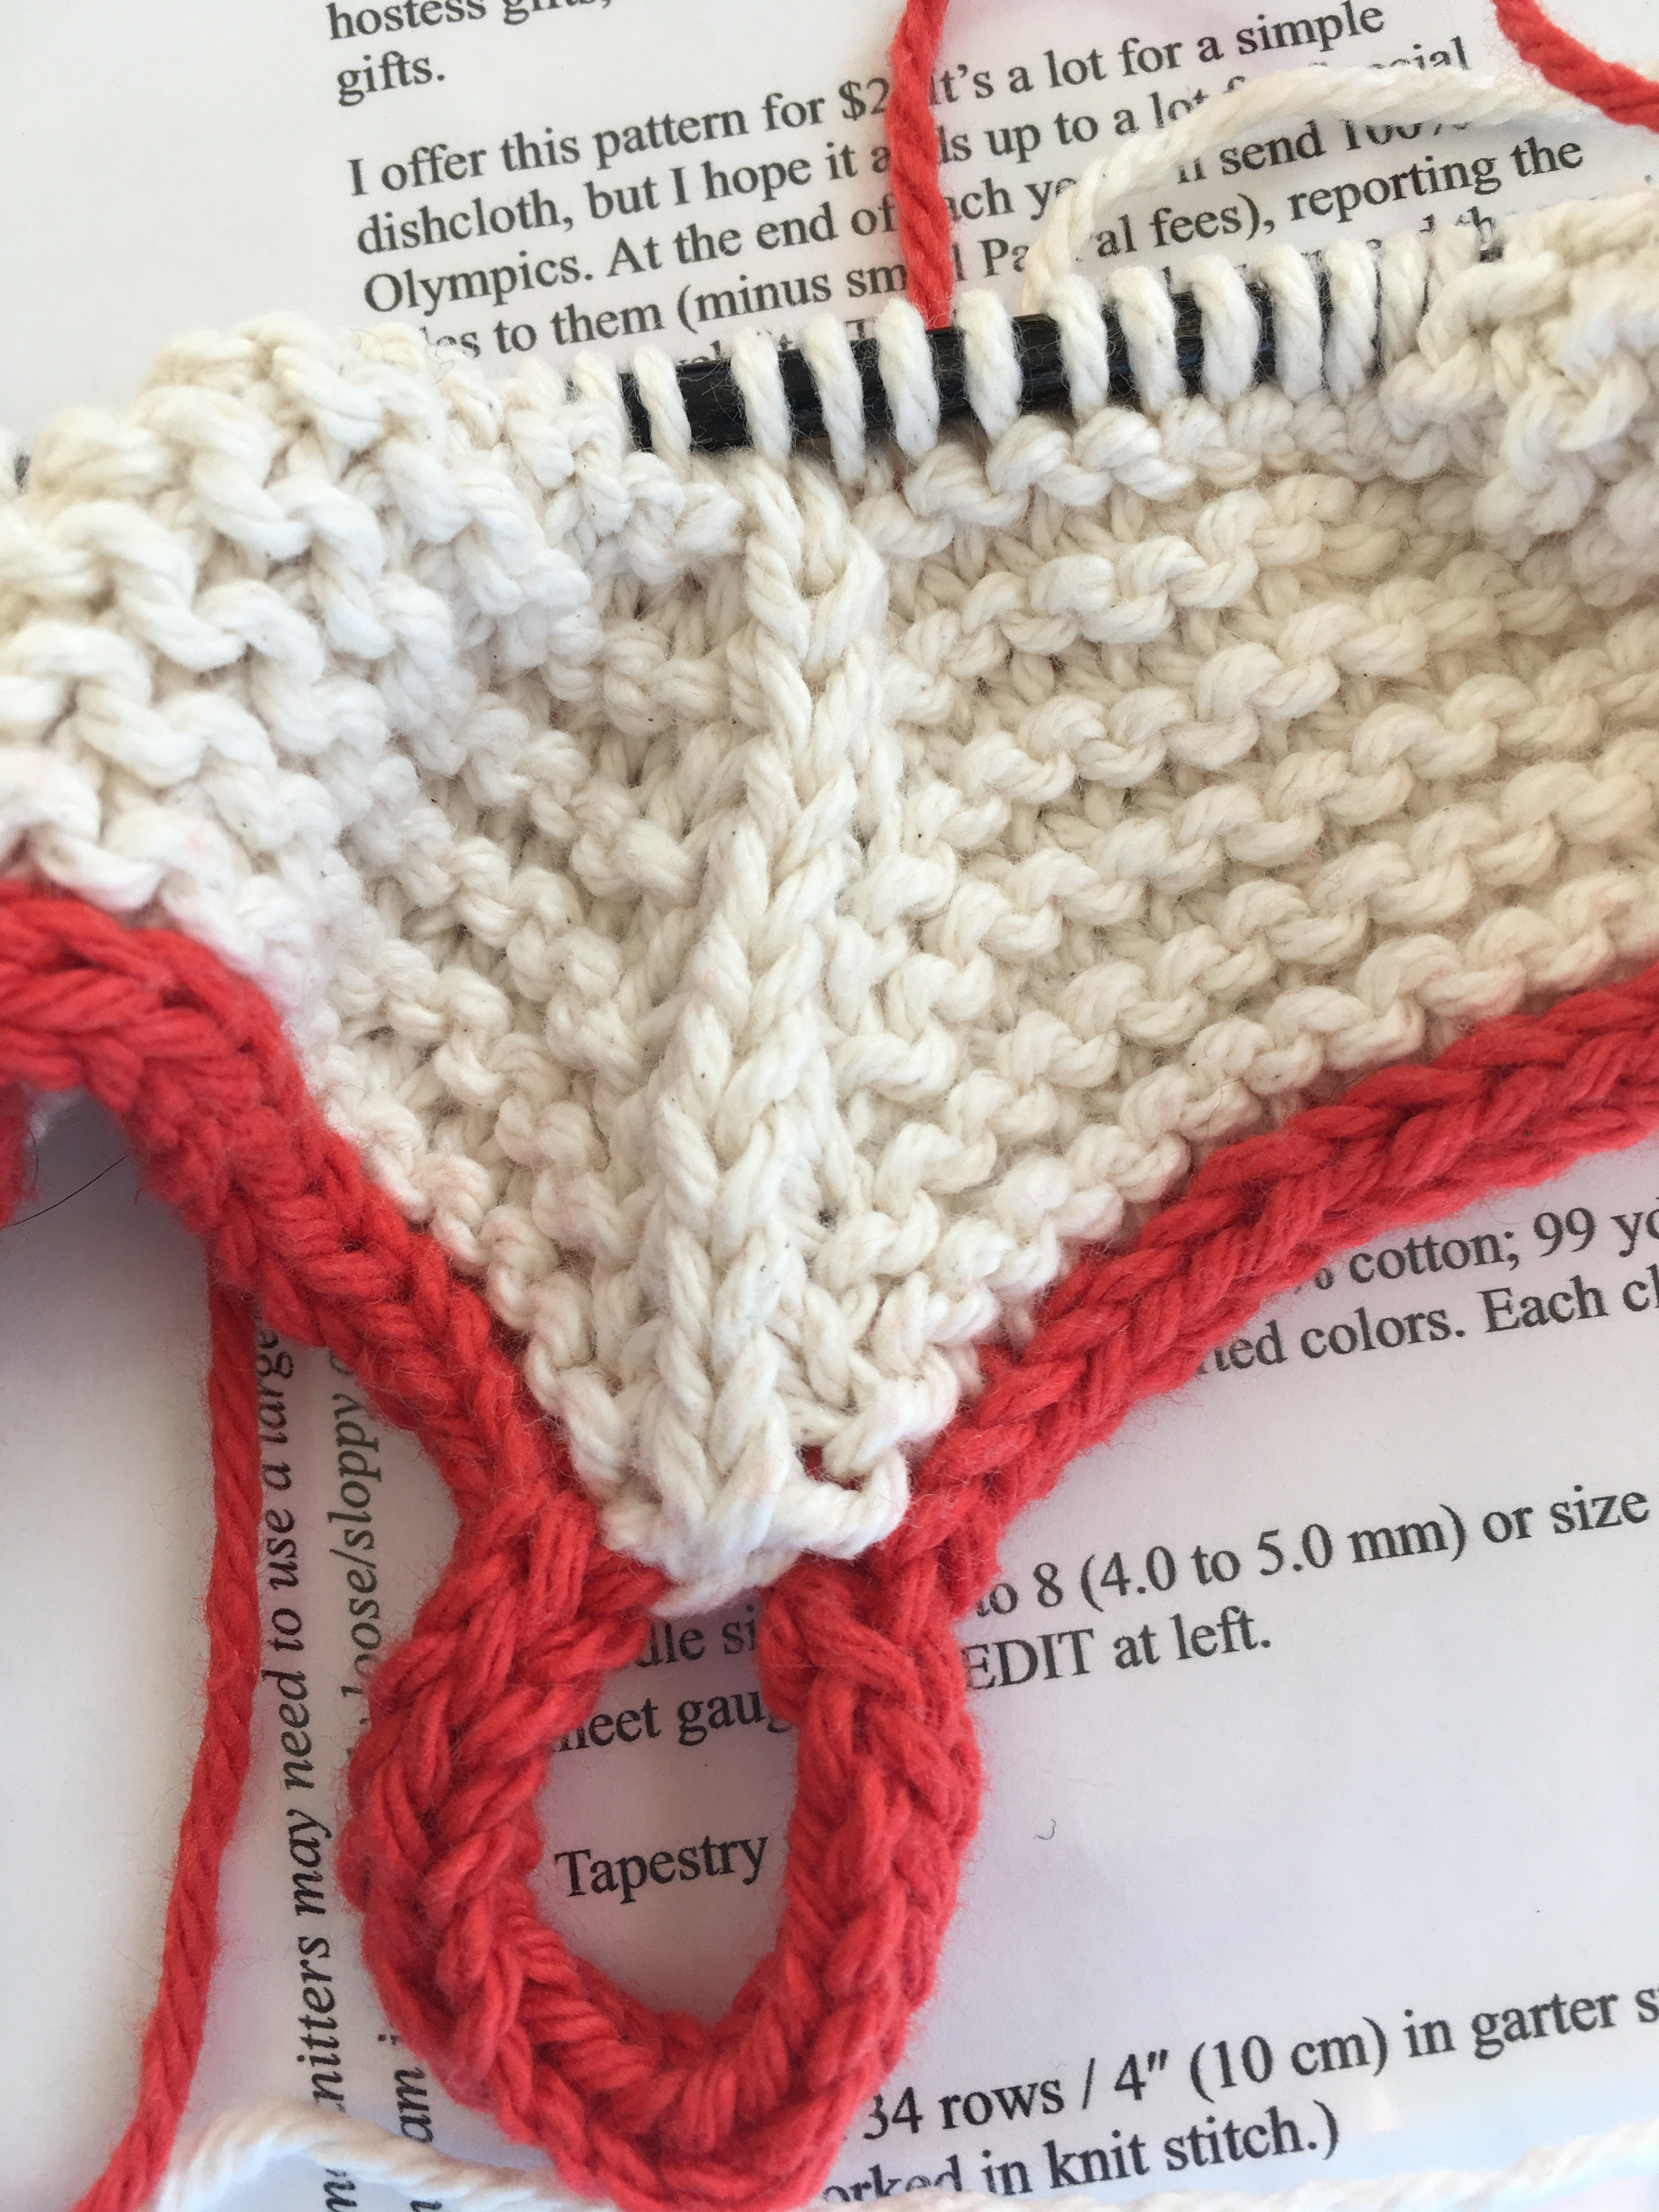
I made my swatch in stockinette stitch as called for in the pattern. I cast on enough stitches that the swatch should be more than four inches so that I can measure the stitches in the middle away from any rolling edges. I didn’t knit a full six inches to measure the rows … I got tired last night after a bit more than four inches and bound off.
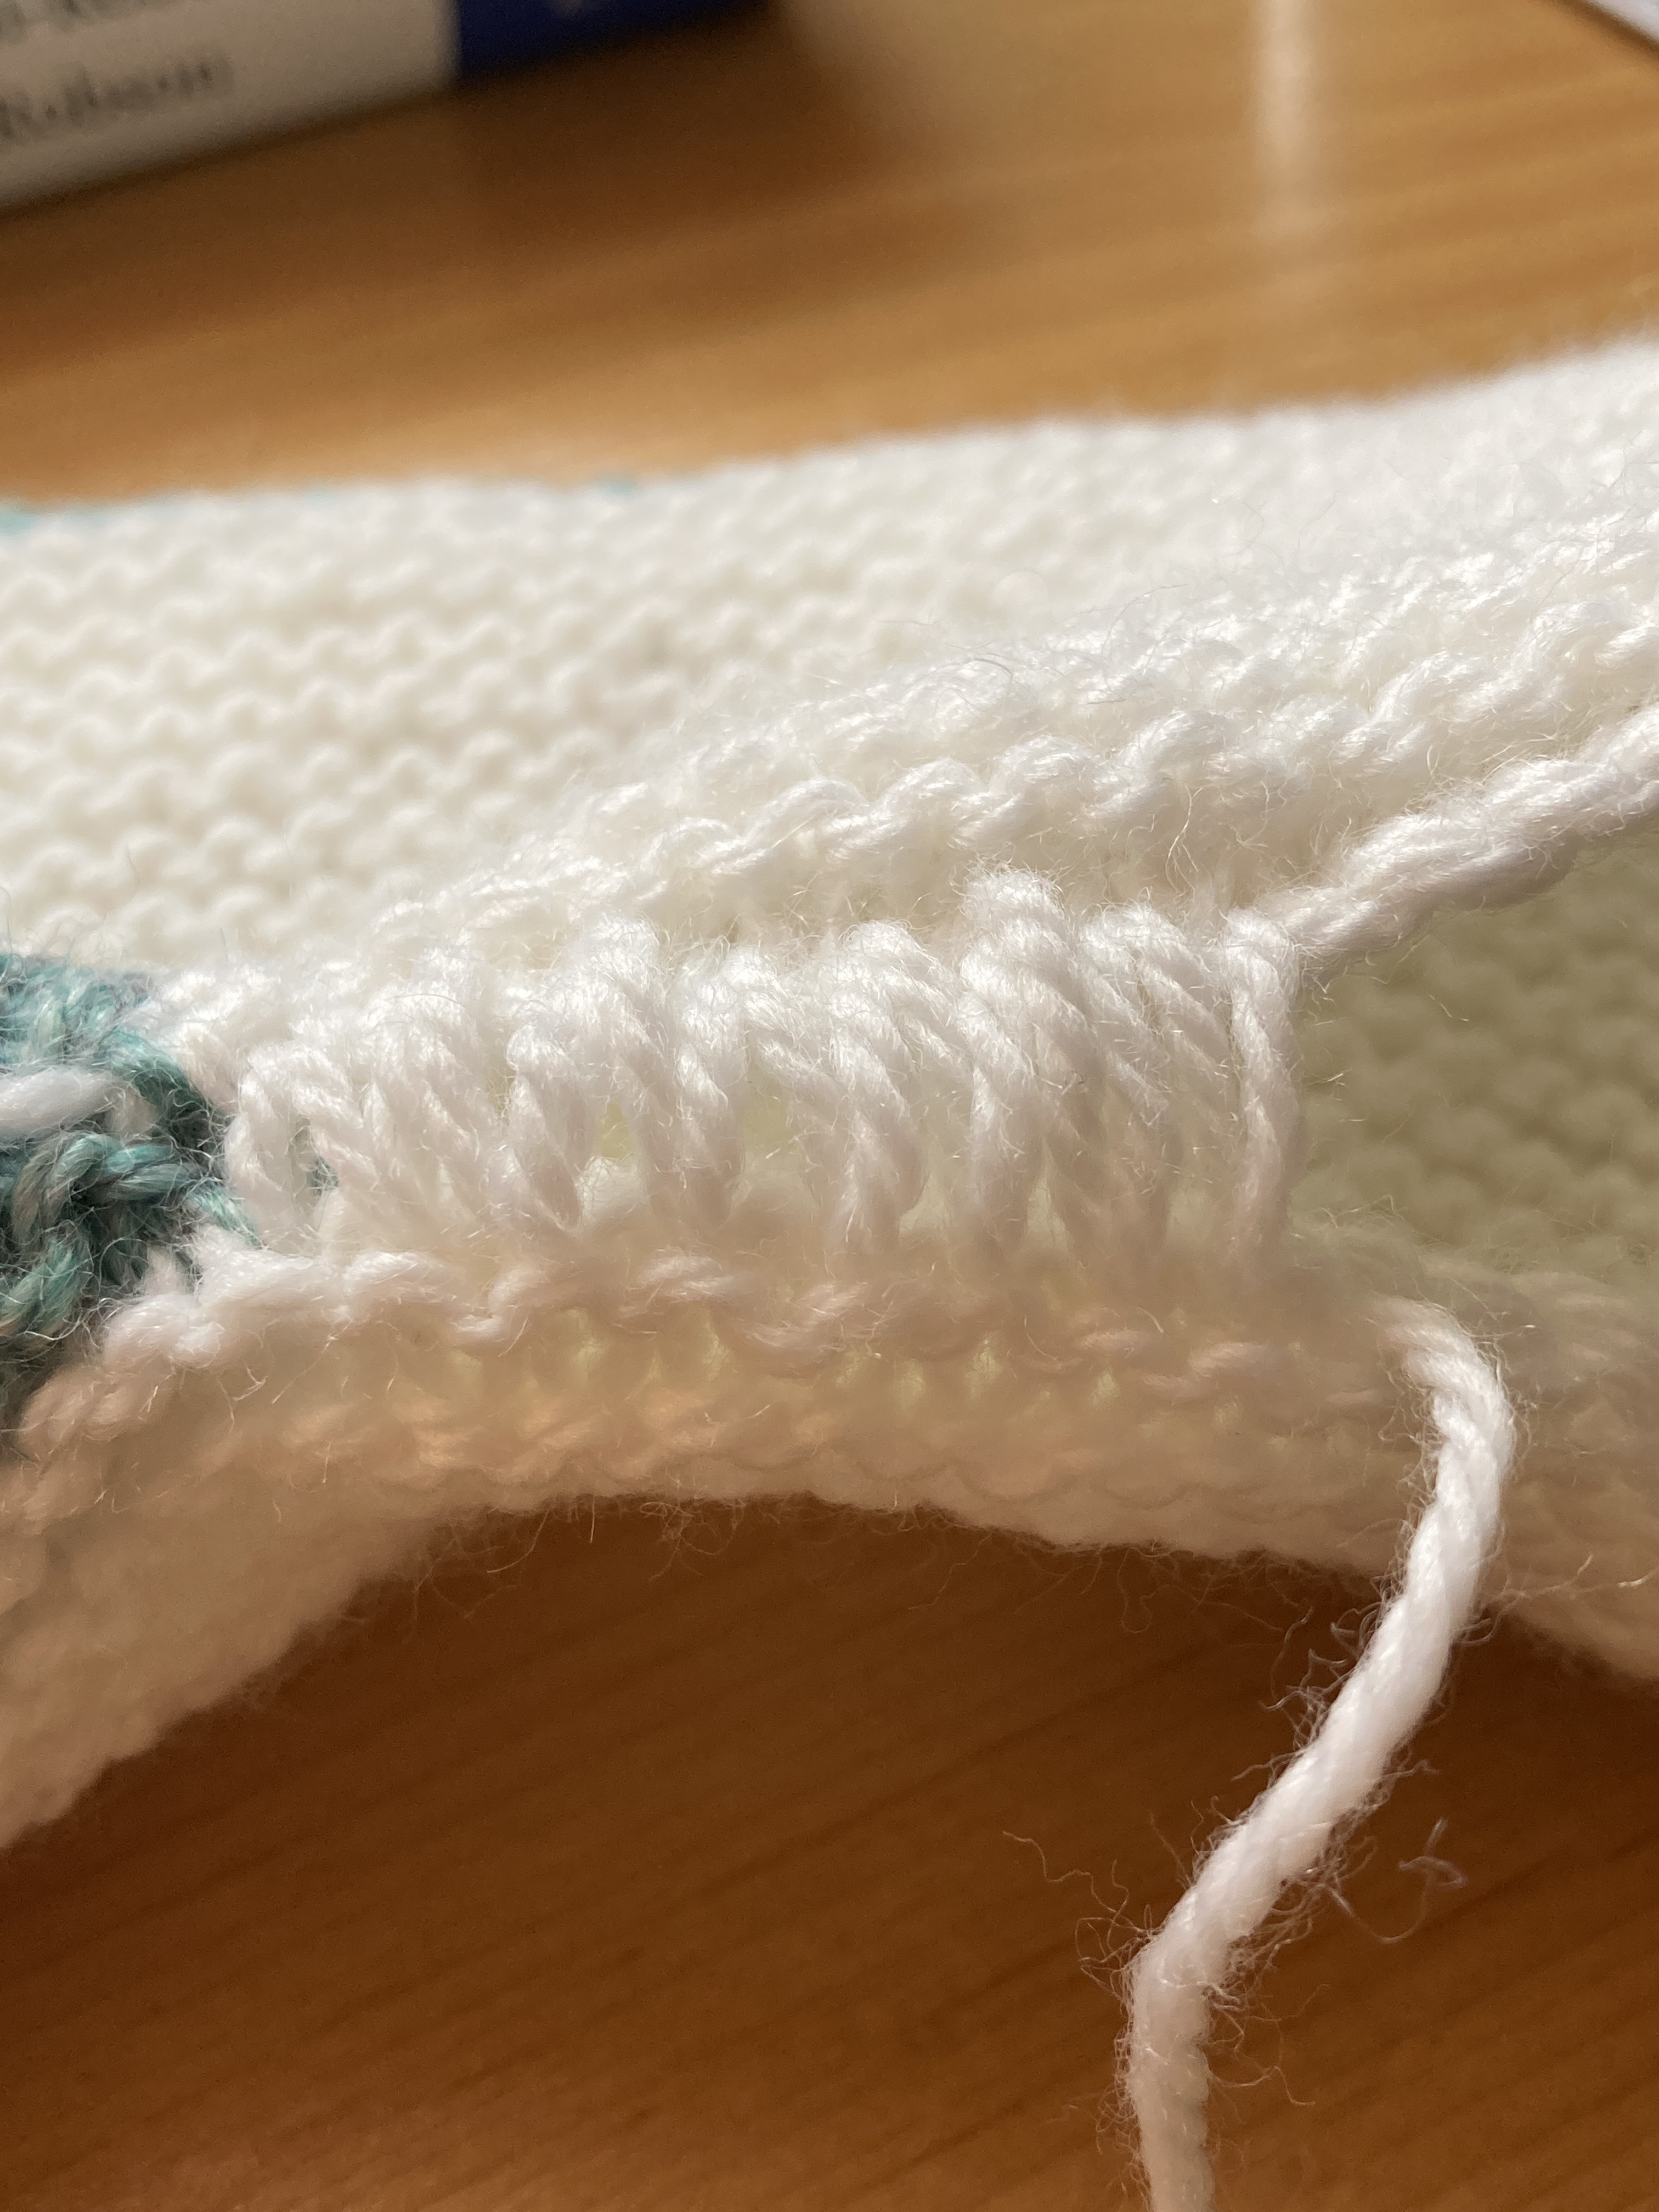
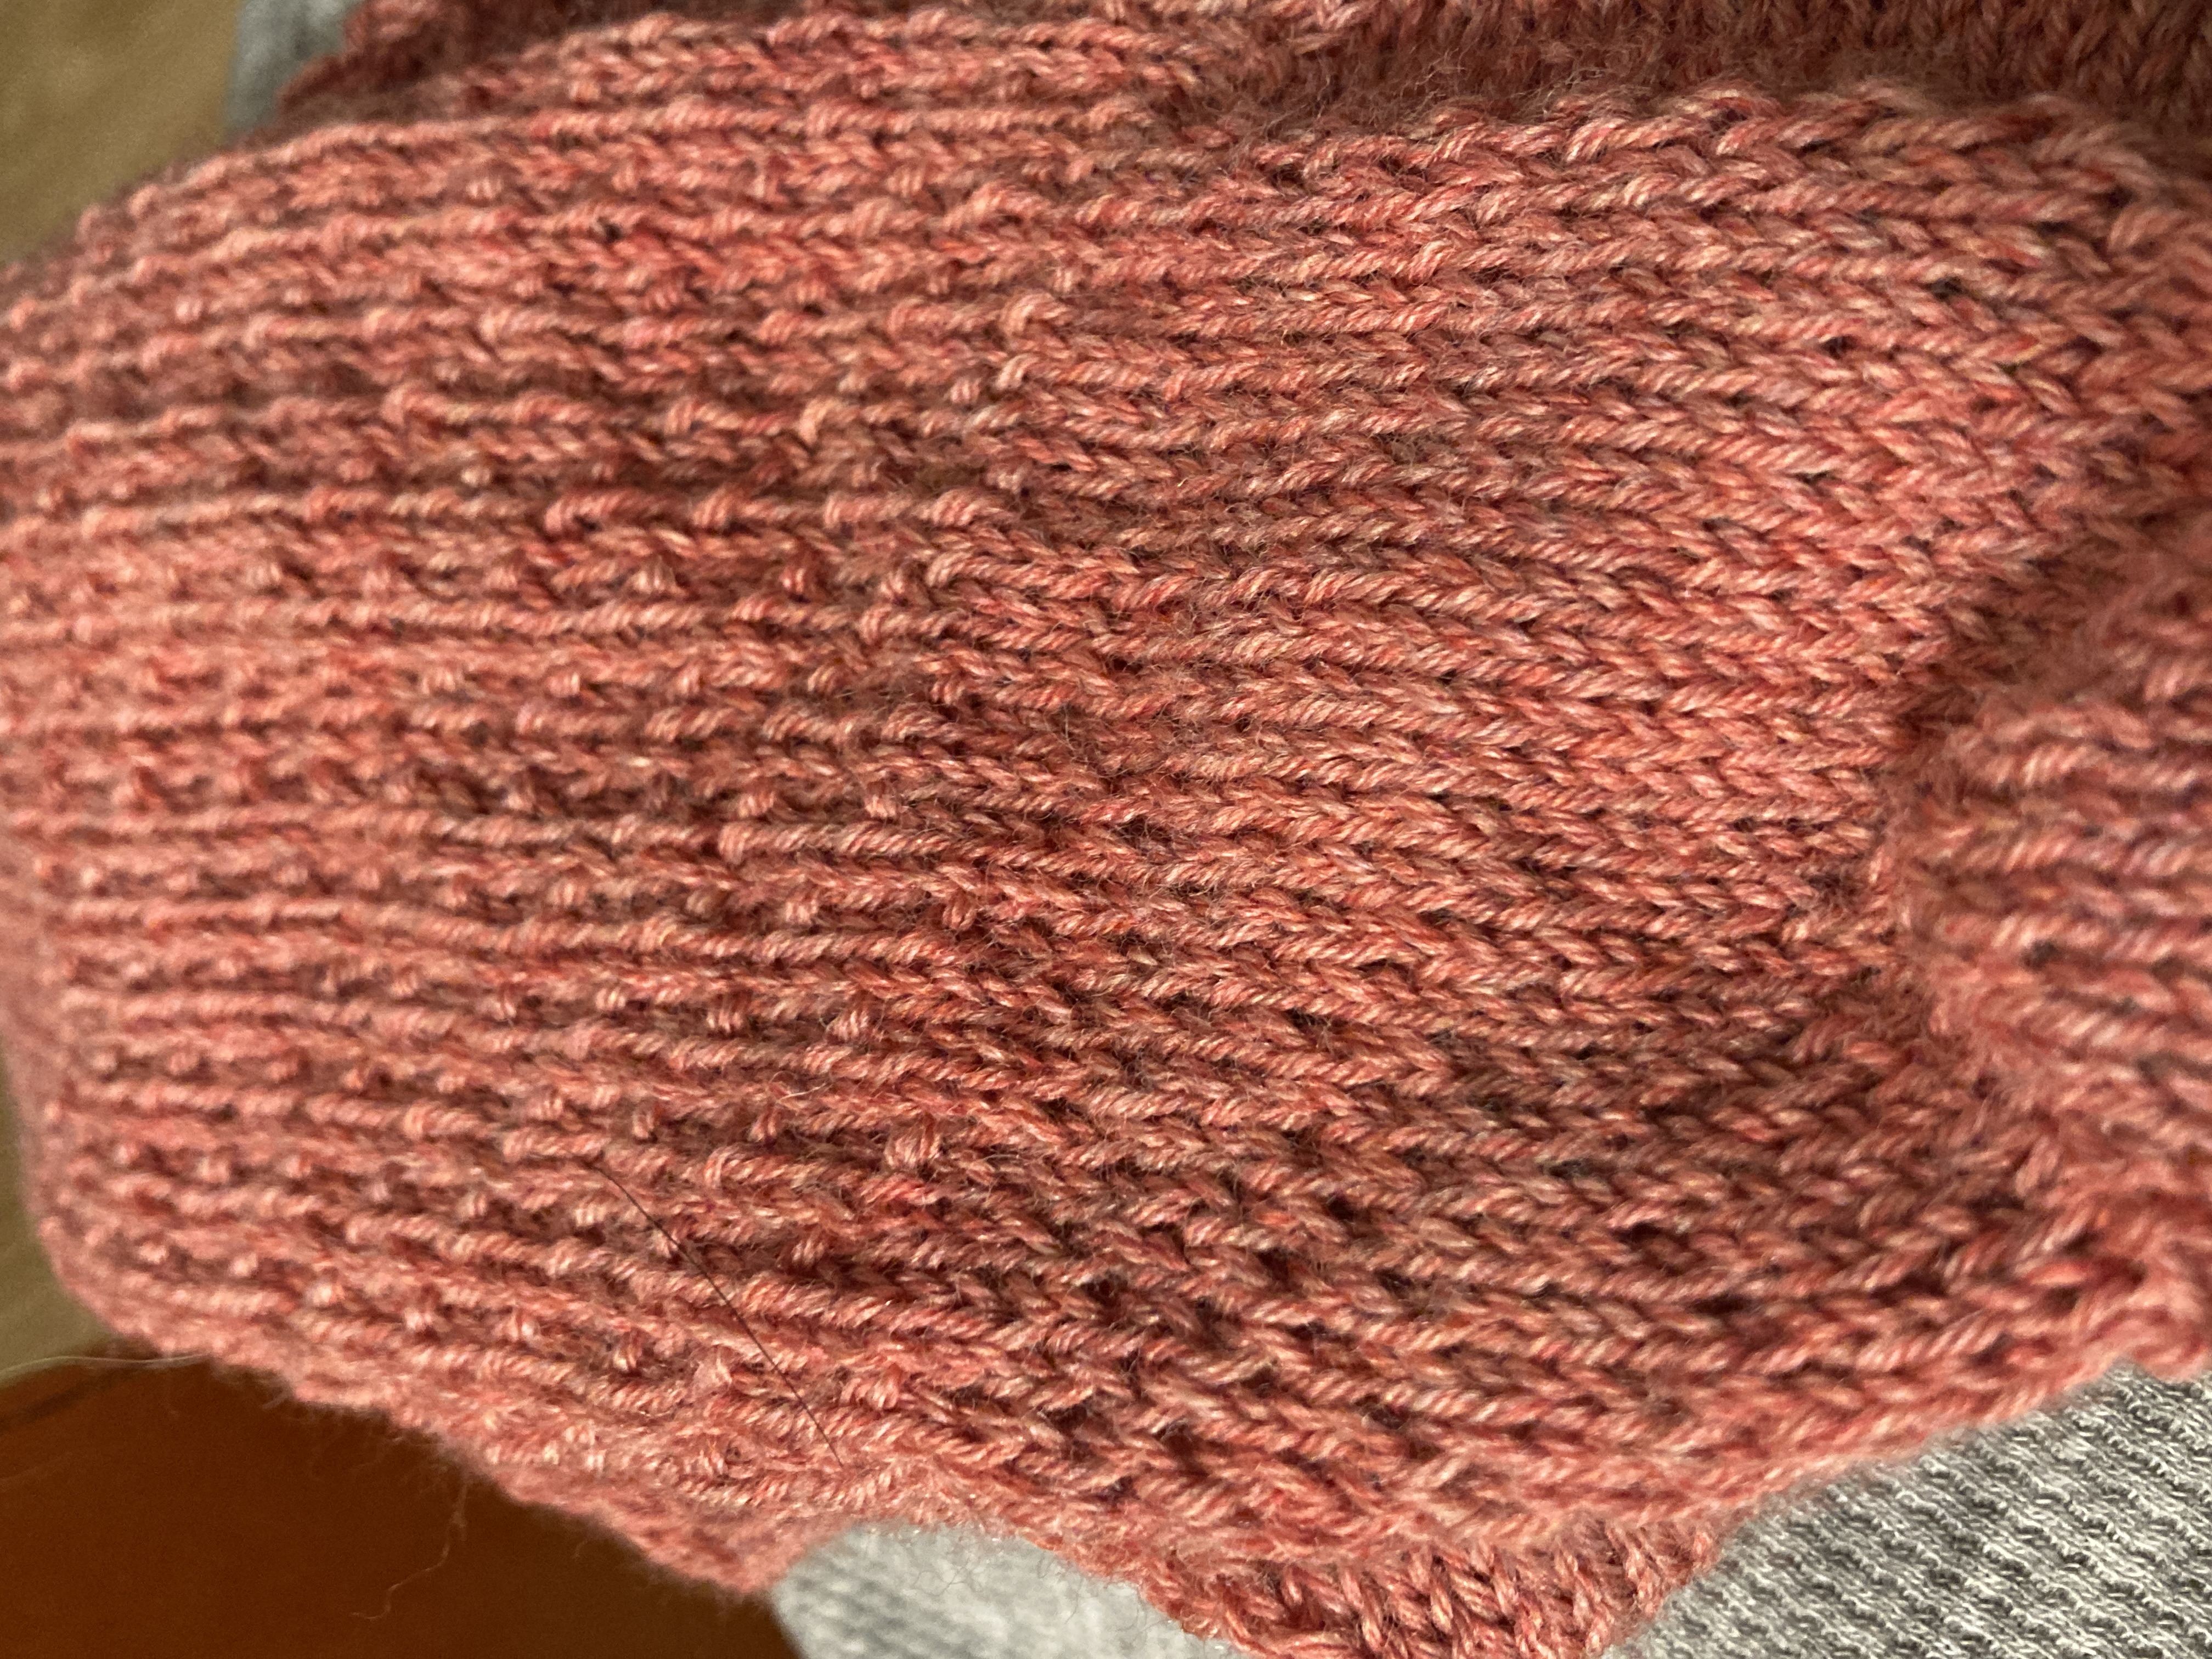
I measured the swatch: 16 stitches per inch and 23 rows. Close but no cigar. BUT we’re not finished yet. I have to wet block the swatch to get the bestest closest measurement of what the fabric will be like at the very end after the garment is blocked.
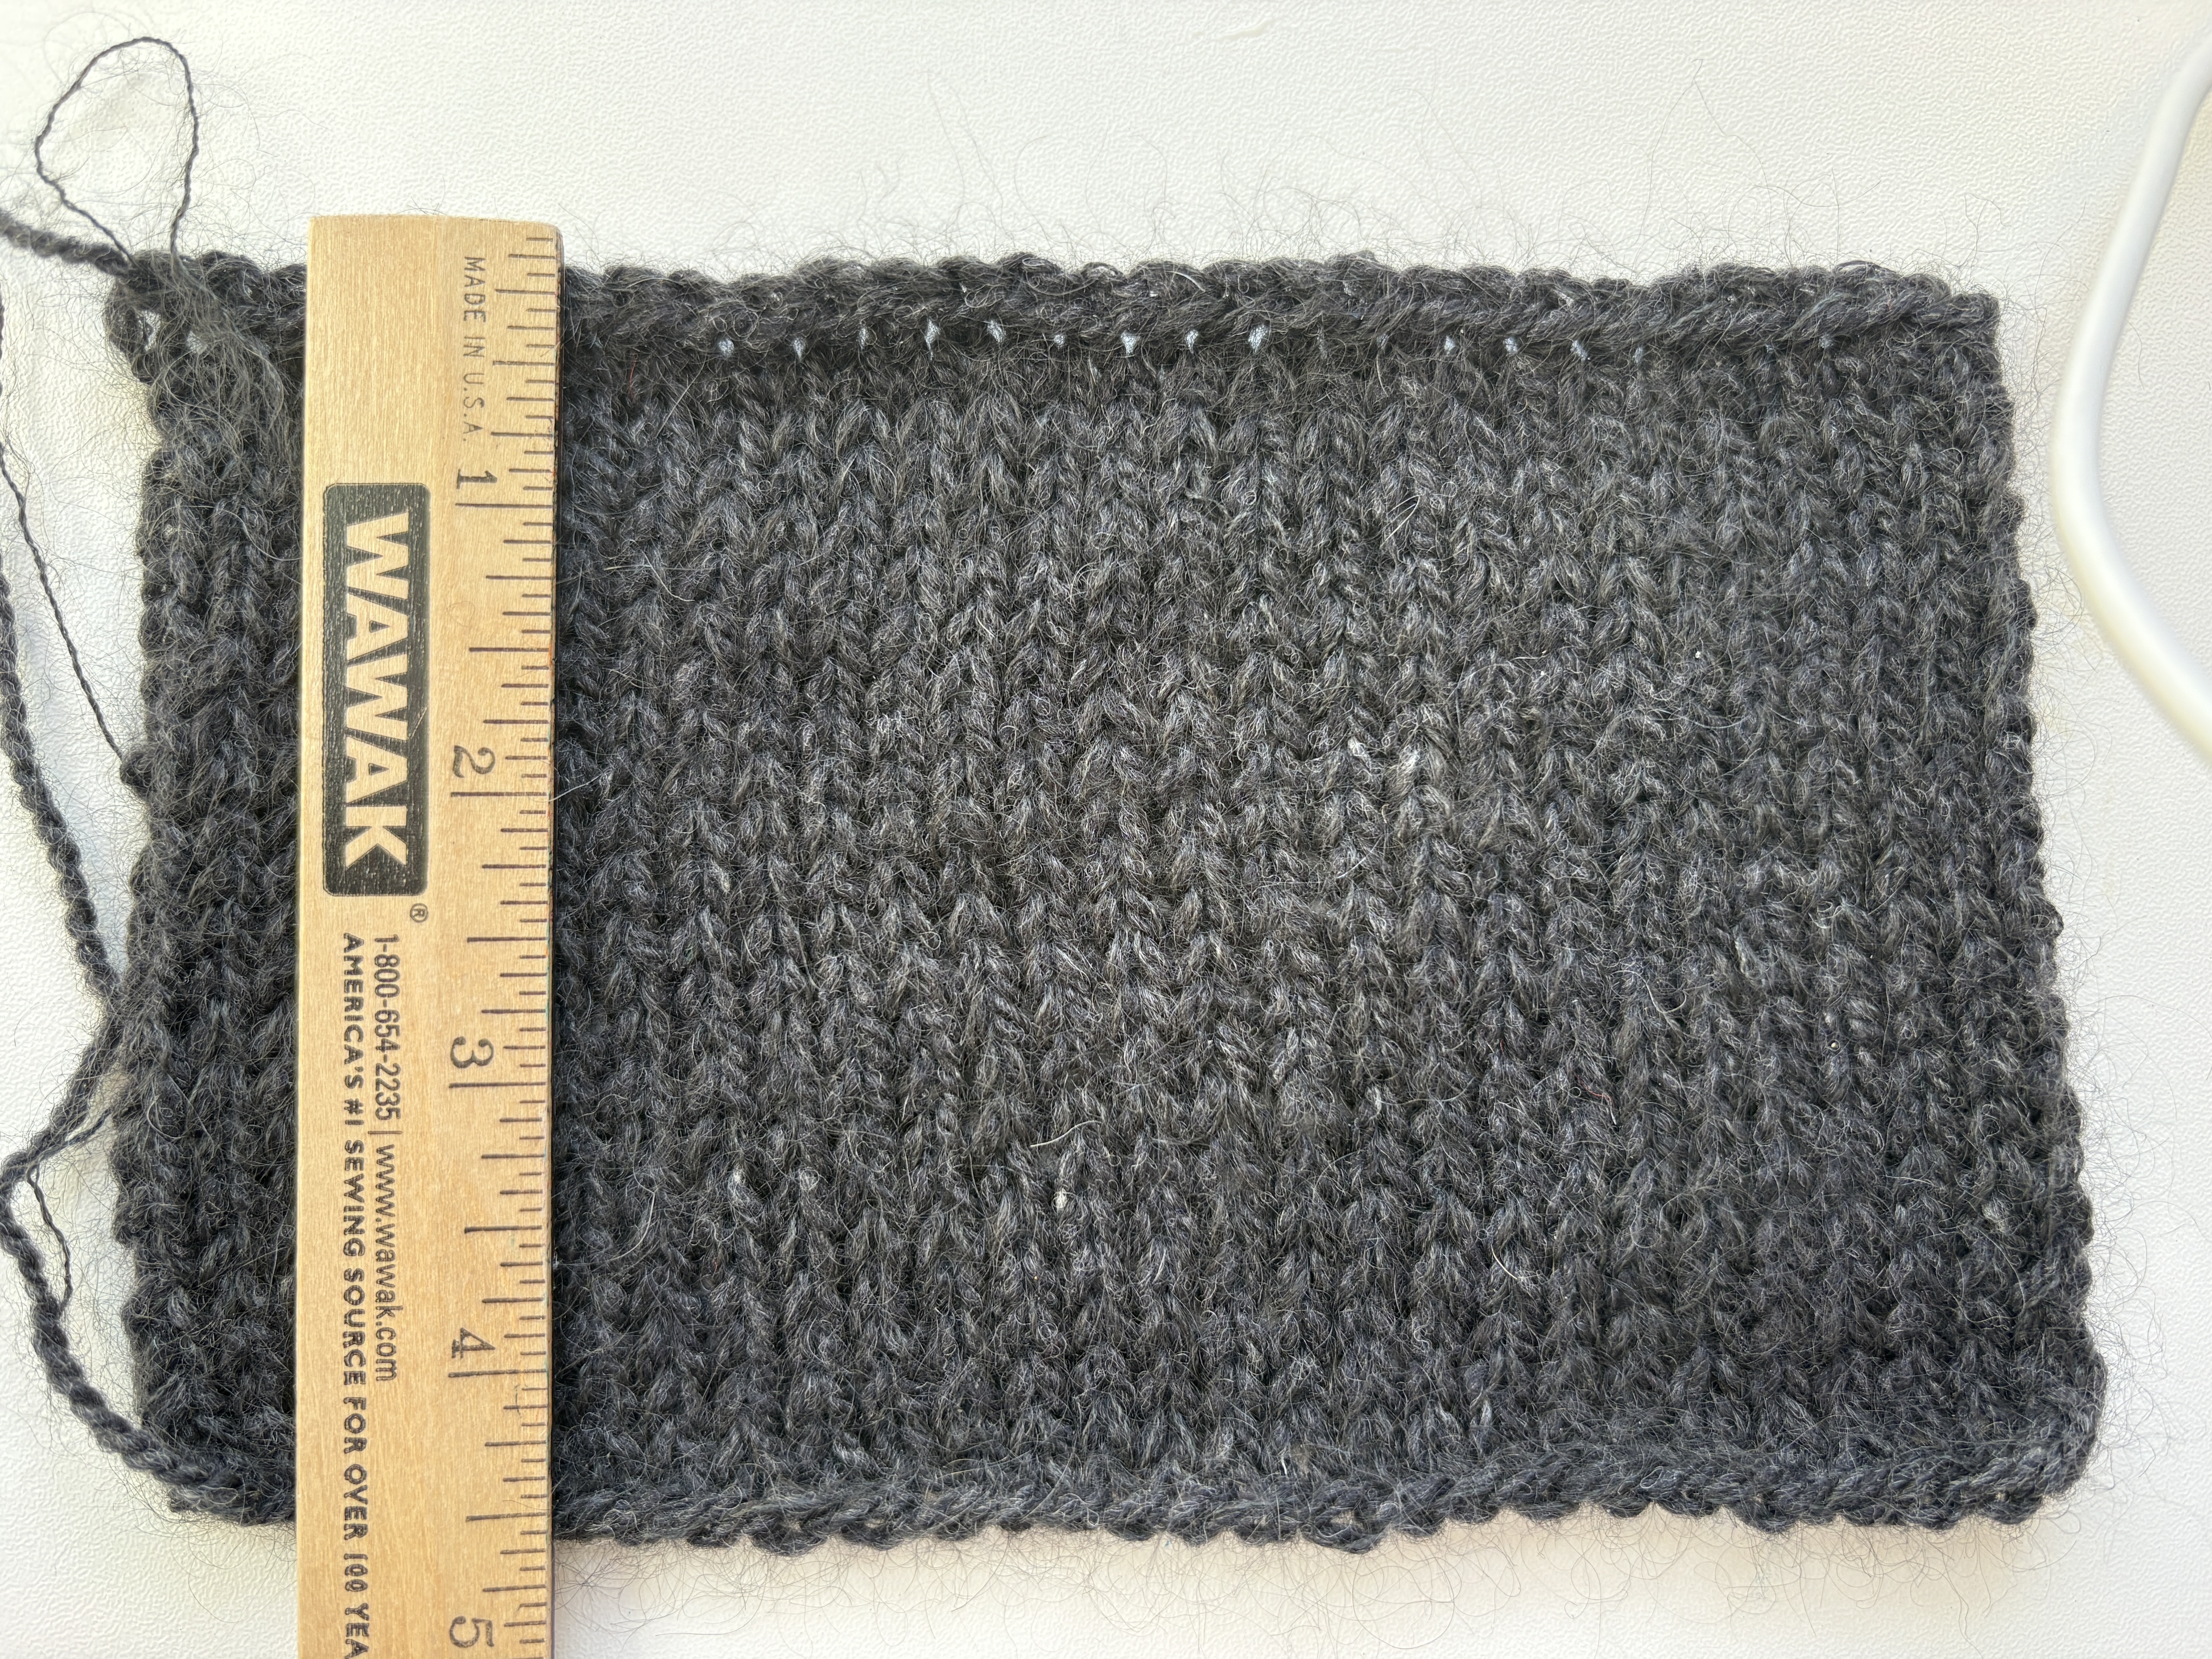
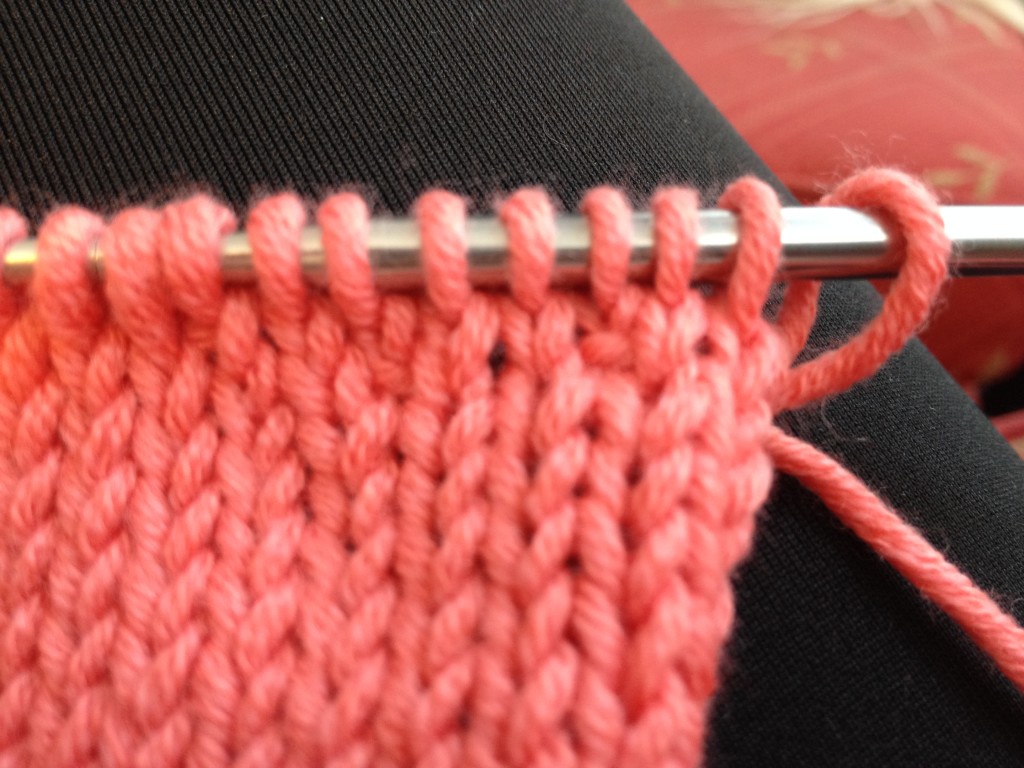
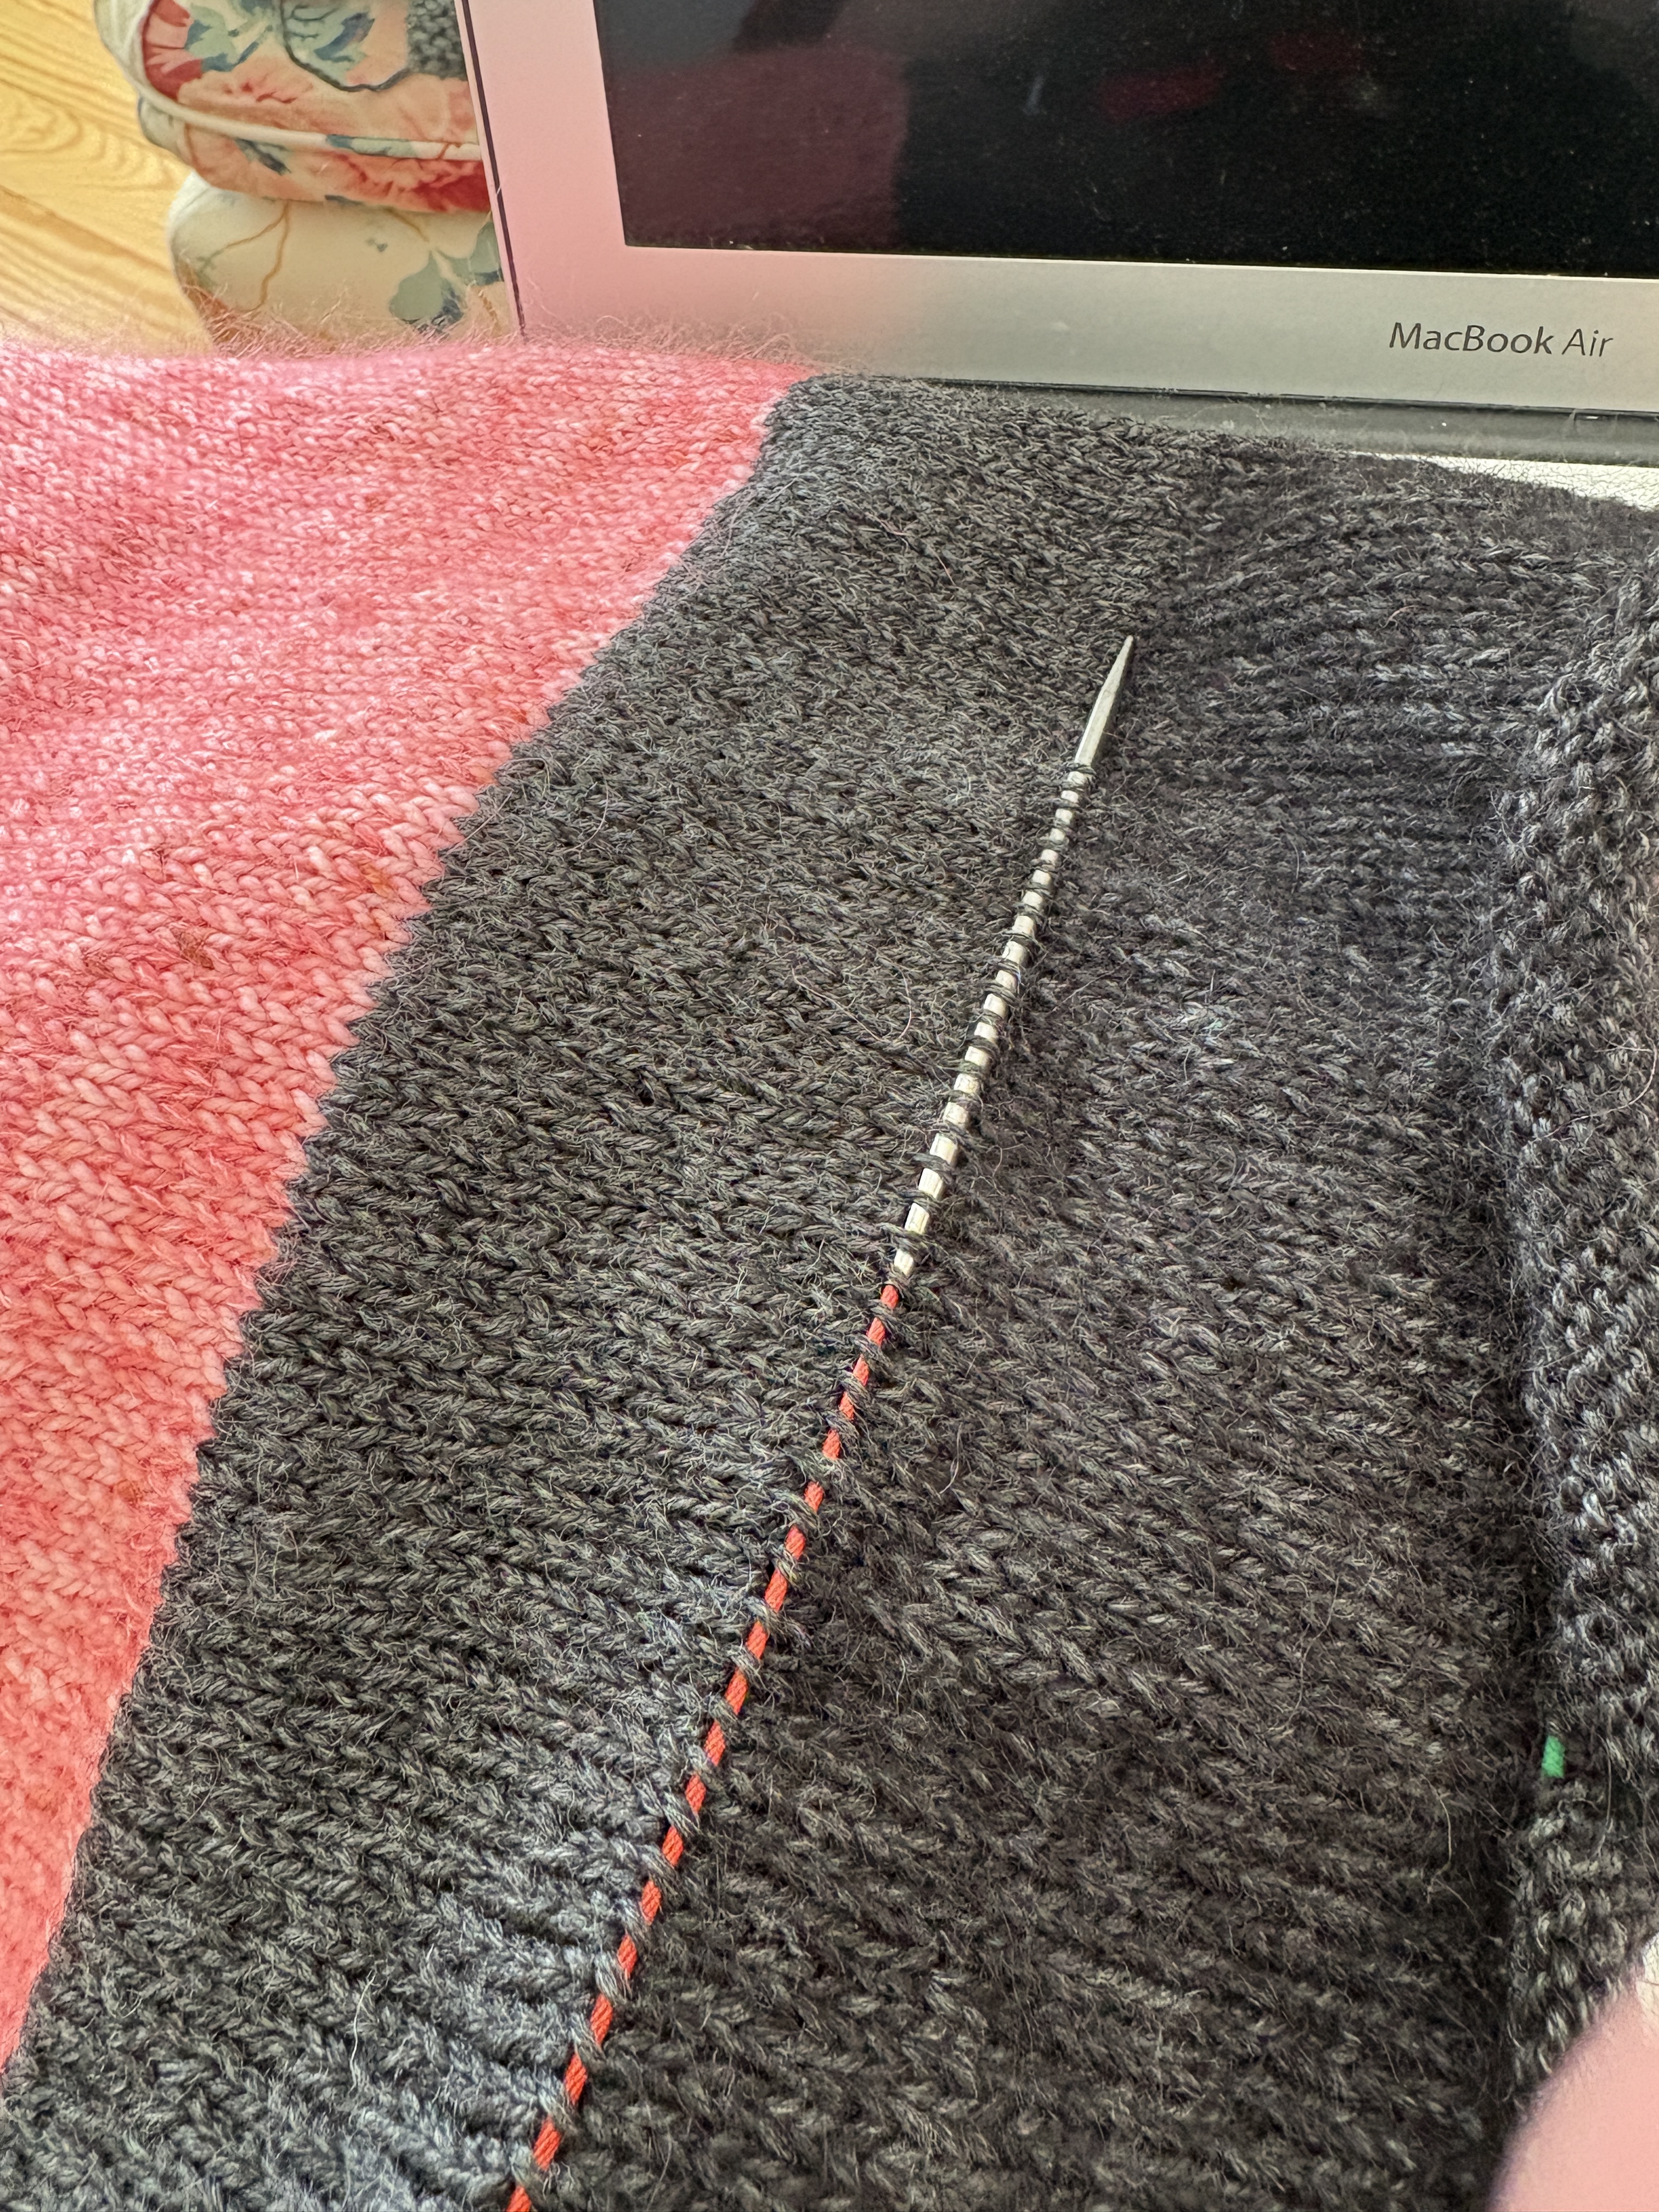
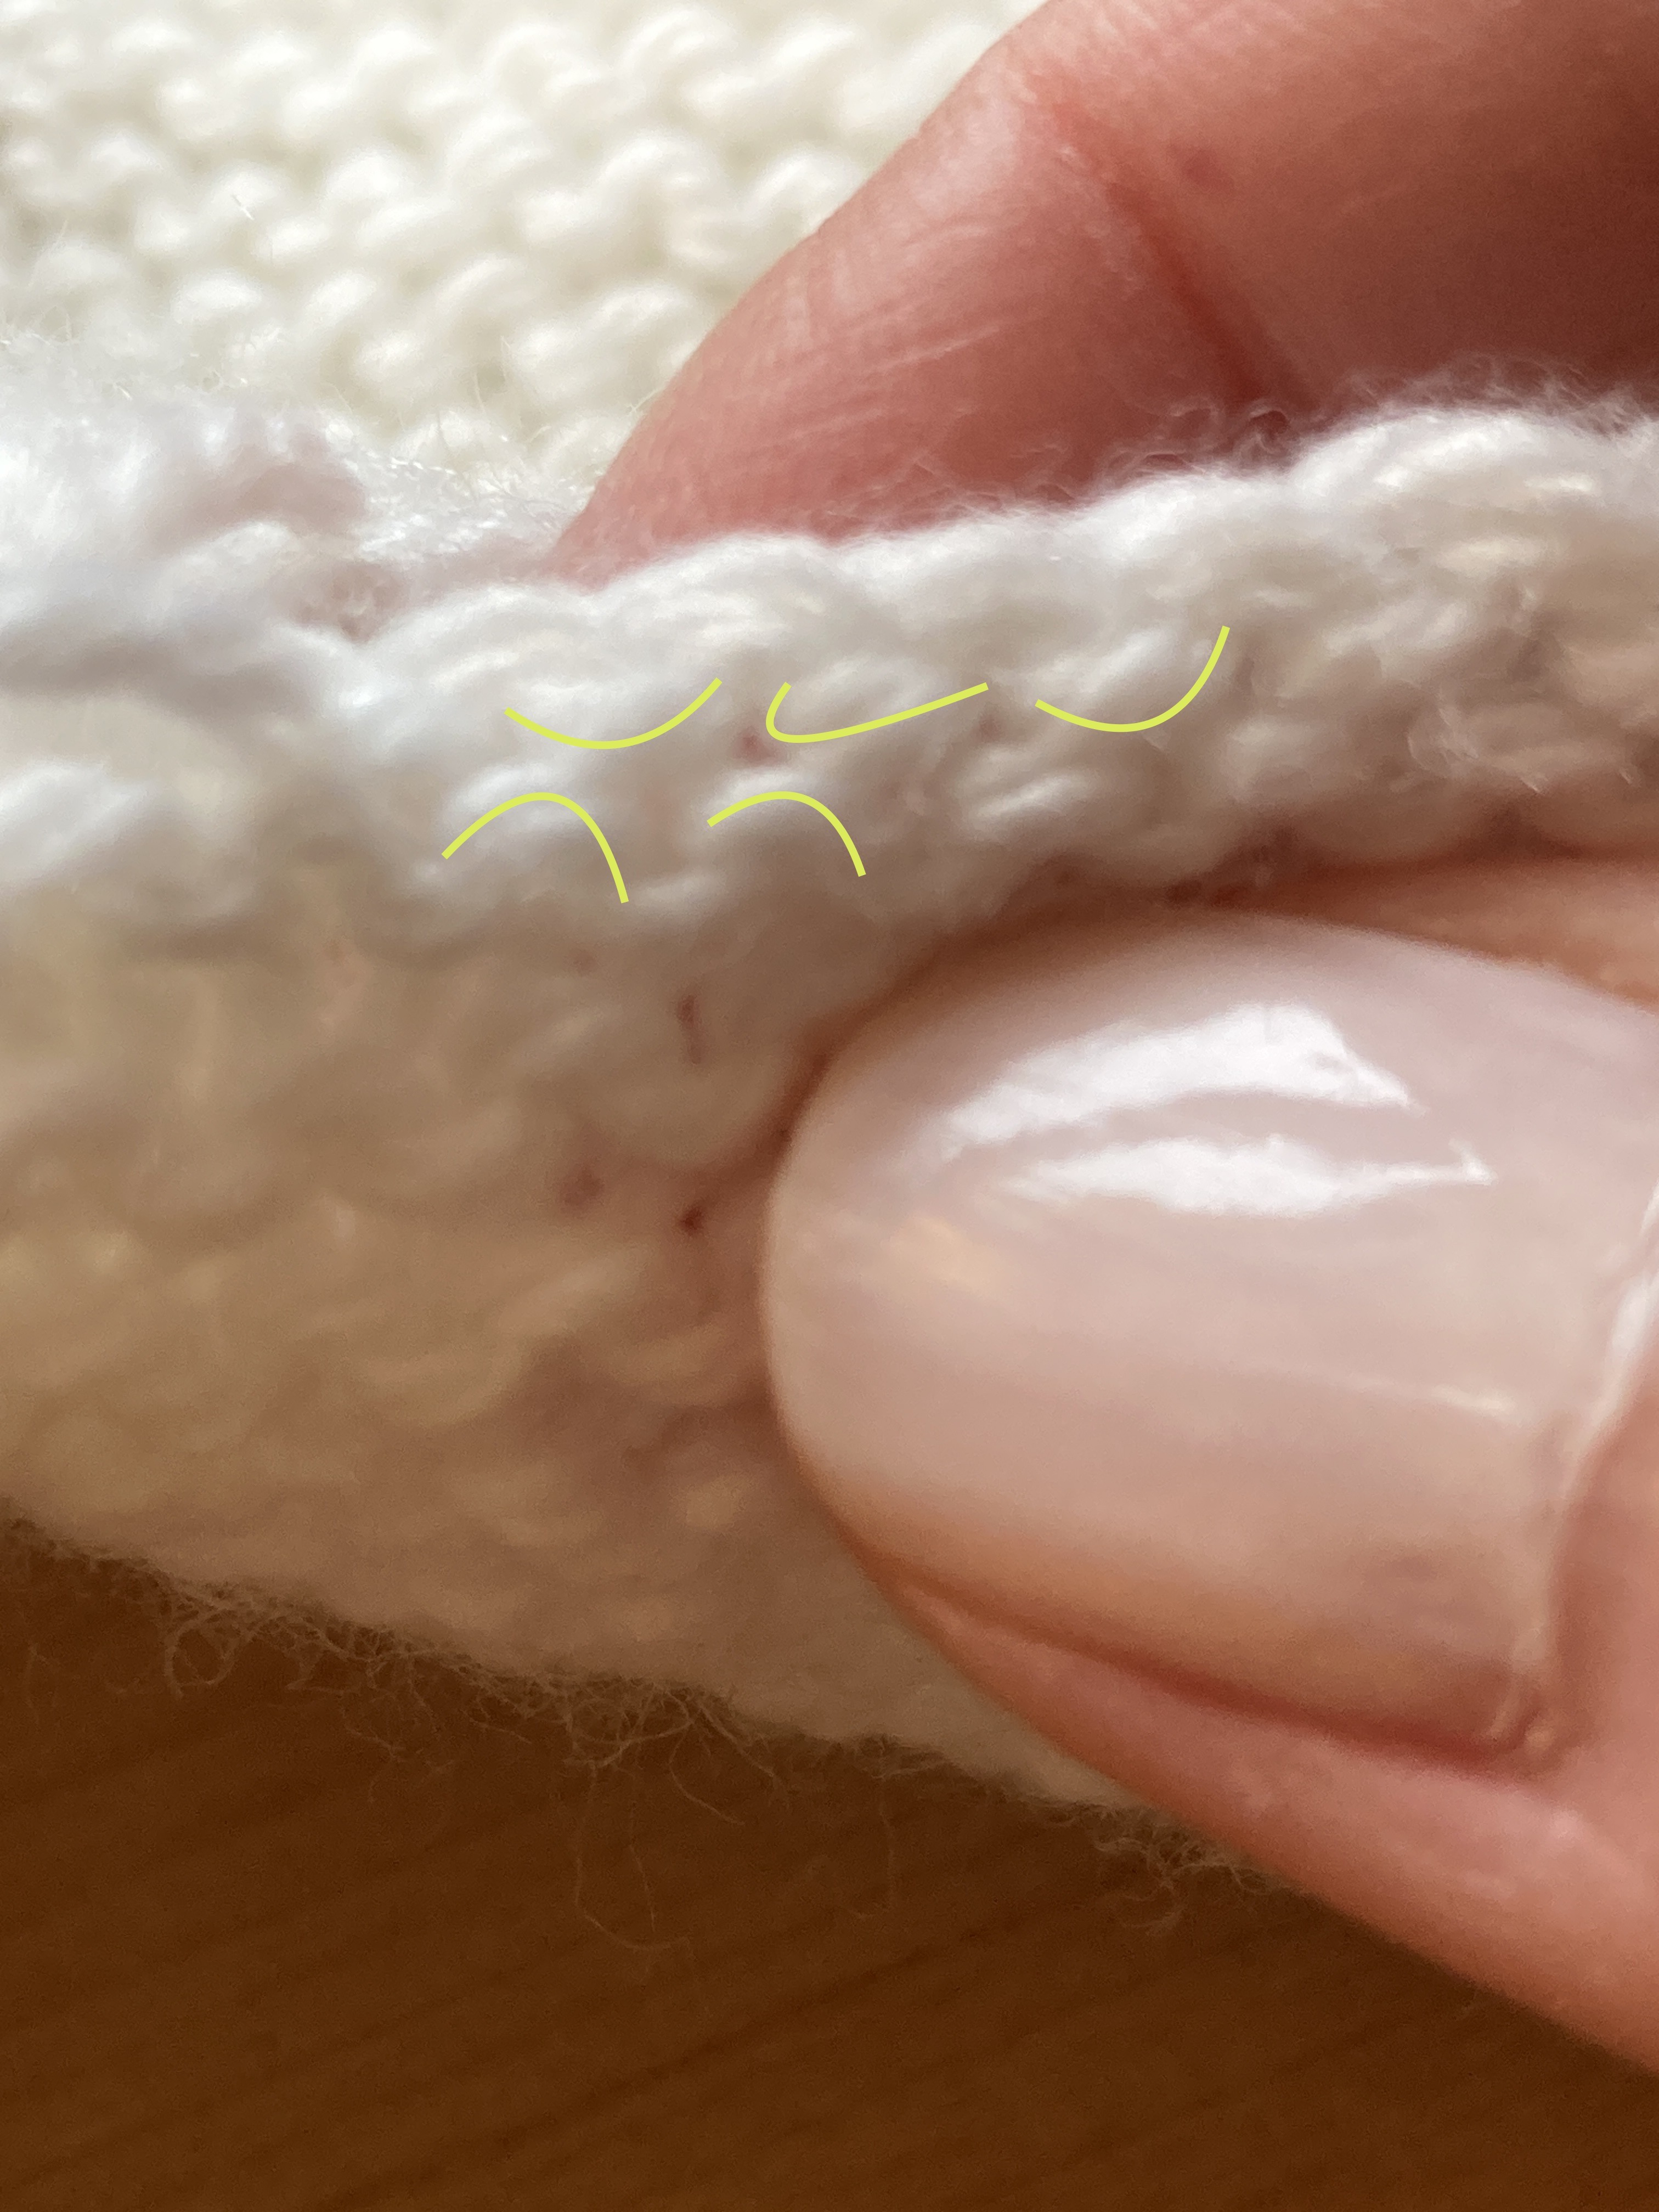
To measure the stitches per inch blocked I stuck a straight pin in at 1″ and at 5″ and counted the rows of knitting between the pins. Exactly 15. And because I was lazy about knitting the rows, I counted the full number I knitted between cast on and bind off and it’s just over the 22 rows. So, I’m calling it perfect – 15 sts and 22 rows is 4″. I’m on gauge.
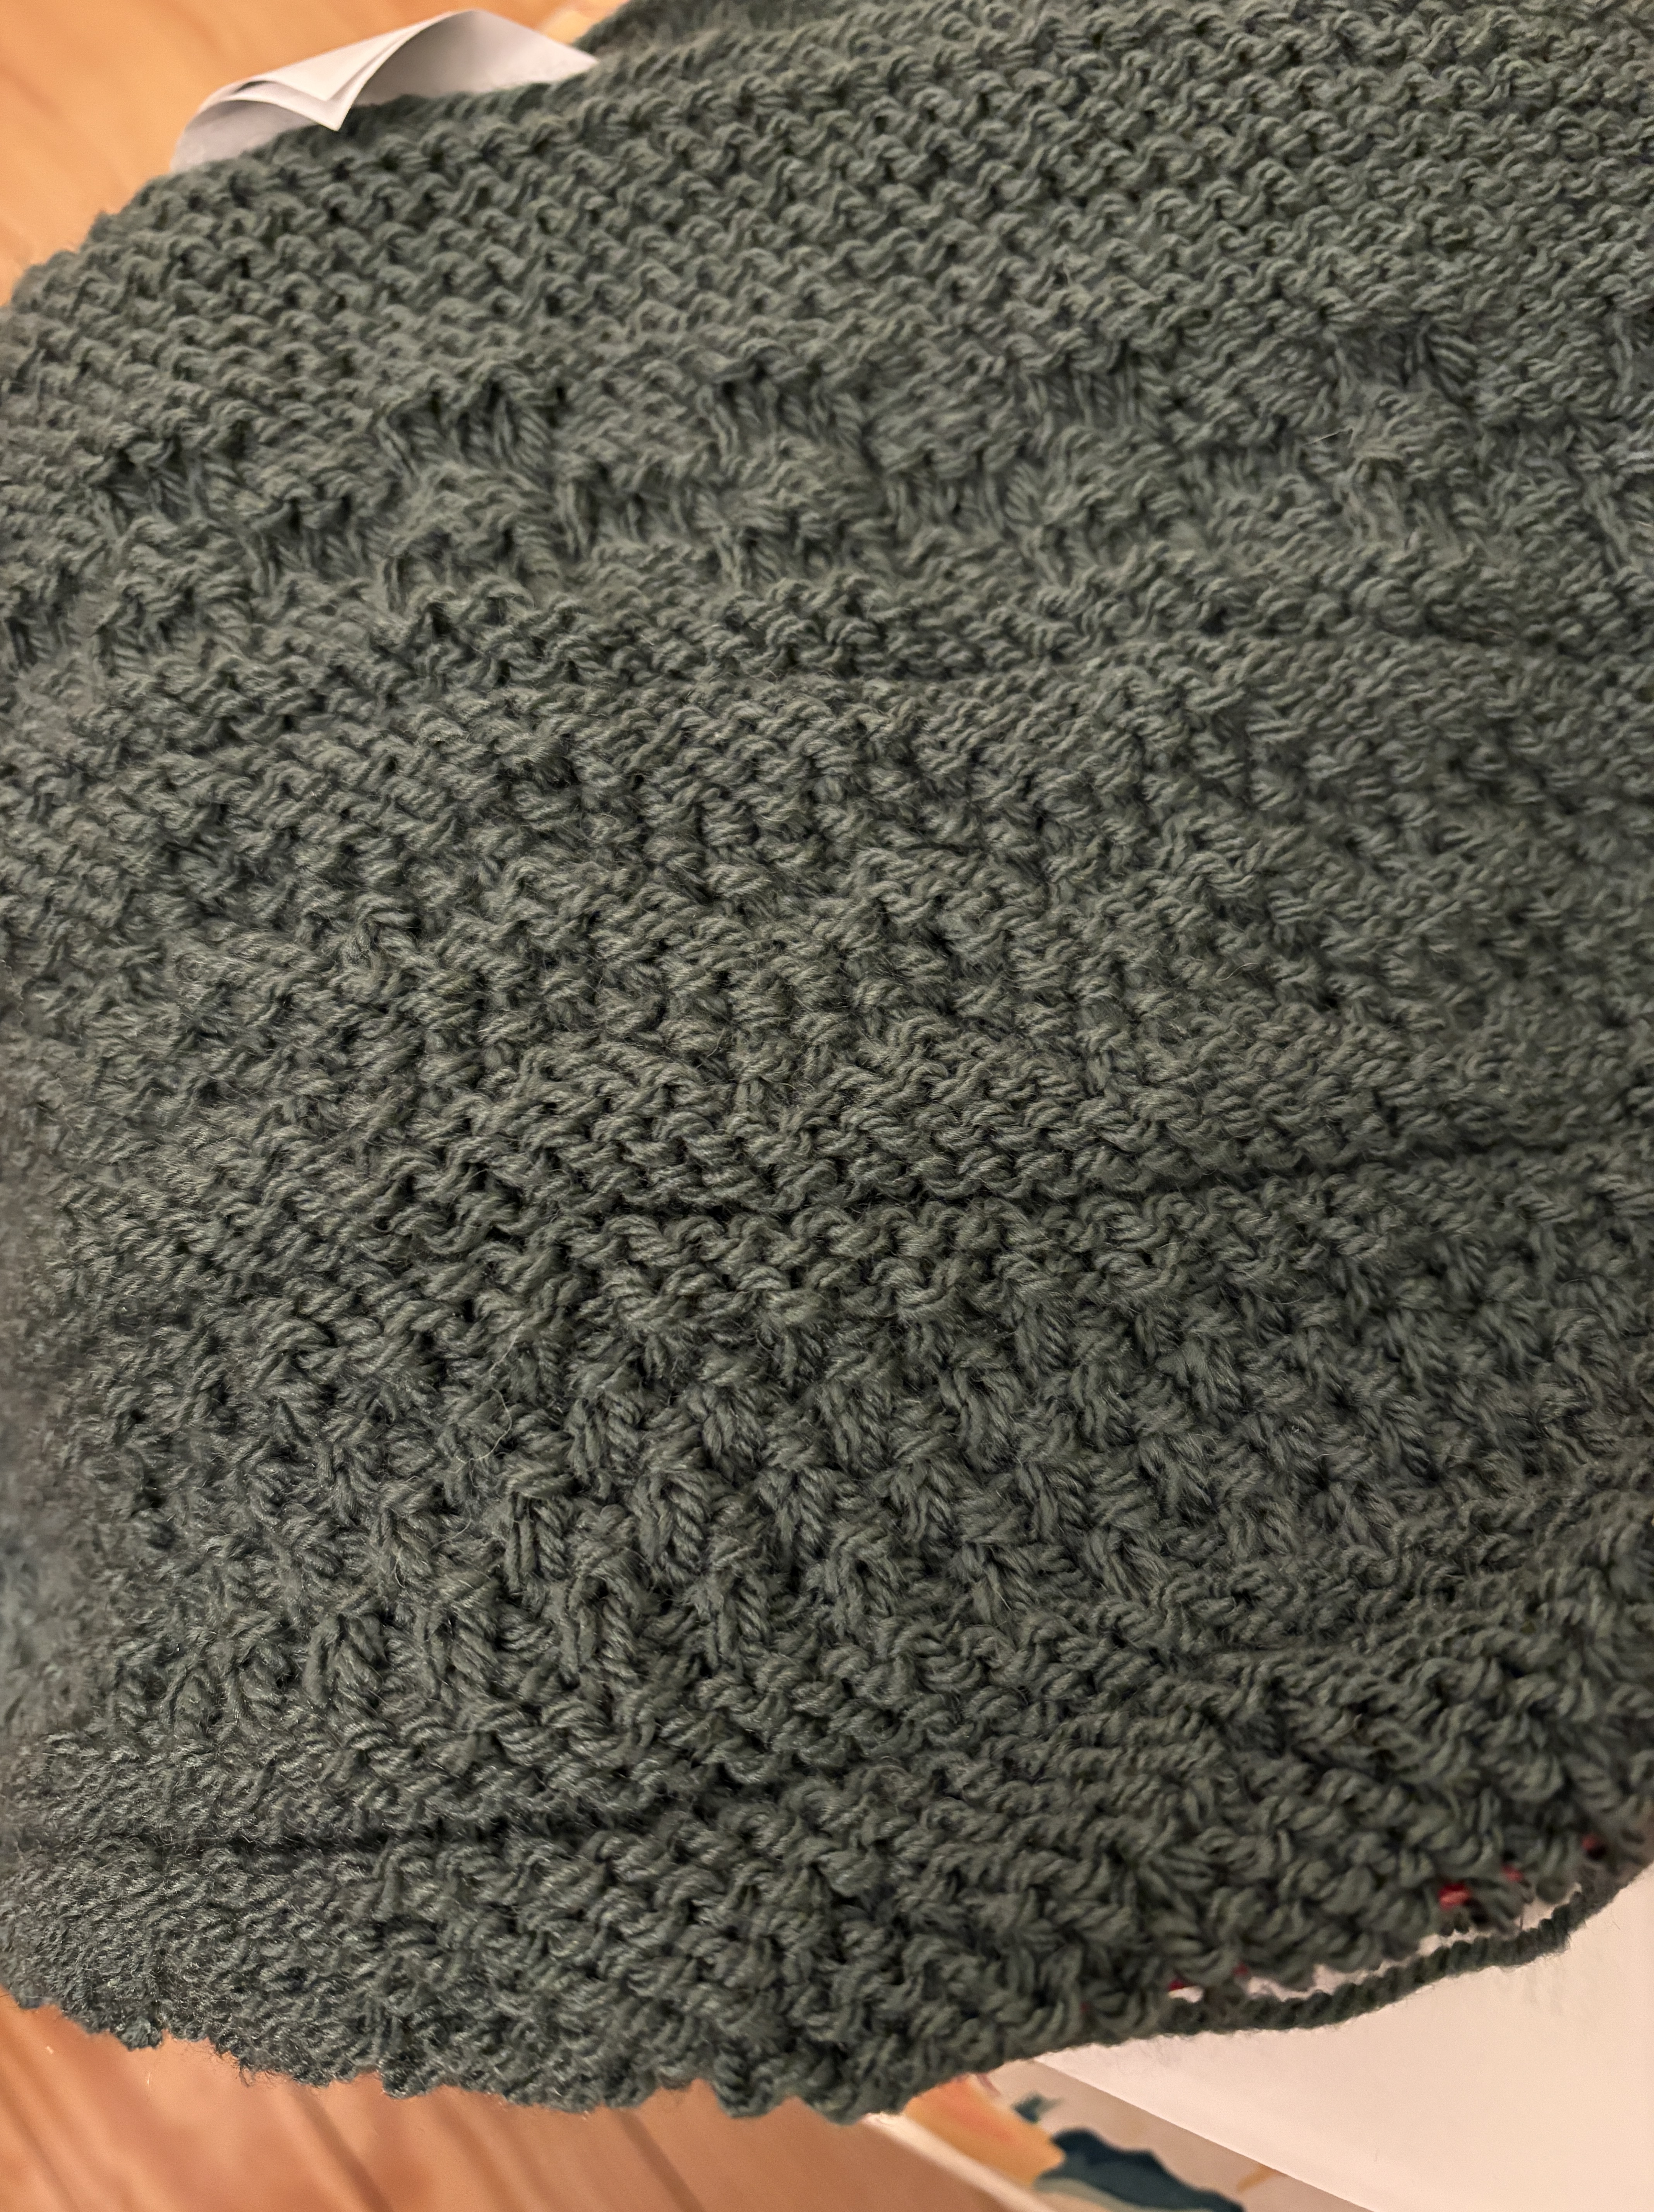
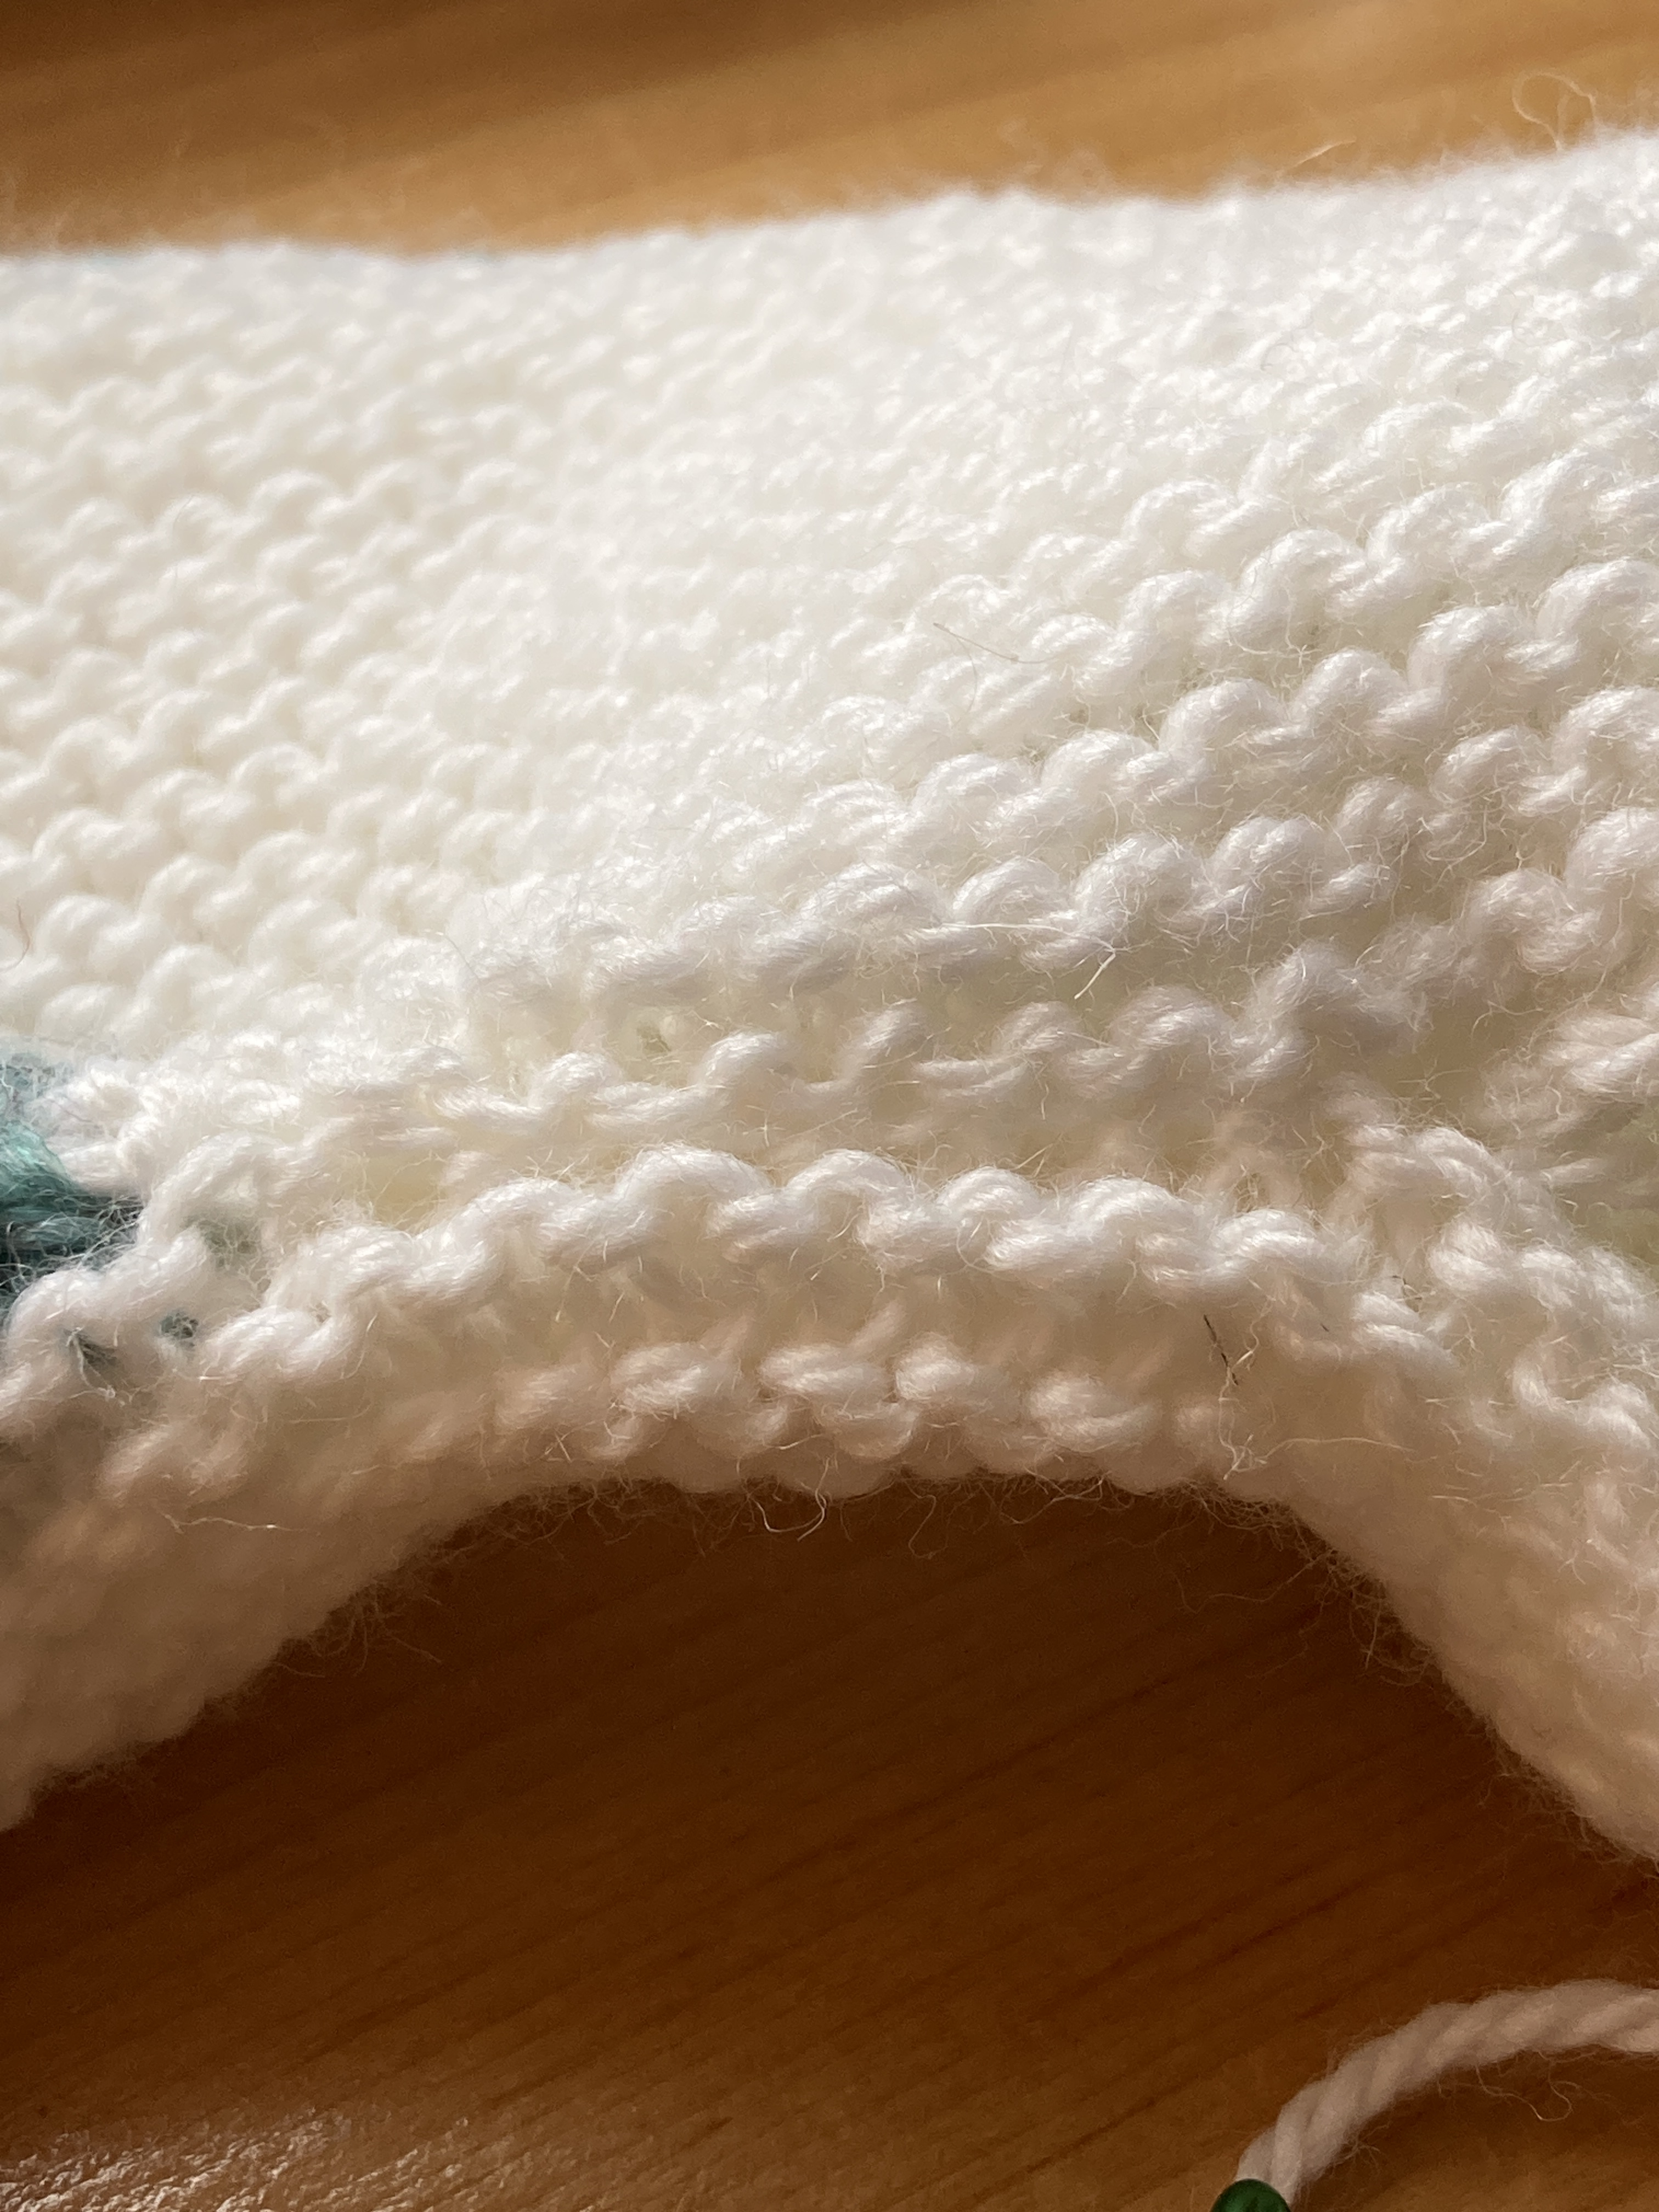
The next question is, do I like the fabric? When I hold it up to the light, it’s quite open but when it’s flat on a surface, it’s very gray. The drape is nice, I like it. The fabric is soft (thanks to the merino) and the silk/mohair will give it some strength and “fill in” the open spots for warmth. I am very satisfied with the fabric. Now it’s time to wait for the mohair to come in and make sure the lots match color. I can exchange 2 of the 3 balls that I own for six new ones so that there’s no color change in the sweater. I can hardly wait to begin!
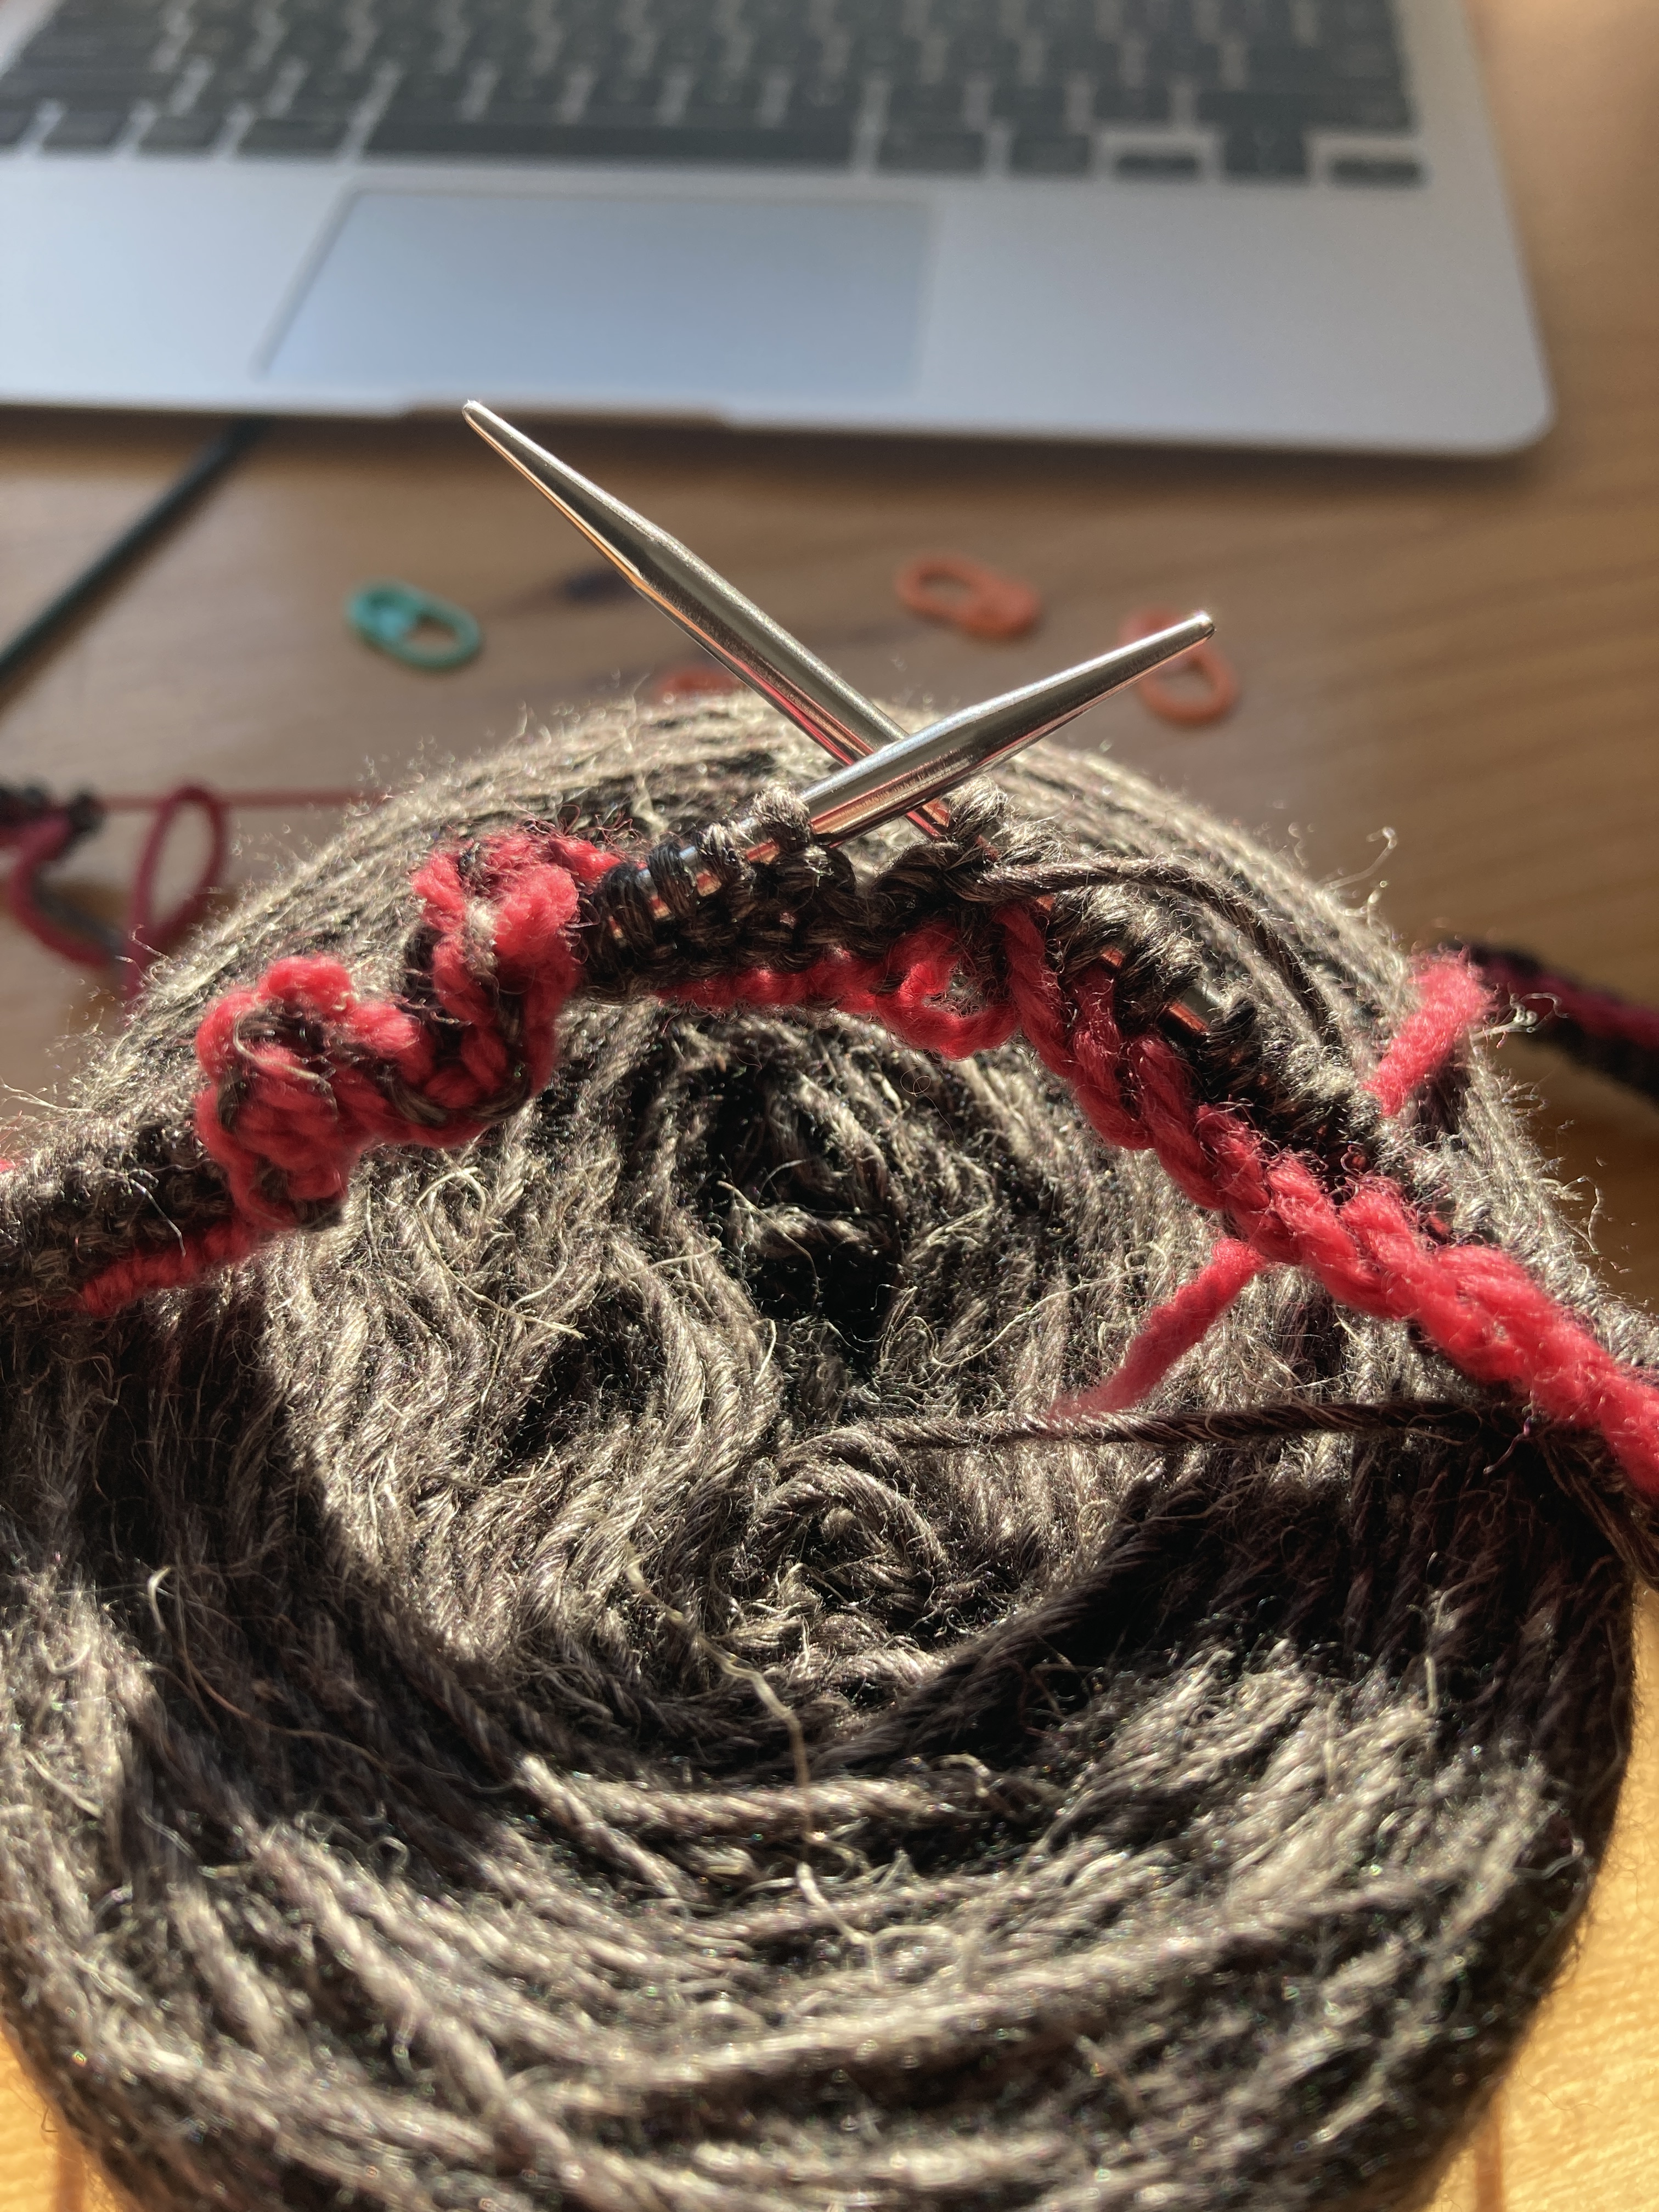
Meanwhile, I cast on a new project for the interim.
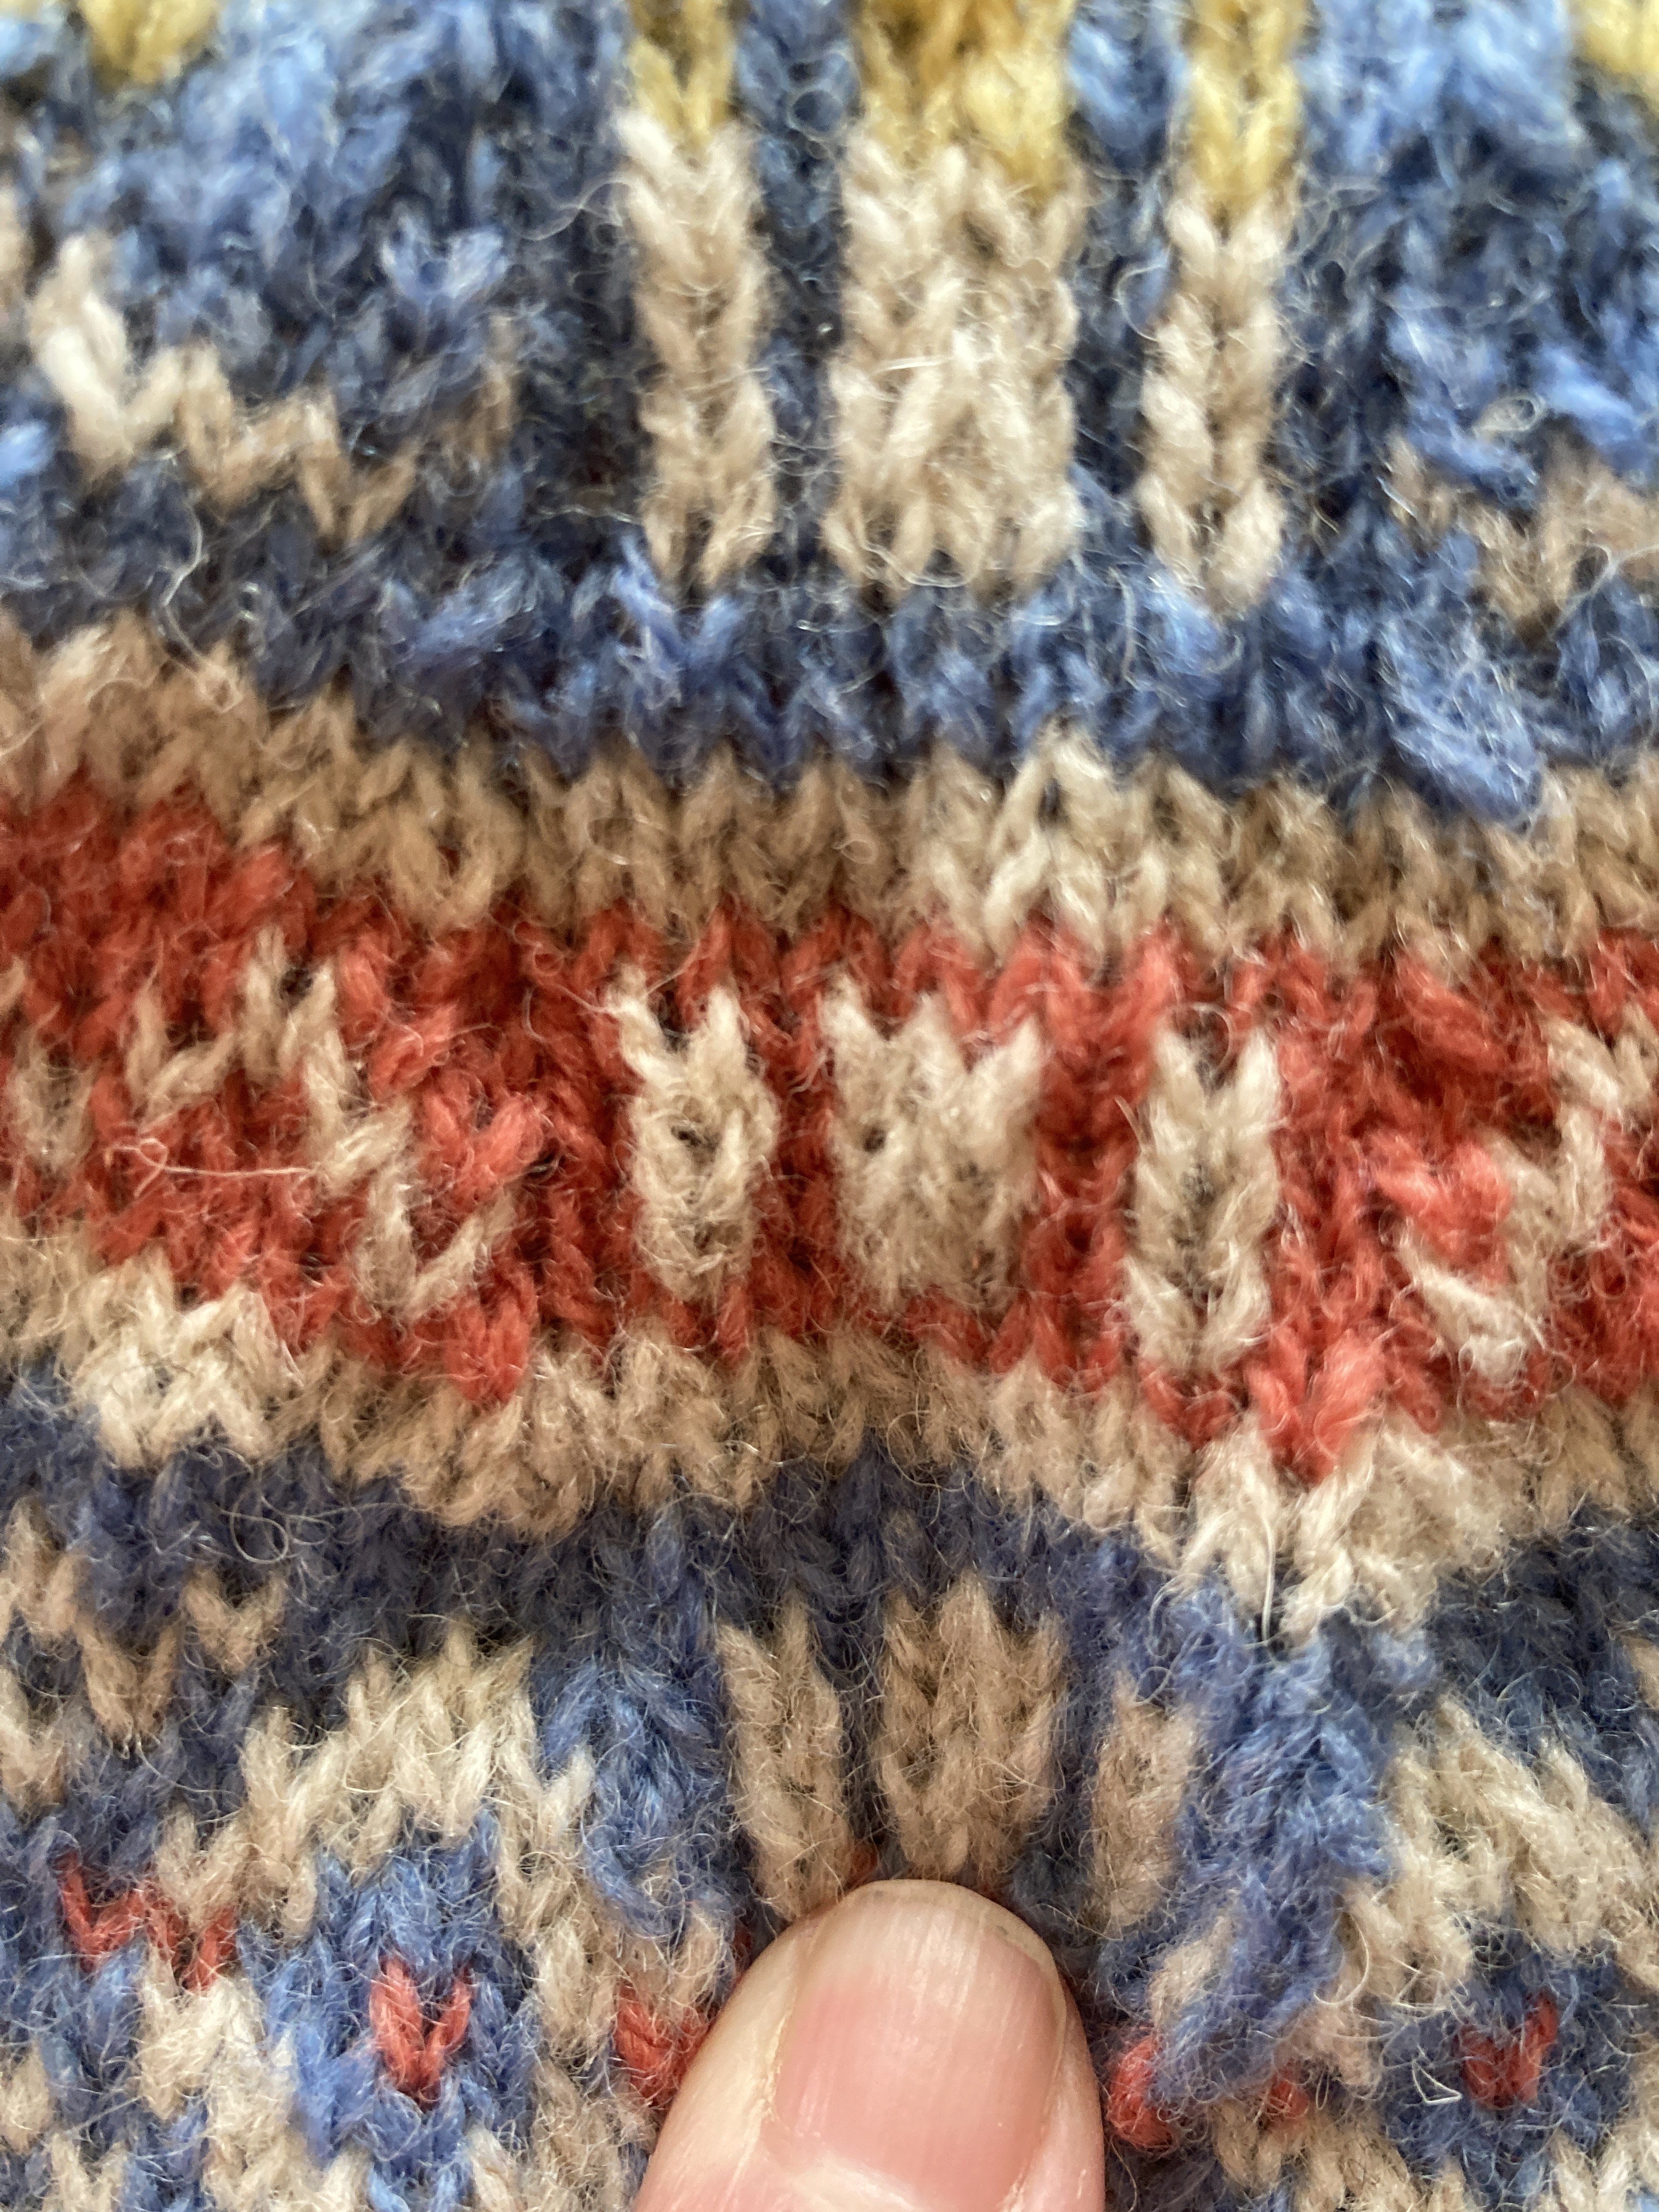
I’ve wanted to knit the Thistle on the Moor Vest by Carolyn Holbrook. I saw this vest on the Wooly Thistle podcast and I really loved it. It also gives me a chance to knit with another new to me yarn – Lanas Light by Berroco is 100% wool blend of South American wools made in Peru. I’ve been wanting to find a project for this yarn. Wish granted.
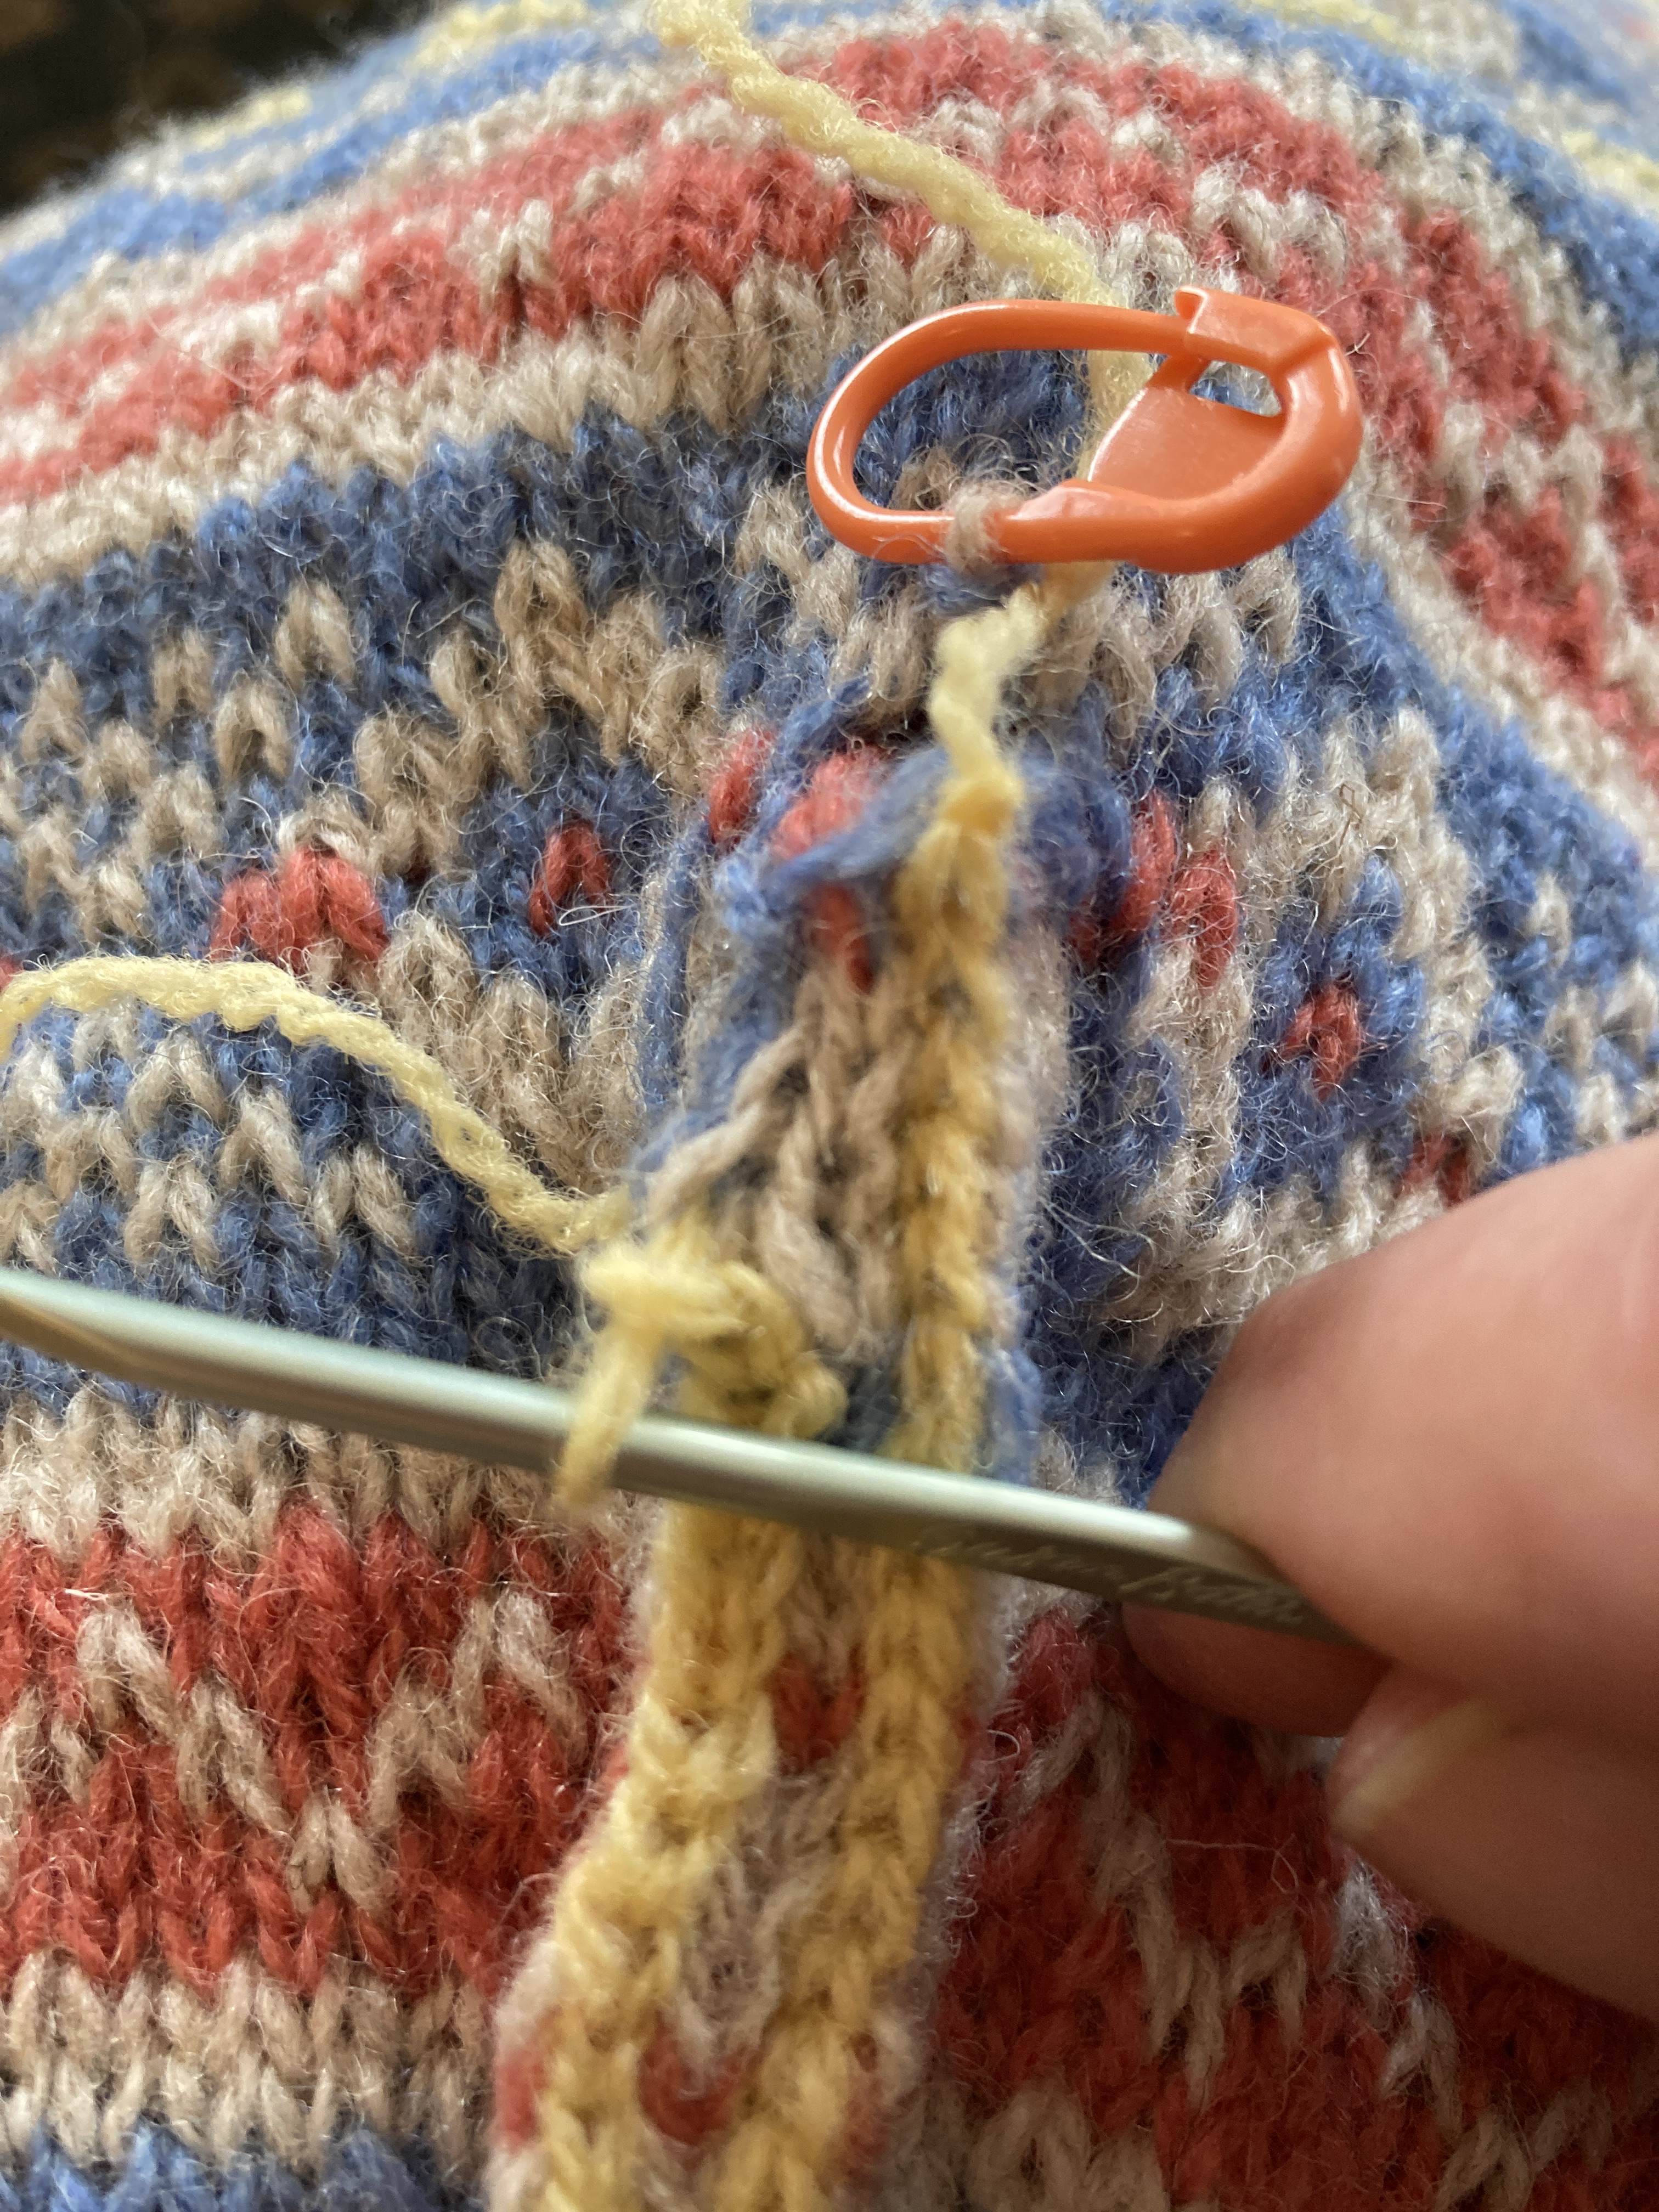
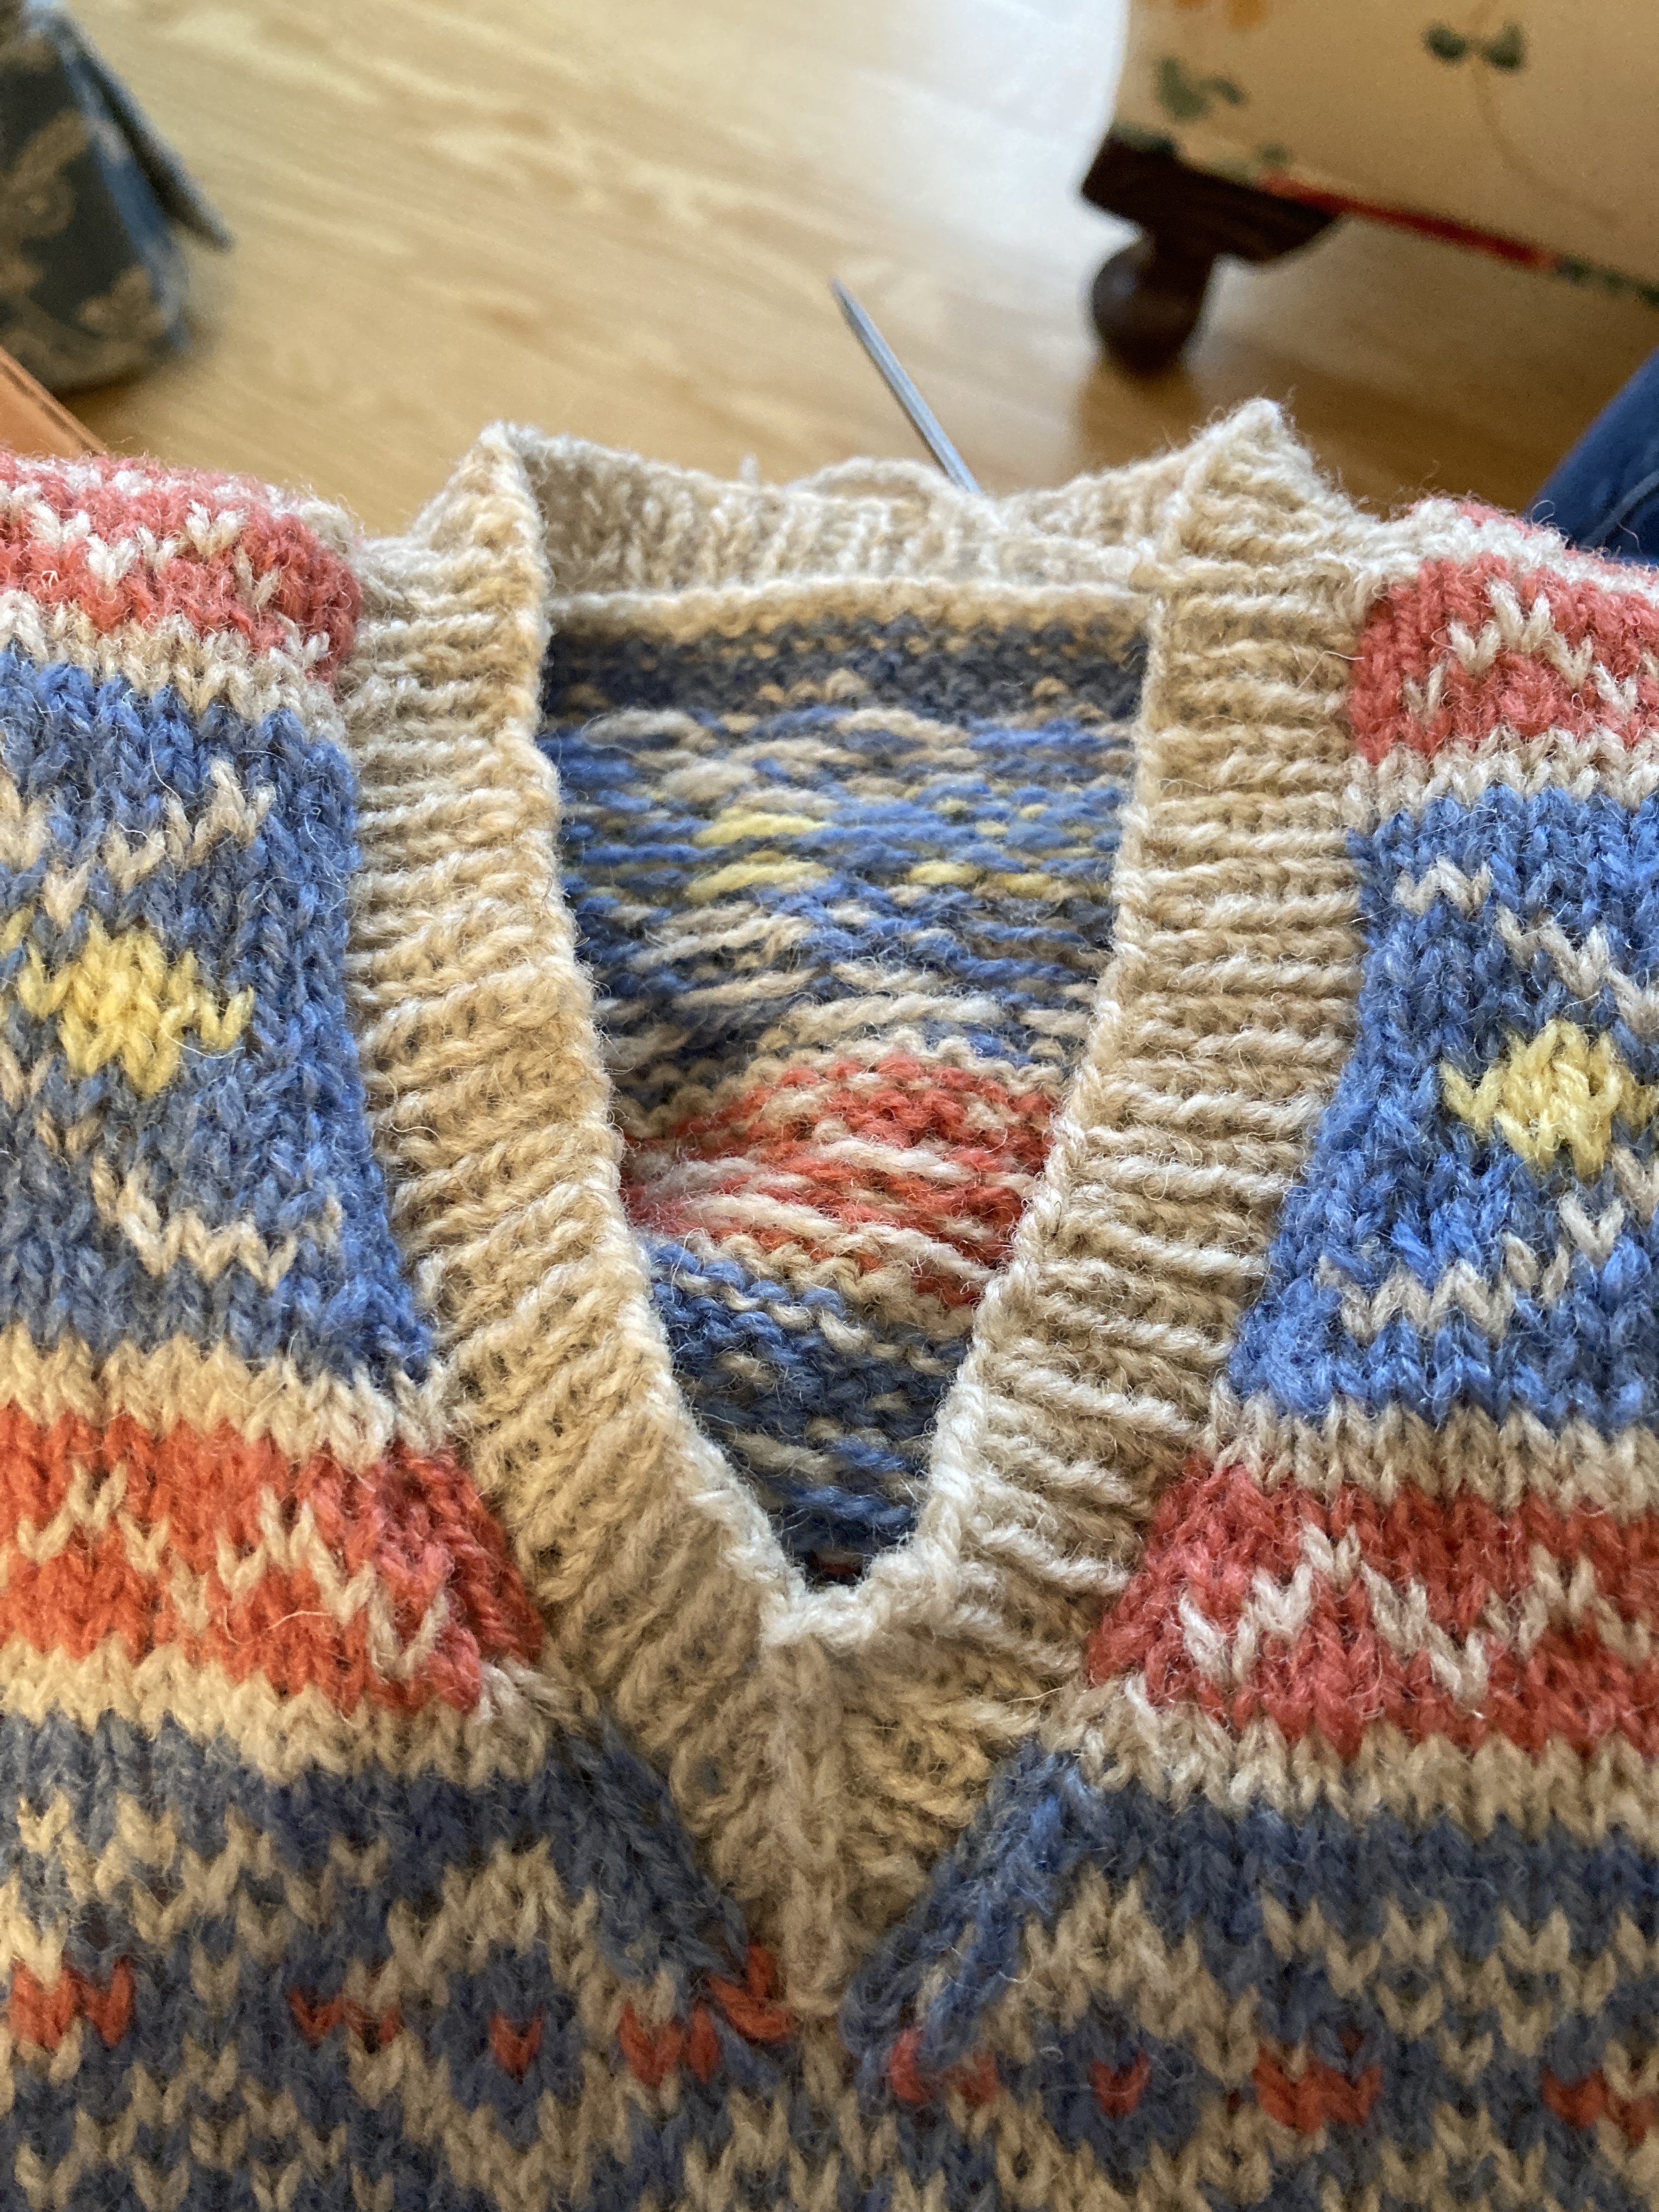
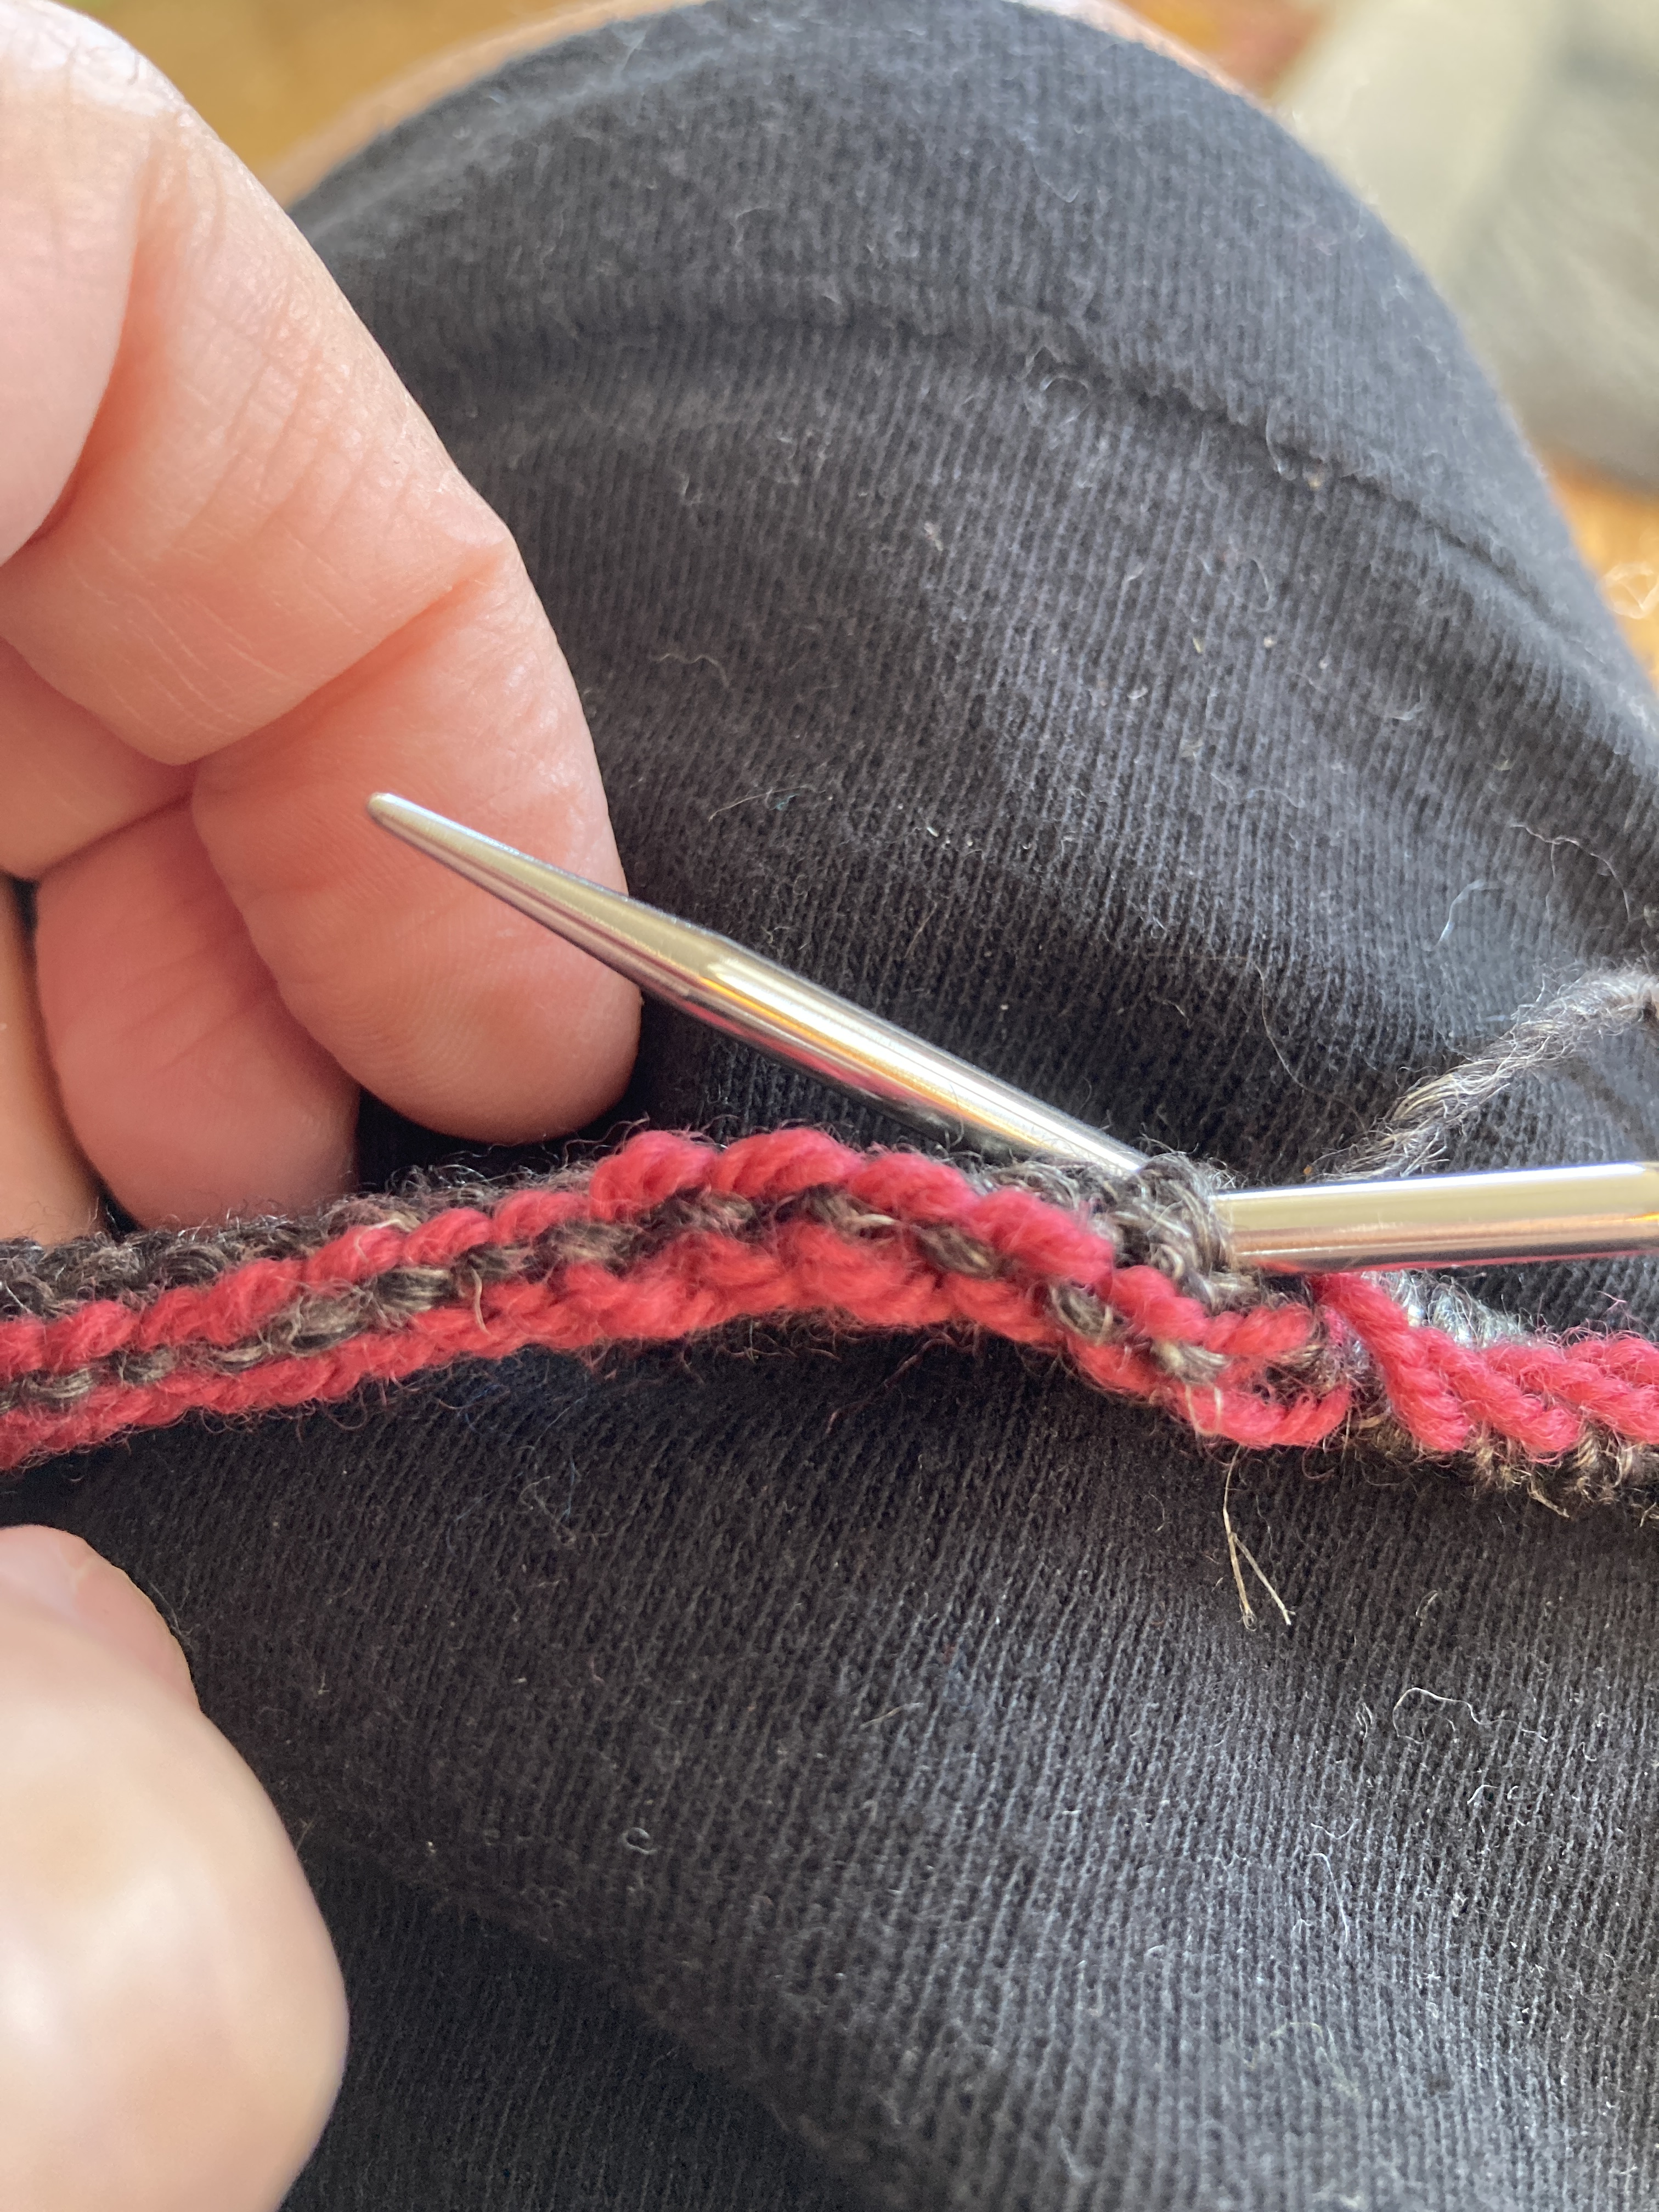
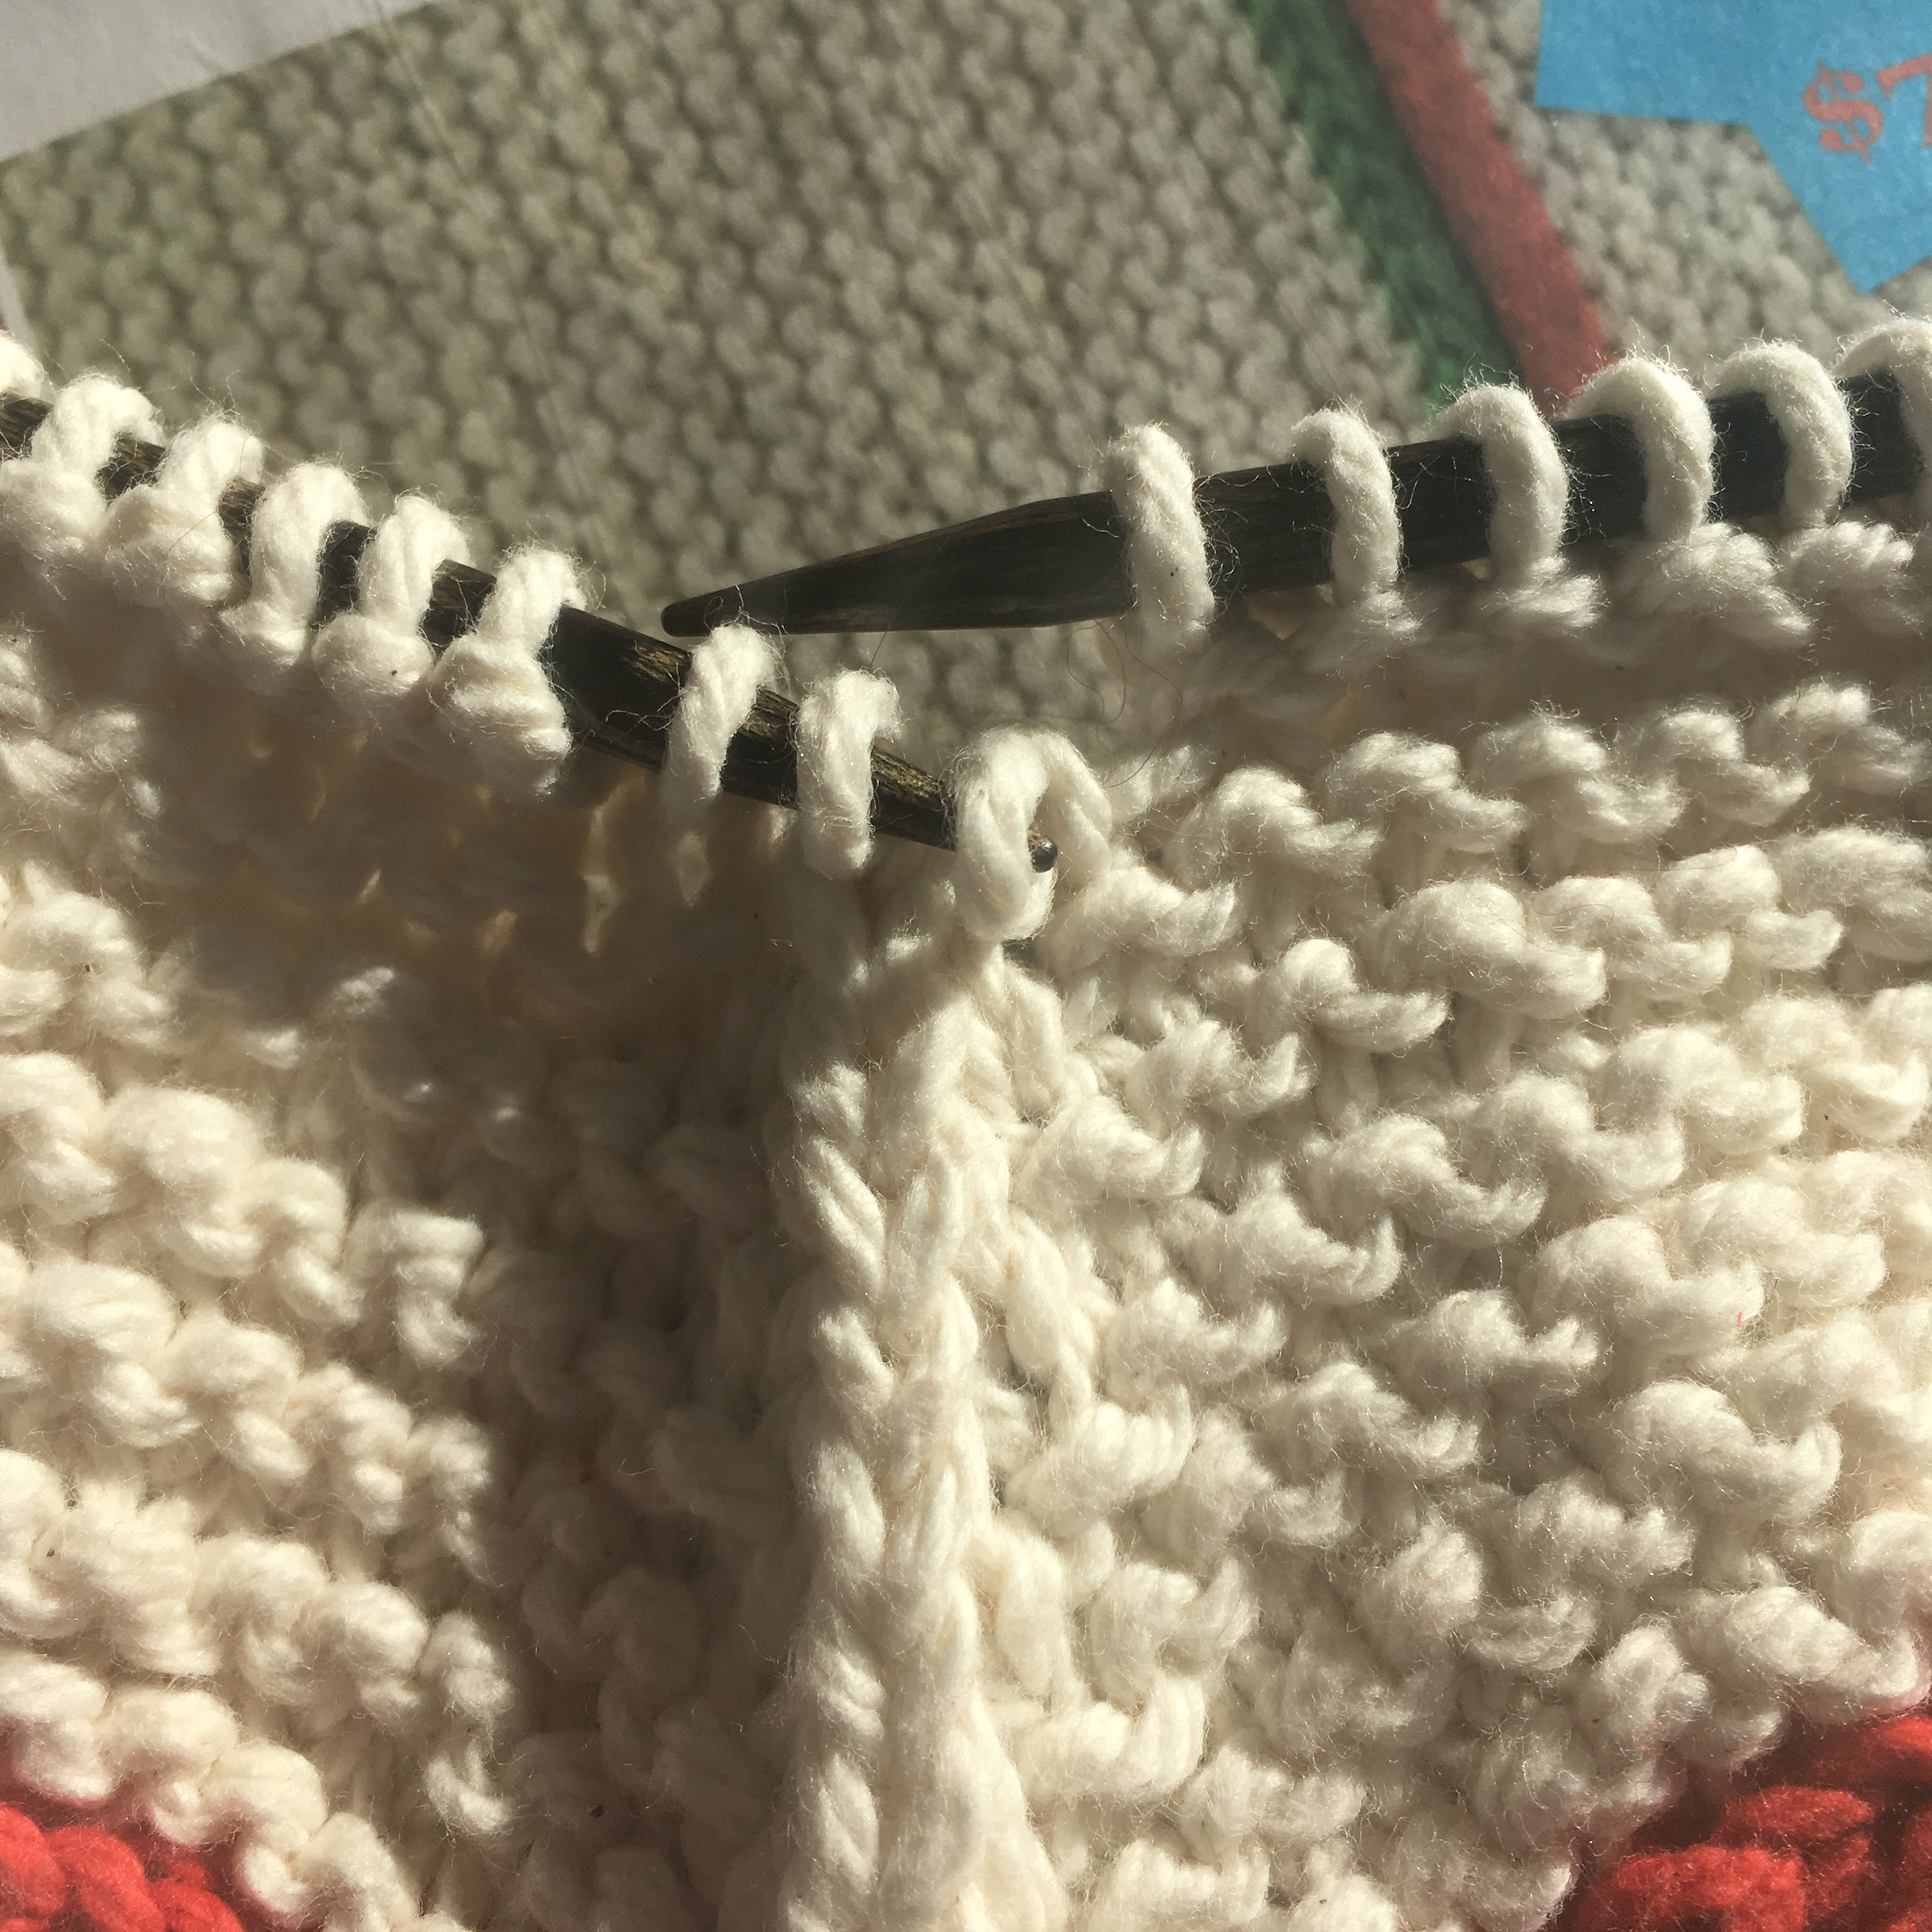
I didn’t swatch for this vest for a couple of reasons. First because it’s for me and I can try it on as I go. Second because it starts at the back and then goes to the shoulders and it’s not a lot of time to get this done. I know it’s going to bloom because it’s 100% wool. So, when I measured the stitches once I had a decent amount of fabric, I got 21 stitches over four inches (they wanted 20 for pattern gauge). I’m ok going with 21 sts as I’m pretty sure the yarn will bloom and be 20 inches when blocked. I’m knitting the 4th size with two inches of ease but I can also add a few stitches to the body once I connect the underarms if I’m worried (and I can try it on as I go.)
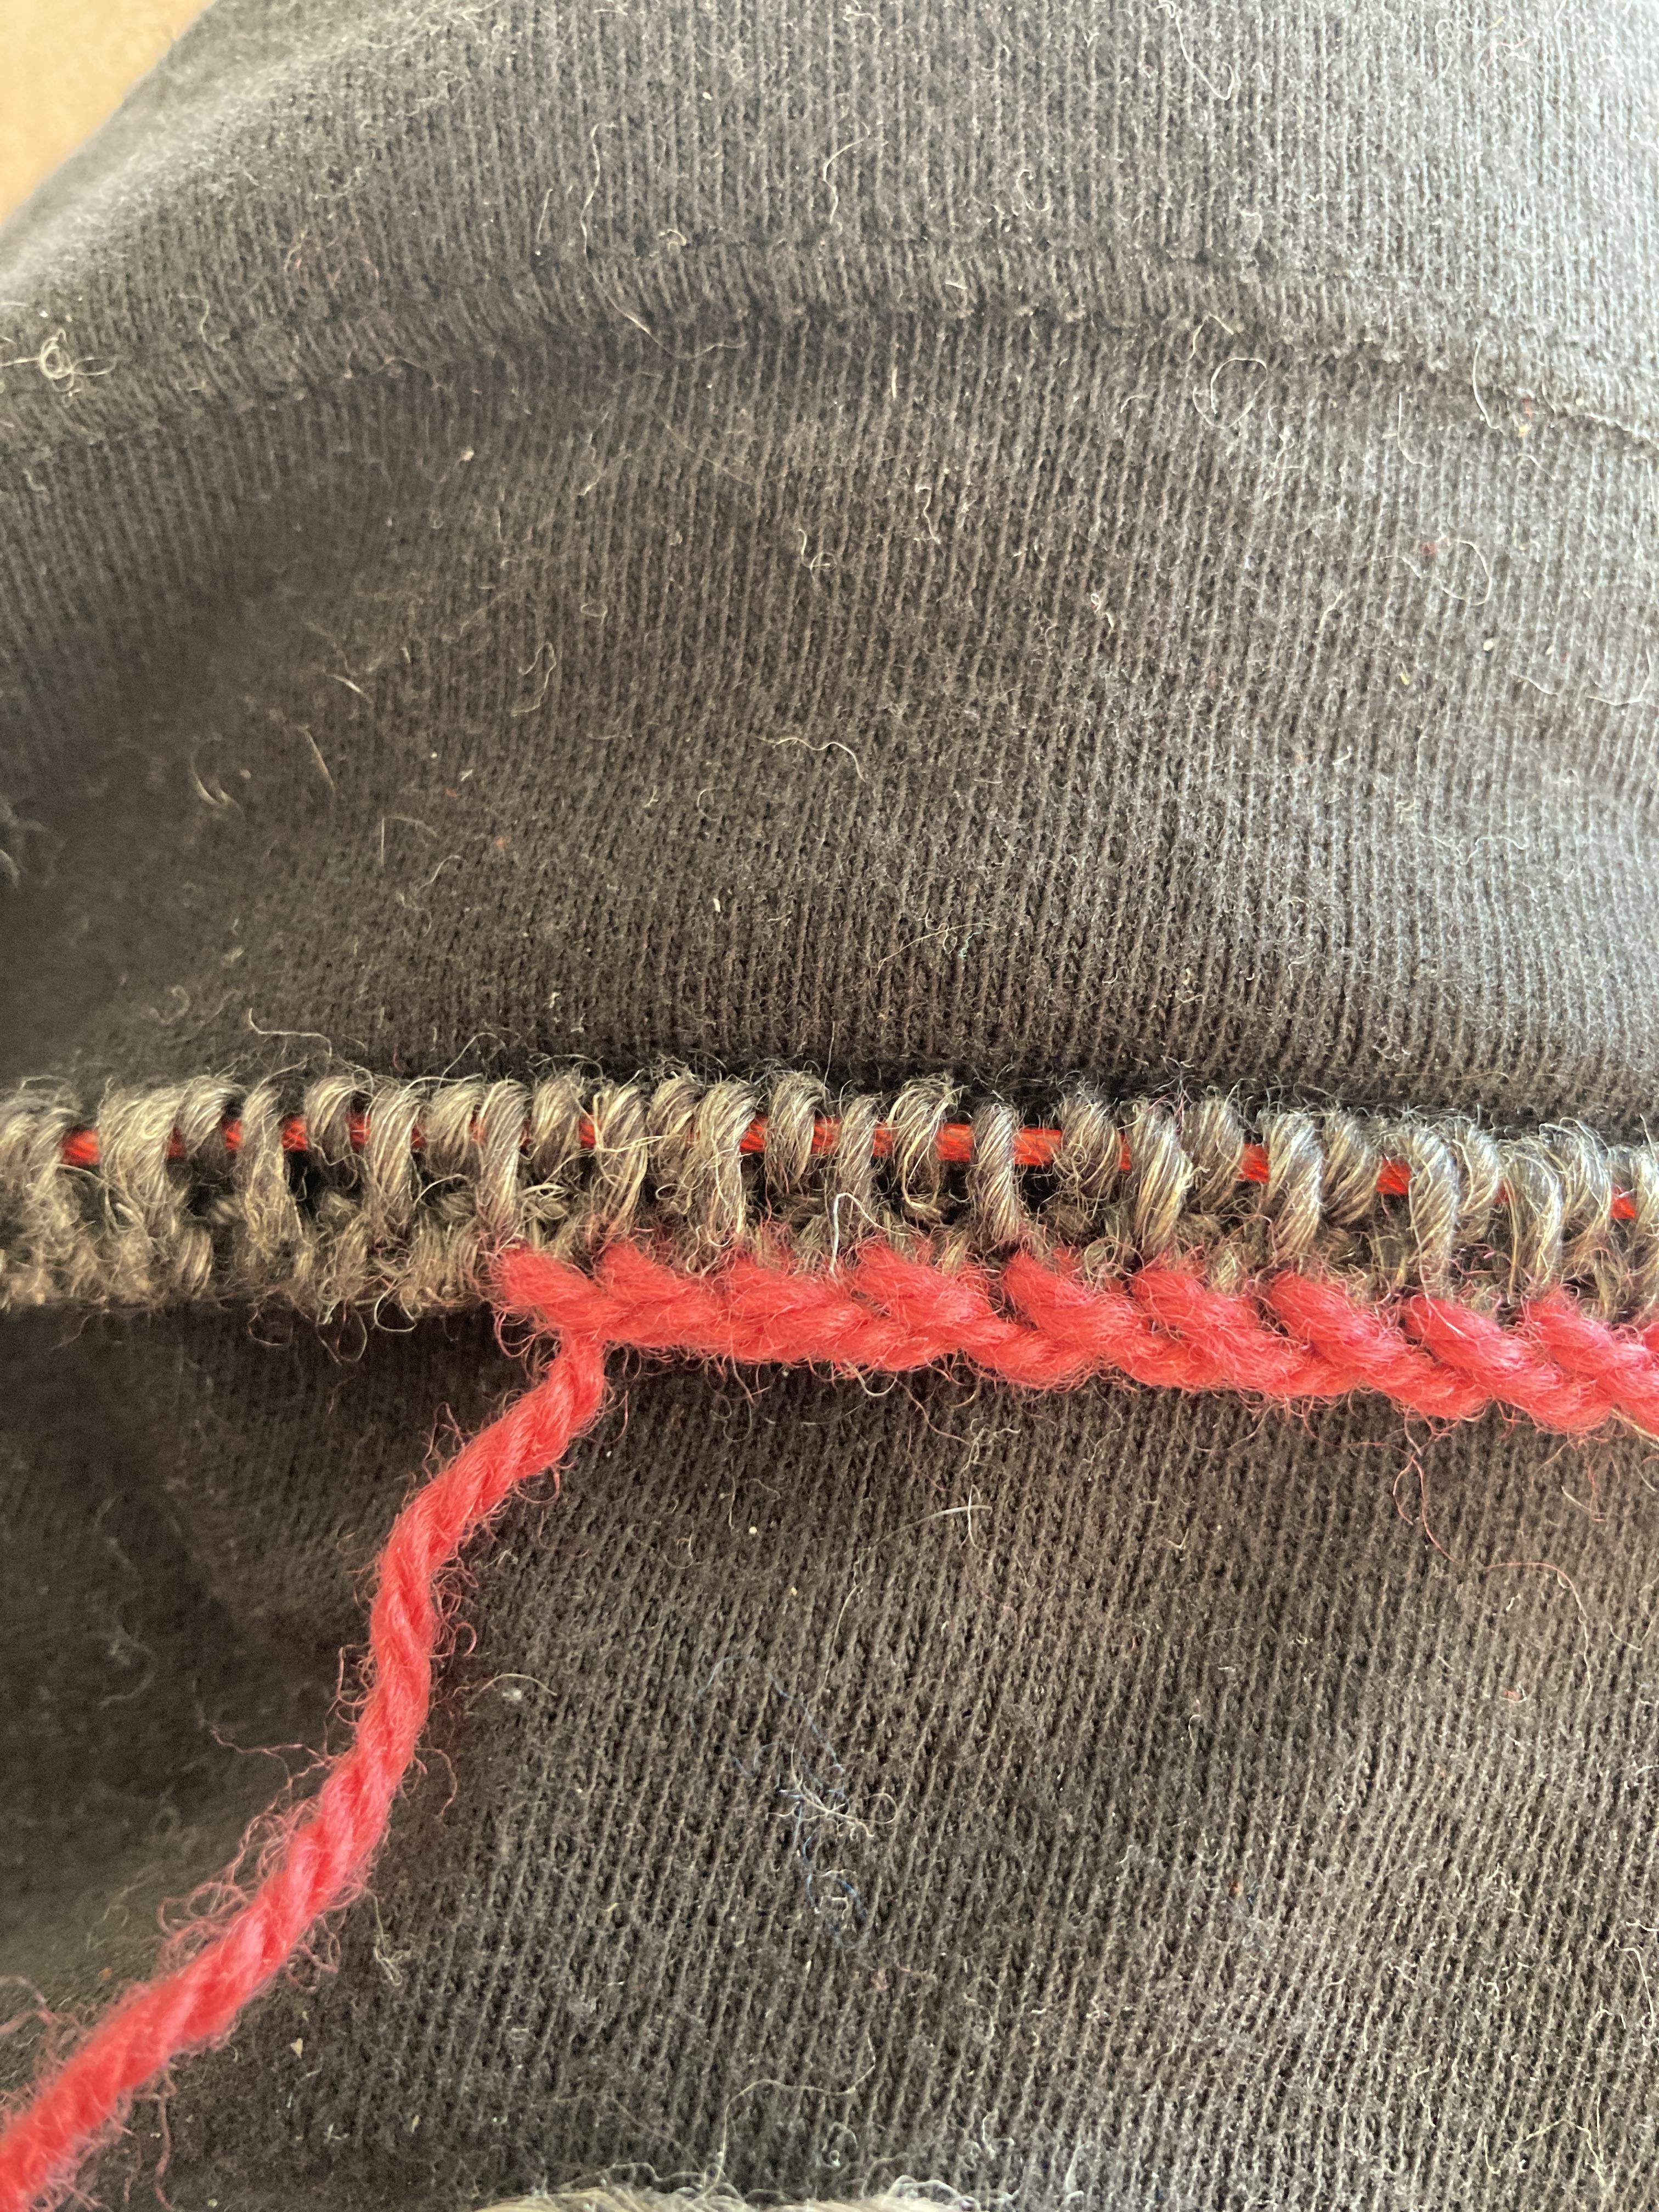
Theoretically, I would swatch this vest differently than my daughter’s cardigan. Why? Because this vest is knitted in the round where as the cardi will be knit back and forth. To swatch for this, I’d cast on around 30 stitches and knit them then slide the stitches back to the other side, carry a long piece of yarn behind the knitted fabric and knit across again. The strand of yarn at the back has to be long enough so that the swatch will lie flat … so it can be measured. One of these days I’ll swatch in the round and post about it, too. I’ll be continuing to knit this one as is for now. I’m working down to the point where it’ll be joined in the round and then I’ll maybe steam block it to see how it behaves. Yes, I’ll write about it … better than continuing with no blocking if I’m concerned at all.
Gone knitting!


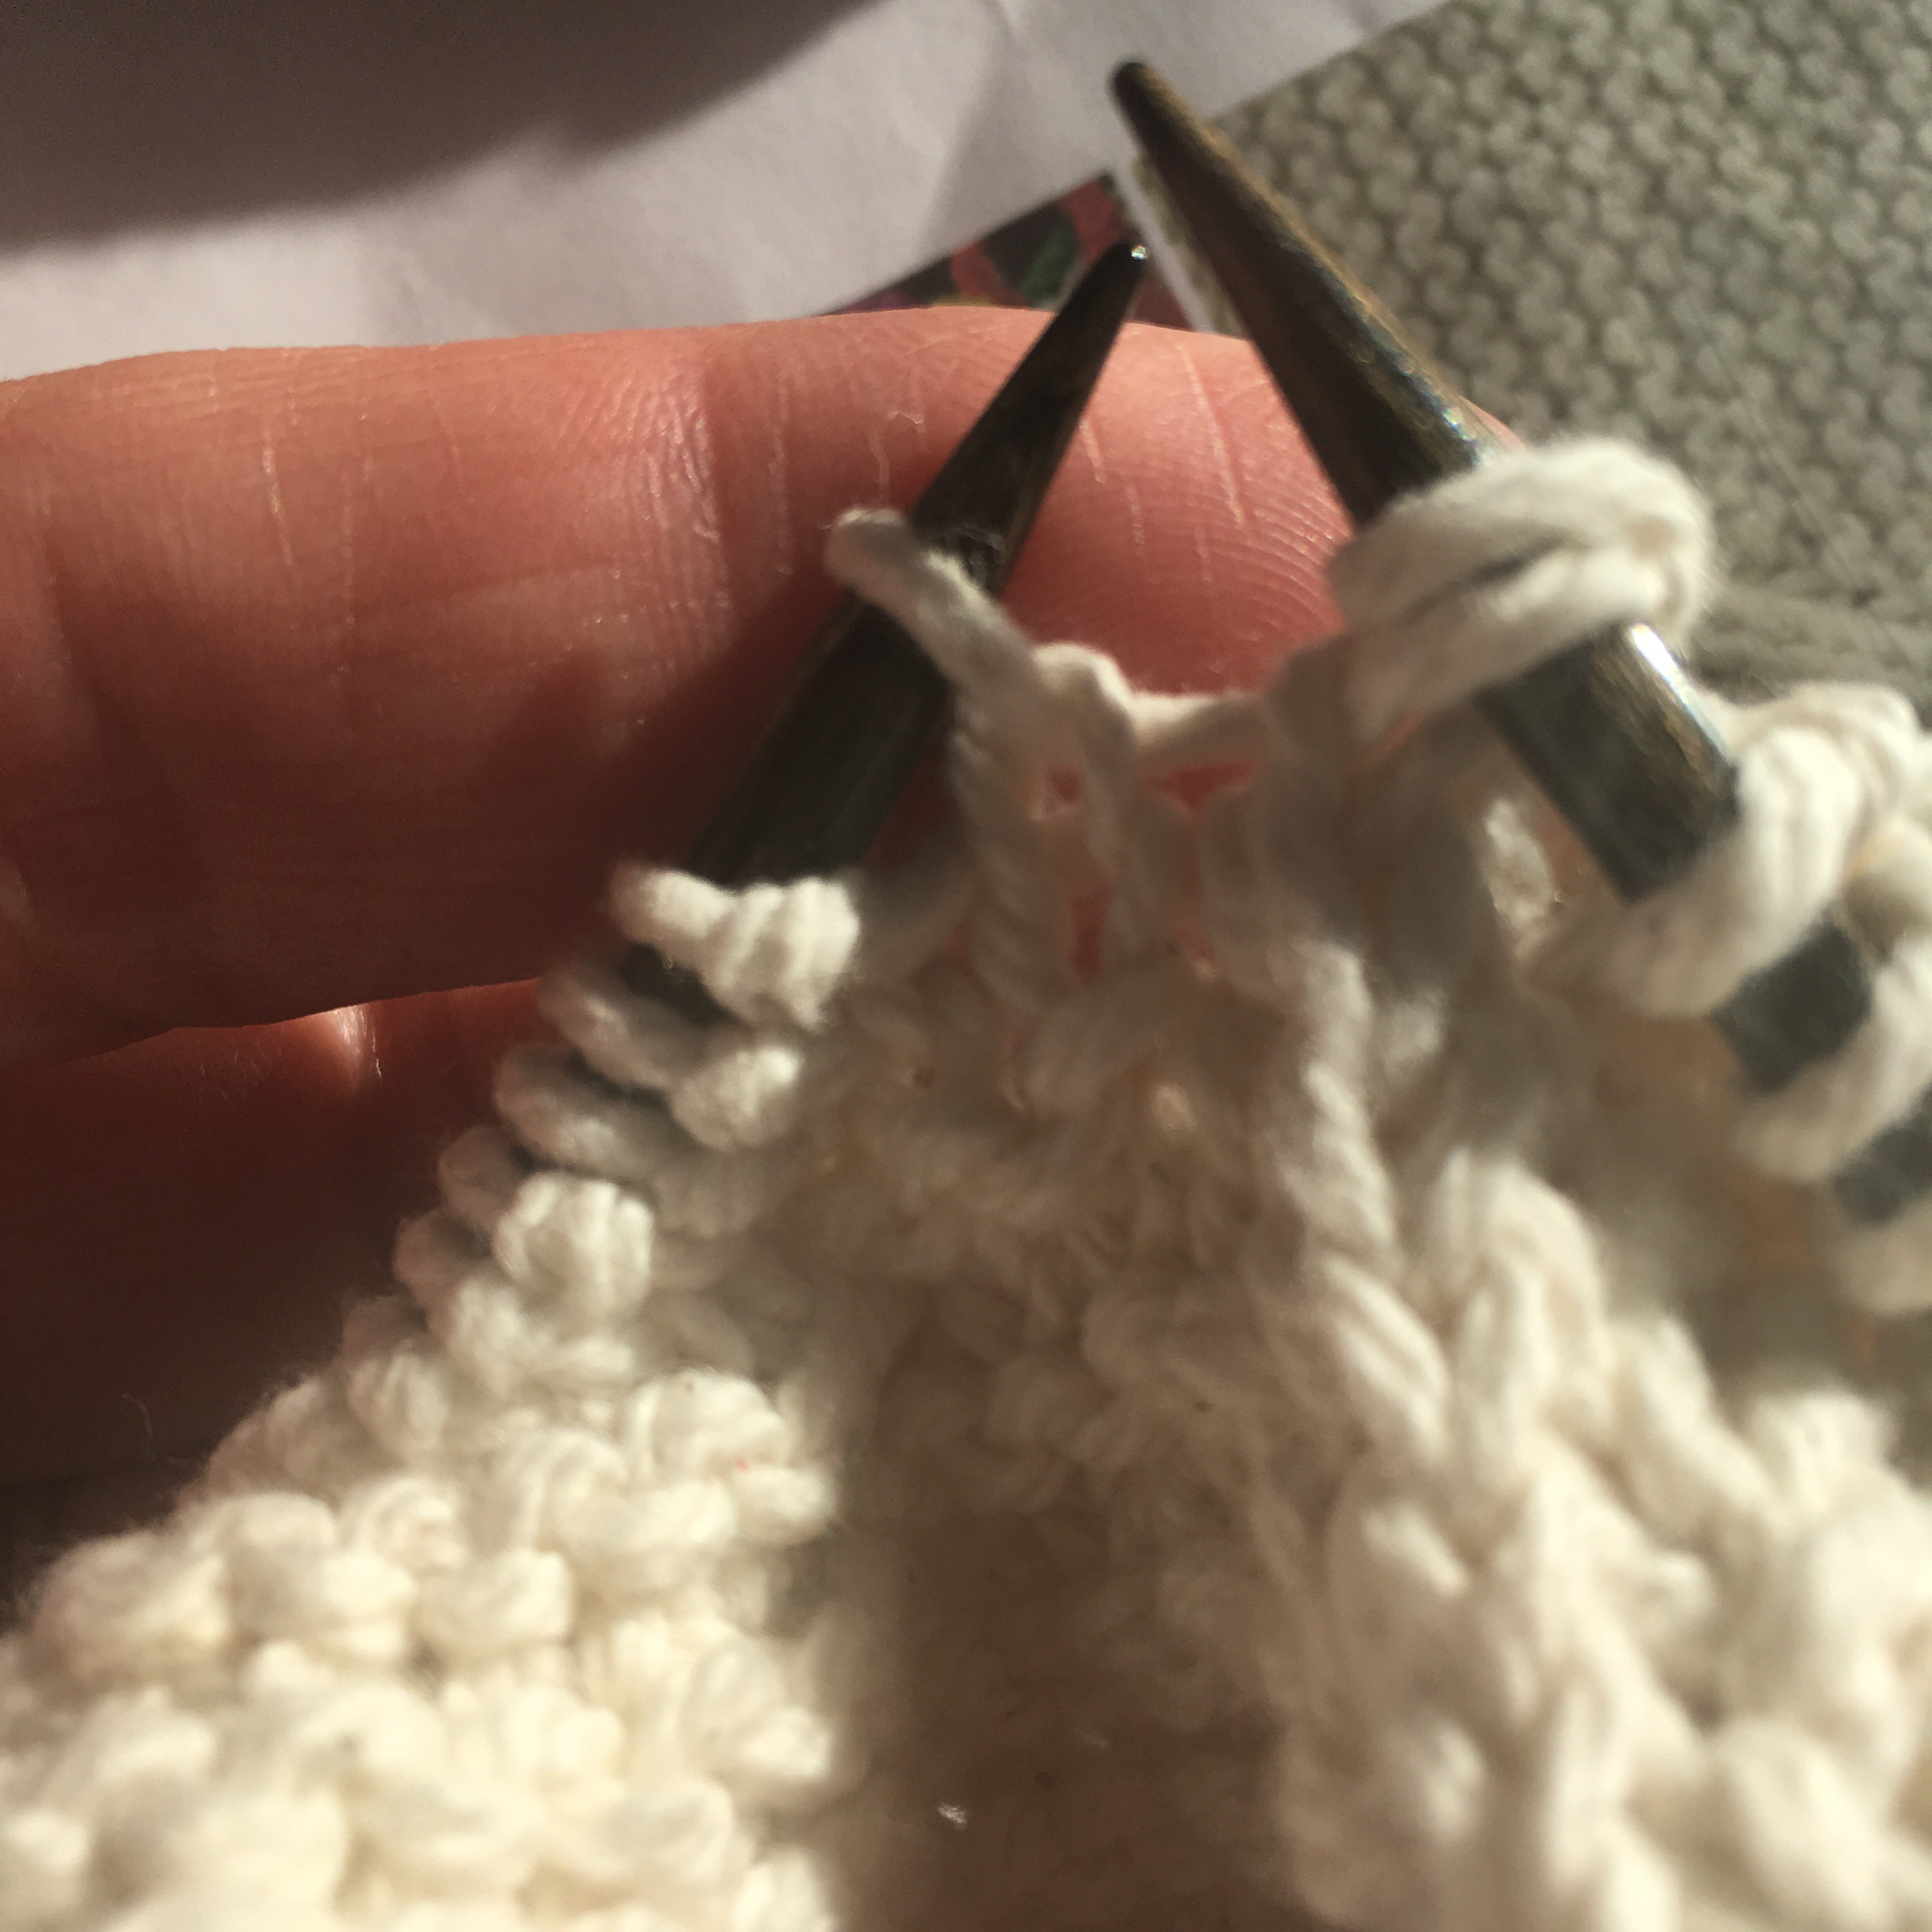
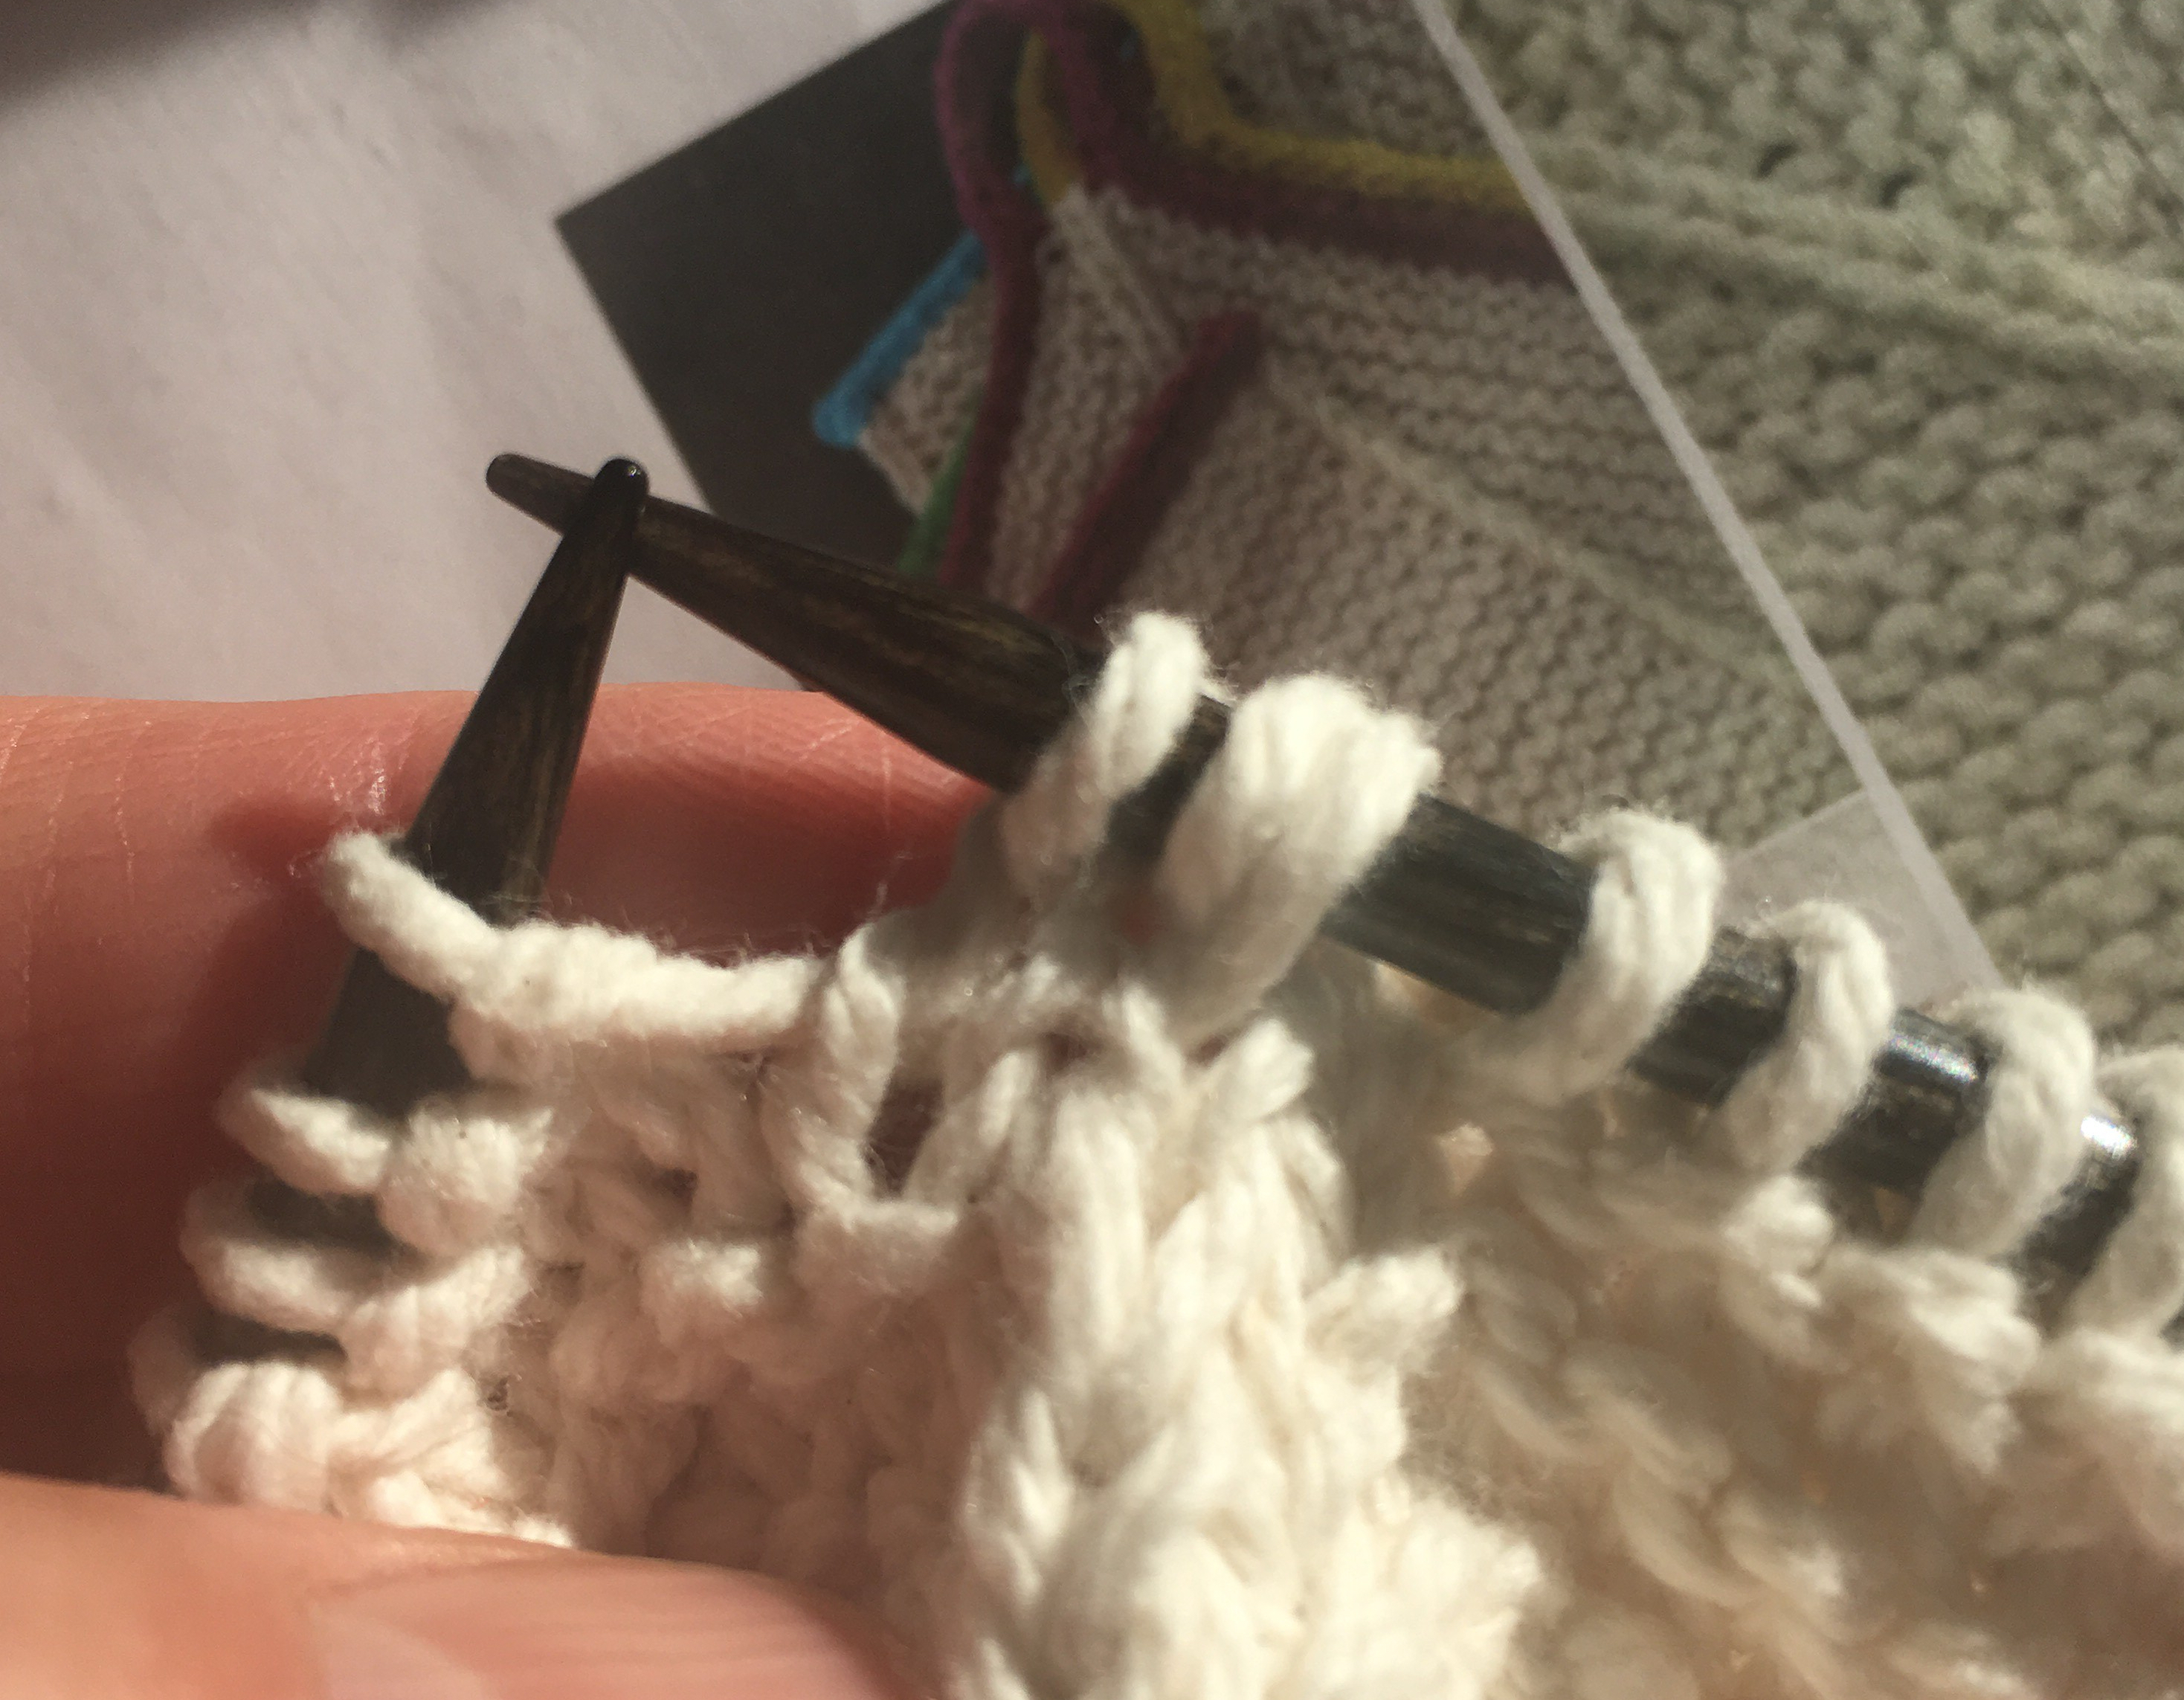
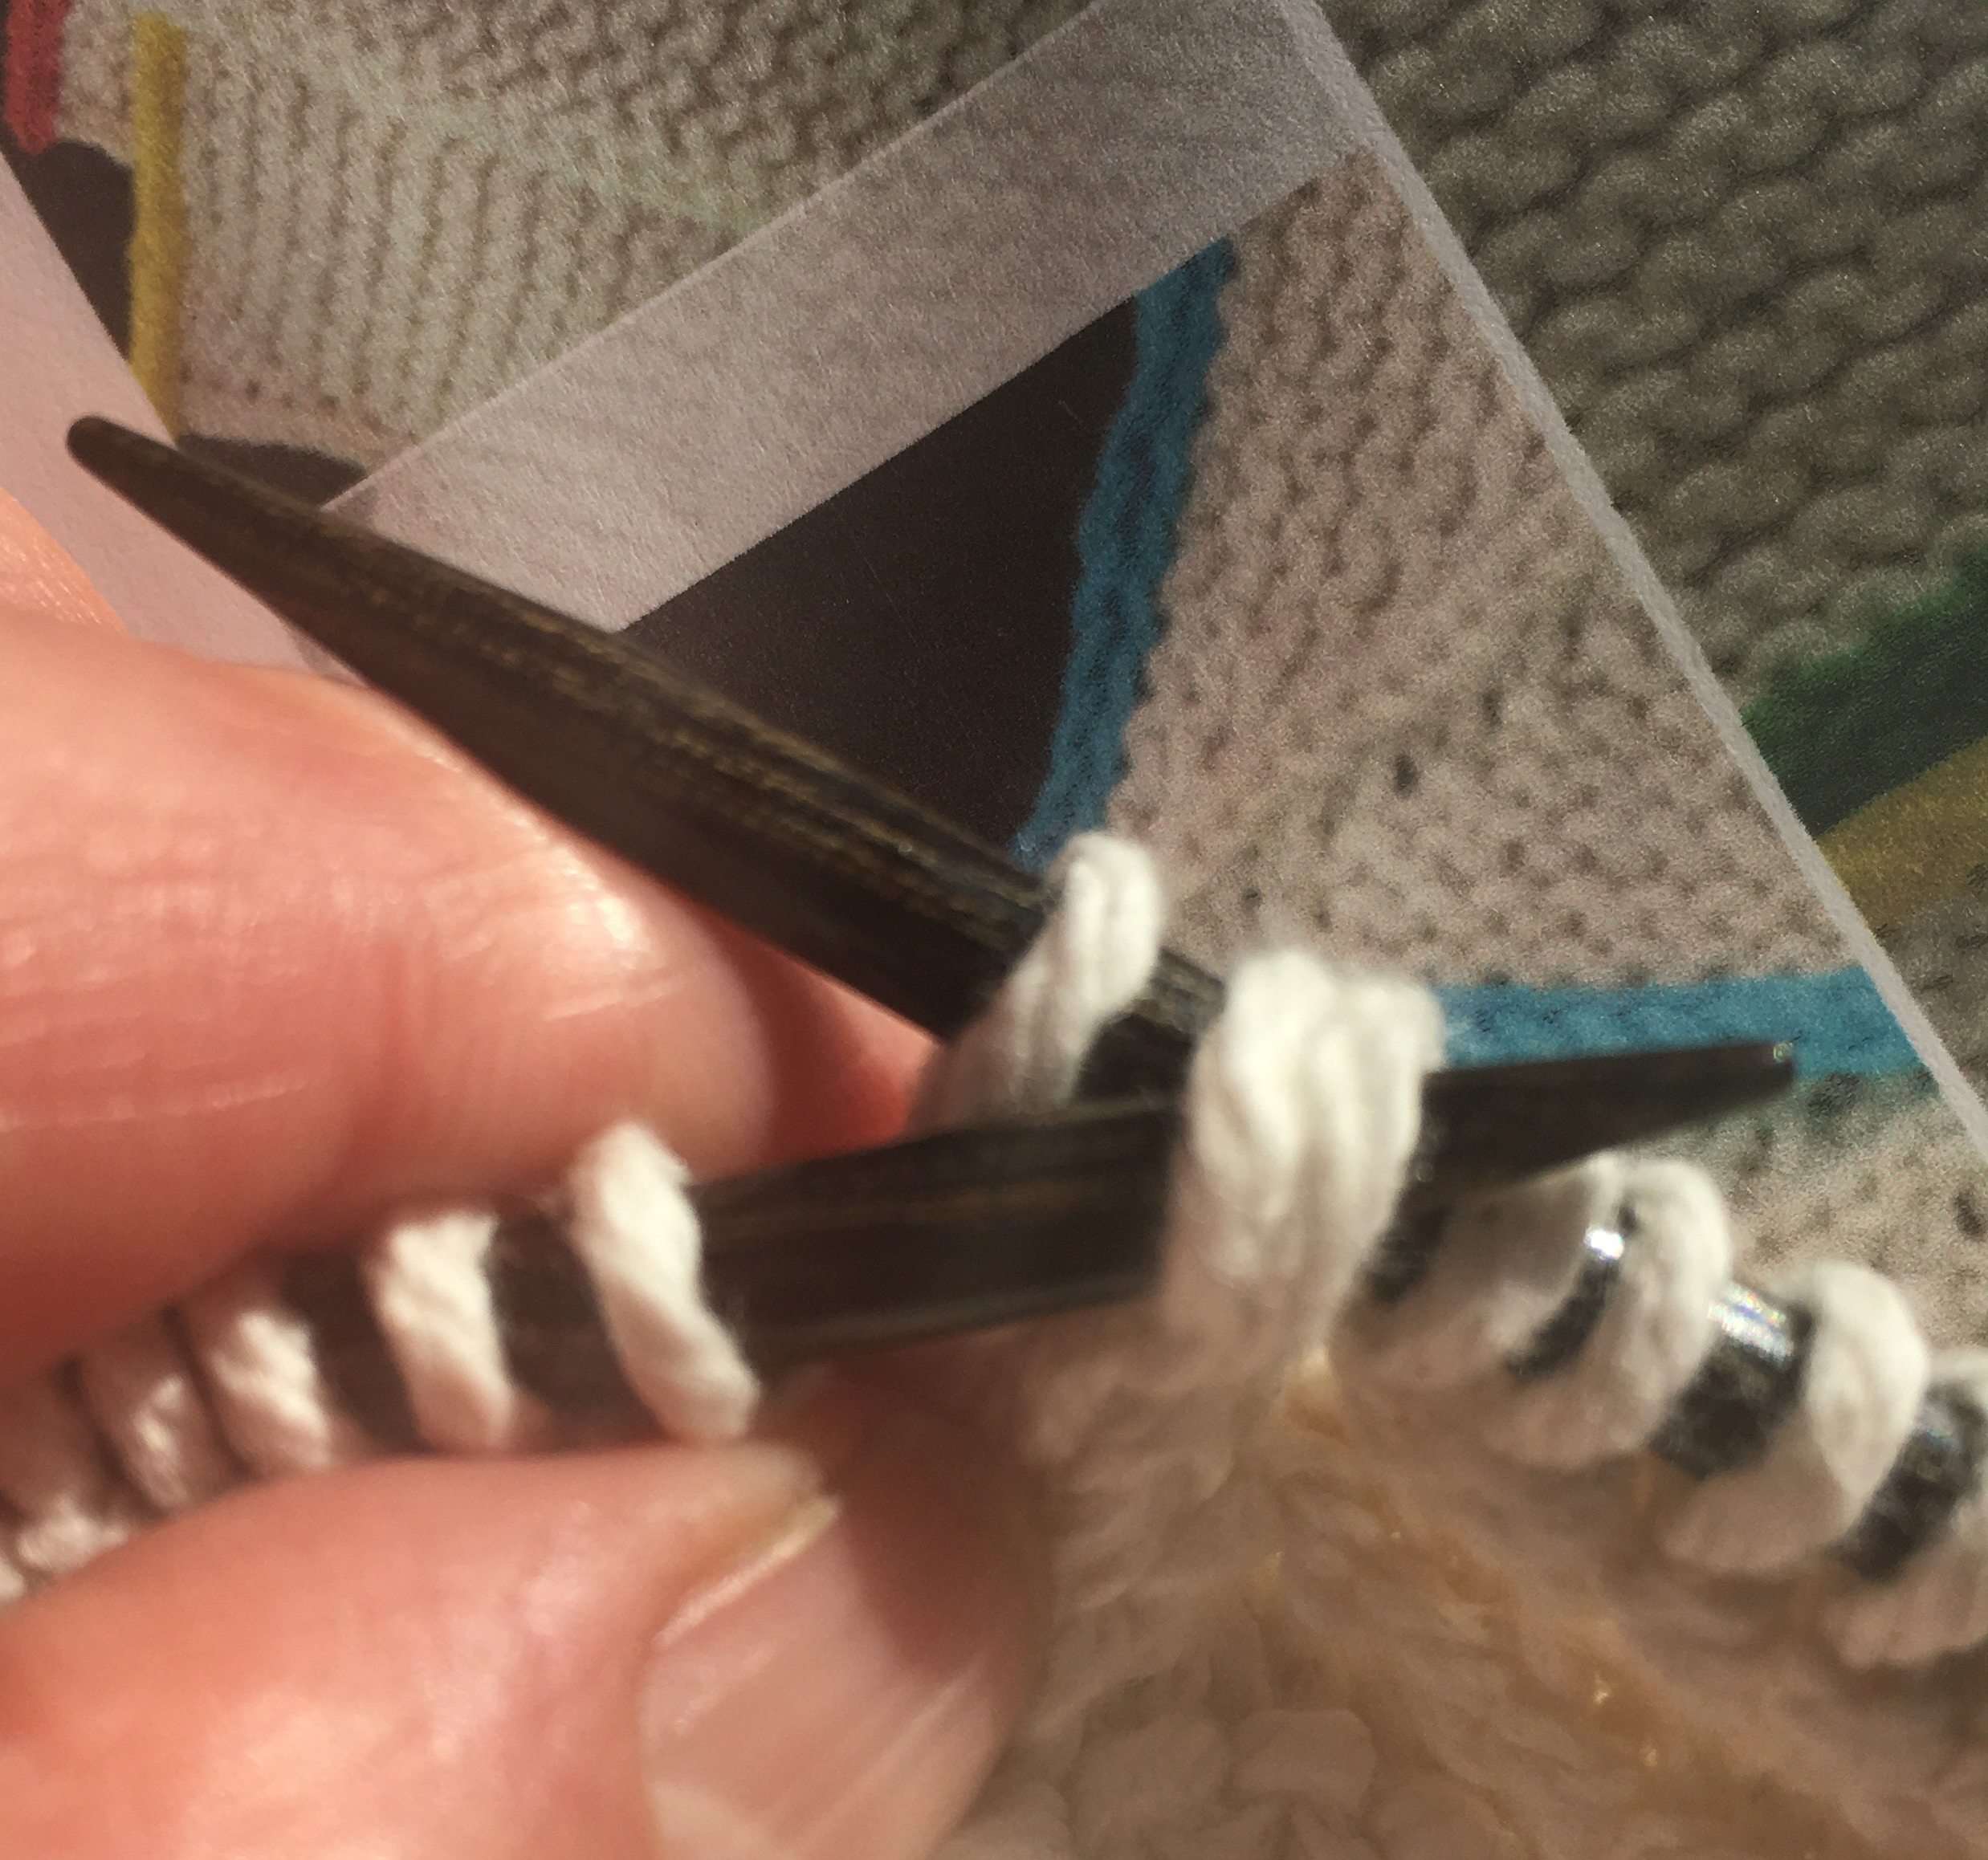
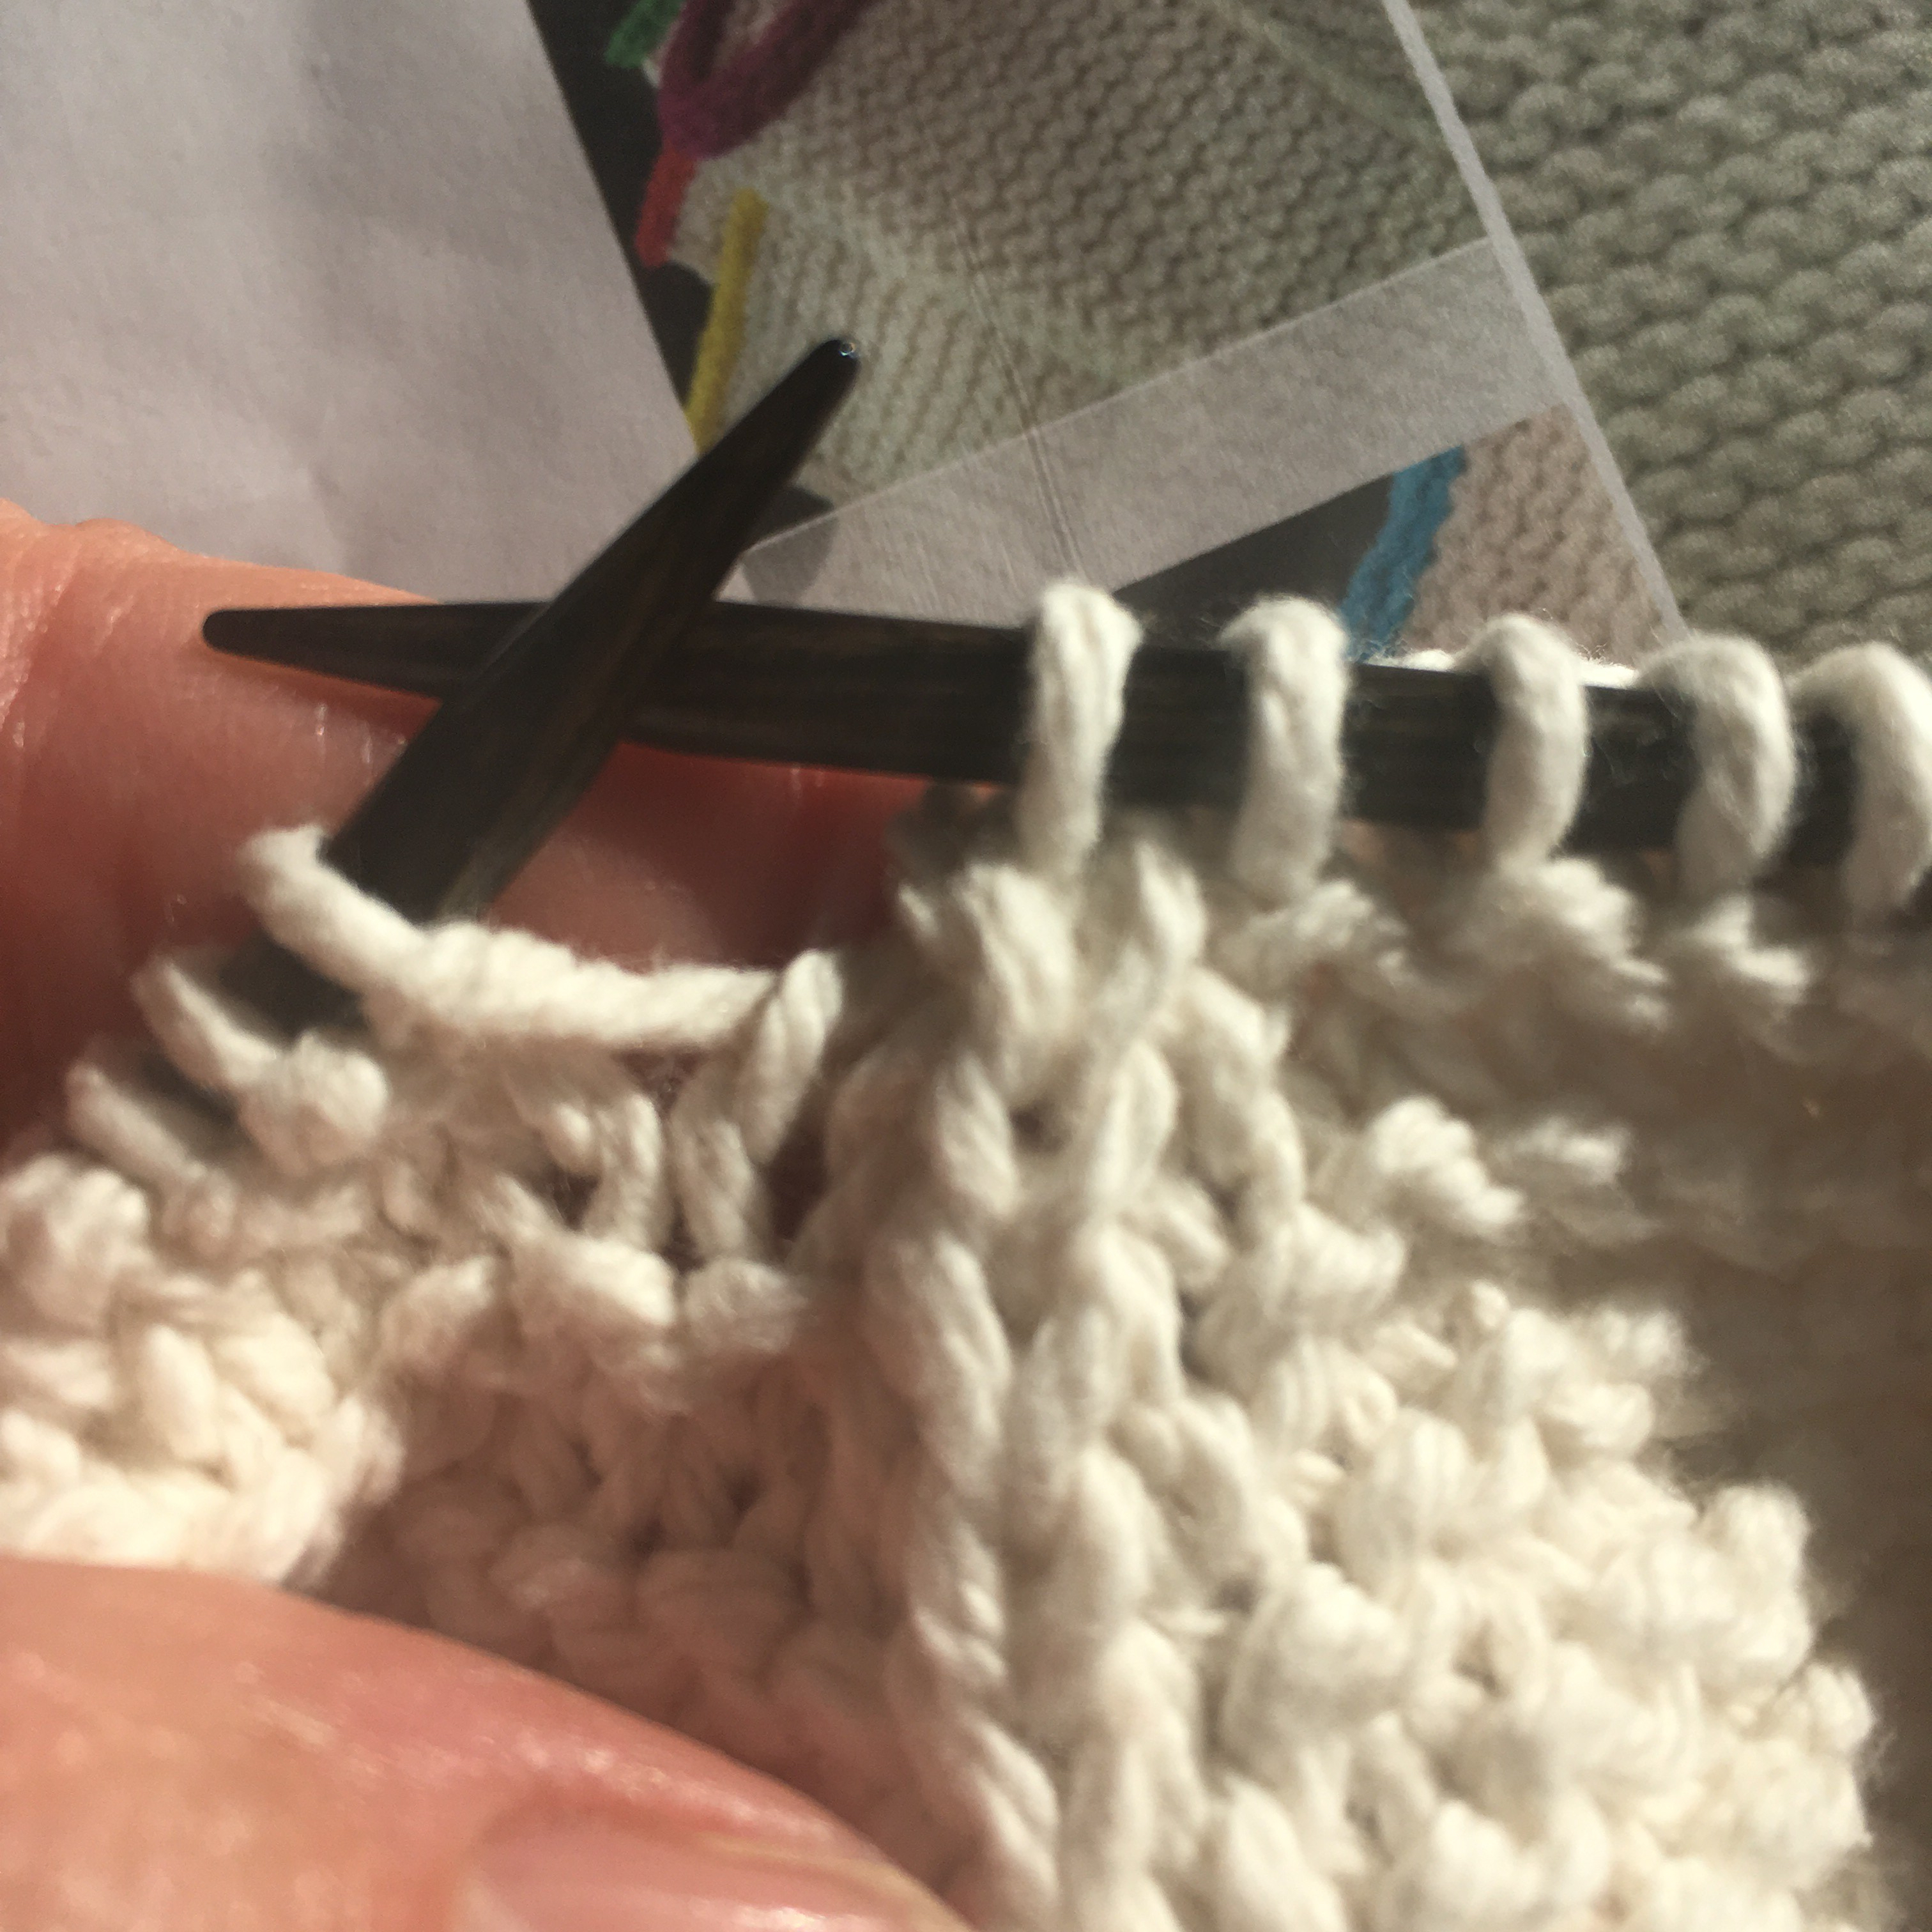


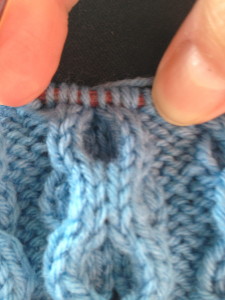
 g to knit the next two stitches on the left-hand needle. And hopefully I will not drop the cable needle. And then I will knit the two stitches from the cable needle.