While I’m at my Desk This Morning

Let me update you on the week I’ve had. It was busy and full as usual but with a bit of an added twist … we think it was food poisoning!

This week on Messalonskee

Friday night I woke up with my heart beating (what I thought was) extra fast. Fast enough that I felt unsure of what was happening and a bit fearful, to be totally honest. I got up out of bed and got a glass of water, sat in the living room for a bit until I decided I needed to be close to my dear hubby in case something bad happened. My arms and legs and head felt “fuzzy” (tingly?) and I woke him up, asking him to call 911. Fortunately he waited a minute or two because I realized I was going to vomit … all the blood was going to my stomach! I have never realized how my body works so efficiently! (Ha!) Soon, I was feeling better and we went back to bed and to sleep, my heart returning to its normal rate. Yesterday I spent the day in my PJs. I was tired enough to take a nap and miss a call from my dear daughter. Napping is not something I do unless I’m not feeling well (needless to say, it doesn’t happen often!)

Today, I am feeling much better, thank goodness! I dare say, I feel “normal” again. I’ve been up at my desk playing catch-up. I needed to write a newsletter for work, add a bunch of new people to the store email list, writing a membership article for our lake association newsletter, etc. and I figured I’d let you know what’s happening in my knitting world.

#295 Bulky Baby Pullover

I finished the baby sweater, Diane Soucy’s Bulky Baby Pullover, for a special little baby. This completes the gift that will be sent off sometime soon. Baby isn’t due for a few more weeks but I want him to have it when he’s born. He’s moving from Florida to Colorado in January and he’ll need a bunch of warm clothes! I really enjoyed knitting with this chunky yarn and because it’s easy care, the new mom won’t have to stress about washing. Once the gift has been received, I’ll post pictures of the gift in its entirety.

Tin Can Knits The World’s Simplest Mittens

This is a custom order from a wonderful customer (and friend) for her grandsons. Mittens! Here in Maine we all need at least a pair of warm mittens in the winter (and sometimes in the fall, too.) These mittens are knit in Berroco’s Ultra Wool Chunky and, as such, they knit up really quickly. If my mind could concentrate, I’d have finished a pair in a day. I love the Ultra Wool yarns for their superwash ease and their heft. These will be warm mittens. The pattern, another free Tin Can Knits pattern on Ravelry, is really simple and is written for fingering, DK, worsted and chunky yarns (so, any gauge, really). If you don’t have my vintage mittens pattern, you need this one. And frankly, if you want to knit mittens in any gauge, this is a good pattern. Peruse the other free or paid Tin Can Knits patterns, they’re all pretty special!

Fingerless Mitts in purple

I have offered to make some fingerless mitts for the Maine Arts Academy to use to incentivize students at times. Or, frankly, to use in any manner that the administration sees fit. There may be a student who needs some love and that’s ok, too. So, I’ve knitted the mitts with some stashed Patons Classic Wool yarn in a deep purple colorway. My plan is to add some snowflakes to the back of the hands to make them a bit more interesting. This will be an ongoing opportunity for me to knit down some of my stash and to give back to the MeAA community. It’s a wonderful school of which I feel so privileged to be a part. (I know that’s grammatically correct, but gee, it sure sounds stuffy, doesn’t it?)

These mitts are based on the vintage pattern seen in the photograph. This is a classic mitten pattern that I knit to the knuckles or wherever I deem fit to stop knitting and add a few rows of ribbing. Simple, clear and include sizes for children and adults. I love this book and when I retire and have more time (does that ever happen?) I will knit all the things in the book. The mitten pattern itself is free on Ravelry but you can buy the whole book at Yardgoods Center in Waterville, Maine 207-872-2118 … we’ll send it out to you if you don’t live nearby! You might even talk to me!

I’ll post a few more pictures when I get the ends woven in and the snowflakes added.

Gone knitting …

I Made a Project Bag!

IMG_3660
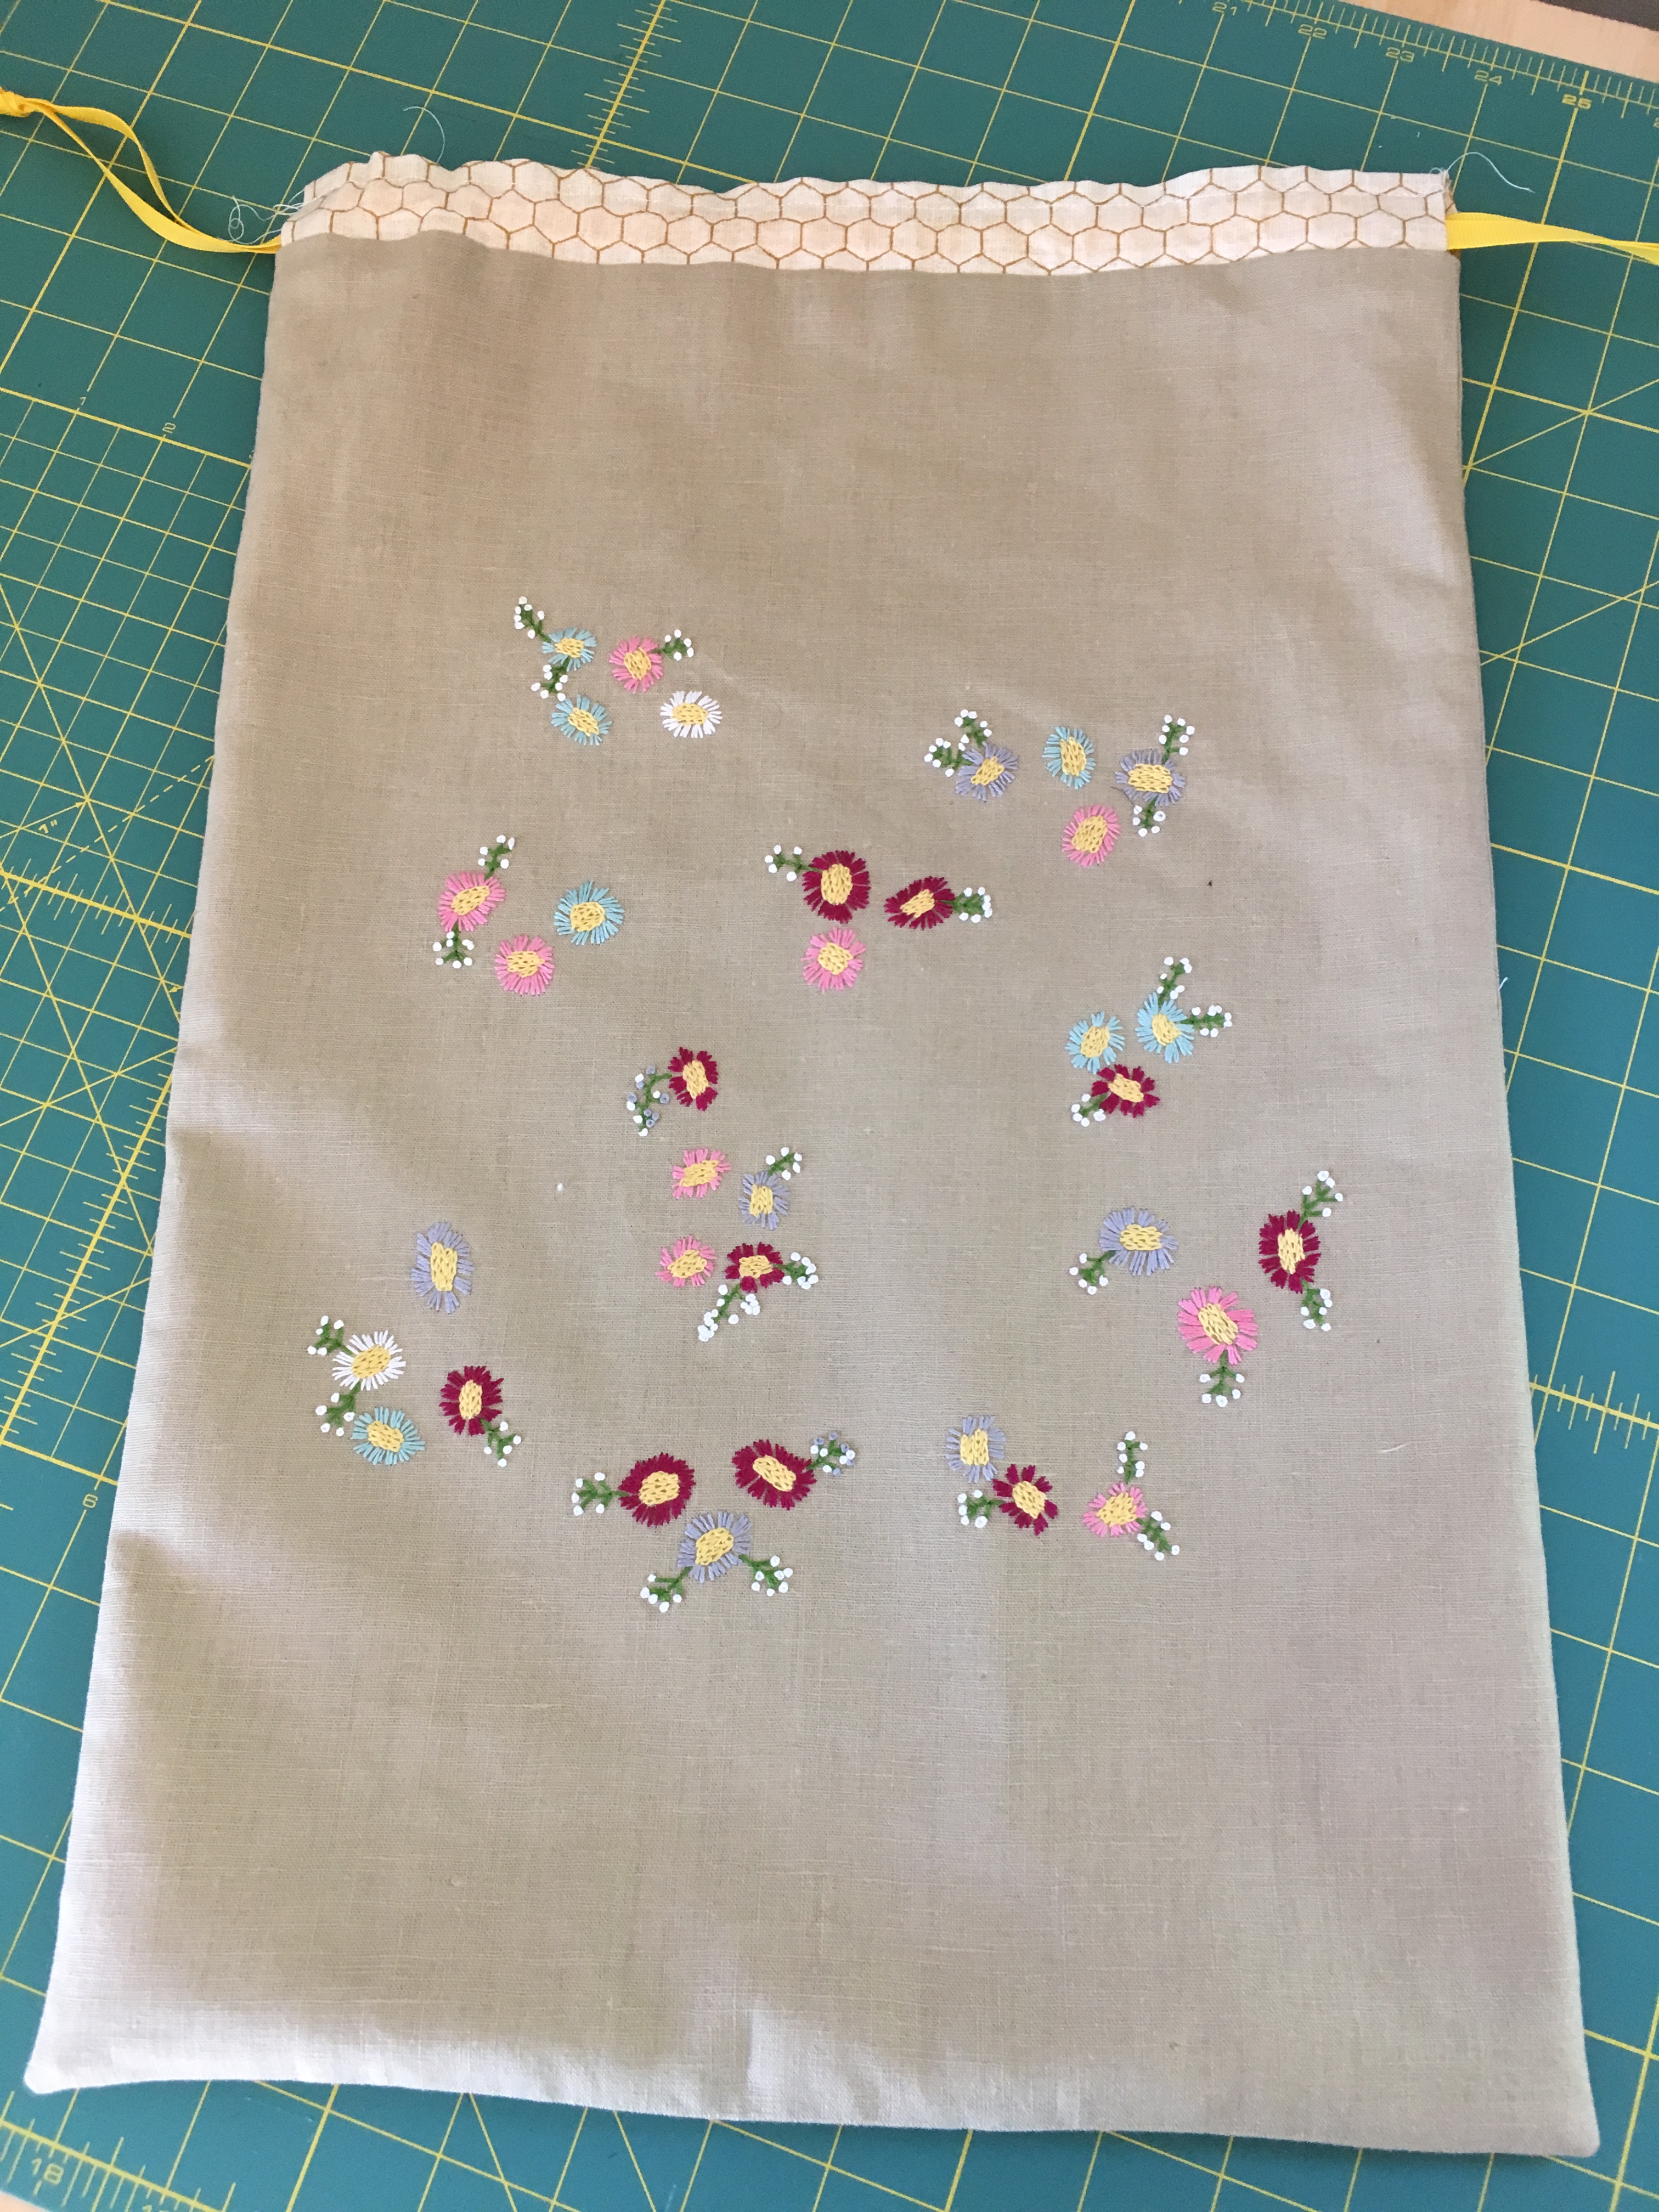
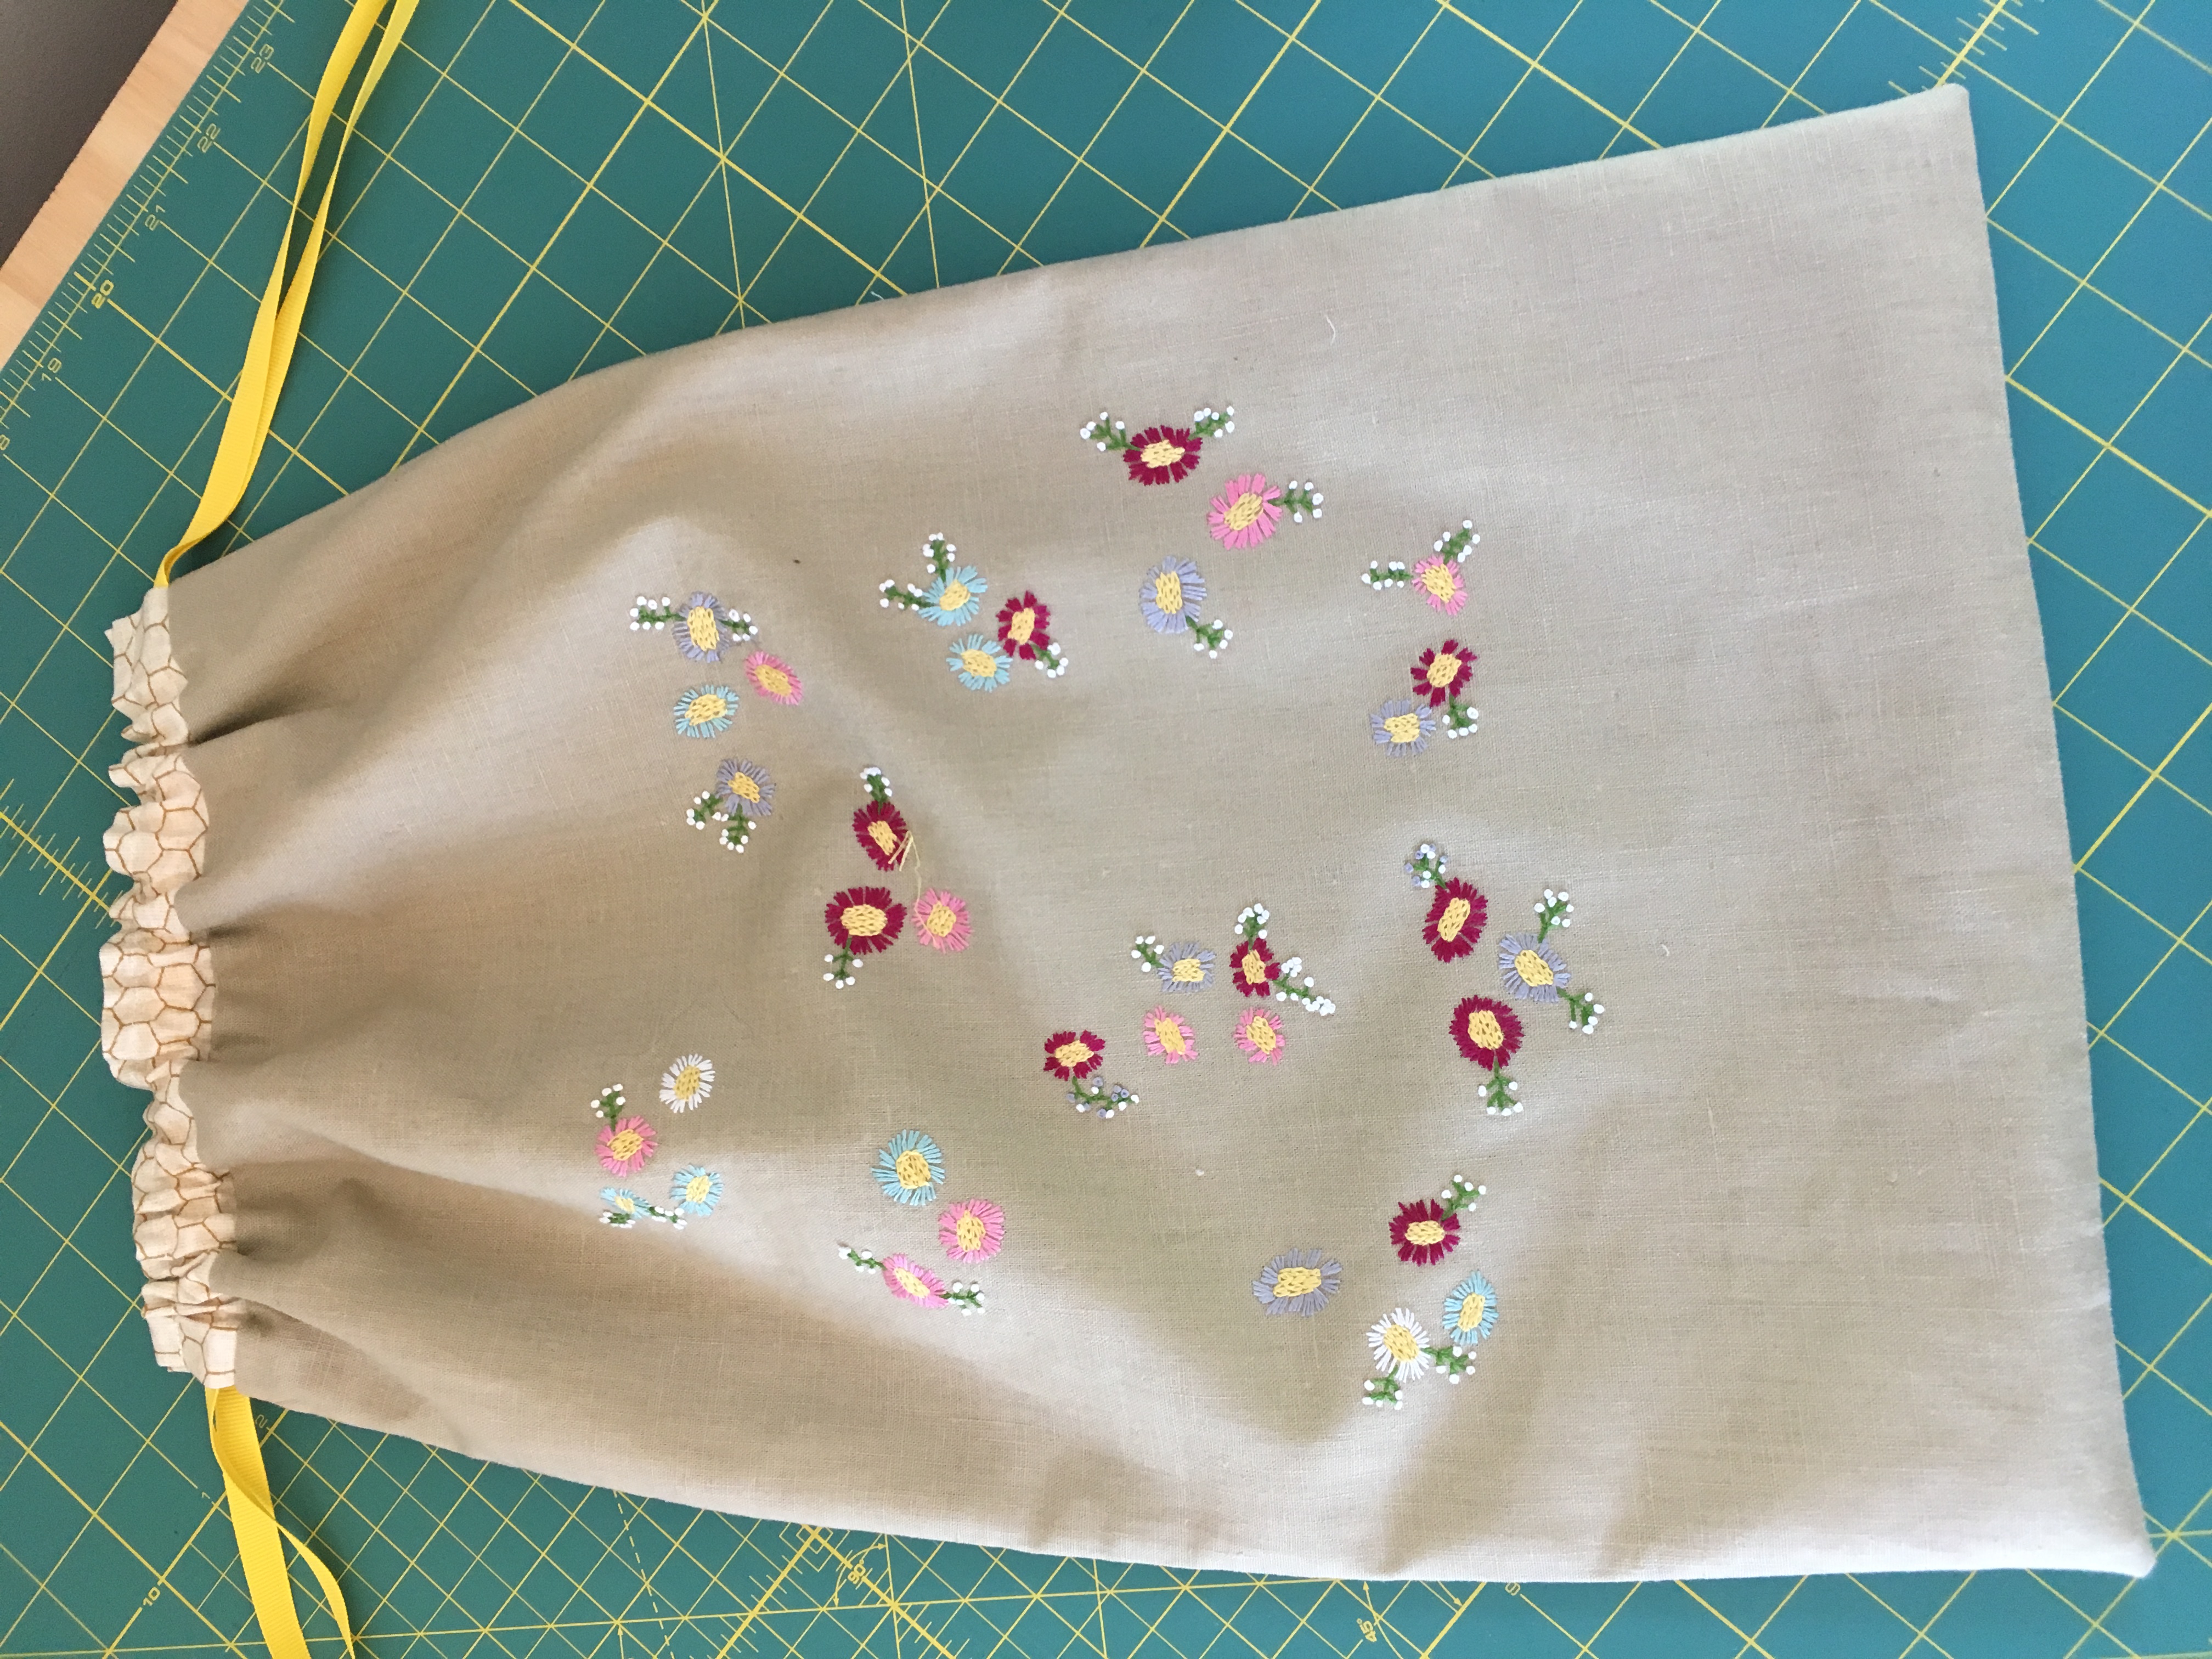
I made a functional sewn item! Yes, I did! Me! The one who wasn’t allowed to sew costumes at my childrens’ school!

When I over-knitted this summer at Medomak Fiber Arts Retreat, I decided that I needed to take some time to rest my left arm. I decided that I would make a project bag, following (loosely) the project in my Making Magazine. Initially I thought I would make it exactly according to the pattern … until I had to figure out how to “trace” the pattern for the embroidery onto a piece of linen fabric. That was way too much to expect from me.

I decided to “wing it” with the pattern. No tracing. I went to my LYS (where I work) and bought some linen fabric, some embroidery floss and needles, too. I worked the stitches to make flowers on the linen. It wasn’t knitting but it was making something with my hands.

IMG_3502

Once I was satisfied with the look of the embroidered flowers, I put the bag together.


Lucky for me, I have a pretty decent stash of fabric, too. I went (obviously) for some bee fabrics for the lining and the little bit that makes the space for the draw string. I chose a very light color for the lining because I hate a “black hole” in my purse or my knitting bag. I needed this to be super simple this first time. Next time, I’ll probably put a pocket in the lining. I love pockets!

I only had a bright yellow grosgrain ribbon for the drawstring. I have since found a ribbon (again, at my LYS) that is the same color as the lines on the fabric on top of my bag. I like it much better. I also made a small change to this part of the bag. I made it a little bit wider and stitched 1/4 inch along the top to make a more finished edge.

IMG_3658

Ta-da! I’m very pleased and will proudly carry this project bag … filled with knitting … for a bunch of years!

Gone (not) knitting!

How to Knit i-cord

I-cord is not a difficult thing to knit and it can be used for so many projects.

Recently, I knitted i-cord ears for a Tiny Baby Bunnies pattern and you can see pictures of my projects on my blog, here, or on my Ravelry page, here.

I’ve also used them for embellishing knitted garments like my Senorita Lolita dress and on an original cowl that I knitted and is for sale in my 3 B Street shop.

Senorita Lolita (Copyright 2011 Prima Dogma by Queen Bee Knits

Senorita Lolita (Copyright 2011 Prima Dogma by Queen Bee Knits)


Butterscotch Cowl Copyright 2013 Queen Bee Knits Original

Butterscotch Cowl
Copyright 2013
Queen Bee Knits Original


I-cord is a spiral “tube” of knitting that is constructed by sliding the working piece from one side to the other side of your DPN.

It’s a great handle for knitted (and felted totes), it’s a great embellishment for knitted garments (and can be formed into flowers or stems or just about anything you can imagine!

It’s also very simple to knit!


Here is what you need to know to be successful when knitting i-cord!

Cast on the required number of stitches to be used for the i-cord (in this case, I used 6 stitches.)

Cast on # of Stitches

Cast on # of Stitches

Slide your stitches to the right side of the DPN (do NOT turn your needle!)

Slide stitches from cast on position at the left of the needle to the right side

Slide stitches from cast on position at the left of the needle to the right side

Knit all stitches (to knit the first stitch, you’ll bring the working yarn around the back of your needle and give the first stitch or two or three a good tug to pull the yarn so there won’t be a huge gap but don’t worry too much as the next few rounds will help even it out!)

Note that the stitches will be on the left side of the DPN. Do NOT turn your needle.

Knit all stitches

Knit all stitches (sorry, it’s a little blurry, but you get the idea!)

Slide the stitches to the right side of the needle and knit all stitches again.

Repeat sliding the stitches from the right to left of the DPN and knitting all stitches until i-cord is the right length for your project. It is also helpful to give the “tail” a tug or two to get the i-cord to stretch out & down.

After a few rows, you’ll start to see the tube starting to take form.

After a few rows of knitting (9 here)

After a few rows of knitting (9 here)


Queen Bee Knitting Tip

Queen Bee
Knitting Tip


Knitting Tip – When you’re knitting circularly (in the round) on double-pointed or circular needles, in order to keep your knitting from getting “ladders” where the needles meet, remember to give an extra tug (gently, don’t break your yarn!) on the first and second stitches as you start working on a new needle. This will lessen the chance of ladders happening which are unsightly in your knitted garments. Trust me, I’ve got plenty of experience! 🙂

So, there you go! Practice this a few times and you’ll have a great new trick in your knitting arsenal!

Gone knitting!