Mojo Jojo Cowl in Berroco Mojo
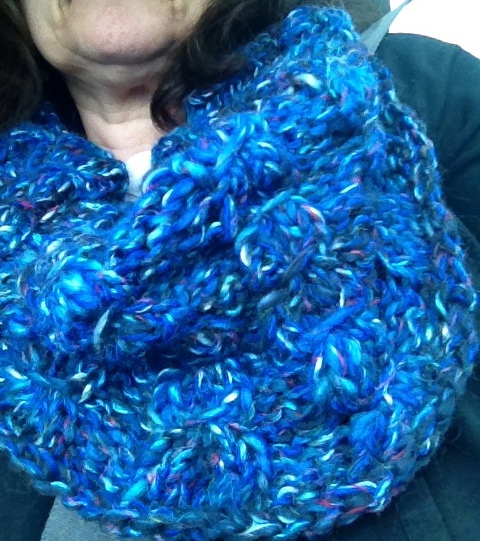
I just completed a quick-knit cowl with some lovely yarn Santa brought for me. The yarn, Berroco’s Mojo in a bee-utiful shade of blues (Color 8001/Dye lot 2078). With two stitches to an inch on size US15 needles, this super bulky yarn knits up really quickly … the cowl took maybe four hours of knitting (and I’m a slow knitter).
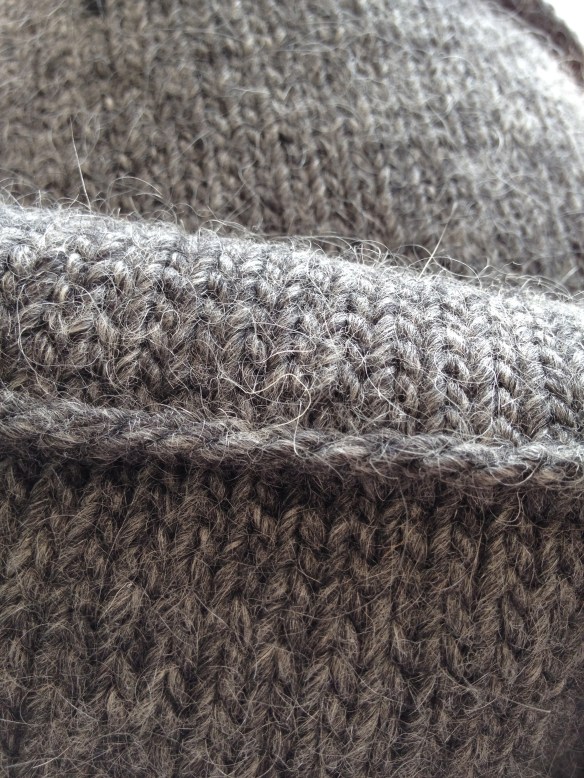
The pattern, Mojo Jojo, is a free Ravelry pattern. I wasn’t sure what I wanted to knit up with the two hanks that Santa brought me but when I searched Ravelry (and I am moving to Maine in a few months) I found the cowl pattern and decided that THIS was a good plan. The pattern uses what is called a “faux cable”. I’m not sure that I agree with that term as it looks more like a stretched stitch to me but if you really want to stand back a few feet and squint, I guess one might say it looks like a cable … or maybe not. Regardless, the cowl is very attractive and it was a quick and easy knit project that I completed in a few hours. I will get a lot of wear out of it in Maine next winter.
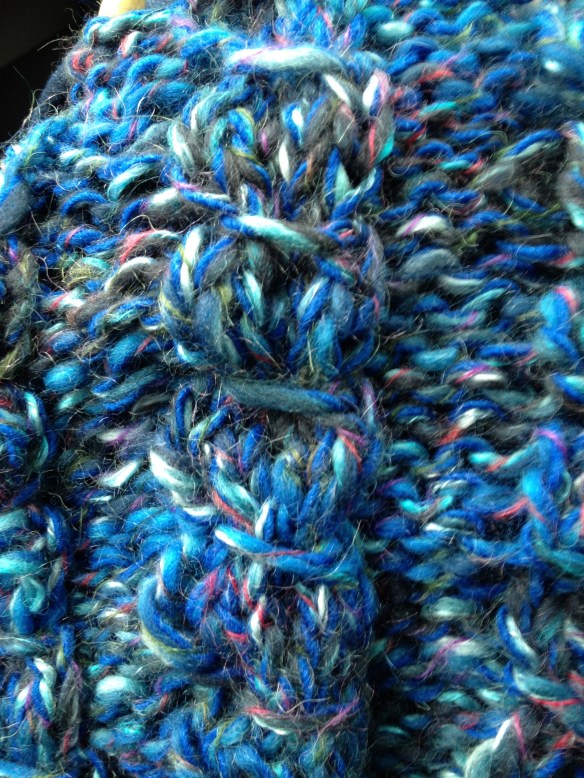
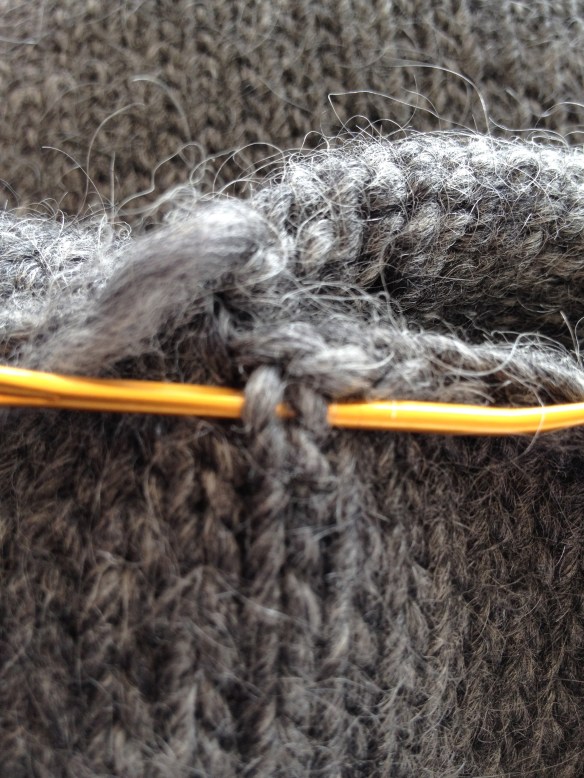
Mojo Jojo Cowl Close-up … faux cable?
The faux cable is created by slipping one stitch, knitting four stitches and then passing the slipped stitch over the four knitted stitches. When knitting this cowl, I followed my slipping stitches rule #2. I slipped the first stitch knitwise because I was going to use it again in the next row.
So, let’s talk about slipping stitches in knitting.
A lot of knitters struggle with how to slip stitches and what is the “right” way to slip a stitch. So, here are the rules of slipping stitches according to me (the Queen Bee!)
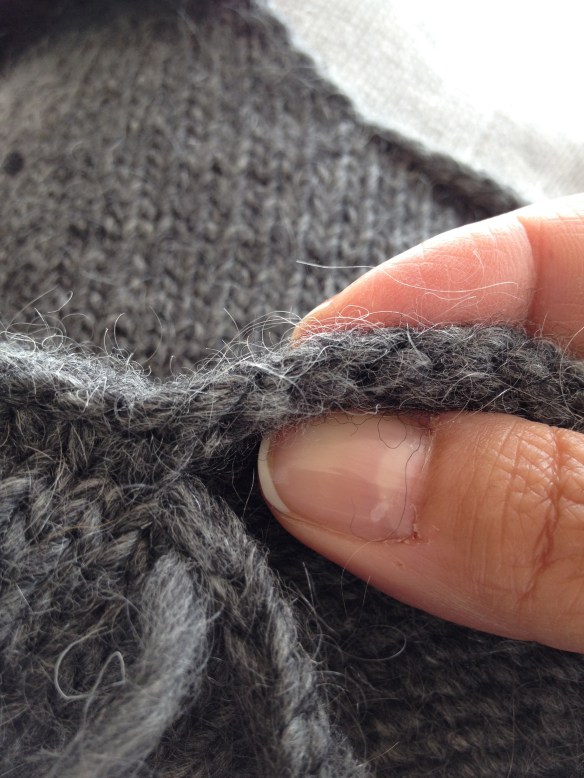
Rule 1. If the pattern doesn’t state how to slip the stitch, the default is to slip the stitch from the holding needle (usually the left-hand) to the working needle (usually the right-hand) purlwise. There is no twist to the stitch, it’s passed from one needle to the other. Insert your working needle (right) purlwise (from the right to the left) into the first stitch.
Slip purlwise
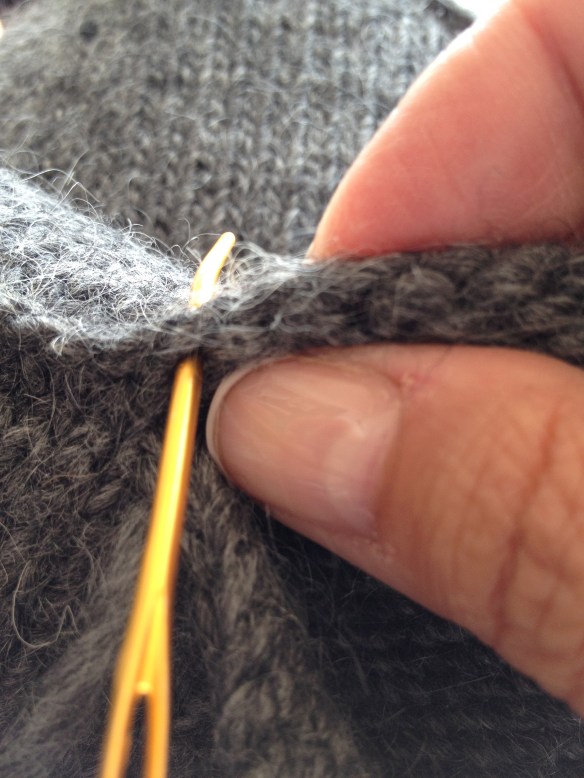
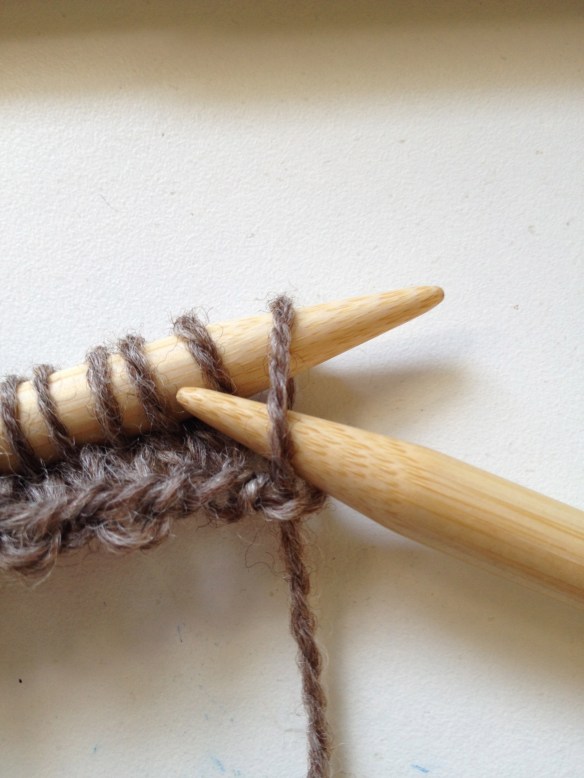
Rule 2. If you are going to use the slipped stitch again in the same row, then slip the stitch knitwise as in a SSK (slip slip knit) or PSSO (pass the slipped stitch over). This way the stitch is twisted as it is slipped from one needle to the other.
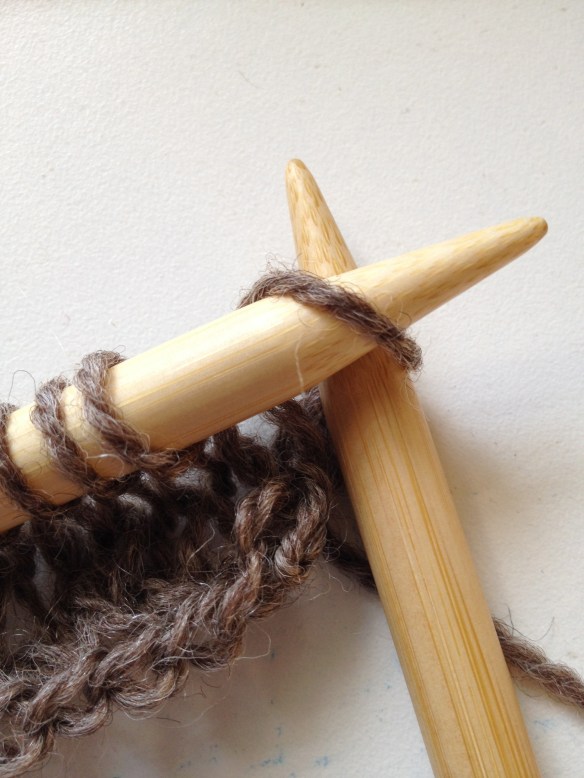
Slip Knitwise
Rule 3. If the directions tell you to slip the stitch(es) knitwise, then follow the instructions.
There you go! So simple that I even complicated the process with adding rule number three which, technically, is an obvious rule and should not even be mentioned. However, I have learned that I should not ever assume so the obvious becomes rule number three.
Gone knitting!