All About That Brioche by Lisa Hannes
I can’t believe that I’ve not written a post since Father’s Day! Yikes! I didn’t realize how busy I’ve been … or how I’ve totally neglected my blog!
We have had visitors a couple of times. My aunt and cousin and his family came for a visit from the other coast. We had a hoot and I got my fill of babies and toddlers. The kids were so much fun and I am so grateful that my cousin’s wife wanted to come east to spend time with us. My eldest daughter and her husband and their dogs came for a visit, too. I am always happiest when one of my kids is in the house! Both visits put my knitting on hold for a few days.
Today I finished my All About That Brioche shawl by Lisa Hannes. Let me chronicle the adventure that was this shawl for you!
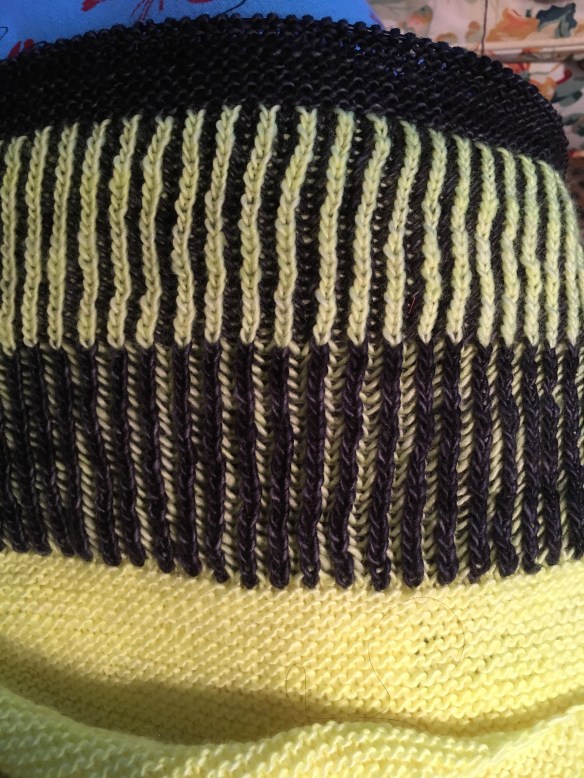
I bought the kit from Kitterly. Yellow … NEON yellow and charcoal gray. What’s not to love? They’re bee colors! Madeline Tosh (Merino Light) yarn is very soft and not plied. Sometimes it gets a little fluffy which is not always what you want. Regardless, it’s a delight to knit with and will be a delight to wear. The pattern is fun to knit. A bias-knit garter to begin and then two bands of contrasting two-color Brioche. I needed to pay a little bit of attention to the increases and decreases but it’s a relatively simple six row repeat.
Initially, I thought I wanted to add an additional colorway to the mix but after knitting a little bit of the way, I decided that there was a reason the original design had only two colors. The addition of a third would have messed up the contrast. So, I frogged the first attempt and proceeded with the gray/yellow color palette.
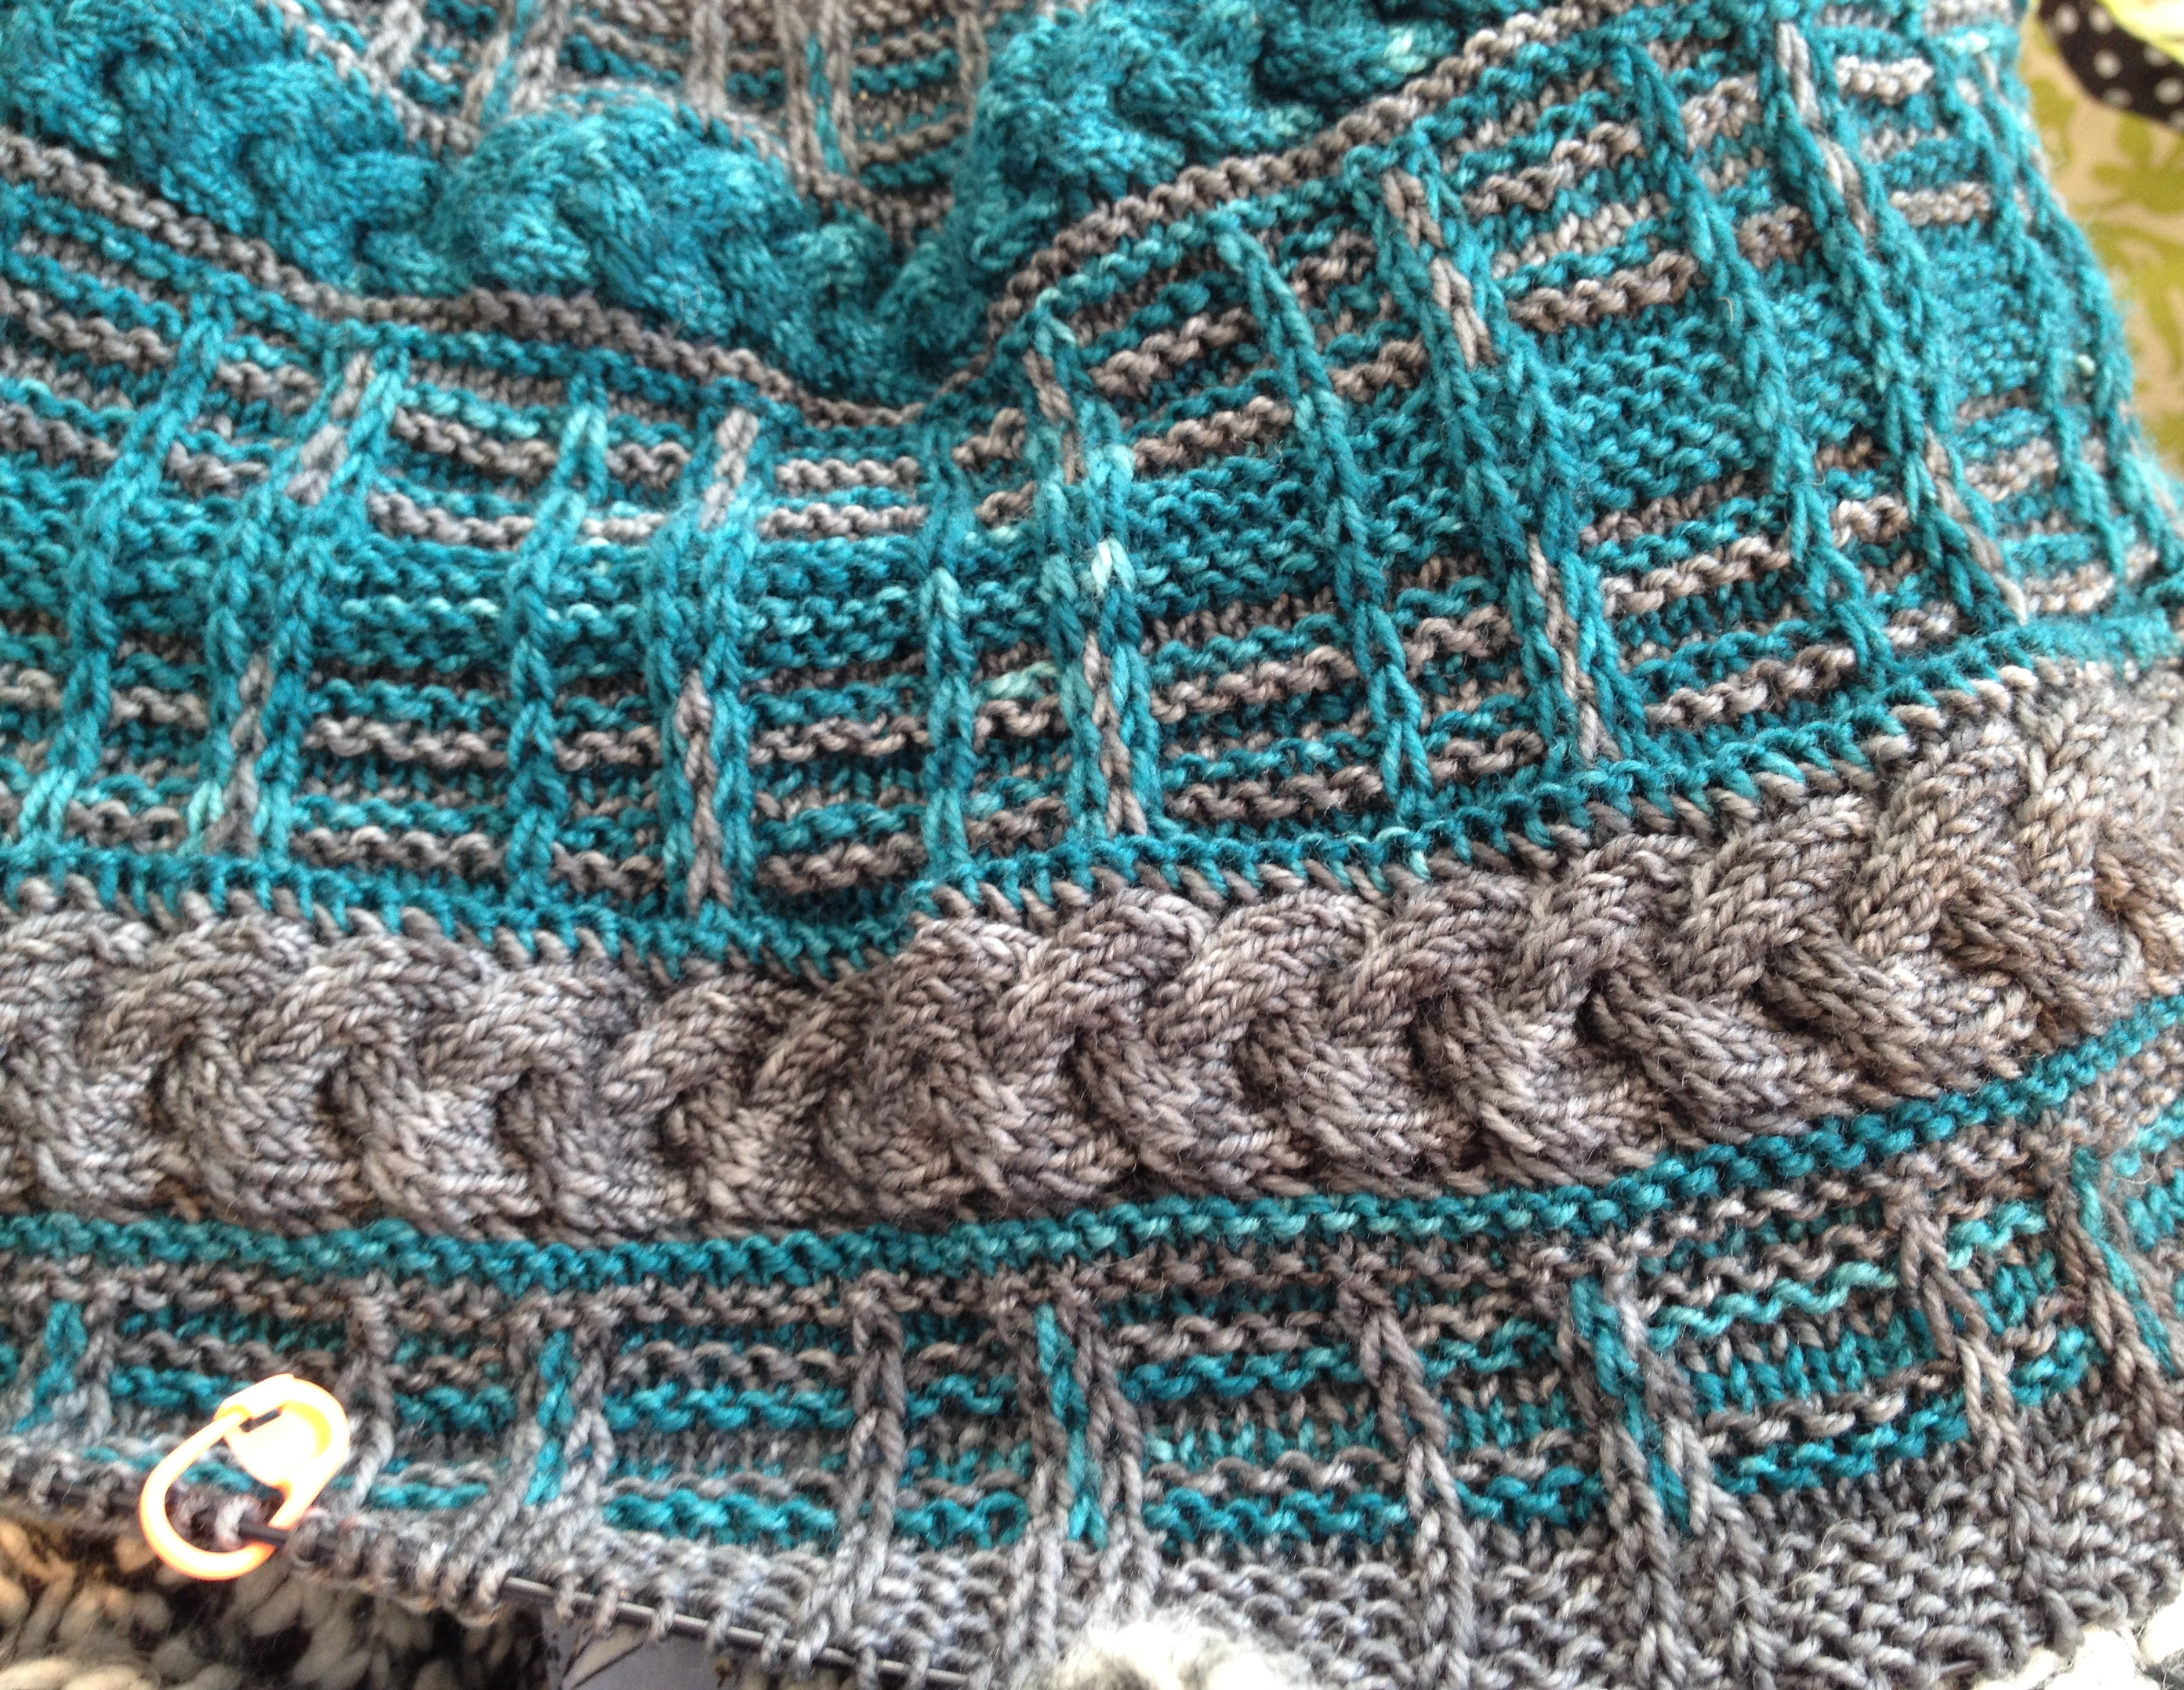
I’m not crazy about the edge on one side of the shawl, if I’m totally honest. I guess I wasn’t paying close enough attention to how the rows begin. The point is to slip the first stitch and then bring the working yarn to the back or front so the edge has a consistent color.
This is right.
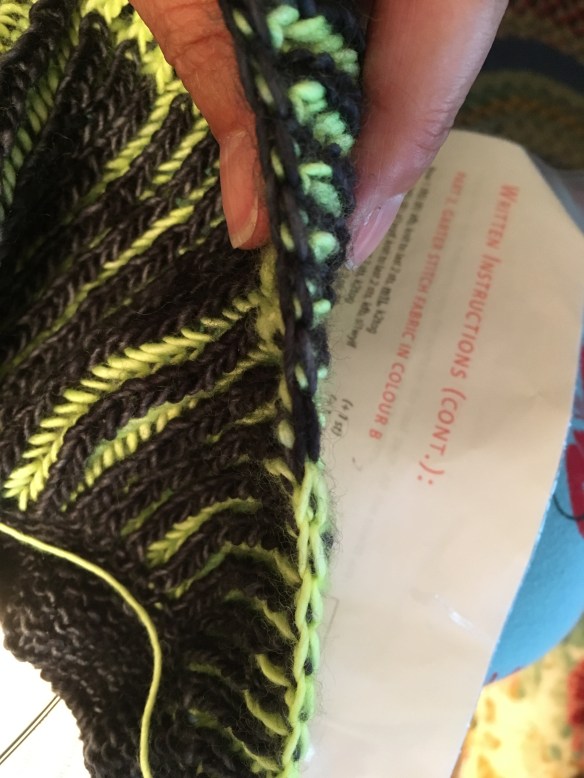
This is not right.
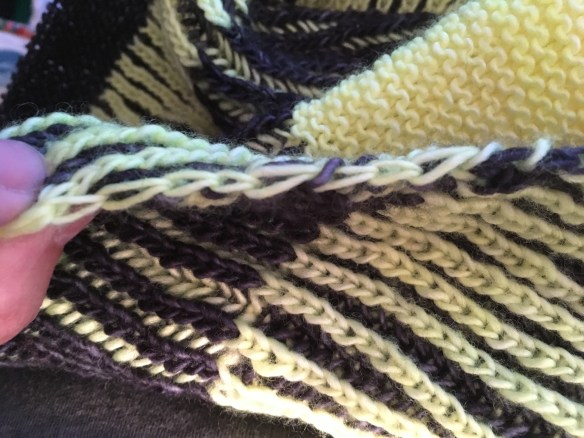
Can you see the black yarn crossing over the yellow edge stitches? And to the right there is yellow yarn crossing over the gray edge stitches? Yeah. This is not the way it’s supposed to be. BUT I also decided that it wasn’t worth frogging the Brioche section to repair this so I went forward knowing that I was going to have a funky edge on one side of the shawl. I’m ok with it (most of the time, anyway!)
I need to weave in my ends and block it today to make it wearable. I think the size will increase exponentially when I block it. Right now it’s a little bit too small for my liking. But I can’t wait to wear it … and it won’t be long until fall! We are experiencing crisp, clear, cool mornings and evenings here in Maine! I love the changing seasons!
Gone knitting!
 I joined a knitting challenge this year. It is called “A Year of Techniques” with Arnall-Culliford Knitwear and Mason-Dixon Knitting. Twelve months of technique-improving knitting projects. As a knitting teacher, it’s always fun to try something new. If I can master a new technique, I can share it with my students, too!