Yesterday we decided to take a drive. It’s an old-fashioned idea, I know. My dad used to take us on a drive on Sundays. We’d all climb into the back seat of his car (sometimes with the top down) and, though there was always some “Mom, he’s over the line” bickering, off we’d go. Once I recall my brother letting go of a cloth diaper when the convertible top was down. Not sure how he survived that one!
Anyway, I’ve wandered from my purpose here.
Yesterday we decided to take a drive. We had a slow, lazy start to the day with coffee on the front porch and then packed up the dogs and headed to Bath.

My plan was to visit Halcyon Yarns. (N had his cameras and can always keep himself busy for a couple of hours while waiting for me to shop for yarn. And it was cool enough for the dogs to come with us rather than be crated in the house.)
Part of why I love to visit Halcyon Yarns is because it’s not just a knitting shop. I can while away hours imagining learning all the crafts that they carry the stuff for – needle felting, spinning, rug hooking, tatting, weaving, and crochet. I’ve probably missed a few. Aisles and aisles of fiber from warp (or is it weft?) to cotton, and wool and alpaca and silk threads and many different weights of each. Some are actually Halcyon yarns and some are from well-known companies like Noro and Cascade. And a room full of pattern books and mugs and yarn bowls and … well, you get my drift.
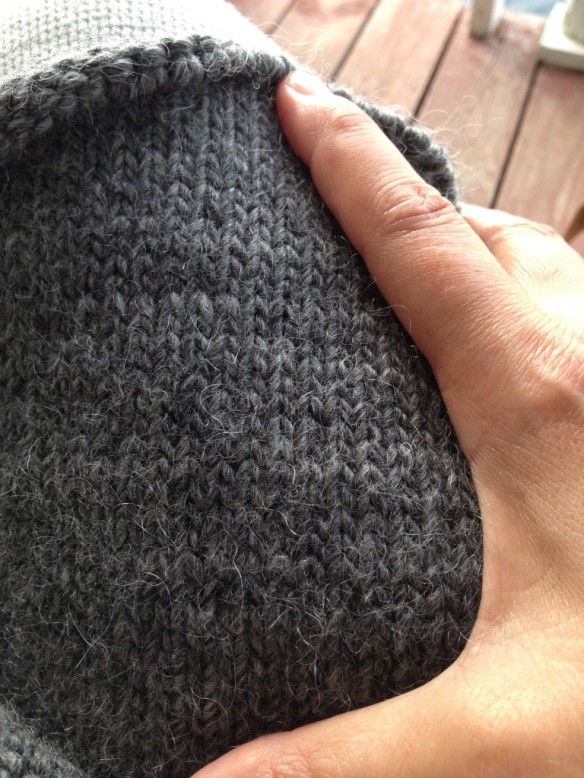
I carefully paced myself as it can be a dangerous thing, shopping for yarn. But this time I was “good”. I only bought a few things …

Noro Taiyo Sock – Color S17 Lot D
Cotton, Wool, Polyamide & Silk
24-26 sts x 36-38 rows = 4 inches on US 2-3 needles
Two skeins of Noro Taiyo Sock yarn (in Color S17-D) for another (more colorful) Bermuda Shawl. And, yes, the two skeins are the same colorway! I can’t wait to start knitting with this yarn!

Noro Taiyo – Color 35 Lot A
100 grams, 200 meters
Cotton, Silk, Wool & Nylon
One skein of Noro Taiyo (Color 35-A which was on sale) for a knitted lamb from the new Noro (Spring/Summer) Magazine. I also bought the magazine.

Hlacyon Gemstone Soft Twist Silk – Lot 15989 – 240 yards
100% silk, Sport weight
5-7 sts = 1 inch on US 3-5 needles
I bought a hank of Halcyon’s Gemstone Soft Twist Silk in a silver color (not sure what the gemstone is … diamond? I like diamonds!) This is to knit a necklace that I saw online … on Facebook, if my memory serves.

Indulgence Sock Yarn – Color 105 Lot 18411
426 yards, 21 sts x 27 rows = 4 inches on size US 3-6 needles
Merino wool & Polyamide
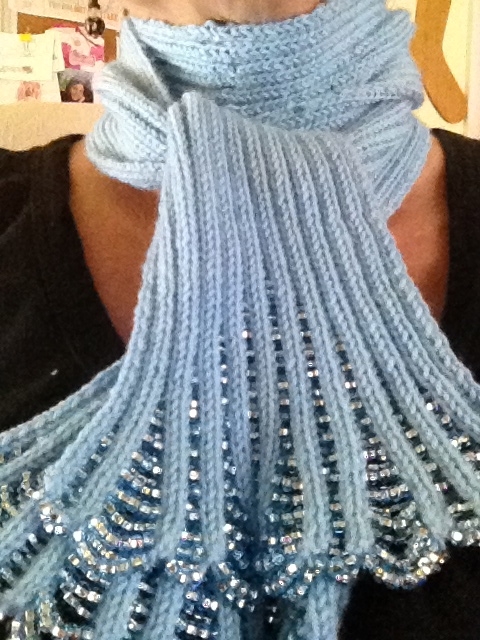
And last, a ball of Indulgence 6-ply (also on sale) Sock Yarn with which I’ll make socks. I just loved the colors in the yarn (and it’s really soft, too.) The sample that was on the table was a tubular scarf knitted in all of the different colorways … I almost bought one of each. Almost.
Halcyon also has a bunch of wonderful-sounding classes available if you’re looking to take one! And the people who work there are very friendly and helpful … if you don’t mind wandering aimlessly, you can do it for hours at Halcyon Yarn! You’re going to enjoy the ever-changing samples at Halcyon, too! I saw no fewer than three sweaters that I would like to knit. Too bad I brought three projects with me from Florida!
And while you’re visiting Bath, it’s worth your while to visit the Bath Iron Works and the Maine Maritime Museum. For $27 (adults) you’ll get admission to both a 1-hour tour of the place where our US naval warships are being built. Some are so super secret that you’re not allowed to take photographs! Really fascinating! You can also visit Popham Beach (beware, the water in Maine is wicked cold!) and Reid State Park.
Parks, new things to learn and fiber. Just a few of the reasons that I return to the area every year!
Gone knitting.