I needed to do some selfish knitting between the Christmas gifts that I’ve been making this year. Mostly because I needed some mittens for our trip to the North this winter.
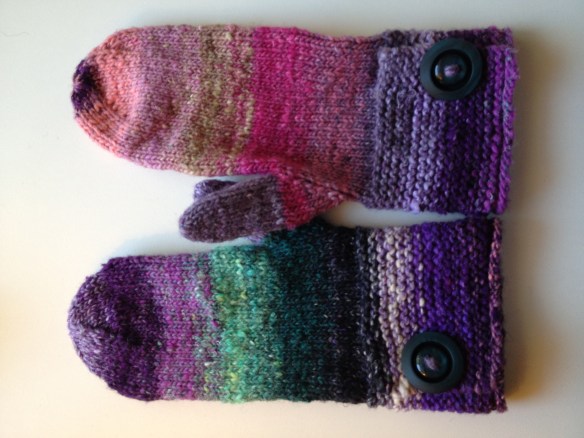
Lovely by Suann Wentworth
I dug some Noro Taiyo Aran yarn out of my stash. It was calling to me to be knitted up. But as my friend Beverly says, I gave the mouse a cookie and you know what happens when you feed the mouse? I needed a hat.
I remembered seeing one in this book (on my shelf. One of these days I will attempt to knit a tea cozy or two from the book … which is why I bought the book in the first place.)

The hat in the book is called Blue Beanie Beret. Mine is anything but blue … more pink, purple, teal, purple, green, and did I mention purple? While purple is not necessarily my favorite color, I love the colors that are in Noro yarns and this one is no exception. I do think I would like to make another hat in a plain or tweed yarn because it’ll be very different.
This was a simple knit on circular needles starting at the top of the hat and knitting to the brim. Because the yarn is bulky (heavy worsted, actually) it knits up very quickly and I had the hat completed in a couple of days. Easy peasy!

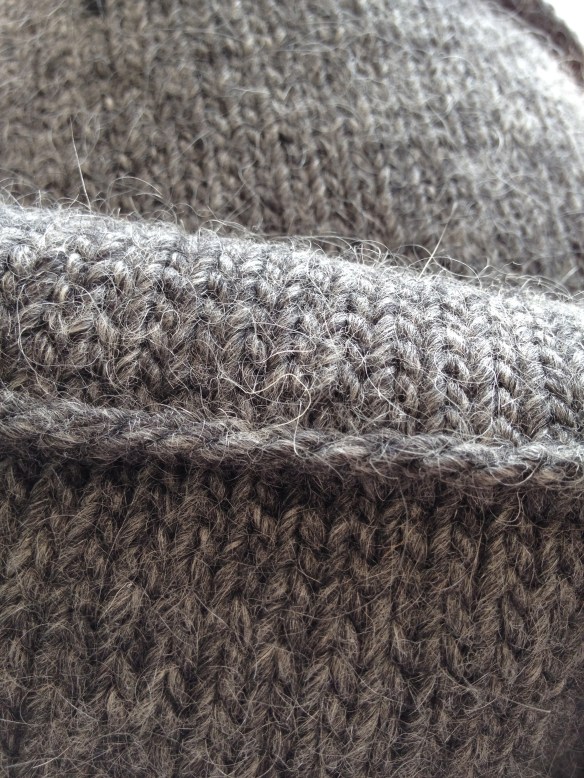
Top of the hat … lovely!
Construction starts at the top of the hat with eight stitches … Increasing to make the beret top and then decreasing to where it is knit plain and ending with a stretchy bind off. Loani Prior has designed a great hat that I am eager to wear!
The finishing touch was/is a little rose. It is the designer’s intent for you to knit it in a contrasting yarn. Mine is in the same yarn because I was lazy. (I’m honest.) I have a bit more of the yarn and it’s the teal part of the colorway which I think might be a nice (nicer?) contrast on the rather pink brim of the hat. I’m going to sew mine onto a pin so that I can wear the hat with or without the rose.

A rose is a rose …
I think my Lovely mittens and my (Anything but) Blue Beanie Beret are wonderful. Can’t wait to wear them at Christmas time when I’m up in New England!
Gone knitting!